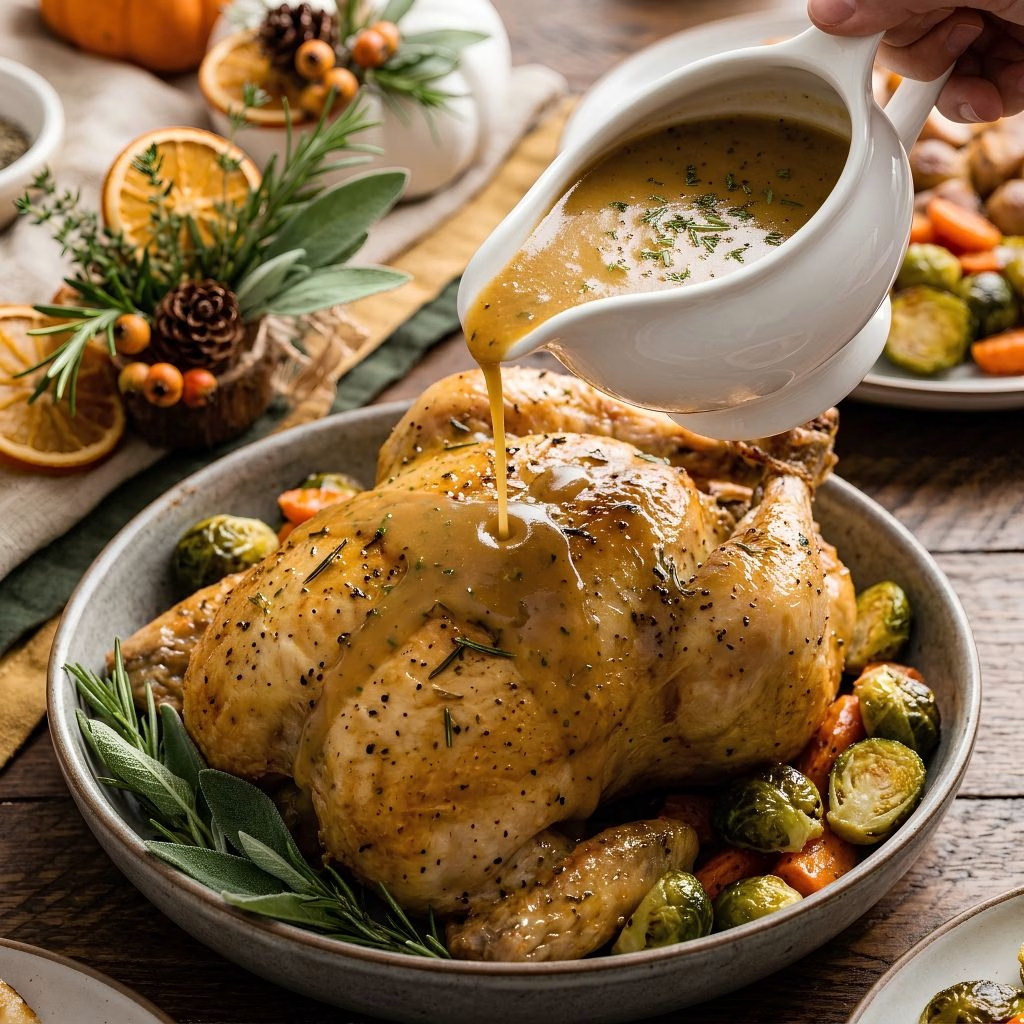
I still remember the first time I made Easy Turkey Gravy Recipe from scratch, and I was nervous the whole time. Then I whisked, tasted, and realized how simple it really is. This old fashioned turkey gravy recipe is the kind of thing my grandma would be proud of.
It turns plain pan drippings into a glossy, flavorful sauce in about 25 minutes. Once you try it, I promise you will never reach for the jarred stuff again, especially when you pour it over a juicy dry brine turkey fresh out of the oven.
Cooking Time
This gravy is quick once your turkey is out of the oven. Here is how the time breaks down.
- Prep Time: 10 minutes
- Cooking Time: 15 minutes
- Total Time: 25 minutes
Ingredients
Every ingredient here has a small job. Keep it simple, and the gravy will taste like pure roasted turkey.
- Pan drippings from one 12 to 15-pound roast turkey: this is where all the deep, roasted flavor comes from.
- 1 to 2 cups low-sodium turkey or chicken broth: it stretches the drippings, and low-sodium keeps the salt in your control.
- 1/4 cup turkey fat (skimmed from the drippings): it is the base of your roux, so measure it carefully.
- Vegetable oil or melted butter, as needed: use it to top up the fat if you fall short of 1/4 cup.
- 1/4 cup all-purpose flour: it thickens the gravy, so always match it to the fat in equal parts.
- 1 to 2 tablespoons sherry or white wine (optional): a small splash adds a lovely, rounded depth.
- 1 teaspoon minced fresh herbs, such as rosemary, thyme, or sage (optional): fresh herbs taste much brighter than dried.
- 1/2 teaspoon kosher salt, or to taste: add it last, since drippings and broth can already be salty.
- 1/4 teaspoon freshly ground black pepper: grind it fresh for a gentle, warm kick.
Note: serves several (about 8 to 10 people, and it makes roughly 2 cups).
Equipment You Need
You probably own everything on this list already.
- Roasting pan: it holds the turkey and collects all those precious drippings.
- Fine-mesh strainer: it catches the browned bits and keeps the gravy smooth.
- Heatproof bowl or liquid measuring cup: it holds the strained drippings while the fat rises.
- Wooden spoon: it scrapes the tasty browned bits off the bottom of the pan.
- Ladle or large spoon: it skims the fat from the top of the drippings.
- Medium saucepan: it gives you enough room to whisk the roux and gravy without splashing.
- Whisk: it blends the flour and liquid so you get zero lumps.
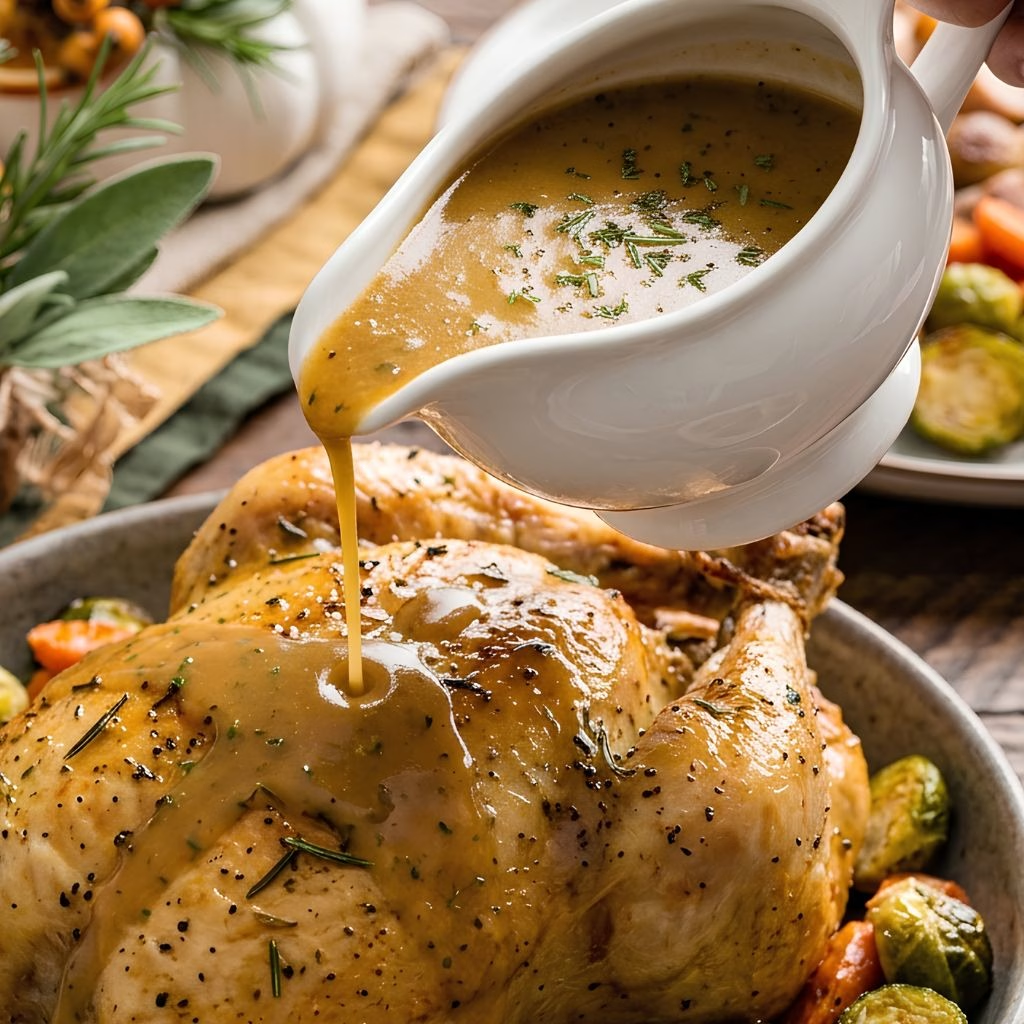
How to Make an Easy Turkey Gravy Recipe?
This is a classic turkey gravy from drippings recipe, and it comes together in six easy stages. You start with the pan juices, build a quick roux, and finish with a simmer. Take your time with the first few steps, because they decide how good your gravy will taste.
Check the Drippings
Tip the cooked turkey so any juices in the cavity run into the roasting pan, then move the bird to a board to rest. Look at the bottom of the pan. If it looks dry in spots, pour in 1 cup of low-sodium broth and simmer it over medium-high heat, then turn off the heat.
Strain the Drippings
Scrape up all the browned bits with a wooden spoon, since they hold huge flavor. Pour everything through a fine-mesh strainer into a heatproof bowl or measuring cup. Throw away the solids that stay in the strainer.
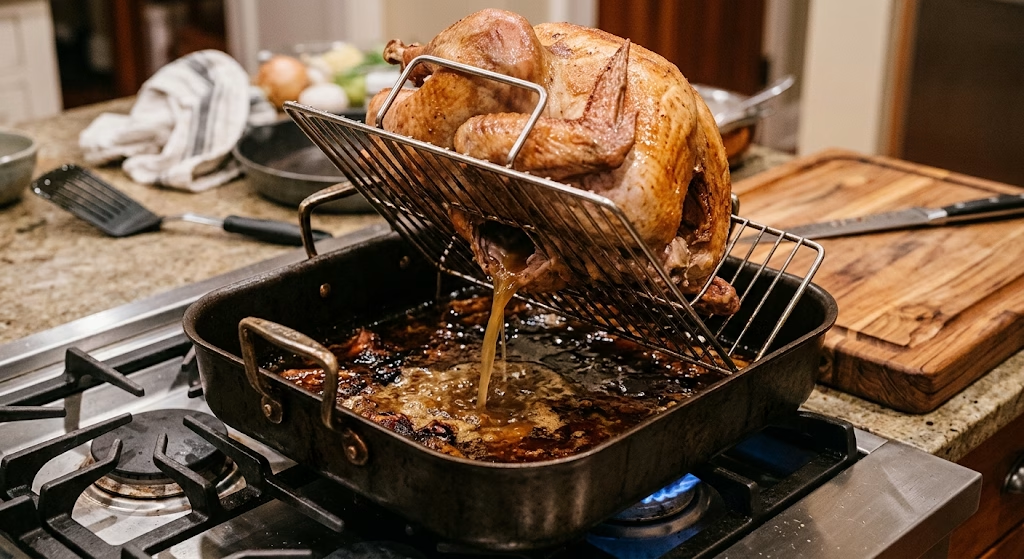
Separate the Fat
Let the drippings sit for about 10 minutes so the fat floats to the top. You can chill them for a few minutes if you are in a hurry. Skim off the fat with a ladle and measure out 1/4 cup, topping it up with oil or melted butter if you are short.
Measure the Liquid
Now measure the drippings that are left in the bowl. You want a total of 2 cups of liquid for this recipe. If you are short, simply add low-sodium broth until you reach that amount.
Make the Roux
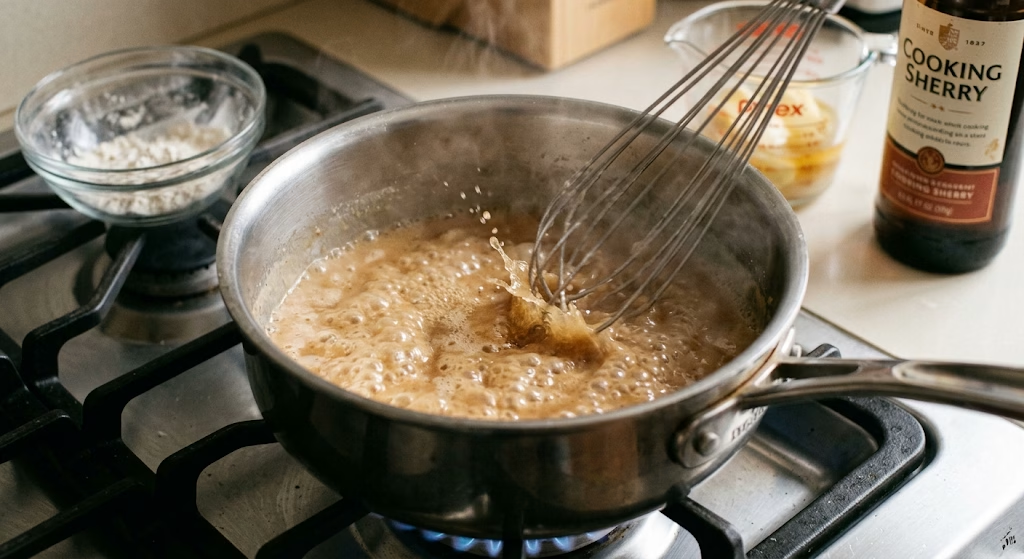
Heat the 1/4 cup of fat in a medium saucepan over medium-high heat until it is hot. Whisk in the flour and cook for 1.5 to 2 minutes, until it bubbles and turns slightly darker. If you like, pour in a splash of sherry or wine now and let it sizzle for a moment.
Finish the Gravy
Slowly whisk in the drippings, adding the minced herbs if you are using them. Keep whisking until the gravy comes to a boil. Lower the heat and simmer for a few minutes if you want it thicker, then season with salt and pepper to taste.
Additional Tips for Making This Recipe Better
After making this gravy many times, I have picked up a few habits that make it better every single time.
- I always cook the roux until it smells nutty and looks a little dry. That small step removes any raw flour taste.
- I use equal parts fat and flour. It is the easiest way for me to get a smooth, reliable texture.
- I start with less liquid than I think I need. Thin gravy is hard to thicken, but thick gravy is easy to loosen.
- I whisk constantly when the drippings first go in. This is how I keep my gravy silky and lump-free.
- I use turkey broth when I can find it. To me, it gives the most turkey-forward flavor, though chicken broth works well too.
- I serve the gravy soon after it is done. Roux-based gravy keeps thickening as it cools, so I like to bring a little extra broth to the table.
- I taste before I add any salt. My drippings are often salty enough on their own.
Common Mistakes to Avoid
Gravy is forgiving, but a few small slips can cause trouble. Here are the ones I see most often.
- Skipping the strainer: I learned that tiny burnt bits can ruin the texture. I always strain the drippings first.
- Rushing the roux: I once pulled it off the heat too early, and the gravy tasted pasty. Now I wait until it bubbles and darkens.
- Adding all the liquid at once: this makes lumps. I pour in the drippings slowly while whisking hard.
- Using too much fat or too little: the ratio matters. I measure 1/4 cup of fat and 1/4 cup of flour every time.
- Salting too early: I once over-salted a whole batch. Now I always season at the very end.
How to Serve Easy Turkey Gravy Recipe?
Gravy is the finishing touch that pulls a holiday plate together. A little presentation makes it look as good as it tastes.
- Pour it into a warm gravy boat so it stays hot at the table.
- Spoon it over sliced turkey, mashed potatoes, and stuffing right before serving.
- Sprinkle a pinch of freshly chopped thyme or sage on top for a pop of green.
- Add a crack of black pepper over the gravy for a rustic look.
- Serve it alongside a golden herb butter turkey for a truly cozy holiday spread.
- Keep a small ladle in the boat so guests can add as much as they like.
Variations
Once you know the basic method, it is easy to make it your own. Here are some ideas I love.
- Turkey gravy with giblets: simmer the giblets and neck in lightly salted water until tender, chop the meat finely, and stir it in after the drippings.
- Turkey gravy recipe without drippings: use extra butter or oil for the fat and plenty of low-sodium broth for the liquid.
- Turkey gravy from broth: skip the roasting pan completely and build the gravy from broth alone when you need a fast, best turkey gravy recipe without drippings.
- Creamy turkey gravy recipe: whisk in a small splash of milk or cream at the end for a softer, richer finish.
- Dairy-free: use vegetable oil instead of butter for the roux.
- Gluten-free: swap the flour for a gluten-free flour blend and whisk well.
- Flavor boost: add a splash of sherry or wine, or stir in fresh rosemary, thyme, or sage.
Nutritional Information
Here is a quick look at what is in one serving, based on 10 servings.
- Calories: 35
- Protein: 1.5 g
- Carbohydrates: 4.2 g
- Fat: 1.3 g
Make Ahead and Storage
Gravy keeps well, so you can relax and plan ahead for a big meal.
Storage
Let the gravy cool, then pour it into an airtight container. It stays fresh in the refrigerator for up to 5 days. Keep it covered so it does not pick up other fridge smells.
Reheating
Warm the gravy gently in a saucepan over low heat. Whisk it often so it blends back together smoothly. If it has thickened too much, add a small splash of broth.
Freezing
Freeze the gravy in a freezer-safe container for up to 2 months. Thaw it overnight in the refrigerator before reheating. Whisk well as it warms to bring the texture back.
Why You’ll Love This Recipe?
This is the kind of recipe that earns a permanent spot in your holiday plans. Here is why it works so well.
- Easy to make: you only need a few basic ingredients and six simple steps. Even if you have never made gravy before, you can nail it on the first try.
- Quick: it takes just 25 minutes from start to finish. You can make it while the turkey rests.
- Big flavor: the roasted drippings give it a deep, rich taste. It tastes just like grandma’s turkey gravy recipe, only easier.
- Flexible: you can add herbs, wine, or giblets to suit your crowd. It also works for different diets with easy swaps.
- Make-ahead friendly: it keeps in the fridge or freezer. That means less stress on the big day.
FAQs
Can I make this gravy without drippings?
Yes, you can. Use butter or oil for the fat and low-sodium turkey or chicken broth for the liquid. The flavor is lighter, but it is still delicious.
What if I don’t have enough turkey fat?
Just top it up with vegetable oil or melted butter until you reach 1/4 cup. This keeps the roux ratio right.
Can I use chicken broth instead of turkey broth?
Absolutely. Turkey broth gives the strongest turkey flavor, but low-sodium chicken broth works well as a swap.
How do I fix gravy that is too thick or too thin?
For thick gravy, whisk in a little warm broth until it loosens. For thin gravy, simmer it for a few more minutes until it reaches the texture you like.
How long does leftover gravy last?
It keeps in an airtight container in the refrigerator for up to 5 days. You can also freeze it for up to 2 months.

Easy Turkey Gravy Recipe
Ingredients
Method
- Tip the cooked turkey so any juices in the cavity run into the roasting pan, then move the bird to a board to rest. Look at the bottom of the pan. If it looks dry in spots, pour in 1 cup of low-sodium broth and simmer it over medium-high heat, then turn off the heat.
- Scrape up all the browned bits with a wooden spoon, since they hold huge flavor. Pour everything through a fine-mesh strainer into a heatproof bowl or measuring cup. Throw away the solids that stay in the strainer.
- Let the drippings sit for about 10 minutes so the fat floats to the top. You can chill them for a few minutes if you are in a hurry. Skim off the fat with a ladle and measure out 1/4 cup, topping it up with oil or melted butter if you are short.
- Now measure the drippings that are left in the bowl. You want a total of 2 cups of liquid for this recipe. If you are short, simply add low-sodium broth until you reach that amount.
- Heat the 1/4 cup of fat in a medium saucepan over medium-high heat until it is hot. Whisk in the flour and cook for 1.5 to 2 minutes, until it bubbles and turns slightly darker. If you like, pour in a splash of sherry or wine now and let it sizzle for a moment.
- Slowly whisk in the drippings, adding the minced herbs if you are using them. Keep whisking until the gravy comes to a boil. Lower the heat and simmer for a few minutes if you want it thicker, then season with salt and pepper to taste.
Notes
- I always cook the roux until it smells nutty and looks a little dry. That small step removes any raw flour taste.
- I use equal parts fat and flour. It is the easiest way for me to get a smooth, reliable texture.
- I start with less liquid than I think I need. Thin gravy is hard to thicken, but thick gravy is easy to loosen.
- I whisk constantly when the drippings first go in. This is how I keep my gravy silky and lump-free.
- I use turkey broth when I can find it. To me, it gives the most turkey-forward flavor, though chicken broth works well too.
- I serve the gravy soon after it is done. Roux-based gravy keeps thickening as it cools, so I like to bring a little extra broth to the table.
- I taste before I add any salt. My drippings are often salty enough on their own.