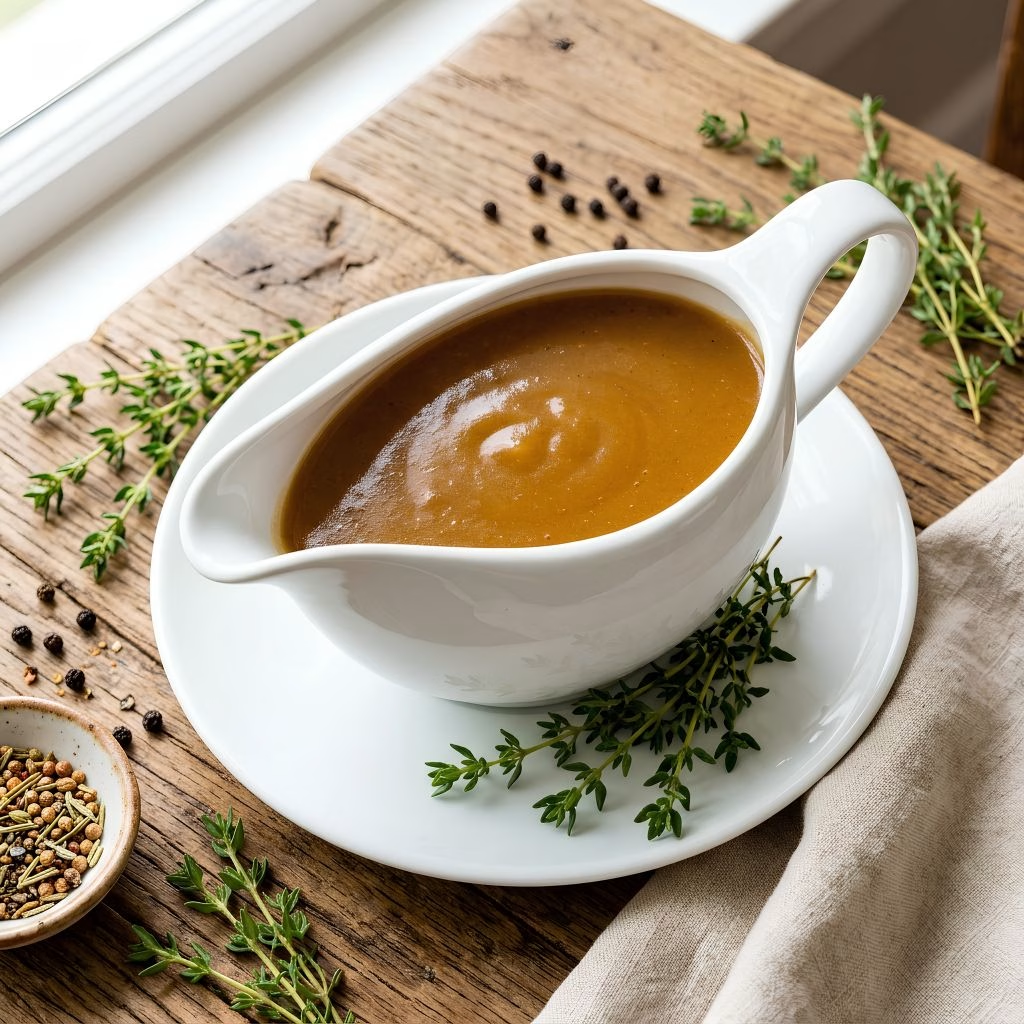
I used to dread gravy more than any other part of my holiday table, honestly. Every year I’d be stirring a pot one-handed while basting the turkey with the other, and it always felt like a last-minute scramble. Then I started making my gravy a few days ahead, and it changed everything for me.
I get a deeper, richer flavor because the stock has time to develop, and on the actual day I just reheat and pour. If you’ve been searching for a reliable make-ahead turkey gravy without drippings, or something close to a simple make-ahead gravy you can freeze, this is the one I keep coming back to, and it pairs so well with my homemade turkey stuffing recipe on the big day.
Cooking Time
- Prep Time: 20 minutes
- Cooking Time: 1 hour 45 minutes
- Total Time: about 2 hours 5 minutes (plus cooling time)
Ingredients
- 2 pounds turkey wings or turkey necks, cut into pieces – this is what builds that deep, old fashioned turkey gravy flavor without needing actual pan drippings
- 1 onion, roughly chopped – adds natural sweetness and body to the base
- 2 carrots, chopped – a classic aromatic that rounds out the stock’s flavor
- 2 celery stalks, chopped – brings a subtle herbal note that balances the richness
- 2 tablespoons olive oil – helps the turkey pieces and vegetables brown evenly in the oven
- 8 cups low-sodium chicken or turkey stock – low-sodium lets you control the salt later on
- 4 sprigs fresh thyme – fresh thyme tastes far brighter than dried, so don’t swap it out if you can help it
- 2 dried bay leaves – a quiet background flavor that makes the gravy taste more complex
- 1 teaspoon whole black peppercorns – gentler and less harsh than pre-ground pepper in a long simmer
- 8 tablespoons unsalted butter – unsalted so you control the seasoning, and it’s the base of your roux
- ½ cup all-purpose flour – thickens the gravy; always whisk it into the butter slowly to avoid lumps
- Kosher salt and black pepper, to taste – season at the very end, not before, since the stock reduces
Note: This recipe makes about 6 cups of gravy, which serves 10 to 12 people generously.
Equipment You Need
- Rimmed baking sheet – for roasting the turkey pieces until deeply browned
- Large Dutch oven or heavy stockpot – for simmering the stock low and slow
- Fine-mesh strainer – to remove the solids and leave a smooth, clear stock
- Whisk – essential for a lump-free roux and silky gravy
- Fat separator (optional but helpful) – makes skimming excess fat off the chilled stock much easier
- Airtight containers or freezer bags – for storing your make-ahead gravy
How to Make a Make Ahead Turkey Gravy Recipe?
I promise this looks like more steps than it actually is to make. Most of the work is just letting things roast and simmer while you do something else. Once you’ve made it once, you’ll see how hands-off the whole process really is.
Step 1: Roast the Turkey Pieces
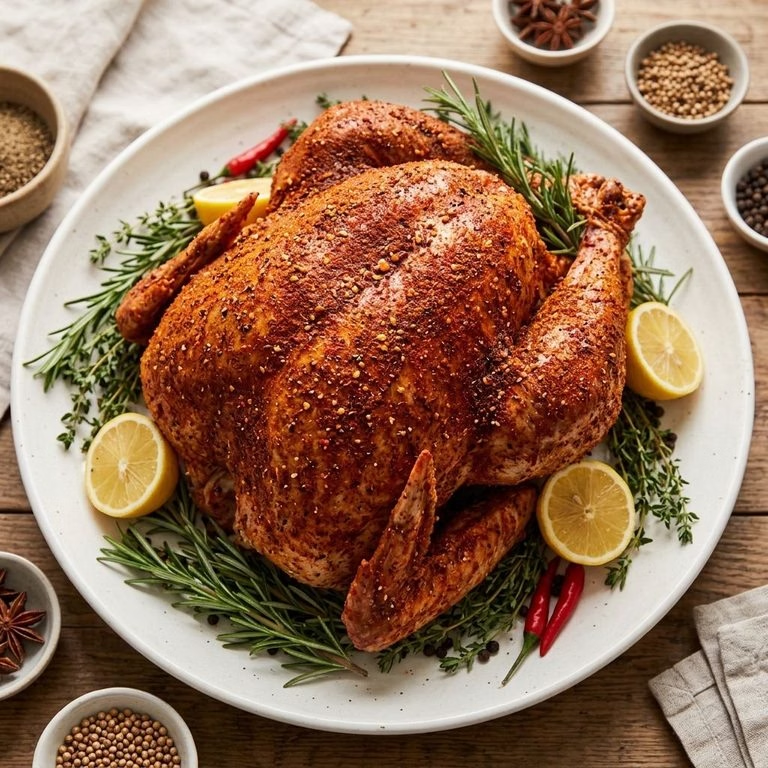
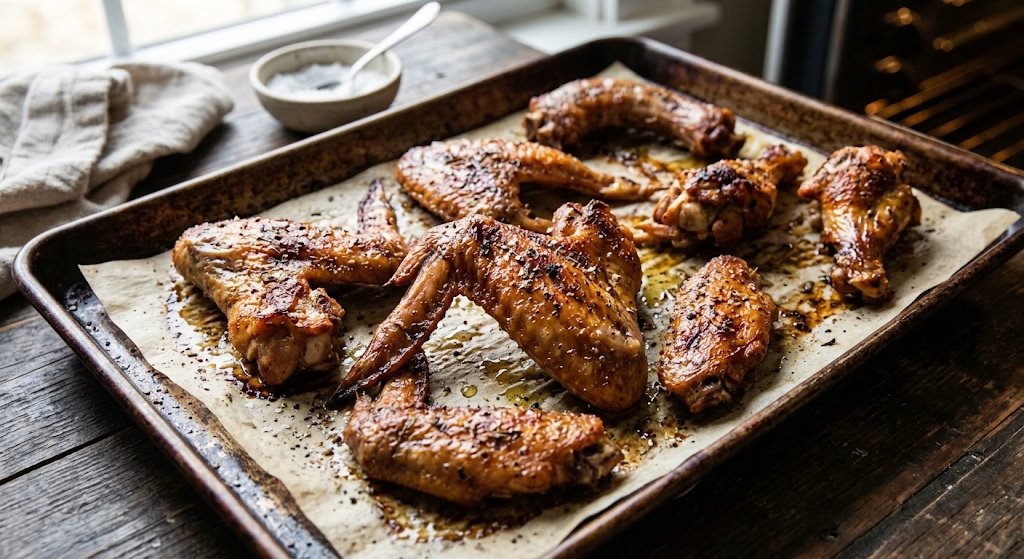
Preheat your oven to 400°F and toss the turkey wings or necks with olive oil, salt, and pepper on a rimmed baking sheet. Roast for about 35 to 40 minutes, until deeply golden brown all over. This browning step is what gives you that rich, roasted flavor even without actual turkey drippings on hand.
Step 2: Build the Stock Base
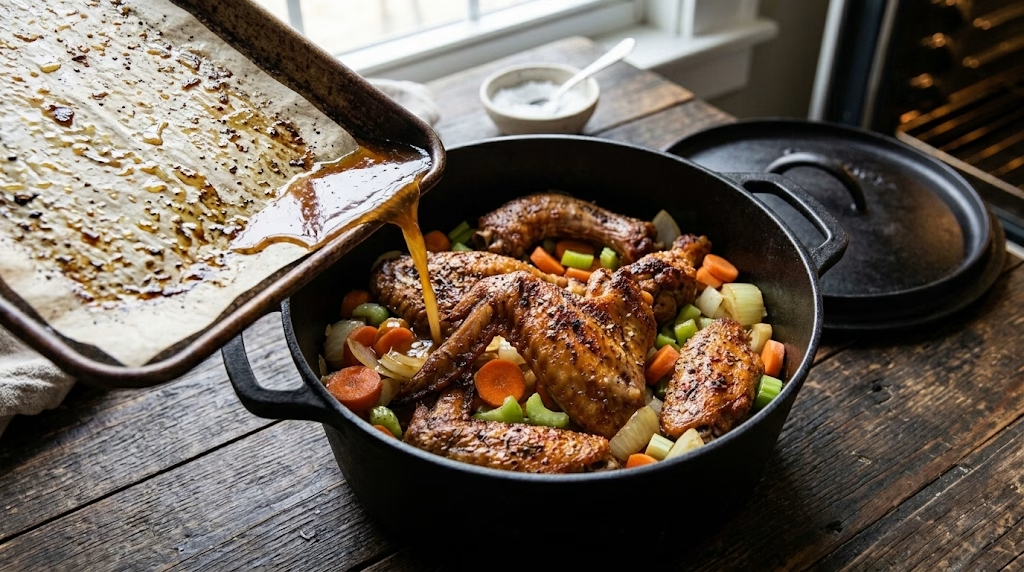
Transfer the roasted turkey pieces into your Dutch oven, then scatter in the onion, carrots, and celery. Pour in a splash of the stock onto the hot baking sheet and scrape up any browned bits, then add that liquid to the pot too. Those browned bits carry so much flavor that I never skip this part.
Step 3: Simmer Everything Together
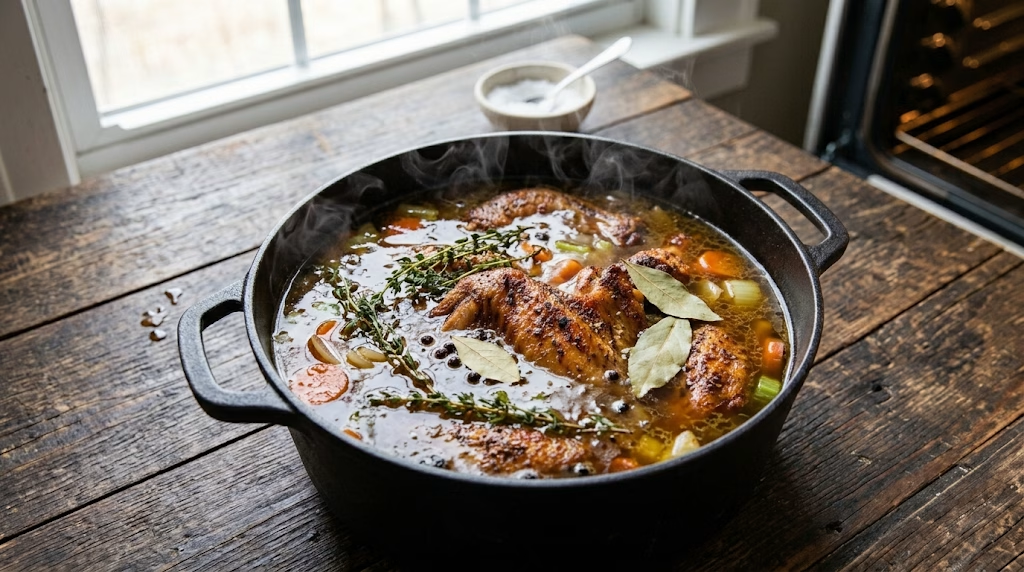
Add the rest of the stock, thyme, bay leaves, and peppercorns to the pot. Bring it to a gentle simmer, then let it cook uncovered for about an hour. The liquid will reduce slightly and take on a deep amber color as the flavors concentrate together.
Step 4: Strain and Cool
Pour the mixture through a fine-mesh strainer into a large bowl, pressing on the solids to extract every bit of flavor before discarding them. Let the strained stock cool to room temperature, then refrigerate it for at least an hour so the fat solidifies and becomes easy to lift off the top.
Step 5: Make the Roux
In a clean saucepan, melt the butter over medium heat and whisk in the flour a little at a time. Keep whisking constantly for about 2 minutes until the mixture turns a light golden color and smells slightly nutty. This step is what gives the gravy its smooth, velvety texture.
Step 6: Whisk in the Stock
Slowly pour the skimmed, cooled stock into the roux while whisking constantly to prevent lumps from forming. Bring it up to a gentle simmer and let it cook for about 8 to 10 minutes, stirring often, until the gravy thickens enough to coat the back of a spoon.
Step 7: Season and Store
Taste the gravy and adjust the salt and pepper to your liking, since the stock was made with low-sodium broth on purpose. Let it cool completely before transferring to airtight containers, ready to refrigerate or freeze until your big day arrives.
Additional Tips for Making This Recipe Better
I’ve made this gravy more times than I can count now, and these are the small things that genuinely made a difference for me.
- I always roast my turkey wings a little longer than I think I need to, because deeper browning means deeper flavor in the final gravy.
- I like to add a splash of dry sherry or white wine right after the roux step, it gives the gravy a subtle depth I really notice.
- I never skip skimming the fat, because a greasy gravy ends up tasting heavy instead of rich.
- I keep my whisk moving the entire time I add stock to the roux, since that’s the single biggest thing that prevents lumps for me.
- I taste as I go and season at the very end, since the gravy reduces and the flavor intensifies the longer it simmers.
Common Mistakes to Avoid
- I used to add cold stock straight into a hot roux all at once, and it always seized up into lumps on me, so now I add it gradually while whisking.
- I once skipped the straining step to save time, and I regretted it because bits of herb and bone fragments ended up in the final gravy.
- I learned the hard way that under-seasoning at first feels fine, but gravy made with low-sodium stock needs a generous final seasoning check.
- I’ve over-thickened gravy before by adding too much flour at once, so I always whisk it in slowly and watch the texture as it cooks.
- I tried reheating gravy on high heat once and it broke and separated on me, so now I always warm it gently over medium-low, whisking the whole time.
How to Serve Make-Ahead Turkey Gravy?
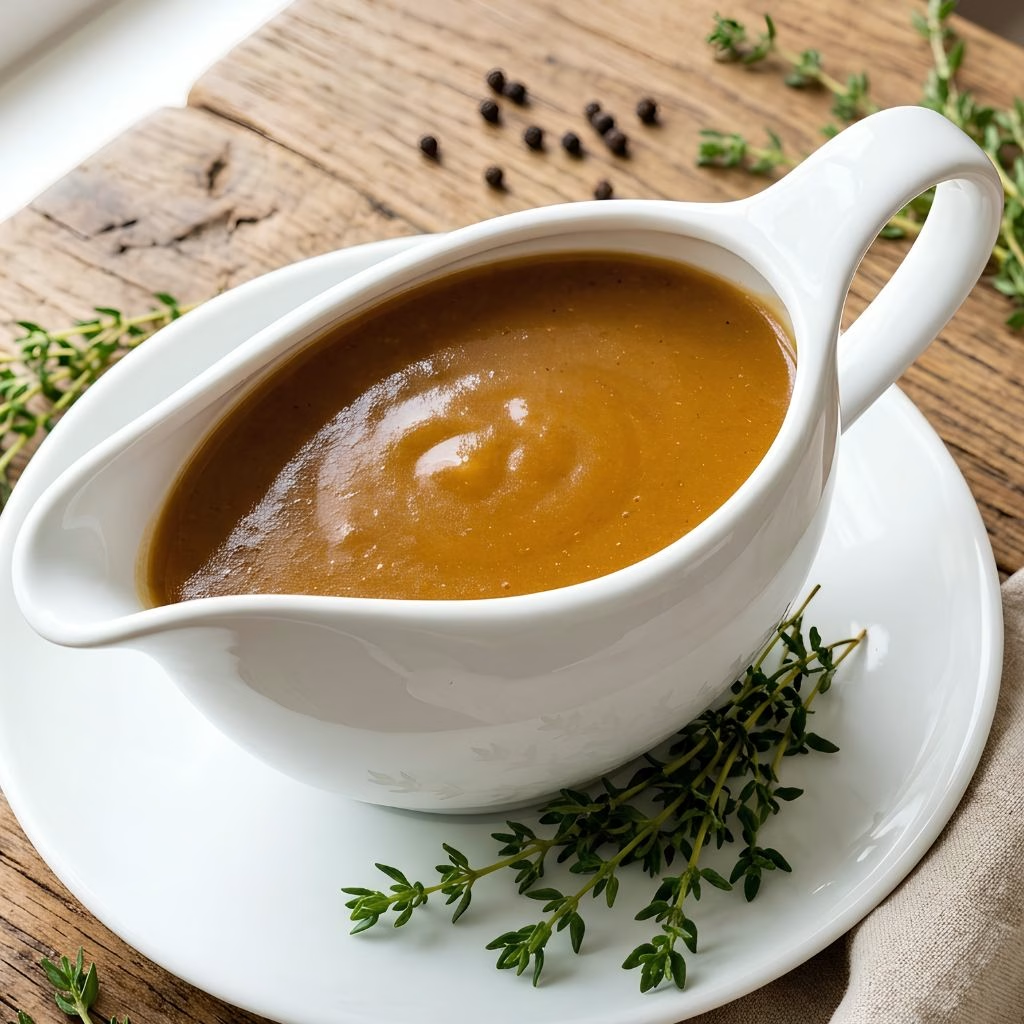
This gravy is the kind of thing that makes a simple plate look like a proper holiday spread. I like to pour it warm into a pretty gravy boat right before serving, with a small ladle so everyone can help themselves at the table.
A sprinkle of fresh chopped thyme or parsley on top adds a nice pop of color against the deep brown gravy. It’s the perfect finishing touch over a bowl of creamy KFC-style mashed potato and gravy, and it works just as well drizzled over roasted turkey slices, stuffing, or even biscuits the next morning.
Variations
- Swap the butter and flour roux for a cornstarch slurry if you want a gluten-free version of this gravy.
- Use a plant-based butter and vegetable stock instead of chicken stock for a dairy-free, vegetarian-friendly take.
- Stir in sautéed mushrooms for an earthier, more rustic flavor profile.
- Add a splash of apple cider or a spoonful of cranberry sauce for a slightly sweet, festive twist.
- Finish with fresh sage or rosemary instead of thyme if you prefer a stronger herbal note.
Nutritional Information
Here’s roughly what you can expect per ¼ cup serving of this gravy, though exact numbers will vary depending on your stock and how much fat you skim off.
- Calories: 90 kcal
- Protein: 3 g
- Carbohydrates: 4 g
- Fat: 7 g
Make Ahead and Storage
This gravy is built to be made ahead, so once it’s fully cooled, pack it into airtight containers and refrigerate for up to 4 days before you plan to serve it.
For longer storage, freeze it in freezer-safe bags or containers for up to 3 months, laying the bags flat so they stack easily and thaw faster.
To reheat, warm it gently in a saucepan over medium-low heat, whisking often, and thin it with a splash of stock or water if it’s thickened up too much in the fridge or freezer.
Why You’ll Love This Recipe?
Once you try making your gravy ahead of time, I don’t think you’ll go back to doing it last minute. Here’s why this one has become a permanent part of my holiday routine.
- It saves you so much stress on the day of. All the simmering and roasting happens days in advance, so your stovetop is free for everything else on the big day.
- It tastes richer than a rushed, last-minute gravy. Letting the stock sit overnight actually deepens the flavor, similar to how a good soup tastes better the next day.
- It’s easy to customize. Whether you need it dairy-free, gluten-free, or extra herby, this base recipe adapts without losing its character.
- It works even without pan drippings. If you’re hosting without a whole roasted turkey on hand, or need a make ahead turkey gravy without drippings, roasted wings do the job just as well.
- It freezes beautifully. You can make a double batch and tuck half away in the freezer for a quick weeknight dinner months later.
FAQs
Can I make this gravy without turkey drippings?
Yes, roasting turkey wings or necks until deeply browned gives you that same rich flavor, so you don’t need actual pan drippings for this recipe to work.
How far in advance can I make this gravy?
You can make it up to 4 days ahead if refrigerating, or up to 3 months ahead if you freeze it properly in airtight containers.
Why is my gravy lumpy?
Lumps usually happen when stock is added too quickly to the roux, so always pour it in slowly while whisking constantly to keep it smooth.
Can I add real turkey drippings on the day of serving?
Absolutely, if you have a roasted turkey, you can whisk the pan drippings into this gravy right before serving for an extra boost of flavor.
How do I fix gravy that’s too thick or too thin?
If it’s too thick, whisk in a little extra stock or water until it loosens up, and if it’s too thin, simmer it a bit longer or add a small cornstarch slurry.

Make Ahead Turkey Gravy Recipe
Ingredients
Method
- Preheat your oven to 400°F and toss the turkey wings or necks with olive oil, salt, and pepper on a rimmed baking sheet. Roast for about 35 to 40 minutes, until deeply golden brown all over. This browning step is what gives you that rich, roasted flavor even without actual turkey drippings on hand.
- Transfer the roasted turkey pieces into your Dutch oven, then scatter in the onion, carrots, and celery. Pour in a splash of the stock onto the hot baking sheet and scrape up any browned bits, then add that liquid to the pot too. Those browned bits carry so much flavor that I never skip this part.
- Add the rest of the stock, thyme, bay leaves, and peppercorns to the pot. Bring it to a gentle simmer, then let it cook uncovered for about an hour. The liquid will reduce slightly and take on a deep amber color as the flavors concentrate together.
- Pour the mixture through a fine-mesh strainer into a large bowl, pressing on the solids to extract every bit of flavor before discarding them. Let the strained stock cool to room temperature, then refrigerate it for at least an hour so the fat solidifies and becomes easy to lift off the top.
- In a clean saucepan, melt the butter over medium heat and whisk in the flour a little at a time. Keep whisking constantly for about 2 minutes until the mixture turns a light golden color and smells slightly nutty. This step is what gives the gravy its smooth, velvety texture.
- Slowly pour the skimmed, cooled stock into the roux while whisking constantly to prevent lumps from forming. Bring it up to a gentle simmer and let it cook for about 8 to 10 minutes, stirring often, until the gravy thickens enough to coat the back of a spoon.
- Taste the gravy and adjust the salt and pepper to your liking, since the stock was made with low-sodium broth on purpose. Let it cool completely before transferring to airtight containers, ready to refrigerate or freeze until your big day arrives.
Notes
- I always roast my turkey wings a little longer than I think I need to, because deeper browning means deeper flavor in the final gravy.
- I like to add a splash of dry sherry or white wine right after the roux step, it gives the gravy a subtle depth I really notice.
- I never skip skimming the fat, because a greasy gravy ends up tasting heavy instead of rich.
- I keep my whisk moving the entire time I add stock to the roux, since that’s the single biggest thing that prevents lumps for me.
- I taste as I go and season at the very end, since the gravy reduces and the flavor intensifies the longer it simmers.