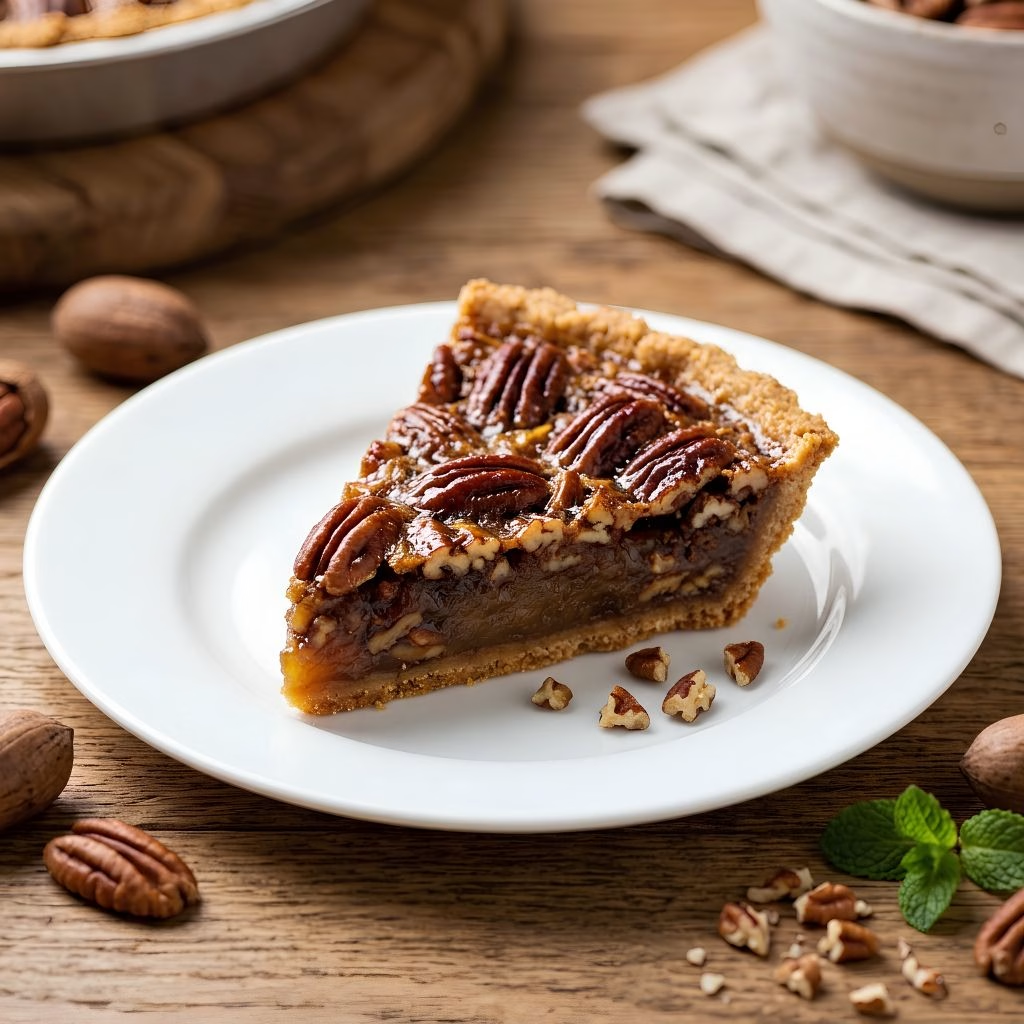
I still remember the first time I made this No Bake Pecan Pie Recipe. It was a scorching summer afternoon, and the last thing I wanted was to turn on my oven. I whisked up a simple custard on the stovetop, folded in a mountain of toasted pecans, poured it into a premade crust, and let my fridge do the rest.
Within a couple of hours, I had a pie that tasted every bit as rich and nutty as the baked version I grew up with. If you love that classic pecan pie flavor but don’t want the hassle, this one’s for you. I promise it’s foolproof, even on your first try.
Cooking Time
- Prep Time: 15 minutes
- Cooking Time (stovetop): 10 minutes
- Chilling Time: 2 hours (or until fully set)
- Total Time: about 2 hours 25 minutes
Ingredients for No Bake Pecan Pie
Here’s everything you’ll need to pull this no-bake pie recipe together. Quantities below are sized for one standard 9-inch pie.
- 1 heaping cup brown sugar – gives the filling that deep, caramel-like sweetness pecan pie is known for
- ¼ cup cornstarch – this is what thickens the filling into a sliceable custard without ever touching an oven
- 1¼ cups water – loosens the mixture so it cooks evenly on the stove
- 2 large egg yolks – adds richness and helps the filling set with a silky texture
- 1 pinch of salt – balances the sweetness and makes the caramel flavor pop
- 3 tablespoons butter – stirred in off the heat for a glossy, smooth finish
- 1 teaspoon vanilla extract – rounds out the flavor with warm, cozy notes
- 1 cup pecans, chopped – stirred into the filling for crunch in every single bite
- 1 cup pecan halves – reserved for folding in and topping the pie so it looks bakery-made
- 1 premade pie crust (graham cracker, shortbread, or Oreo all work) – this is the secret to keeping the whole recipe no bake
Note: this recipe serves 8 generous slices.
Equipment You’ll Need
- Medium saucepan – for cooking the custard filling on the stovetop
- Whisk – to beat the egg yolks smoothly so they blend without curdling
- Measuring cups and spoons – for accurate ingredient portions
- Rubber spatula – to stir constantly and fold in the pecans
- Premade pie dish or tin – holds your no-bake crust and filling
- Refrigerator – does the “cooking” for this pie once the filling is poured in
How to Make No Bake Pecan Pie Recipe?
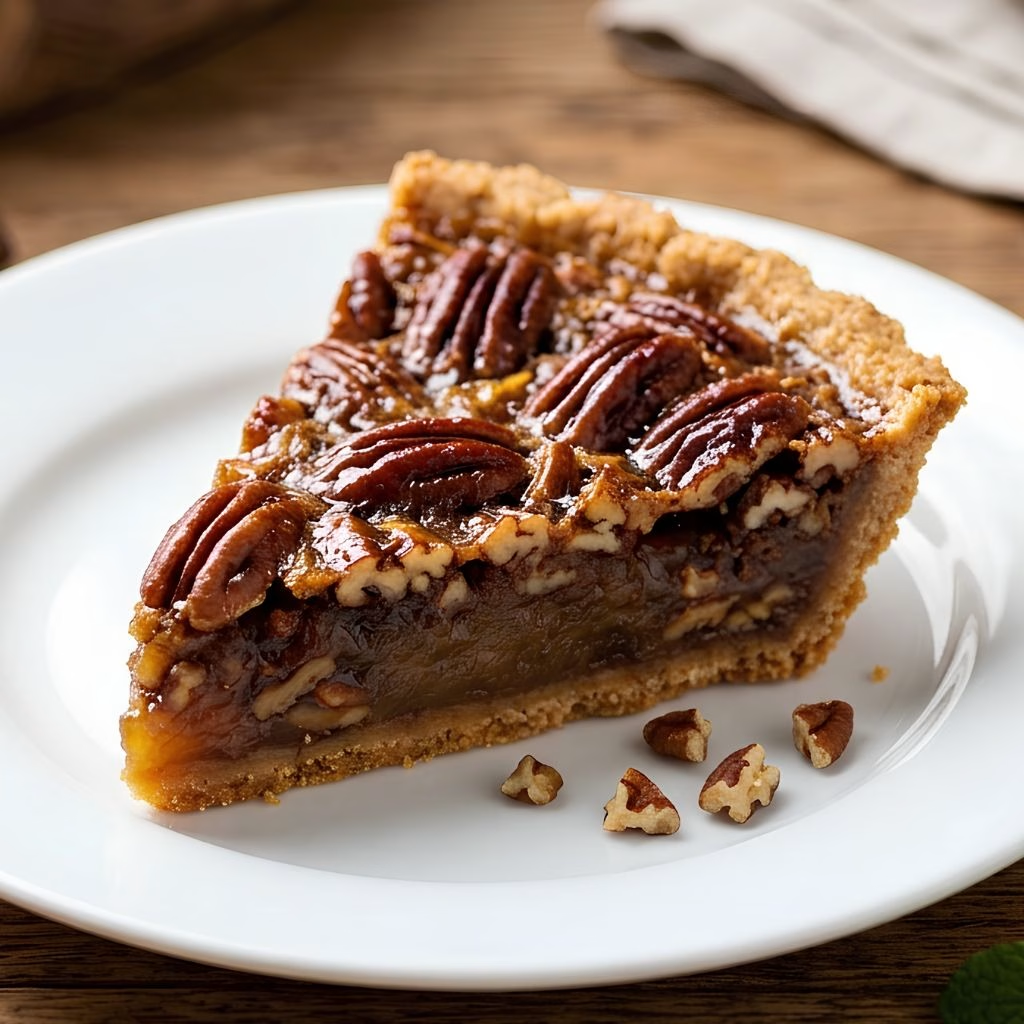
This recipe comes together in two easy stages: a quick stovetop custard, then a long, lazy chill in the fridge. You don’t need any fancy equipment or baking skills just a saucepan and a little patience. Follow these steps in order and you’ll have a sliceable, gorgeous pie by dinnertime.
Step 1: Mix the Dry Base
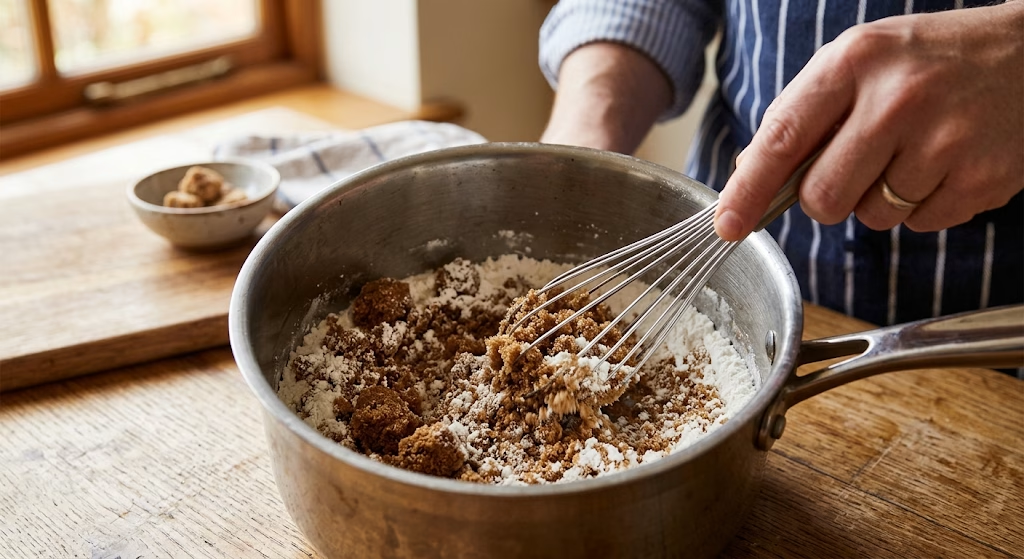
Start by whisking the brown sugar and cornstarch together directly in your saucepan, off the heat. Doing this first keeps the cornstarch from clumping once liquid hits it. Make sure there are no dry pockets left before you move on, since lumps here mean lumps in your finished filling.
Step 2: Whisk the Egg Mixture
In a separate bowl, beat the egg yolks with the water and a pinch of salt until smooth and pale. Whisking them on their own first prevents scrambled bits from forming once they hit the hot pan later. Pour this mixture into the saucepan with your sugar and cornstarch, along with the chopped pecans.

Step 3: Cook the Filling
Place the saucepan over medium heat and stir constantly as it warms. The mixture will gradually thicken into a glossy, pudding-like custard, usually within 5 to 7 minutes. Once it starts bubbling, let it boil gently for a full minute, still stirring, so the cornstarch fully activates.
Step 4: Finish with Butter and Vanilla
Pull the saucepan off the heat right after that one-minute boil. Stir in the butter until it melts completely into the warm filling, then add the vanilla extract. Finally, fold in the reserved pecan halves so they’re evenly distributed through the custard.
Step 5: Fill the Crust
Pour the warm filling into your premade pie crust, spreading it out with a spatula so it sits level. Working quickly here helps the filling settle smoothly before it starts to firm up. Tap the pie dish gently on the counter to pop any air bubbles.
Step 6: Chill Until Set
Transfer the pie to the refrigerator and let it chill for at least 2 hours, though overnight is even better. This chilling step is what replaces baking, allowing the cornstarch and egg yolks to fully set the filling. Slice and serve once it’s firm to the touch.
Additional Tips for Making This Recipe Better
I’ve made this no bake pecan pie filling more times than I can count, and these are the little tweaks that make a real difference for me:
- I always toast my pecans for 5 minutes in a dry skillet. First, it deepens the flavor so much more than raw nuts.
- I stir constantly during the cooking step, because even a few seconds of neglect can leave scorched bits on the bottom.
- I let the filling cool for about 5 minutes before pouring it into the crust so it doesn’t melt a graham cracker base.
- I use a glass pie dish so I can actually see the filling set as it chills, instead of guessing.
- I make this the night before a gathering, since the extra chill time only improves the texture.
Common Mistakes to Avoid
Here are a few slip-ups I’ve personally made (and fixed) while perfecting this recipe:
- I once rushed the egg yolk whisking and ended up with streaky bits in my filling always whisk the yolks smooth before combining.
- I didn’t stir constantly one time, and the bottom of my pan scorched, giving the whole pie a burnt aftertaste.
- I pulled the pan off the heat before the full one-minute boil, and my pie never set properly in the fridge.
- I skipped cooling the filling before pouring and it melted my premade crust slightly give it a few minutes to cool first.
- I cut into the pie too early once, and the slices just slid apart instead of holding their shape, so patience really does pay off here.
How to Serve No Bake Pecan Pie
This pie looks every bit as impressive as a baked one when you dress it up a little. I like to top each slice with a dollop of lightly sweetened whipped cream and a light dusting of sea salt to play off the caramel notes. A few extra toasted pecan halves arranged on top right before serving make the pie look bakery-fresh.
For a cozy fall presentation, a light drizzle of warm caramel sauce over the top works beautifully too. If you’re planning a full dessert spread, this pairs nicely alongside other crowd-pleasing bakes. My chocolate chip cookies recipe is another easy make-ahead treat that disappears fast at parties.
Variations
- Dairy-free version: swap the butter for a plant-based alternative and check that your crust is dairy-free too
- No-bake pecan pie with cream cheese: beat 8 oz of softened cream cheese into the cooled filling for a tangier, mousse-like texture
- No-bake pecan cream pie: fold in a cup of whipped cream after the filling cools for an extra-light, airy bite
- Sugar-free option: use a brown sugar substitute formulated for baking in equal measure
- No bake caramel pecan pie: stir 2 tablespoons of store-bought caramel sauce into the filling before chilling
- Old fashioned no-bake pecan pie with condensed milk: replace the water with sweetened condensed milk for an even richer, denser filling
- Bourbon kick: add a tablespoon of bourbon along with the vanilla for a grown-up twist
- 3 ingredient no bake pecan pie shortcut: for the simplest version, combine canned caramel, chopped pecans, and a premade crust, skipping the stovetop custard entirely
Nutritional Information
Here’s an approximate breakdown per slice, based on 8 servings; actual values will shift depending on your crust and any variations you use.
- Calories: approximately 320 kcal
- Protein: approximately 3 g
- Carbohydrates: approximately 40 g
- Fat: approximately 17 g
Make Ahead and Storage
This no-bake pecan treat is genuinely one of the best make-ahead desserts I know. You can prepare it up to two days before you plan to serve it, which makes it ideal for busy holidays.
Storing: Keep the pie covered in the refrigerator, where it stays fresh and sliceable for up to 4 days. A loose layer of plastic wrap or a pie dome works well to keep the top from drying out.
Freezing: You can freeze the whole pie (without any whipped cream topping) for up to 2 months, wrapped tightly in plastic and foil. Thaw it overnight in the refrigerator before serving for the best texture.
Reheating: Since this is a chilled, no-bake pie recipe, there’s no reheating involved — simply let a frozen pie thaw slowly in the fridge and serve it cold, straight from the dish.
Why You’ll Love This Recipe
This no-bake pie recipe earns a permanent spot in my dessert rotation for a few simple reasons:
- No oven required: you can make this any time of year, even during the hottest months, without heating up your kitchen.
- Beginner-friendly: with just a saucepan and a whisk, this is one of the easiest no-bake pie recipes to pull off on your first attempt.
- Endlessly customizable: from a cream cheese layer to a caramel swirl, this filling adapts to whatever flavor mood you’re in.
- Perfect for make-ahead entertaining: you can prep it a full day or two before guests arrive and simply pull it from the fridge.
- Crowd-pleasing flavor: it delivers all the nutty, caramel richness of a classic pecan pie in a fraction of the time.
If you’re building out a holiday dessert table, this pairs well with other no-fuss sweets my banana pudding recipe is another chilled, make-ahead dessert that holds up beautifully next to this pie.
FAQs
Can I use a store-bought crust for this no-bake pecan pie?
Yes, a premade graham cracker, shortbread, or Oreo crust works perfectly and keeps the whole recipe truly no-bake.
Why isn’t my pecan pie filling setting properly?
This usually happens when the filling isn’t boiled for the full minute on the stovetop, since that step activates the cornstarch that sets the pie.
Can I make this no-bake pecan pie filling ahead of time?
Absolutely you can make the full pie up to two days in advance and keep it chilled in the refrigerator until you’re ready to serve.
Is it safe to eat a pie made with egg yolks that aren’t baked?
The egg yolks are fully cooked on the stovetop during the boiling step, so they’re safe to eat, unlike raw egg in no-cook recipes.
Can I turn this into a no-bake pecan cream pie?
Yes, simply fold in a cup of whipped cream or softened cream cheese once the filling has cooled slightly for a lighter, creamier texture.

No Bake Pecan Pie Recipe
Ingredients
Method
- Start by whisking the brown sugar and cornstarch together directly in your saucepan, off the heat. Doing this first keeps the cornstarch from clumping once liquid hits it. Make sure there are no dry pockets left before you move on, since lumps here mean lumps in your finished filling.
- In a separate bowl, beat the egg yolks with the water and a pinch of salt until smooth and pale. Whisking them on their own first prevents scrambled bits from forming once they hit the hot pan later. Pour this mixture into the saucepan with your sugar and cornstarch, along with the chopped pecans.
- Place the saucepan over medium heat and stir constantly as it warms. The mixture will gradually thicken into a glossy, pudding-like custard, usually within 5 to 7 minutes. Once it starts bubbling, let it boil gently for a full minute, still stirring, so the cornstarch fully activates.
- Pull the saucepan off the heat right after that one-minute boil. Stir in the butter until it melts completely into the warm filling, then add the vanilla extract. Finally, fold in the reserved pecan halves so they’re evenly distributed through the custard.
- Pour the warm filling into your premade pie crust, spreading it out with a spatula so it sits level. Working quickly here helps the filling settle smoothly before it starts to firm up. Tap the pie dish gently on the counter to pop any air bubbles.
- Transfer the pie to the refrigerator and let it chill for at least 2 hours, though overnight is even better. This chilling step is what replaces baking, allowing the cornstarch and egg yolks to fully set the filling. Slice and serve once it’s firm to the touch.
Notes
- I always toast my pecans for 5 minutes in a dry skillet. First, it deepens the flavor so much more than raw nuts.
- I stir constantly during the cooking step, because even a few seconds of neglect can leave scorched bits on the bottom.
- I let the filling cool for about 5 minutes before pouring it into the crust so it doesn’t melt a graham cracker base.
- I use a glass pie dish so I can actually see the filling set as it chills, instead of guessing.
- I make this the night before a gathering, since the extra chill time only improves the texture.