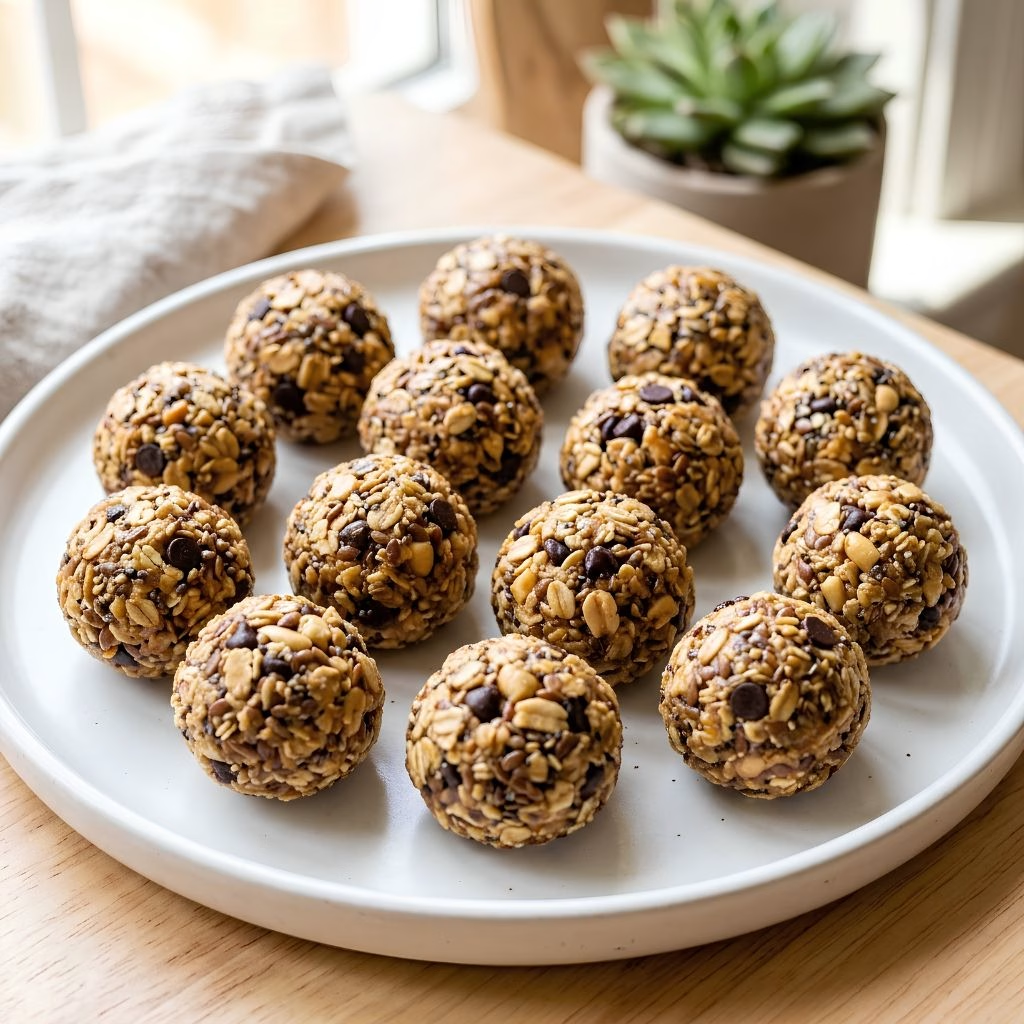
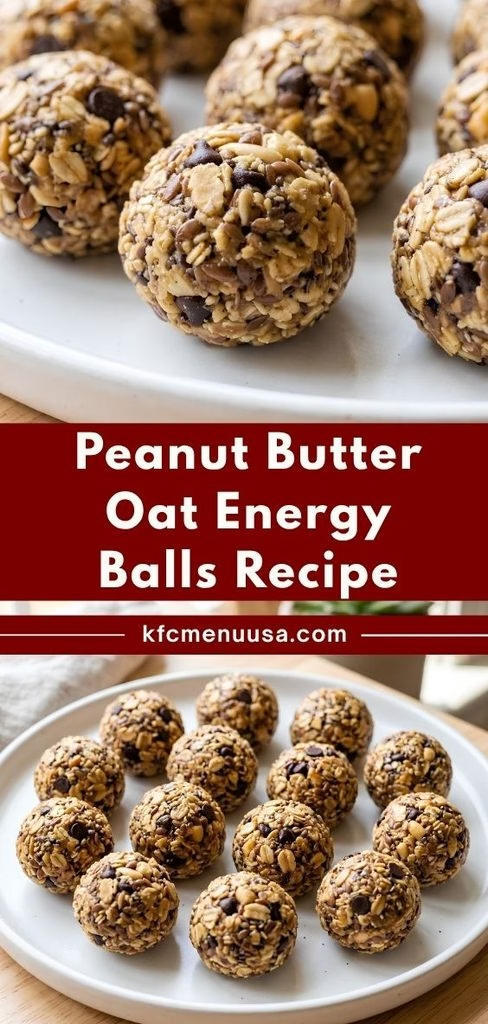
I started making this Peanut Butter Oat Energy Balls Recipe on a Sunday when I needed something to get me through back-to-back errands without reaching for a candy bar, and honestly, I haven’t stopped making them since.
They come together in one bowl, need zero oven time, and taste like a cross between a cookie and a granola bar. I keep a batch in my fridge at all times now because my family raids them faster than I can roll new ones.
If you’ve ever wanted a snack that feels indulgent but is actually packed with real, wholesome ingredients, this is the recipe I hand to every friend who asks. Let me walk you through exactly how I make them.
Cooking Time
- Prep Time: 10 minutes
- Chill Time: 30 minutes
- Total Time: 40 minutes
Ingredients
- 2 cups rolled oats – the base that gives these bites their chewy, hearty texture
- 1 cup natural peanut butter – pick the drippy, no-stir kind for the smoothest dough
- 1/2 cup honey – acts as the binder and natural sweetener, so skip refined sugar
- 1/4 cup mini chocolate chips – melt less than regular chips and distribute more evenly
- 1/4 cup ground flaxseed – adds fiber and a subtle nutty flavor without changing the texture
- 1 teaspoon vanilla extract – rounds out the sweetness and boosts the overall flavor
- 1/4 teaspoon fine sea salt – balances the sweetness and makes the peanut butter pop
Note: This recipe makes about 18–20 bites and serves 9–10 people (2 balls per serving).
Equipment You Need
- Large mixing bowl – for combining all the ingredients into one sticky dough
- Measuring cups and spoons – to keep ratios accurate so the dough holds together
- Rubber spatula or wooden spoon – for mixing and folding without overworking the dough
- Small cookie scoop or tablespoon – to portion out evenly sized balls
- Baking sheet lined with parchment paper – gives you a flat surface to chill the balls on
- Airtight container – for storing the finished bites in the fridge or freezer
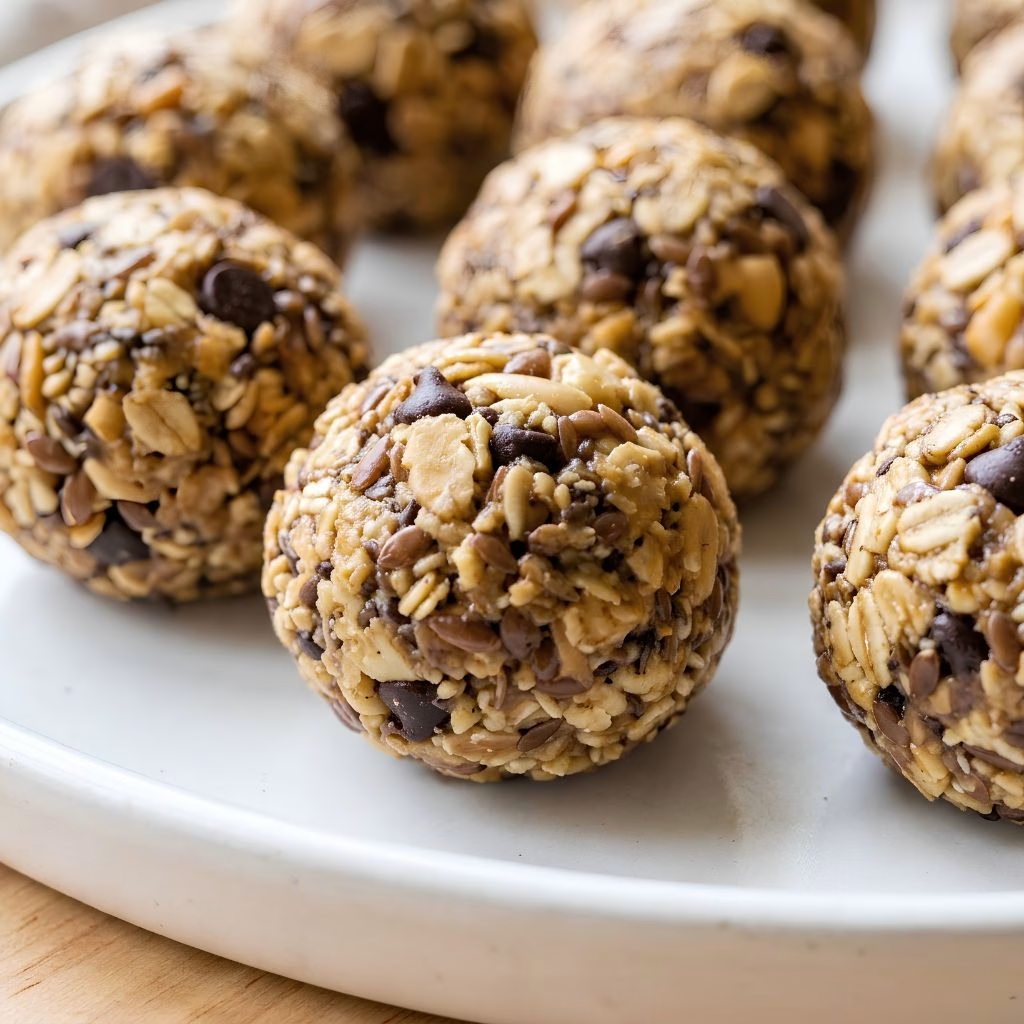
How to Make Peanut Butter Oat Energy Balls Recipe?
This recipe really only has three stages: mix, chill, and roll. I promise none of it is fussy, and you don’t need any special baking skills to pull it off. Here’s exactly how I do it every single time.
Combine the Dry Ingredients
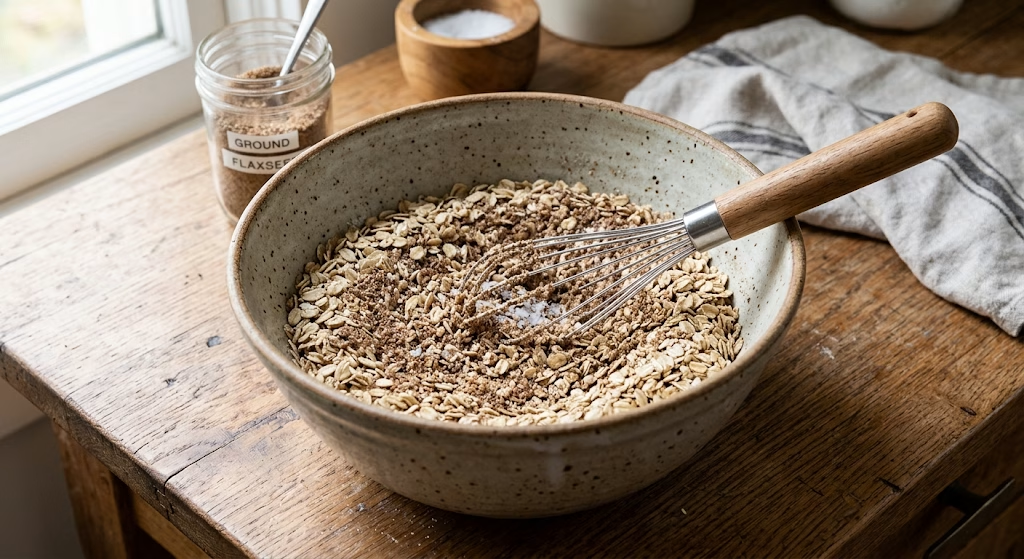
I start by adding the rolled oats, ground flaxseed, and salt to a large mixing bowl and giving them a quick stir. This spreads the flaxseed through evenly so you don’t get clumps later. It also means the wet ingredients coat everything at once instead of fighting through dry pockets.
Mix in the Wet Ingredients
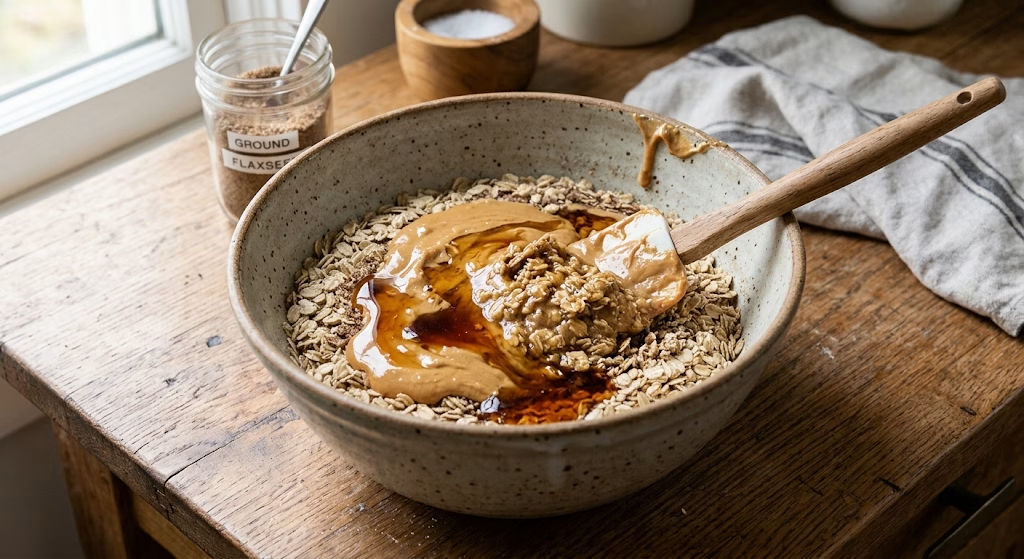
Next, I pour in the peanut butter, honey, and vanilla extract right on top of the oats. Using a spatula, I stir everything together until it forms a thick, sticky dough. It takes a minute of real mixing, so don’t rush this part or you’ll end up with dry patches.
Fold in the Chocolate Chips
Once the dough is fully combined, I sprinkle in the mini chocolate chips and gently fold them through. I like to do this last so the chips don’t melt into the warm peanut butter and streak the whole batch brown.
Chill the Dough
I cover the bowl and pop it in the fridge for about 30 minutes. This step matters more than people think, because cold dough is so much easier to roll and it stops everything from sticking to your palms.
Roll into Balls
After chilling, I scoop out rounded tablespoons of dough and roll each one between my palms into a smooth ball. I keep a small bowl of water nearby to dampen my hands if the dough starts sticking.
Chill Again and Serve
I place the rolled balls on the parchment-lined sheet and chill them for another 10–15 minutes to firm up before serving or storing. This final chill locks in that perfect fudgy-but-firm bite.
Additional Tips for Making This Recipe Better
I’ve made these more times than I can count, and these are the small tweaks that genuinely upgraded my batches.
- I always use natural peanut butter with no added sugar, since the regular stuff can make the dough too oily.
- I warm my honey for a few seconds in the microwave before adding it, which makes it blend into the dough much faster.
- If my dough feels too wet, I add an extra tablespoon of oats instead of more peanut butter, so I don’t throw off the sweetness.
- I wet my hands lightly before rolling, which keeps the dough from sticking and gives me smoother, rounder balls.
- I taste the raw dough before rolling (it’s egg-free, so it’s safe), which lets me adjust sweetness or salt on the spot.
Common Mistakes to Avoid
I’ve made nearly every one of these mistakes myself, so learn from my trial and error.
- Skipping the chill time: I tried rolling the dough warm once, and it turned into a sticky mess all over my hands.
- Using old-fashioned oats instead of quick oats when I want a softer bite, since the chew can be tougher than expected.
- Adding the chocolate chips too early, which melts them into the dough and leaves it looking muddy instead of speckled.
- Overpacking the balls too tightly, which makes them dense and dry instead of soft and chewy.
- Storing them uncovered, which dries out the oats and makes the whole batch crumbly within a day.
How to Serve Peanut Butter Oat Energy Balls?
I love setting these out on a small wooden board or in a shallow bowl lined with parchment paper for a rustic, bakery-style look. A light dusting of extra ground flaxseed or a drizzle of melted peanut butter on top makes them look intentional rather than thrown together.
For parties, I’ll skewer two or three onto a toothpick alongside fresh strawberries for a quick grab-and-go dessert table. They also pair beautifully with a glass of cold milk or a hot cup of coffee if you’re serving them as an afternoon pick-me-up.
If I’m packing them for school lunches, I just drop a few into a small container next to cucumber cream cheese bites for a balanced sweet-and-savory lunchbox combo.
Variations
Once you’ve nailed the base recipe, it’s fun to play around with mix-ins and swaps.
- Dairy-free option: swap mini chocolate chips for dairy-free chocolate chips to keep the recipe fully plant-based.
- Sugar-free option: replace honey with a sugar-free maple-flavored syrup for a lower-sugar version.
- Protein boost: stir in two tablespoons of unflavored protein powder along with the oats for extra staying power.
- Nut-free swap: use sunflower seed butter instead of peanut butter for a school-safe version.
- Flavor twist: add a half teaspoon of cinnamon or a tablespoon of cocoa powder for a cozy, dessert-like variation.
- Crunch factor: mix in two tablespoons of chopped almonds or crushed pretzels for extra texture.
Nutritional Information
Here’s a rough breakdown per serving of two energy balls, though actual values depend on the exact brands you use.
- Calories: approximately 180–200 kcal
- Protein: approximately 5–6 grams
- Carbohydrates: approximately 22–24 grams
- Fat: approximately 9–10 grams
Make Ahead and Storage
I almost always make a double batch because these freeze and refrigerate so well. Once rolled and chilled, I store the balls in an airtight container in the fridge, where they stay fresh and chewy for up to 10 days.
For longer storage, I place them in a freezer-safe bag with parchment between layers and freeze them for up to 3 months; I just pull out a few the night before and let them thaw in the fridge. No reheating is needed since these are meant to be enjoyed cold or at room temperature straight from storage.
Why You’ll Love This Recipe?
I keep coming back to this recipe because it solves so many snack problems at once, and I think you’ll feel the same way once you try it.
- No baking required: I can whip up a full batch on a hot day without ever turning on the oven, which keeps my kitchen cool and my prep time short.
- Kid-approved and portable: my kids grab these straight from the fridge for school, and they travel well in lunch bags without melting or crumbling.
- Easy to customize: I’ve swapped in different nut butters, add-ins, and sweeteners depending on what’s in my pantry, and the recipe always holds up.
- Naturally wholesome: since these rely on oats, peanut butter, and honey, I feel good giving them to my family as an everyday snack rather than a rare treat.
- Great for meal prep: I make one batch on Sunday, and it covers my snack cravings for the entire week without extra effort.
FAQs
Can I make these energy balls without honey?
Yes, you can substitute maple syrup or agave in the same quantity, though the flavor will be slightly different.
Why is my dough too dry to roll?
Your peanut butter may be too thick; add a teaspoon of honey or water at a time until the dough holds together.
Do I need to refrigerate these after making them?
I recommend refrigerating them since they stay fresher longer and hold their shape better than at room temperature.
Can I use quick oats instead of rolled oats?
Yes, quick oats work fine and create a slightly softer, less chewy texture compared to rolled oats.
How long do peanut butter oat energy balls last?
They stay fresh in the fridge for up to 10 days or in the freezer for up to 3 months when stored in an airtight container.
If you’re building out a full snack spread, these energy balls also sit nicely next to something like no-bake cookie dough bites for a no-oven dessert table that everyone can dig into.

Peanut Butter Oat Energy Balls Recipe
Ingredients
Method
- I start by adding the rolled oats, ground flaxseed, and salt to a large mixing bowl and giving them a quick stir. This spreads the flaxseed through evenly so you don’t get clumps later. It also means the wet ingredients coat everything at once instead of fighting through dry pockets.
- Next, I pour in the peanut butter, honey, and vanilla extract right on top of the oats. Using a spatula, I stir everything together until it forms a thick, sticky dough. It takes a minute of real mixing, so don’t rush this part or you’ll end up with dry patches.
- Once the dough is fully combined, I sprinkle in the mini chocolate chips and gently fold them through. I like to do this last so the chips don’t melt into the warm peanut butter and streak the whole batch brown.
- I cover the bowl and pop it in the fridge for about 30 minutes. This step matters more than people think, because cold dough is so much easier to roll and it stops everything from sticking to your palms.
- After chilling, I scoop out rounded tablespoons of dough and roll each one between my palms into a smooth ball. I keep a small bowl of water nearby to dampen my hands if the dough starts sticking.
- I place the rolled balls on the parchment-lined sheet and chill them for another 10–15 minutes to firm up before serving or storing. This final chill locks in that perfect fudgy-but-firm bite.
Notes
- I always use natural peanut butter with no added sugar, since the regular stuff can make the dough too oily.
- I warm my honey for a few seconds in the microwave before adding it, which makes it blend into the dough much faster.
- If my dough feels too wet, I add an extra tablespoon of oats instead of more peanut butter, so I don’t throw off the sweetness.
- I wet my hands lightly before rolling, which keeps the dough from sticking and gives me smoother, rounder balls.
- I taste the raw dough before rolling (it’s egg-free, so it’s safe), which lets me adjust sweetness or salt on the spot.