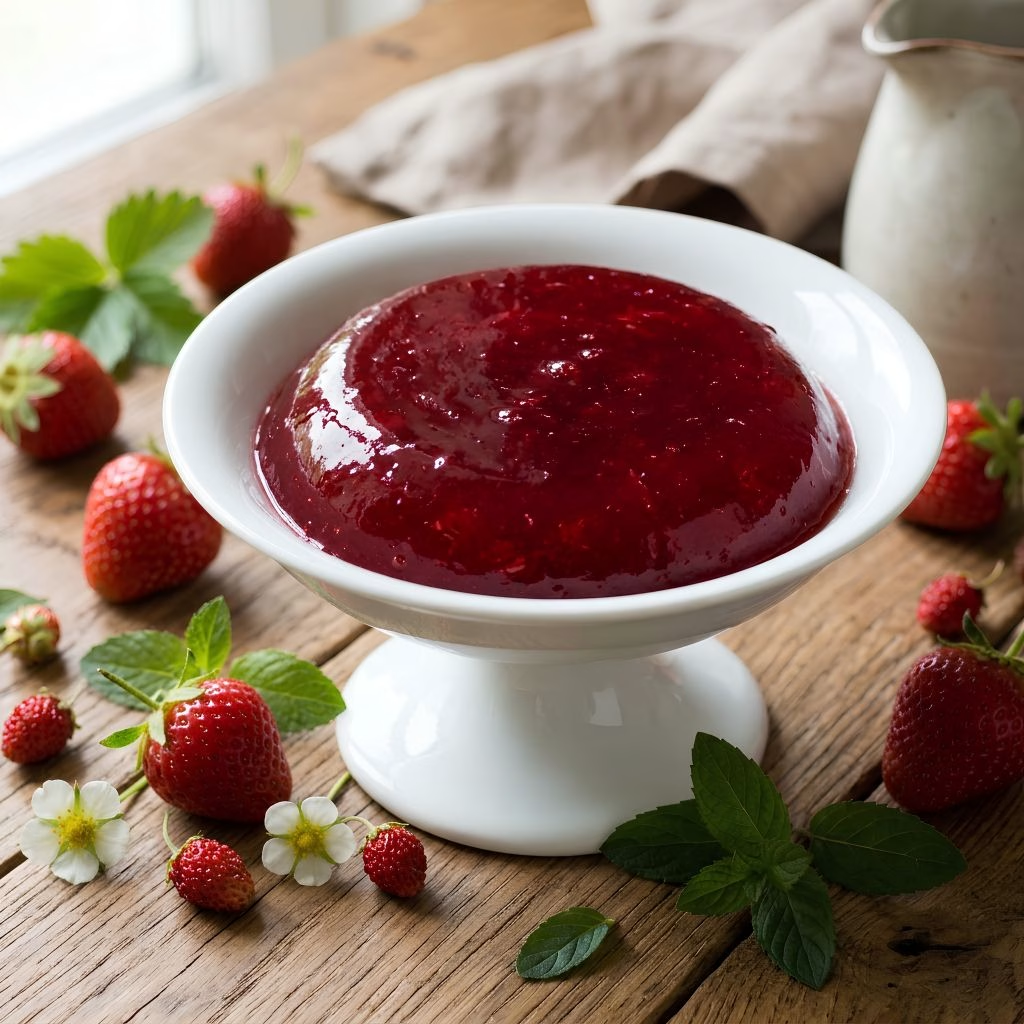
I still remember the first time I made Strawberry Jelly Recipe from scratch my kitchen smelled like summer, and I couldn’t believe how simple the whole process actually was. Once I saw those jars turn that gorgeous ruby red, I was hooked for good.
I’ve made this strawberry jelly recipe more times than I can count since then, tweaking it until I landed on a version that sets perfectly every single time. Whether you’re a first-timer or someone who’s canned a hundred jars before, I promise this one is worth your time.
Cooking Time
- Prep Time: 25 minutes (plus 2–24 hours for straining the juice)
- Cooking Time: 20–25 minutes
- Total Time: Roughly 1 day (most of it is hands-off straining and setting time)
Ingredients
- 4 cups fresh strawberries, hulled — the riper and juicier they are, the deeper the color and flavor of your jelly
- 1/4 cup fresh lemon juice — balances the sweetness and helps the pectin set properly
- 1 box (1.75 oz) powdered fruit pectin — this is what gives jelly its classic, spreadable structure
- 4 cups granulated sugar — measure exactly; too little sugar can keep your jelly from setting
- 1/4 teaspoon butter (optional) — helps cut down the foam that forms while boiling
Note: This recipe yields about 5–6 half-pint jars, enough to serve a large family for weeks or make great homemade gifts.
Equipment You’ll Need
- Large nonreactive pot — for cooking the jelly without reacting with the acidic fruit
- Blender or food processor — to puree the strawberries smoothly before straining
- Jelly bag or cheesecloth — to strain out the pulp and get clear, smooth juice
- Measuring cups — for accurate juice and sugar measurements
- Wide-mouth funnel — makes pouring hot jelly into jars mess-free
- Canning jars with lids — to store and preserve your finished jelly
- Candy or instant-read thermometer — helps you catch the right setting point
- Ladle — for transferring hot jelly into jars safely
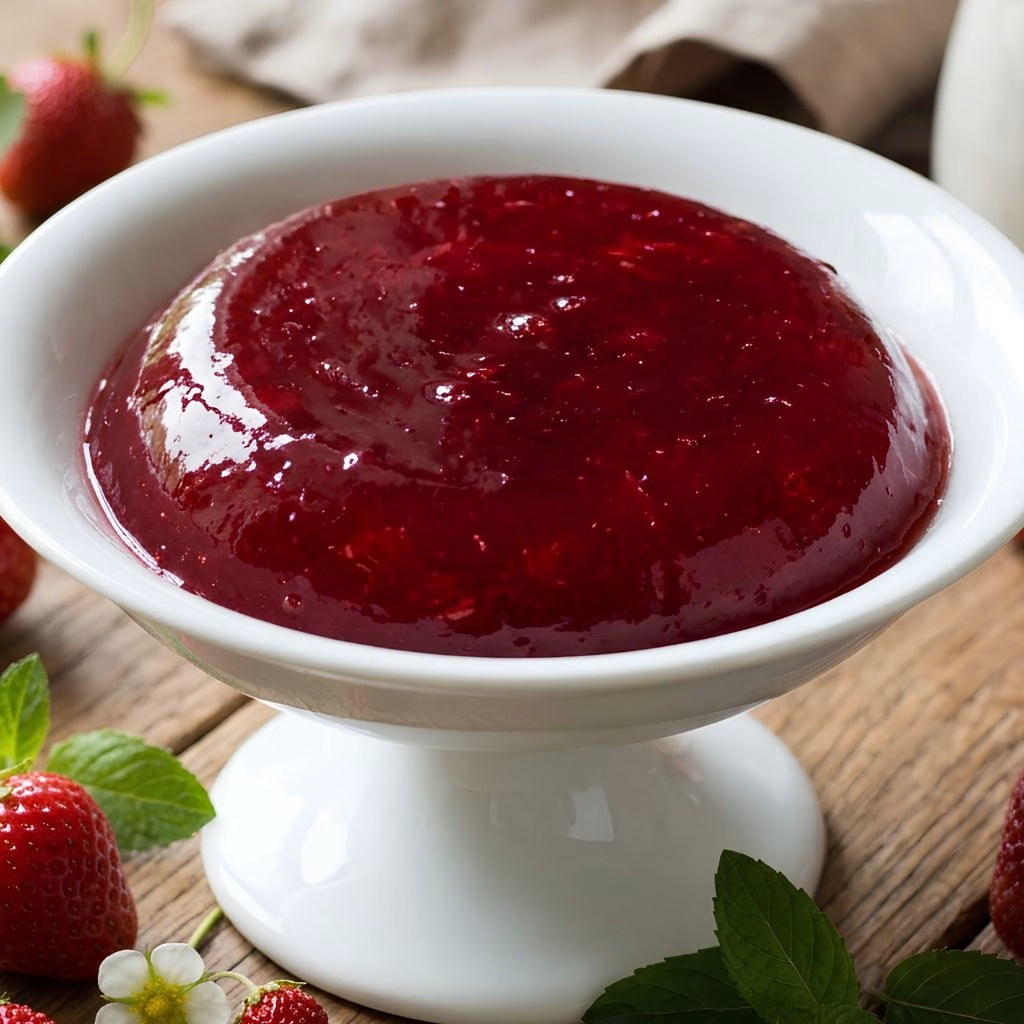
How to Make a Strawberry Jelly Recipe?
Making strawberry jelly really comes down to three stages: extracting the juice, cooking it down with sugar and pectin, and setting it in jars. It looks intimidating the first time, but once you’ve done it once, it becomes second nature. Here’s exactly how I do it in my own kitchen.
Step 1: Prepare and Blend the Strawberries
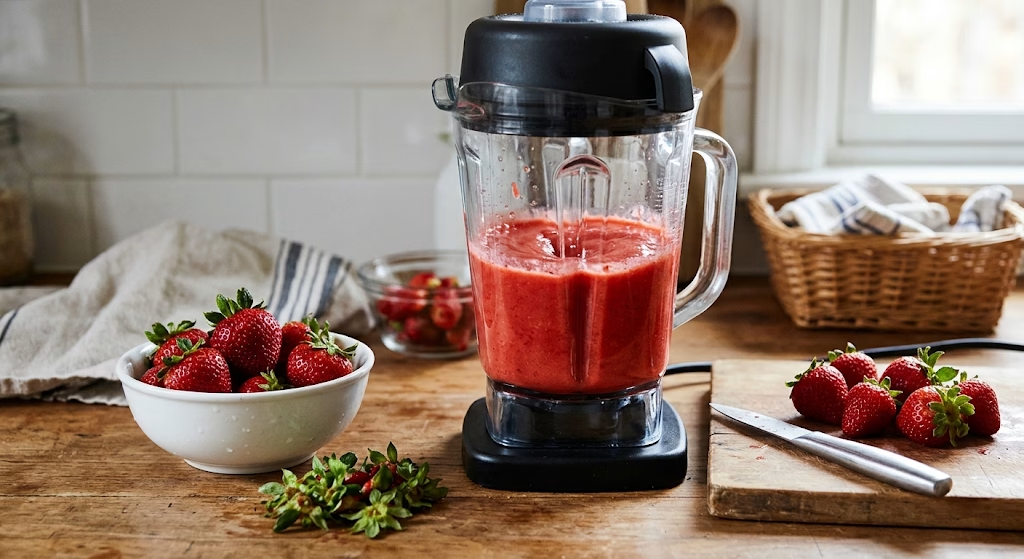
Start by washing your strawberries thoroughly and removing the green caps. Toss them into a blender or food processor and blend until you get a smooth, even puree. I like to work in small batches so everything blends evenly without turning chunky or uneven.
Step 2: Strain the Juice
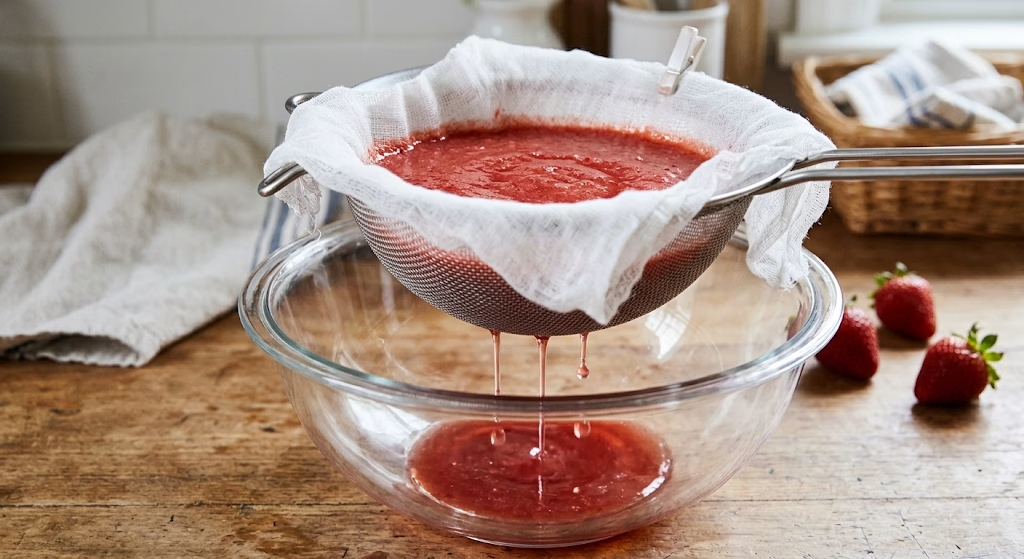
Pour the puree into a jelly bag or several layers of cheesecloth set over a large bowl. Let it drip naturally for at least 2 hours, or overnight for the clearest juice. I never squeeze the bag it pushes pulp through and clouds the jelly, which isn’t what we want here.
Step 3: Measure Your Juice
Once strained, measure exactly how much strawberry juice you have. This recipe is built around 4 cups, so top it up with a little water if you’re slightly short. Getting this measurement right really does make or break the final set of your jelly.
Step 4: Combine Juice, Lemon Juice, and Pectin
Pour the strawberry juice and lemon juice into your large nonreactive pot, then whisk in the pectin until fully combined. Bring this mixture to a rolling boil over medium-high heat, stirring constantly so nothing scorches on the bottom.
Step 5: Add the Sugar
Once at a rolling boil, add your sugar all at once and stir until it fully dissolves. Bring it back to a hard boil and let it cook for exactly one minute. This is the moment the pectin activates, so don’t walk away from the pot here.
Step 6: Skim the Foam
Remove the pot from heat and skim off any foam sitting on top using a spoon. Adding the optional butter earlier helps minimize this step, but a little skimming is totally normal and nothing to worry about.
Step 7: Fill the Jars
Using your wide-mouth funnel, ladle the hot jelly into sterilized jars, leaving about a quarter-inch of headspace at the top. Wipe the rims clean before sealing to make sure you get a proper seal.
Step 8: Seal and Process (If Canning)
If you’re canning for shelf storage, process the sealed jars in a boiling water bath for about 10 minutes. If you’re skipping canning, just let the jars cool naturally on the counter instead.
Step 9: Let It Set
Leave the jars undisturbed at room temperature for up to 24 hours. I know it’s tempting to peek, but the jelly needs this time to fully set into that perfect, spreadable texture.
Additional Tips for Making This Recipe Better
I’ve made this strawberry jelly recipe enough times to pick up a few tricks along the way, and these little details genuinely make a difference.
- I always use the ripest strawberries I can find, since underripe ones give a flatter, less vibrant flavor.
- I never double this recipe in one batch. It throws off the cooking time and the jelly often doesn’t set right.
- I keep my sugar measurement exact, because pectin needs that precise ratio to work properly.
- I let my juice strain overnight whenever I have the patience, since it gives me the clearest jelly every time.
- I always do a quick wrinkle test on a chilled plate before pulling the pot off the heat, just to double-check the set.
Common Mistakes to Avoid
I’ve made a few of these mistakes myself over the years, so trust me when I say they’re easy to avoid once you know what to watch for.
- I used to squeeze my jelly bag to speed things up, but that only made my jelly cloudy. Patience pays off here.
- I once skipped measuring my juice exactly and ended up with jelly that stayed runny for days.
- I’ve learned the hard way that doubling the batch almost always leads to a failed set, so I stick to one batch at a time.
- I didn’t sterilize my jars properly once, and the jelly spoiled within a week. Don’t skip this step.
- I used to rush the cooling time, but cutting it short means the jelly never fully firms up.
How to Serve Strawberry Jelly?
This strawberry jelly recipe shines in so many everyday moments, not just on toast. I love spooning a little into a small glass dish and topping it with a few fresh strawberry slices and a mint leaf for a pretty presentation on the breakfast table.
It’s also fantastic warmed slightly and drizzled over pancakes, waffles, or vanilla ice cream. For a quick dessert upgrade, swirl a spoonful into plain yogurt or use it as a glaze over a cheesecake.
If you enjoy pairing sweet spreads with savory bites, this jelly also works beautifully alongside crispy fried chicken dishes, similar to how people enjoy a honey BBQ wings recipe with a touch of sweetness on the side.
Variations
- Dairy-Free: This recipe is naturally dairy-free as written, so no changes needed here.
- Low-Sugar Version: Swap in a low-sugar or no-sugar-needed pectin and reduce sugar to about half the amount.
- Without Pectin: Simmer the juice and sugar longer until it naturally thickens, relying on the fruit’s own pectin content.
- Strawberry Vanilla Jelly: Stir in the scraped seeds of half a vanilla bean during cooking for a warm, fragrant twist.
- Spiced Strawberry Jelly: Add a pinch of ground black pepper or a splash of balsamic vinegar to deepen the flavor.
- Freezer Jelly: Skip the water bath canning step entirely and simply store jars in the freezer instead.
Nutritional Information
Here’s a general idea of what one tablespoon of this strawberry jelly recipe offers, though exact values can vary slightly depending on your exact ingredients.
- Calories: Around 50 kcal
- Protein: Less than 1 gram
- Carbohydrates: Approximately 13 grams
- Fat: 0 grams
Make Ahead and Storage
This strawberry jelly recipe is perfect for making ahead since it only improves after a day or two of resting. Properly canned and sealed jars can sit in a cool, dark pantry for up to 12 months without any issue.
Once opened, store your jar in the refrigerator and use it within about 3 weeks for the best flavor and texture. If you skipped the canning step, keep your jelly refrigerated right away and plan to use it within 2–3 weeks.
For longer storage, this jelly freezes beautifully for up to a year. Just leave a little headspace in the container before freezing, since the jelly expands slightly as it freezes.
Why You’ll Love This Recipe?
There’s a reason this strawberry jelly recipe keeps finding its way back into my kitchen every strawberry season, and I think you’ll feel the same once you try it.
- It’s beginner-friendly: Even if you’ve never made jelly or jam before, the steps here are simple enough to follow without any confusion.
- It’s incredibly versatile: You can spread it, glaze with it, swirl it into desserts, or gift it in jars for the holidays.
- It fits different diets easily: With a few small swaps, you can make it low-sugar or completely pectin-free.
- The flavor is unbeatable: Using fresh strawberries instead of store-bought concentrate gives you a brighter, more natural taste.
- It stores for months: A single batch keeps you stocked with homemade jelly long after strawberry season ends.
If you enjoy stocking your pantry with homemade spreads, you might also like pairing this jelly with a batch of soft, fluffy homemade biscuits recipe for a cozy breakfast spread.
FAQs
Can I use frozen strawberries instead of fresh ones?
Yes, frozen strawberries work fine, but let them thaw completely first so you get an accurate juice measurement before cooking.
Why didn’t my strawberry jelly set properly?
This usually happens from inaccurate sugar measurements, doubling the recipe, or not boiling the mixture at a full rolling boil for the required time.
Do I have to make this jelly, or can I just refrigerate it?
Canning isn’t required; you can simply refrigerate your jars and use the jelly within a few weeks, or freeze it for longer storage.
Can I make this strawberry jelly without pectin?
Yes, you can skip store-bought pectin and simmer the strawberry juice and sugar longer until it naturally thickens on its own.
How long does homemade strawberry jelly actually last?
Properly sealed and canned jars last up to 12 months in the pantry, while opened jars should be refrigerated and used within about 3 weeks.

Strawberry Jelly Recipe
Ingredients
Method
- Start by washing your strawberries thoroughly and removing the green caps. Toss them into a blender or food processor and blend until you get a smooth, even puree. I like to work in small batches so everything blends evenly without turning chunky or uneven.
- Pour the puree into a jelly bag or several layers of cheesecloth set over a large bowl. Let it drip naturally for at least 2 hours, or overnight for the clearest juice. I never squeeze the bag it pushes pulp through and clouds the jelly, which isn’t what we want here.
- Once strained, measure exactly how much strawberry juice you have. This recipe is built around 4 cups, so top it up with a little water if you’re slightly short. Getting this measurement right really does make or break the final set of your jelly.
- Pour the strawberry juice and lemon juice into your large nonreactive pot, then whisk in the pectin until fully combined. Bring this mixture to a rolling boil over medium-high heat, stirring constantly so nothing scorches on the bottom.
- Once at a rolling boil, add your sugar all at once and stir until it fully dissolves. Bring it back to a hard boil and let it cook for exactly one minute. This is the moment the pectin activates, so don’t walk away from the pot here.
- Remove the pot from heat and skim off any foam sitting on top using a spoon. Adding the optional butter earlier helps minimize this step, but a little skimming is totally normal and nothing to worry about.
- Using your wide-mouth funnel, ladle the hot jelly into sterilized jars, leaving about a quarter-inch of headspace at the top. Wipe the rims clean before sealing to make sure you get a proper seal.
- If you’re canning for shelf storage, process the sealed jars in a boiling water bath for about 10 minutes. If you’re skipping canning, just let the jars cool naturally on the counter instead.
- Leave the jars undisturbed at room temperature for up to 24 hours. I know it’s tempting to peek, but the jelly needs this time to fully set into that perfect, spreadable texture.
Notes
- I always use the ripest strawberries I can find, since underripe ones give a flatter, less vibrant flavor.
- I never double this recipe in one batch. It throws off the cooking time and the jelly often doesn’t set right.
- I keep my sugar measurement exact, because pectin needs that precise ratio to work properly.
- I let my juice strain overnight whenever I have the patience, since it gives me the clearest jelly every time.
- I always do a quick wrinkle test on a chilled plate before pulling the pot off the heat, just to double-check the set.