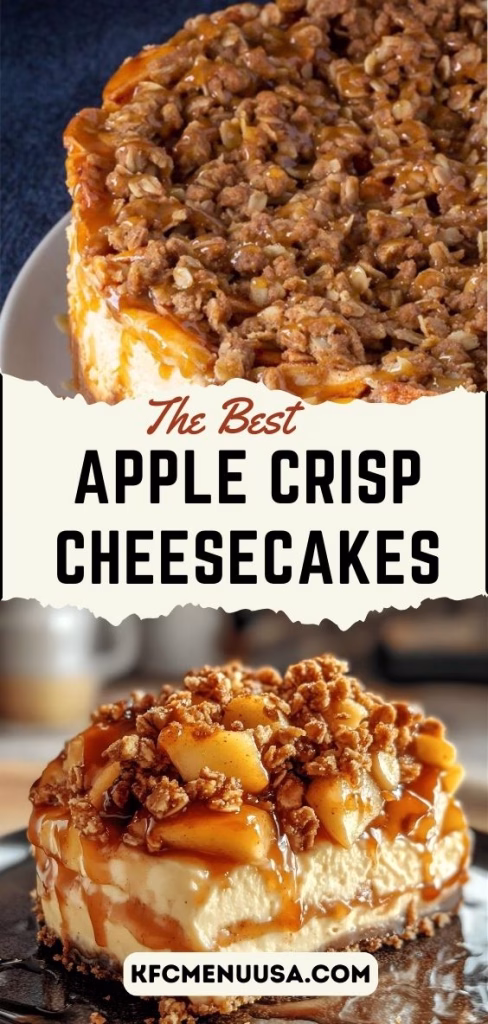
I have to tell you, this Apple Crisp Cheesecakes Recipe completely won me over the first time I made it. I wanted something cozy like apple crisp but a little more indulgent, and this recipe nailed it.
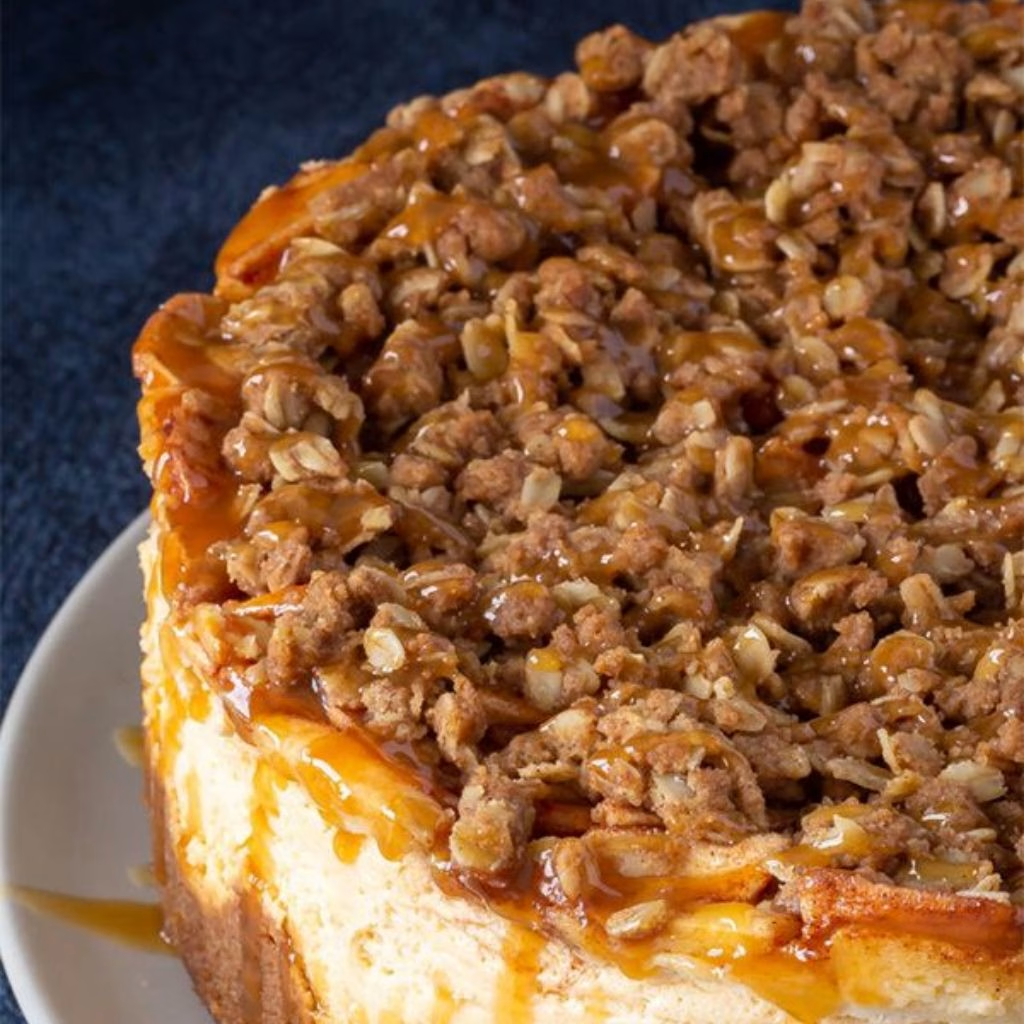
The creamy cheesecake, spiced apples, and buttery crumble come together in the most satisfying way. Every bite feels like fall comfort food with a bakery-style twist. You can also enjoy similar Pull Apart Cheeseburger Sliders Recipe for a savory treat.
Ingredients
Here’s a quick intro before we dive in: these ingredients are simple, but each one plays a specific role in building flavor and texture. I’ve added small tips so you get the best results possible.
- Graham cracker crumbs – 1 cup, finely crushed so the crust holds together firmly without crumbling.
- Granulated sugar – 2 tablespoons, lightly sweetens the crust and helps it bind with butter.
- Unsalted butter, melted – 4 tablespoons, adds richness and moisture while keeping the crust compact.
- Cream cheese, softened – 16 ounces (2 blocks), full-fat works best for a smooth, creamy cheesecake texture.
- Granulated sugar – ½ cup, balances the tang of the cream cheese without overpowering it.
- Large eggs – 2, provide structure and help the cheesecake set properly; room temperature blends best.
- Vanilla extract – 1 teaspoon, enhances flavor and adds warmth to the filling.
- Sour cream – ½ cup, makes the cheesecake extra creamy with a subtle tang.
- Apples, peeled and diced – 2 medium, firm apples like Granny Smith or Honeycrisp hold their shape while baking.
- Brown sugar – ¼ cup, adds deep caramel sweetness to the apple and crumble layers.
- Ground cinnamon – 1 teaspoon, delivers classic apple-crisp warmth and spice.
- All-purpose flour – ½ cup, gives structure to the crumb topping.
- Old-fashioned rolled oats – ½ cup, creates a crunchy, rustic crisp topping; avoid quick oats.
- Unsalted butter, cold and cubed – ¼ cup, cold butter ensures a crumbly, bakery-style topping.
Note: This recipe makes about 9 individual cheesecakes, perfect for sharing or storing for later. If you’re in the mood for a different indulgence, try Chicken Cordon Bleu Recipe for a classic comfort meal.
Variations
This is a flexible recipe, and that’s one of the reasons I keep coming back to it. You can easily adapt it based on dietary needs or flavor preferences.
- For a dairy-free version, use dairy-free cream cheese and plant-based butter alternatives that are made for baking.
- To reduce sugar, swap granulated sugar with a baking-friendly sugar substitute and use naturally sweet apples.
- For extra flavor, add a pinch of nutmeg or cloves to the apple mixture, or stir chopped pecans into the crumble.
- If you want a caramel twist, drizzle caramel sauce over the cheesecakes right before serving.
Cooking Time
Before you start, it helps to know how much time to set aside. These cheesecakes are straightforward but benefit from proper chilling.
- Prep Time: 25 minutes
- Cooking Time: 30 minutes
- Total Time: About 1 hour plus chilling time
Equipment You Need
Using the right tools makes the process smoother and more enjoyable.
- Muffin tin – Holds and shapes the individual cheesecakes
- Paper liners – Prevent sticking and make serving easier
- Mixing bowls – Separate bowls help keep layers organized
- Hand mixer or stand mixer – Ensures a smooth cheesecake filling
- Measuring cups and spoons – Keeps flavors balanced and consistent
How to Make Apple Crisp Cheesecakes?
These steps may look detailed, but once you get started, everything flows easily. Take your time and enjoy the process.
Prepare the Crust
Mix graham cracker crumbs, sugar, and melted butter until the mixture looks like wet sand. Press it firmly into lined muffin cups to create an even base. A flat-bottomed glass helps pack the crust tightly.
Make the Cheesecake Filling
Beat the softened cream cheese until smooth and creamy. Add sugar, eggs, vanilla, and sour cream, mixing just until combined. Overmixing can cause cracks, so keep it gentle.
Fill the Cups
Spoon the cheesecake mixture over the crusts, filling each liner about three-quarters full. This leaves space for the apple and crumble topping without overflow.
Prepare the Apple Layer
Toss diced apples with brown sugar and cinnamon until evenly coated. The sugar draws out moisture while baking, creating a soft and flavorful apple layer.
Make the Crumb Topping
Combine flour, oats, brown sugar, and cold butter. Use your fingers to crumble the mixture until it forms pea-sized clumps. This creates a crisp, golden topping.
Assemble and Bake
Spoon apples over the cheesecake filling, then sprinkle with crumble topping. Bake until the centers are just set and the tops are lightly golden.
Cool and Chill
Let the cheesecakes cool at room temperature, then refrigerate for at least two hours. Chilling helps them firm up and improves the overall texture.
Additional Tips for Making This Recipe Better
After making these a few times, I picked up some tricks that really elevate the final result.
- I always line my muffin tin carefully because clean edges make a big visual difference.
- I’ve learned not to rush the chilling time; the texture improves so much when they’re fully set.
- I sometimes sauté the apples for a few minutes if I want an extra-soft topping.
- I like adding a tiny pinch of salt to the crumble to balance the sweetness.
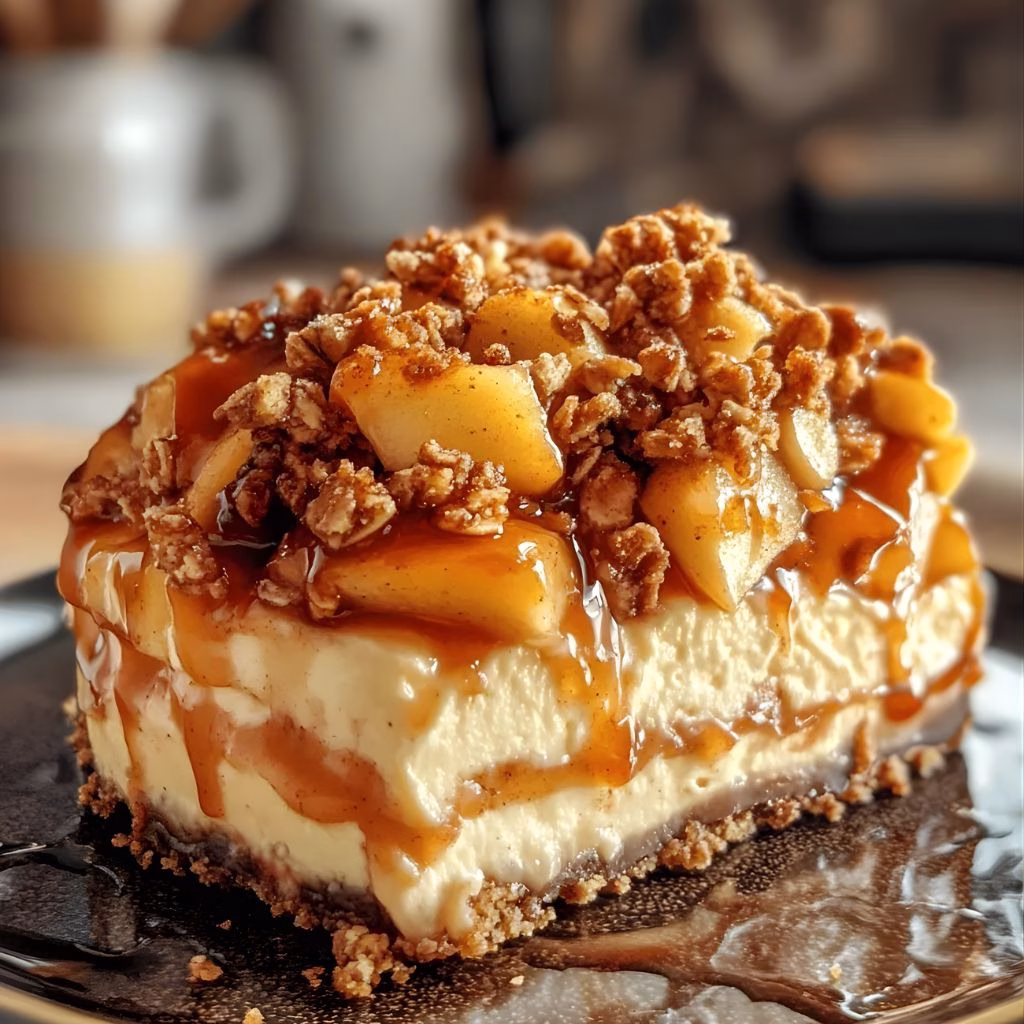
How to Serve Apple Crisp Cheesecakes?
These cheesecakes are beautiful on their own, but a little presentation goes a long way. Serve them chilled or slightly cool for the best texture. I love adding a dollop of whipped cream or a drizzle of caramel sauce on top. For gatherings, arrange them on a platter with thin apple slices and a light dusting of cinnamon for a bakery-style look.
Nutritional Information
Here’s a quick snapshot of what you’re enjoying with each cheesecake.
- Calories: Approximately 320 per serving
- Protein: About 5 grams per serving
- Carbohydrates: Roughly 34 grams per serving
- Fat: Around 18 grams per serving
Make Ahead and Storage
These cheesecakes are perfect for planning ahead. You can make them a day before serving and keep them chilled, which actually improves flavor and texture.
For storage, keep them in an airtight container in the refrigerator. They stay fresh for up to 4 days without losing quality.
For freezing, wrap each cheesecake individually and freeze for up to 2 months. Thaw overnight in the fridge before serving.
Why You’ll Love This Recipe?
There are so many reasons this recipe has become a favorite in my kitchen.
These Apple Crisp Cheesecakes are easy to prepare and look impressive without complicated steps.
They combine two classic desserts into one perfectly portioned treat.
You can customize the flavors and ingredients to fit different diets or seasons.
The balance of creamy, crunchy, and fruity textures makes every bite exciting.
If you love desserts that feel homemade yet special, this is one recipe you’ll want to keep on repeat.
Apple Crisp Cheesecakes Recipe
Ingredients
Method
- Mix graham cracker crumbs, sugar, and melted butter until the mixture looks like wet sand. Press it firmly into lined muffin cups to create an even base. A flat-bottomed glass helps pack the crust tightly.
- Beat the softened cream cheese until smooth and creamy. Add sugar, eggs, vanilla, and sour cream, mixing just until combined. Overmixing can cause cracks, so keep it gentle.
- Spoon the cheesecake mixture over the crusts, filling each liner about three-quarters full. This leaves space for the apple and crumble topping without overflow.
- Toss diced apples with brown sugar and cinnamon until evenly coated. The sugar draws out moisture while baking, creating a soft and flavorful apple layer.
- Combine flour, oats, brown sugar, and cold butter. Use your fingers to crumble the mixture until it forms pea-sized clumps. This creates a crisp, golden topping.
- Spoon apples over the cheesecake filling, then sprinkle with crumble topping. Bake until the centers are just set and the tops are lightly golden.
- Let the cheesecakes cool at room temperature, then refrigerate for at least two hours. Chilling helps them firm up and improves the overall texture.
Notes
- I always line my muffin tin carefully because clean edges make a big visual difference.
- I’ve learned not to rush the chilling time; the texture improves so much when they’re fully set.
- I sometimes sauté the apples for a few minutes if I want an extra-soft topping.
- I like adding a tiny pinch of salt to the crumble to balance the sweetness.