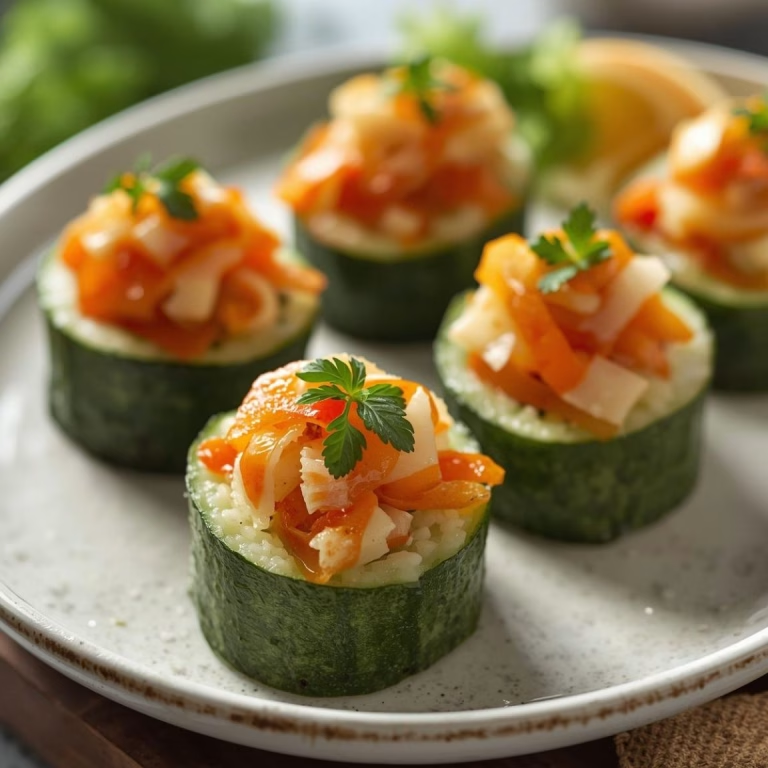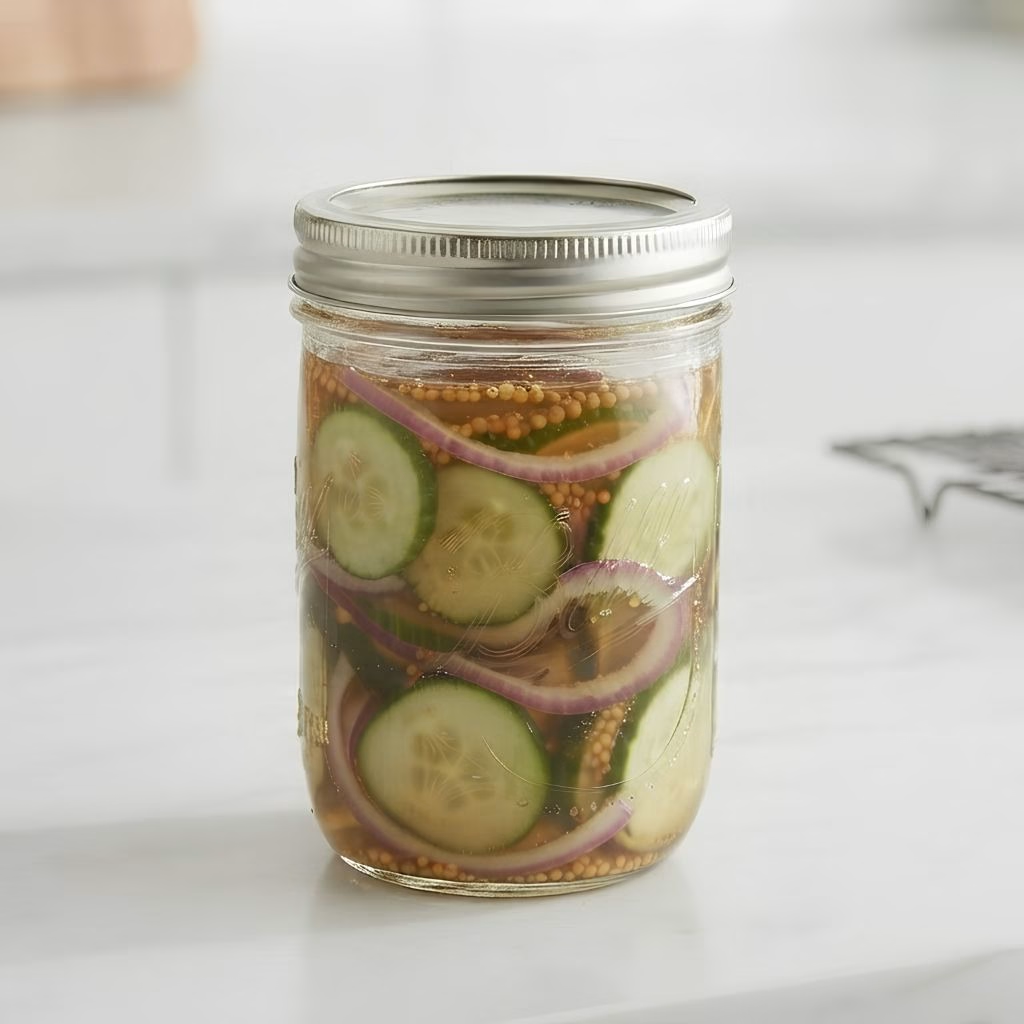
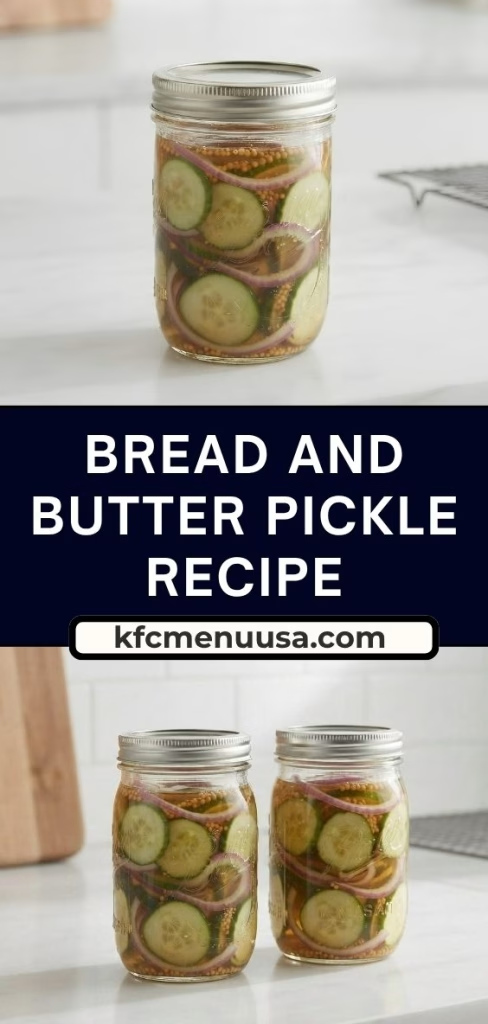
I still remember the first time I made a jar of Bread and Butter Pickles Recipe at home, and I was shocked at how easy it turned out to be. I grew up eating these on burgers and sandwiches, but I never realized I could make them myself with just a pot and a jar.
Once I tasted my own batch, sweet, tangy, and perfectly crisp, I knew store-bought jars were officially off my shopping list. I make a batch every summer now when cucumbers are cheap and plentiful at the market. If you love pickles with a little sweetness and a lot of crunch, I promise this recipe will become a favorite in your kitchen too.
Ingredients
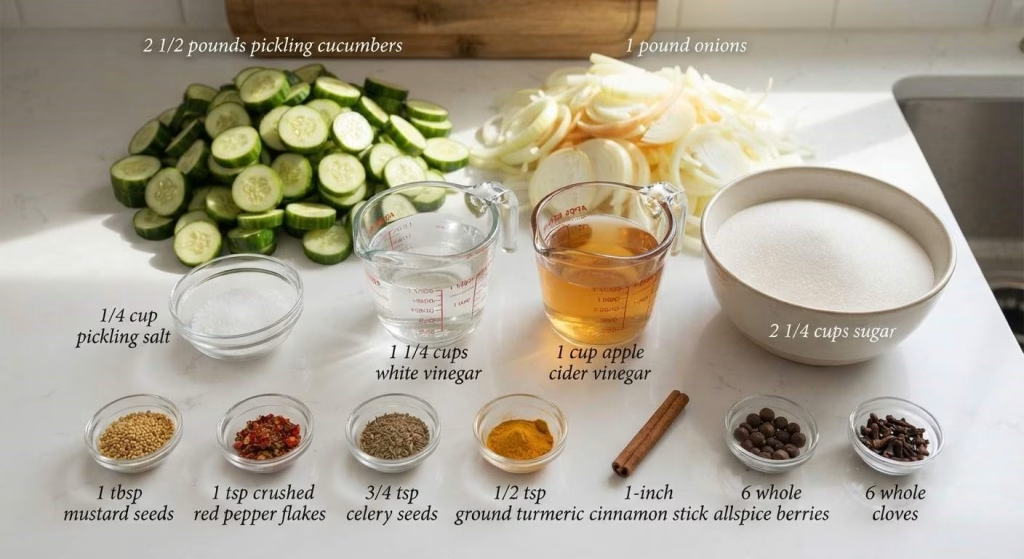
- 2 ½ pounds pickling cucumbers, sliced into ¼-inch rounds (choose small, firm cucumbers labeled for pickling; regular slicing cucumbers turn soft and watery)
- 1 pound yellow or white onions, thinly sliced (a mandoline keeps the slices even so they pickle at the same rate)
- ¼ cup pickling salt or kosher salt (skip iodized table salt, since it can cloud the brine and dull the flavor)
- 1 ¼ cups white distilled vinegar, 5% acidity (checking the acidity level matters for both flavor and safe preservation)
- 1 cup apple cider vinegar (this softens the sharpness of the white vinegar and adds a gentle fruity note)
- 2 ¼ cups granulated sugar (this is what gives the pickles their signature sweetness, so don’t reduce it too much or the balance will feel off)
- 1 tablespoon mustard seeds (they pop slightly in the brine and add a mild peppery bite)
- 1 teaspoon crushed red pepper flakes (adjust up or down depending on how much heat you like)
- ¾ teaspoon celery seeds (a small ingredient that adds a surprising amount of savory depth)
- ½ teaspoon ground turmeric (this gives the pickles their classic golden-yellow color)
- 1-inch piece of cinnamon stick (use a whole stick rather than ground cinnamon so the brine stays clear)
- 6 whole allspice berries (these add warmth without overpowering the other spices)
- 6 whole cloves (go easy here, since cloves are strong and can dominate the jar if you add too many)
Note: These quantities make about 5 pint-sized jars of pickles, so feel free to halve the recipe if you only want a couple of jars for the fridge.
Variations
- Swap the granulated sugar for a sugar-free sweetener like monk fruit or allulose if you want a lower-sugar version.
- Use maple syrup or honey instead of sugar for a more natural, earthy sweetness.
- Add a few slices of jalapeño or a pinch of extra red pepper flakes if you want a spicier jar.
- Try zucchini instead of cucumbers when your garden is overflowing with squash.
- Toss in a few peppercorns or a bay leaf for an extra layer of flavor in the brine.
- Use shallots instead of onions for a milder, slightly sweeter bite.
Cooking Time
- Prep Time: 30 minutes
- Cooking Time: 15 minutes
- Total Time: 4 hours 45 minutes (includes chilling and resting time)
Equipment You Need
- Large mixing bowl – for tossing the cucumbers, onions, and salt together
- Small or medium saucepan – for simmering the vinegar, sugar, and spices into a brine
- Sharp knife or mandoline – for slicing the cucumbers and onions evenly
- Colander – for draining and rinsing the salted vegetables
- Pint-sized jars with lids – for storing and chilling the finished pickles
- Ladle or measuring cup – for pouring the hot brine over the packed jars
How to Make Bread and Butter Pickles Recipe?
This part of the process is really where the magic happens, turning simple sliced cucumbers into a jar of crisp, tangy goodness. I like to break it down into small steps so nothing feels rushed or confusing. Each stage builds on the last, from slicing to chilling, so follow along in order for the best results.
Slice the Cucumbers and Onions
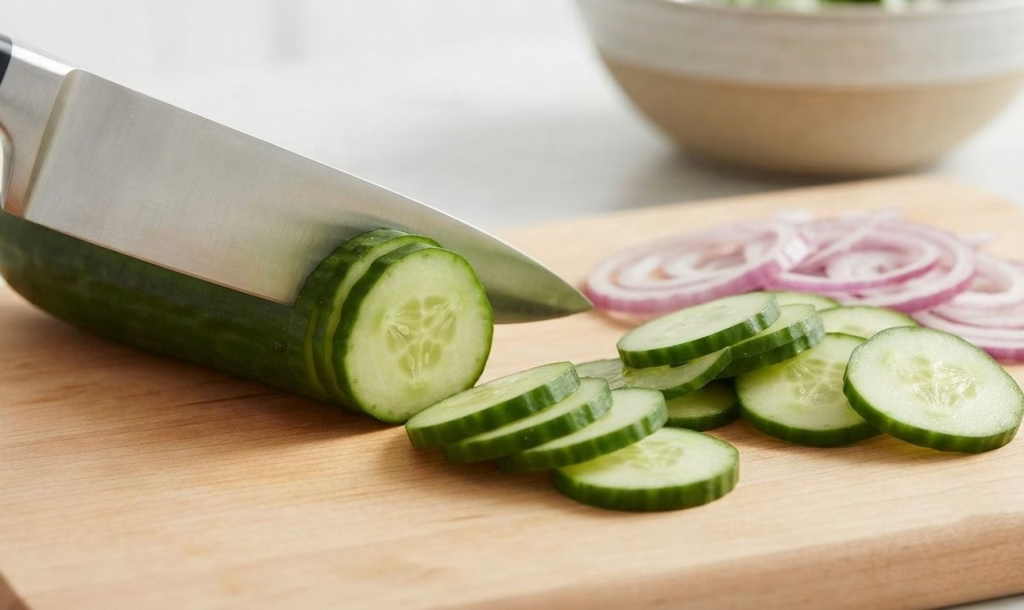
Start by washing your cucumbers well and slicing off both ends before cutting them into even ¼-inch rounds. Slice your onions just as thin so they cook and pickle at the same rate as the cucumbers. Keeping the slices consistent in size really does make a difference in the final texture.
Salt and Chill the Vegetables
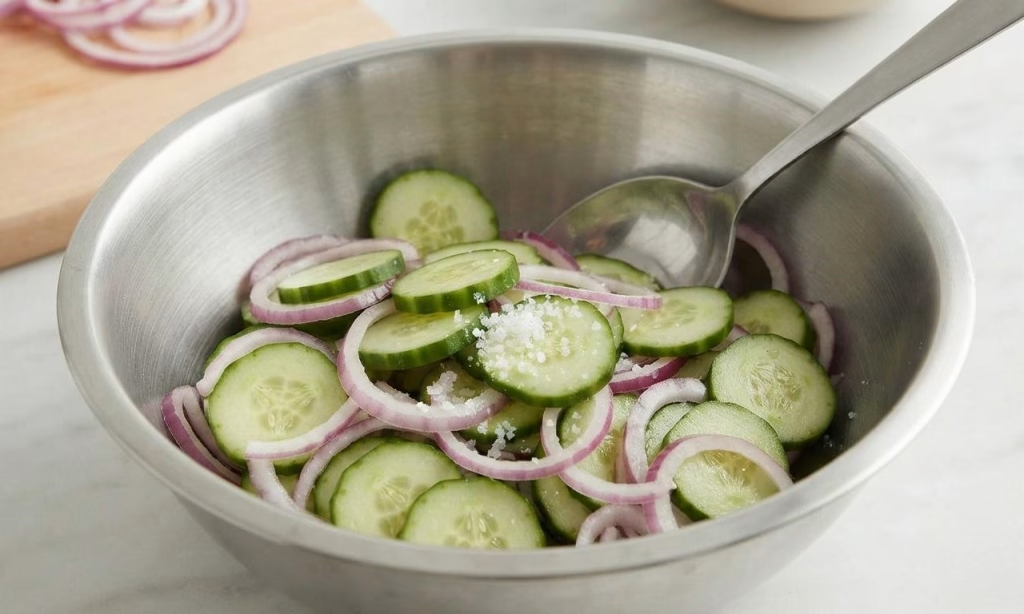
Place the sliced cucumbers and onions in a large bowl and sprinkle the salt evenly over the top. Toss everything together so the salt coats every piece, then cover the bowl and let it sit in the refrigerator for a few hours. This step draws out excess moisture, which is the secret to a crisp, not soggy, pickle.
Rinse and Drain Thoroughly
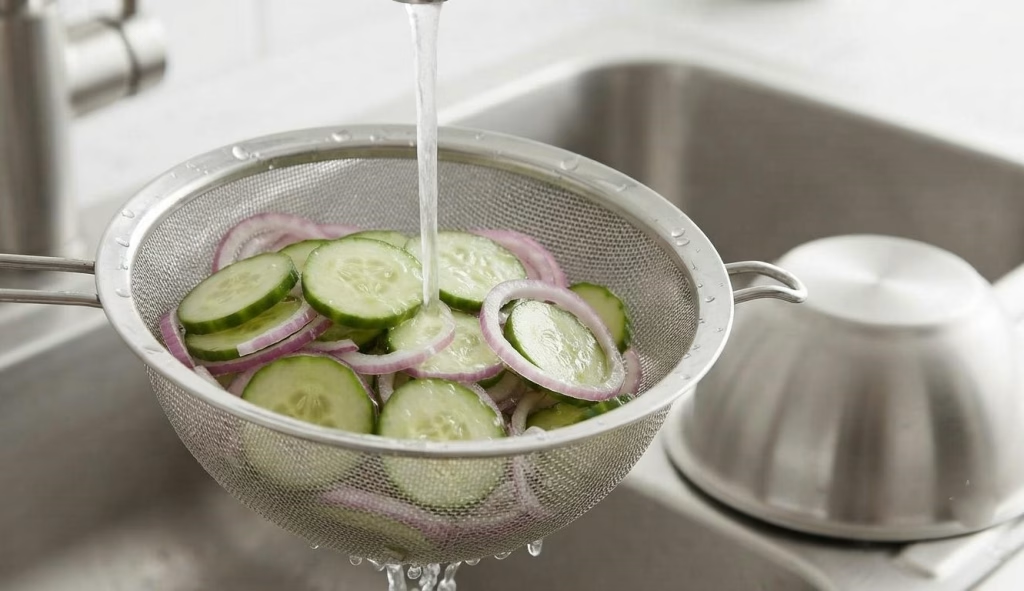
Once the vegetables have chilled, pour them into a colander and rinse under cold water to remove the extra salt. Give them a good shake to drain off as much water as possible. Skipping this step can leave your pickles tasting overly salty, so don’t rush through it.
Make the Brine
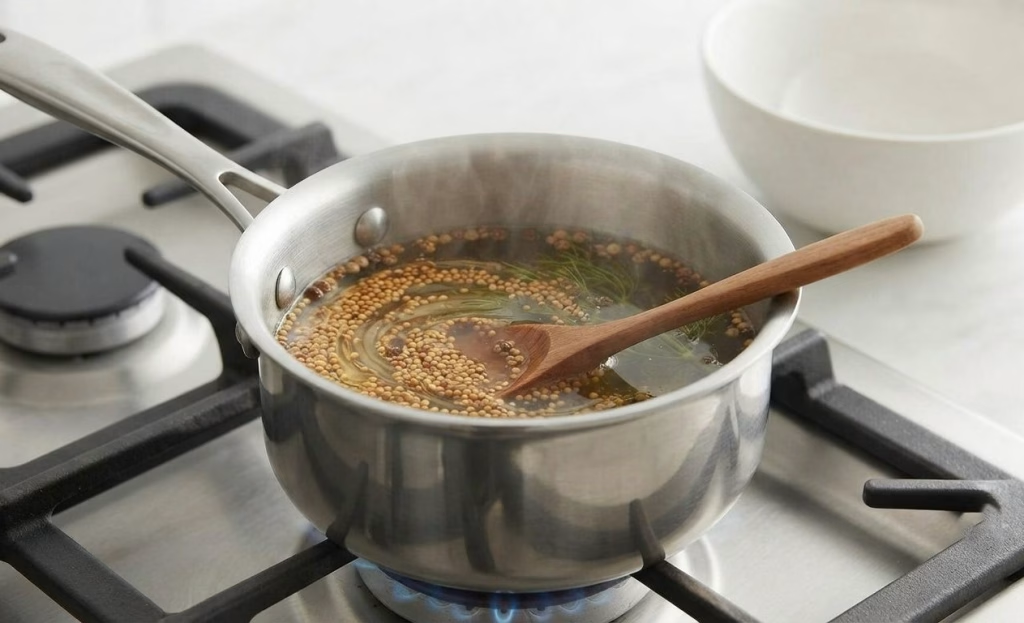
In a saucepan, combine the vinegars, sugar, and all of the spices over medium heat. Stir occasionally and let the mixture come to a gentle simmer until the sugar fully dissolves. The kitchen will smell incredible at this point, and a batch of Brownie Cookies Recipe makes a wonderful sweet treat while you wait for the brine to come together.
Pack the Jars
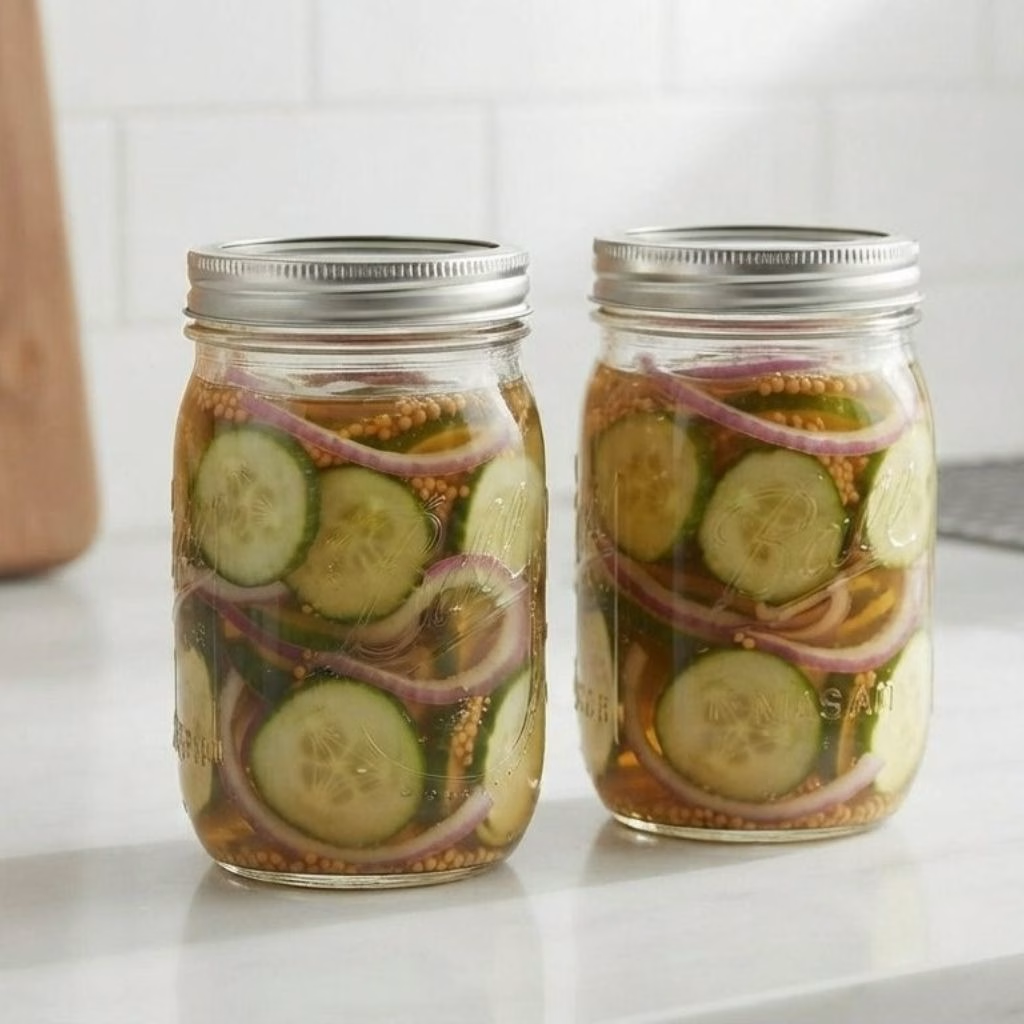
Pack the drained cucumbers and onions tightly into your jars, leaving a little room at the top. Ladle the hot brine over the vegetables, making sure everything is fully submerged. Leave about a half-inch of space between the brine and the rim of the jar.
Cool and Refrigerate
Let the jars cool down to room temperature on the counter before sealing them with their lids. Once cooled, place them in the refrigerator and let them sit undisturbed overnight. This resting time is what allows the flavors to really soak into the cucumbers.
Additional Tips for Making this Recipe Better
I have made this recipe more times than I can count, and along the way I picked up a few tricks that make a real difference. Here are the things I always keep in mind now.
- I always use the smallest, firmest cucumbers I can find, since larger ones tend to turn mushy after pickling.
- I never skip the salting step, even when I am in a hurry, because it truly is what keeps the pickles crisp.
- I like to let my jars sit for at least two full days before eating them, since the flavor gets so much better with time.
- I make sure my brine fully covers the vegetables, or the exposed slices can turn a little dull and lose their crunch.
- I always label my jars with the date, so I know exactly how long they have been sitting in the fridge.
How to Serve Bread and Butter Pickles Recipe?
These pickles are wonderful straight out of the jar, but they also make a beautiful addition to a burger or sandwich board. I love layering a few slices on a cheeseburger for that classic sweet-and-tangy crunch.
For a pretty presentation, arrange the pickle rounds on a small wooden board alongside cheese, crackers, and cured meats. You can also chop them up and stir them into potato salad or egg salad for a burst of flavor.
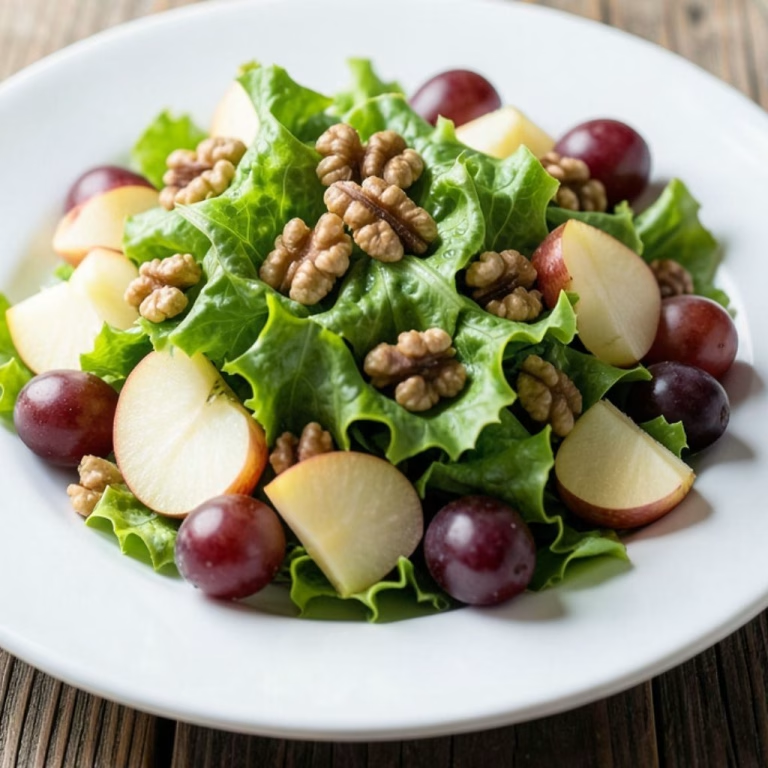
They pair especially well with Grape Salad with a Creamy Southern Twist for a refreshing balance of sweet and tangy flavors. A few slices tucked into a charcuterie board with a sprinkle of fresh dill adds a lovely pop of color too.
Nutritional Information
Here’s a general idea of what you can expect per serving of these pickles.
- Calories: 45
- Protein: 0.5g
- Carbohydrates: 11g
- Fat: 0g
Make Ahead and Storage
Refrigerating: These pickles keep beautifully in the refrigerator for up to one month. Just make sure the jar is sealed tightly and the pickles stay fully submerged in the brine.
Freezing: I don’t recommend freezing this recipe, since the cucumbers lose their crunch and turn watery once thawed. This one is really meant to be enjoyed fresh from the fridge.
Reheating: There’s no reheating needed here, since these pickles are served cold straight from the jar. Just give the jar a gentle shake before serving if the spices have settled at the bottom.
Why You’ll Love This Recipe?
This recipe has earned a permanent spot in my kitchen for so many reasons, and I think it will do the same for you.
- It’s incredibly easy to make, with no canning equipment or special skills required to get started.
- The sweet and tangy flavor works with just about everything, from sandwiches to cheese boards to snacking straight from the jar.
- You can easily adjust the spice level or sweetness to match your own taste preferences.
- It keeps well in the fridge for weeks, so you always have a jar ready to go.
- It’s a fun way to use up an abundance of garden or market cucumbers before they go to waste.

Bread and Butter Pickles Recipe
Ingredients
Method
- Start by washing your cucumbers well and slicing off both ends before cutting them into even ¼-inch rounds. Slice your onions just as thin so they cook and pickle at the same rate as the cucumbers. Keeping the slices consistent in size really does make a difference in the final texture.
- Place the sliced cucumbers and onions in a large bowl and sprinkle the salt evenly over the top. Toss everything together so the salt coats every piece, then cover the bowl and let it sit in the refrigerator for a few hours. This step draws out excess moisture, which is the secret to a crisp, not soggy, pickle.
- Once the vegetables have chilled, pour them into a colander and rinse under cold water to remove the extra salt. Give them a good shake to drain off as much water as possible. Skipping this step can leave your pickles tasting overly salty, so don’t rush through it.
- In a saucepan, combine the vinegars, sugar, and all of the spices over medium heat. Stir occasionally and let the mixture come to a gentle simmer until the sugar fully dissolves. The kitchen will smell incredible at this point, so take a moment to enjoy it.
- Pack the drained cucumbers and onions tightly into your jars, leaving a little room at the top. Ladle the hot brine over the vegetables, making sure everything is fully submerged. Leave about a half-inch of space between the brine and the rim of the jar.
- Let the jars cool down to room temperature on the counter before sealing them with their lids. Once cooled, place them in the refrigerator and let them sit undisturbed overnight. This resting time is what allows the flavors to really soak into the cucumbers.
Notes
- I always use the smallest, firmest cucumbers I can find, since larger ones tend to turn mushy after pickling.
- I never skip the salting step, even when I am in a hurry, because it truly is what keeps the pickles crisp.
- I like to let my jars sit for at least two full days before eating them, since the flavor gets so much better with time.
- I make sure my brine fully covers the vegetables, or the exposed slices can turn a little dull and lose their crunch.
- I always label my jars with the date, so I know exactly how long they have been sitting in the fridge.