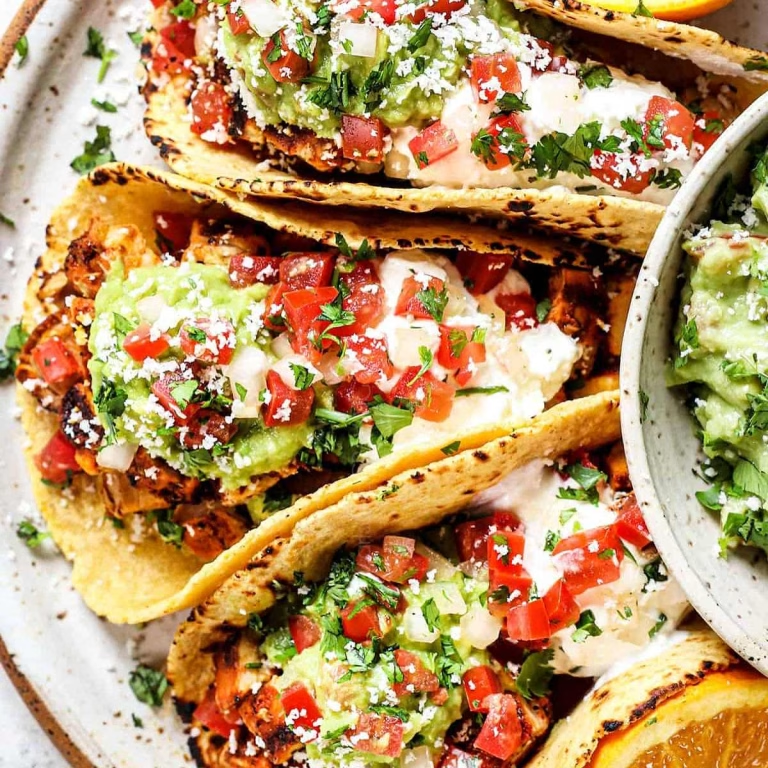
If there’s one dish that instantly won me over when I first made it at home, it’s chicken katsu! Imagine beautifully golden and crispy chicken cutlets paired with a sweet and tangy tonkatsu sauce. The crunch of the coating contrasts perfectly with the juicy chicken inside. Not only is it satisfying to eat, but it’s also surprisingly easy to make. Trust me, this recipe will have you dreaming about your next crispy, delicious bite!

Credit: cooking.nytimes.com
Ingredients
Creating the perfect chicken katsu starts with fresh, simple ingredients. Here’s what you’ll need and why each component matters:
- 4 skinless, boneless chicken breasts (pounded to ½ inch thickness): Thinner cuts ensure quick and even frying.
- Salt and pepper to taste: A basic seasoning that enhances flavor.
- 2 tablespoons all-purpose flour: Helps the breading stick and creates a crispier texture.
- 1 egg, beaten: Binds the breadcrumbs to the chicken, so don’t skip this step.
- 1 cup panko breadcrumbs: The secret to that light, airy crunch. Opt for authentic Japanese panko if you can find it.
- 1 cup oil for frying (vegetable or canola): Choose a neutral oil with a high smoke point to get that golden brown crust without burning.
Note: The quantities above serve 4 people. Adjust for more servings as needed.
Variations
Chicken katsu is delicious as is, but there’s plenty of room for creativity. Here are some variations to try out based on preference or dietary needs:
- Healthier version: Bake the breaded chicken instead of frying, or use an air fryer for a crispy exterior with less oil.
- Gluten-free option: Swap regular flour and breadcrumbs with gluten-free alternatives.
- Spicy touch: Add a teaspoon of chili powder or cayenne pepper to the breadcrumbs for a kick.
- Pork katsu (Tonkatsu): Use pork cutlets instead of chicken for a traditional twist.
- Herby flavor boost: Mix dried parsley or garlic powder into the panko for an extra flavorful crust.
Cooking Time
Cooking chicken katsu is quick and fuss-free. Here’s the breakdown of time you’ll need:
- Prep Time: 15 minutes
- Cook Time: 10 minutes
- Total Time: 25 minutes
Equipment You Need
To make chicken katsu seamlessly, here’s what you’ll need in your kitchen and why it’s important:
- Meat mallet: To pound chicken breasts to an even thickness.
- Shallow bowls: Perfect for organizing the flour, egg, and breadcrumbs during breading.
- Large skillet or frying pan: Essential for achieving an evenly fried, golden crust.
- Tongs or a slotted spatula: Makes flipping the chicken easier and safer.
- Paper towels: For draining excess oil from the chicken after frying.
How to Make Chicken Katsu?
Making chicken katsu is simpler than you might think. Just follow these step-by-step instructions, and you’ll have restaurant-quality fried chicken at home.
Prepare the Chicken
Start by pounding your chicken breasts to about ½ inch thickness. This ensures they cook evenly while staying juicy. Lightly season both sides with salt and pepper. The simple seasoning adds depth without overpowering the dish.
Set Up Your Breading Station
Prepare three shallow bowls. Fill one with flour, one with the beaten egg, and the last with panko breadcrumbs. Working one piece at a time, coat each chicken breast in flour, ensuring it’s fully dusted. Shake off the excess before dipping it into the egg mixture. Finally, press the chicken firmly into the panko breadcrumbs to coat both sides evenly.
Fry the Chicken
Heat oil in a large skillet over medium-high heat. Once the oil is hot (but not smoking), lay the breaded chicken gently into the pan. Fry for about 3 to 4 minutes per side, or until the coating turns a beautiful golden brown. Resist the urge to overcrowd the pan, as it can lower the oil temperature and make the chicken soggy.
Drain and Rest
Remove the cooked chicken from the skillet using tongs and place it on a paper towel-lined plate. This helps absorb excess oil without compromising that crisp coating. Allow the chicken to rest for a minute before serving.

Credit: keepingitrelle.com
Additional Tips for Making This Recipe Better
When I make chicken katsu at home, there are always little tips that improve it even more. Here are my top suggestions based on experience:
- Use chicken thighs instead of breasts for a juicier, richer flavor.
- For the crispiest texture, chill the breaded chicken in the refrigerator for 10 minutes before frying.
- Always test a small panko crumb in the oil to ensure it’s at the right frying temperature (it should sizzle but not burn).
- Keep your coating intact by pressing the panko firmly into the chicken during breading.
- If you’re frying multiple batches, maintain the oil temperature by giving the pan a minute to reheat between batches.
For a more indulgent meal, you might also enjoy this chicken marsala recipe, which offers a rich and flavorful twist.
How to Serve Chicken Katsu?
Chicken katsu shines brightest when paired with the right sides and presentation. Here are some ideas to serve it flawlessly:
- Plate the chicken over a bed of steamed white rice or fluffy jasmine rice.
- Drizzle tonkatsu sauce generously over the chicken or serve it on the side for dipping.
- Garnish with sliced green onions, sesame seeds, or a dash of togarashi for color and flair.
- Pair with fresh sides like shredded cabbage, pickled radish, or a tangy cucumber salad to balance out the richness of the dish.
For a different take on fried chicken, you might enjoy this fried chicken recipe that’s equally crispy and satisfying.
Nutritional Information
Here’s an estimate of the nutritional content per serving for chicken katsu. It’s both delicious and satisfying!
- Calories: 297
- Protein: 31g
- Carbohydrates: 22g
- Fat: 11g
Make Ahead and Storage
Chicken katsu can be prepped in advance and stored for later use. Follow these tips to keep it fresh:
- Refrigerating: Store leftover katsu in an airtight container and refrigerate for up to 3 days.
- Freezing: After frying, flash-freeze the chicken on a baking sheet. Once frozen, transfer it to a zip-top bag and store for up to 2 months.
- Reheating: Reheat in an oven at 375°F for 10-15 minutes or in an air fryer for 5-8 minutes to crisp up the breading again.
Why You’ll Love This Recipe?
There are so many reasons to adore chicken katsu. Here are some of the main highlights that make this dish irresistible:
- Simple to make: The steps are straightforward, even if you’re a beginner cook.
- Ultimate crowd-pleaser: Both adults and kids will love its crispy texture and savory, satisfying flavor.
- Customizable options: Easily adapt it with different proteins or seasonings to suit your preferences.
- Great for leftovers: Enjoy cold, reheated, or turned into sandwiches, rice bowls, or wraps.
Chicken katsu is more than just a recipe; it’s comfort food served with a delicious crunch. Give this recipe a try, and you’ll see why it’s become a favorite in homes around the world. You can also explore other chicken recipes for more inspiration.

Chicken Katsu Recipe
Ingredients
Method
- Start by pounding your chicken breasts to about ½ inch thickness. This ensures they cook evenly while staying juicy. Lightly season both sides with salt and pepper. The simple seasoning adds depth without overpowering the dish.
- Prepare three shallow bowls. Fill one with flour, one with the beaten egg, and the last with panko breadcrumbs. Working one piece at a time, coat each chicken breast in flour, ensuring it’s fully dusted. Shake off the excess before dipping it into the egg mixture. Finally, press the chicken firmly into the panko breadcrumbs to coat both sides evenly.
- Heat oil in a large skillet over medium-high heat. Once the oil is hot (but not smoking), lay the breaded chicken gently into the pan. Fry for about 3 to 4 minutes per side, or until the coating turns a beautiful golden brown. Resist the urge to overcrowd the pan, as it can lower the oil temperature and make the chicken soggy.
- Remove the cooked chicken from the skillet using tongs and place it on a paper towel-lined plate. This helps absorb excess oil without compromising that crisp coating. Allow the chicken to rest for a minute before serving.
Notes
- Use chicken thighs instead of breasts for a juicier, richer flavor.
- For the crispiest texture, chill the breaded chicken in the refrigerator for 10 minutes before frying.
- Always test a small panko crumb in the oil to ensure it’s at the right frying temperature (it should sizzle but not burn).
- Keep your coating intact by pressing the panko firmly into the chicken during breading.
- If you’re frying multiple batches, maintain the oil temperature by giving the pan a minute to reheat between batches.

