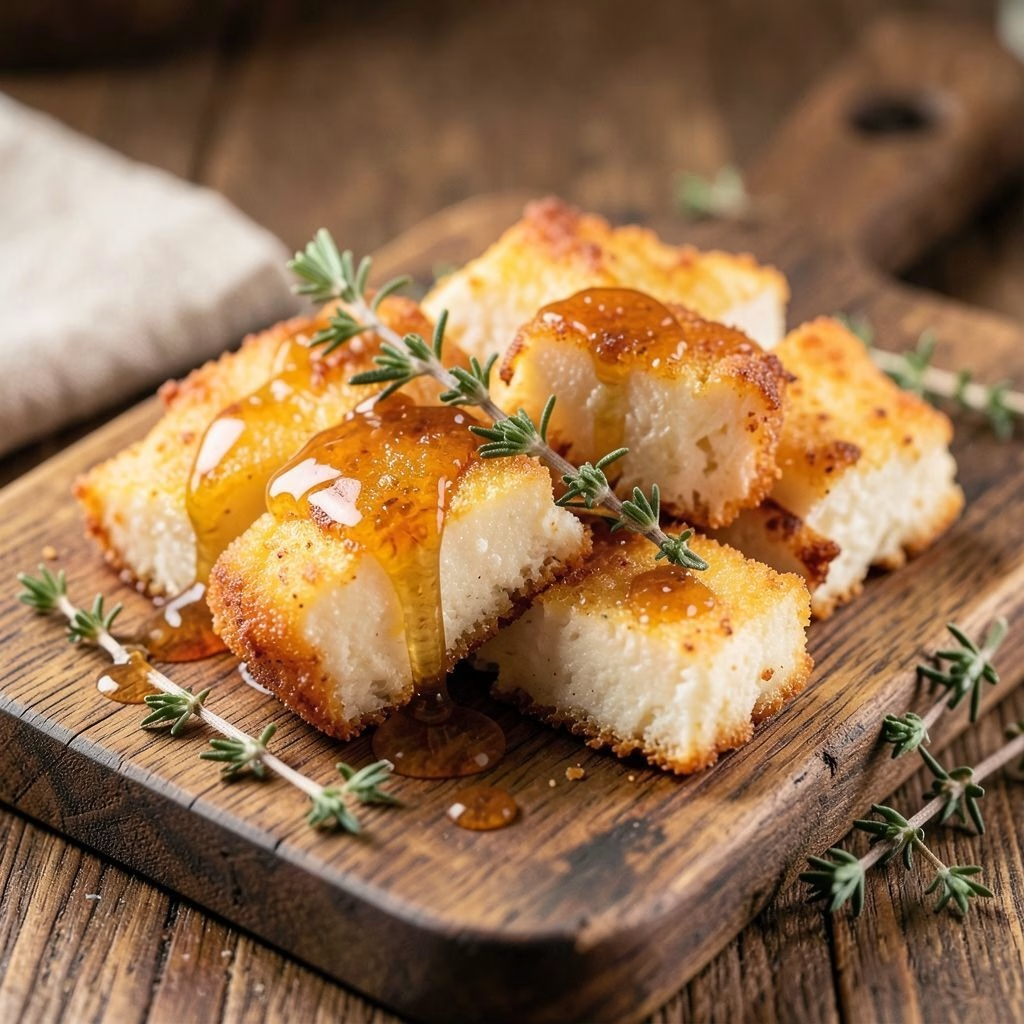
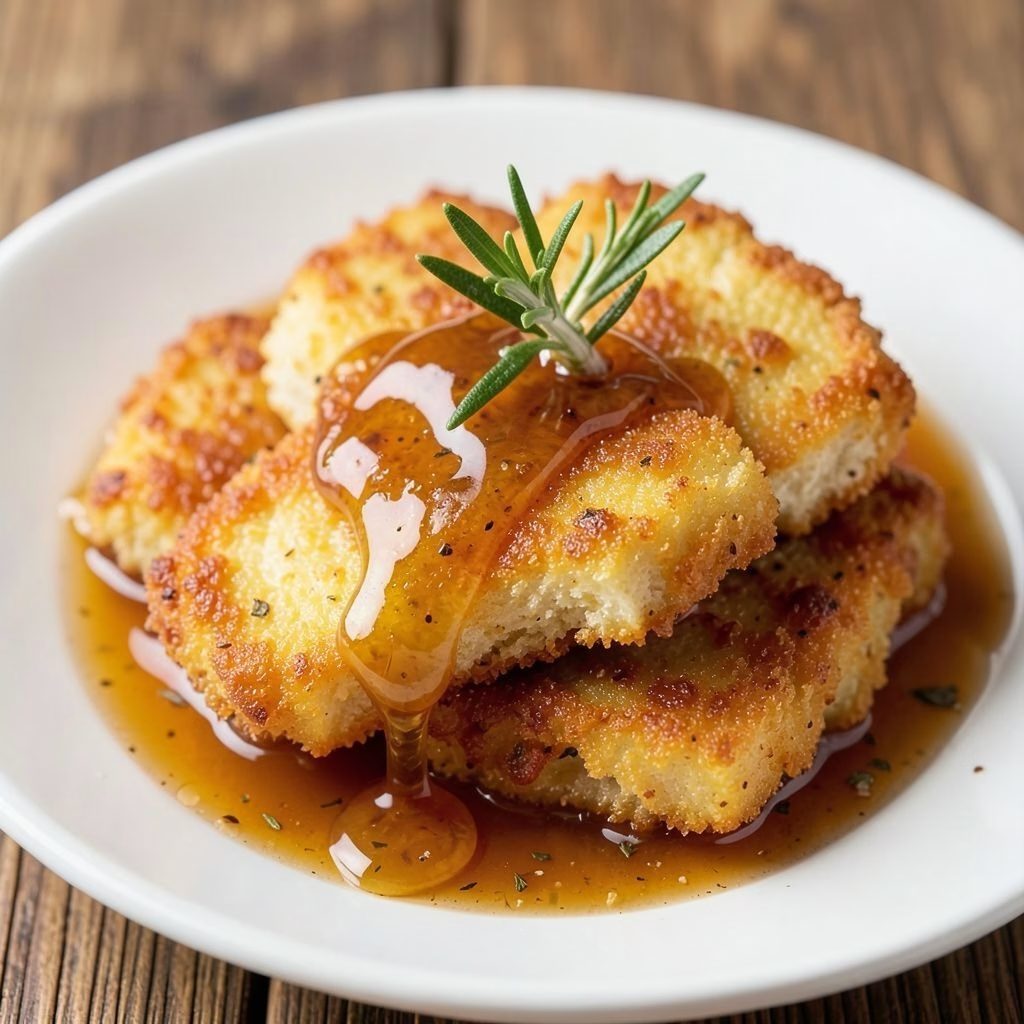
I recently made this Halloumi with Honey and Thyme Recipe, and I can’t stop thinking about it! From the first bite, the golden, crispy cheese paired with the sweet drizzle of honey had me hooked. The thyme adds just the right earthy touch, making it feel gourmet even though it’s super simple to prepare.
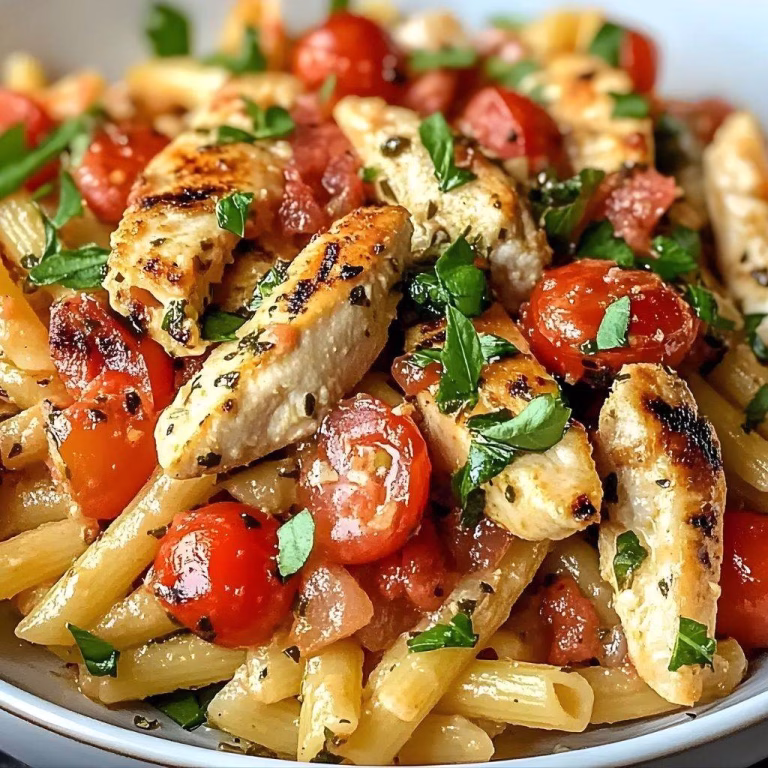
I love how quick it is—perfect for a last-minute snack or a fancy appetizer for guests. If you enjoy experimenting with savory dishes, you might also love the Chicken Pesto Sandwich Recipe for a hearty meal option. Let me take you through exactly how I make this flavorful dish.

Ingredients
Here’s everything you need to whip up this delicious treat:
- 200 grams halloumi cheese, sliced into 1 cm thick pieces – fresh halloumi works best for that perfect golden crust.
- 2 tablespoons olive oil – a neutral oil helps the cheese crisp up without burning.
- 2 tablespoons honey – warm or runny honey drizzled at the end enhances the sweetness.
- 1 teaspoon fresh thyme leaves – fresh thyme adds an aromatic flavor, though dried works in a pinch.
Note: several servings – adjust quantities if making for more people.
Variations
Want to mix it up? Here are a few options:
- For a dairy-free version, try firm tofu or vegan halloumi alternatives.
- Swap honey for agave or maple syrup to make it vegan or reduce sugar content.
- Add a pinch of chili flakes for a subtle heat contrast with the sweet honey.
- Sprinkle lemon zest on top for a bright, citrusy twist. You can also enjoy similar flavors in the Chicken and Orzo Recipe, which balances herbs and sweetness beautifully.
Cooking Time
Here’s a quick overview:
- Prep Time: 5 minutes
- Cooking Time: 10 minutes
- Total Time: 15 minutes
Equipment You Need
These simple tools make cooking a breeze:
- Non-stick frying pan – ensures halloumi doesn’t stick and crisps evenly.
- Spatula – for flipping the cheese without breaking it.
- Small bowl – to mix honey and thyme if desired.
- Knife and cutting board – for slicing halloumi neatly.
How to Make Halloumi with Honey and Thyme Recipe?
This recipe is straightforward, but small tips make all the difference.
Preparing the Halloumi
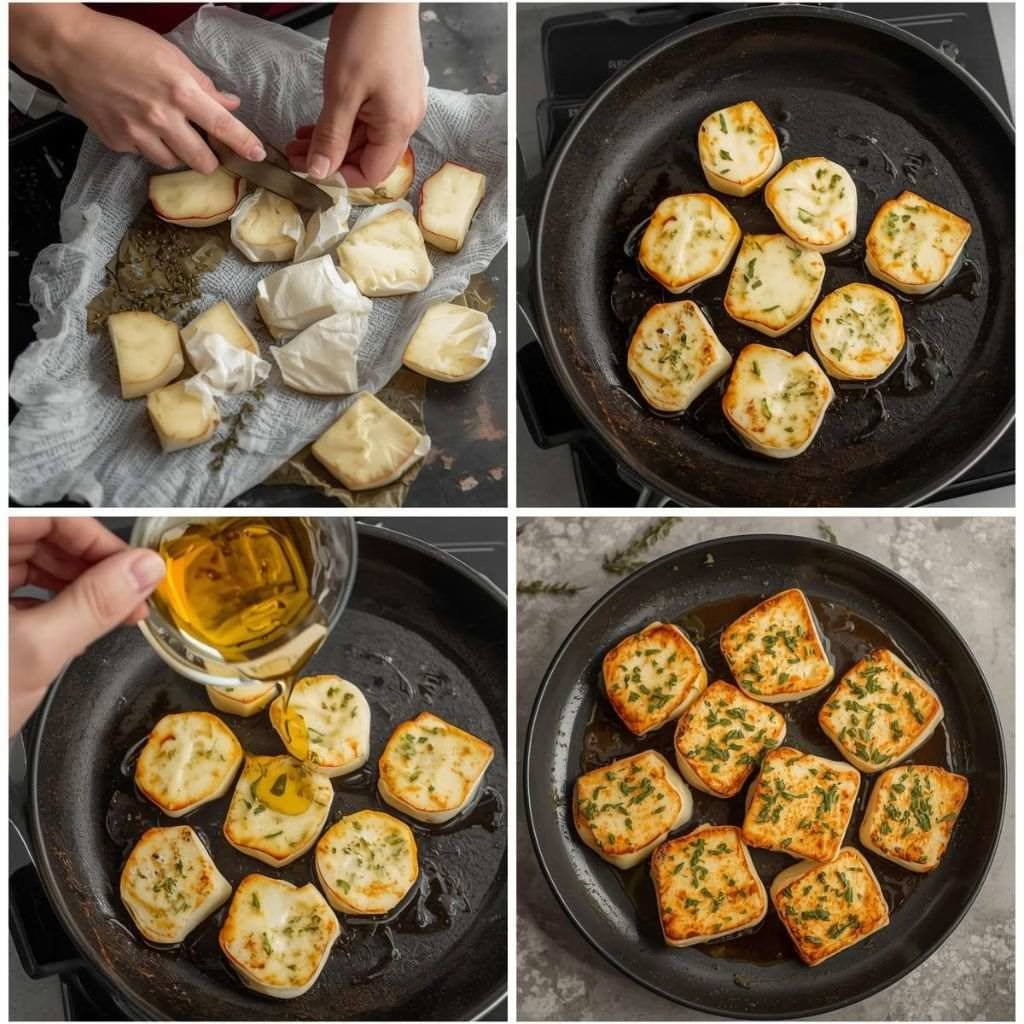
Slice the halloumi into thick pieces, about 1 cm each. Thicker slices hold their shape and develop a golden crust while staying chewy inside. Pat them dry with a paper towel to reduce splattering while frying.
Frying the Cheese
Heat olive oil in a non-stick pan over medium heat. Fry the halloumi slices for 2-3 minutes on each side until golden brown. The cheese should sizzle gently and form a slightly crisp exterior.
Adding Honey and Thyme
Remove the halloumi from the pan and place it on a serving plate. Drizzle warm honey over the top and sprinkle fresh thyme leaves evenly. Serve immediately while hot to enjoy the perfect balance of flavors.
Additional Tips for Making this Recipe Better
From my experience, these small tweaks make a big difference:
- I always use fresh halloumi—it crisps better and tastes creamier.
- Patting the cheese dry before frying helps prevent excessive oil splatter.
- Warm the honey slightly; it spreads more evenly over the hot cheese.
- Don’t overcrowd the pan; give each slice room to crisp properly.
- Experiment with finishing touches like a tiny pinch of sea salt or a dash of smoked paprika.
How to Serve Halloumi with Honey and Thyme Recipe?
Serving this dish beautifully is half the fun. I usually place the slices on a wooden board or bright plate. Drizzle honey in a zigzag pattern for visual appeal and scatter thyme leaves for color. Serve with warm pita, crusty bread, or alongside roasted vegetables. A small wedge of lemon on the side can enhance the flavors even more.
Nutritional Information
Here’s a quick glance at what you get per serving (200 g):
- Calories: 450 kcal – a satisfying treat that’s filling but not too heavy.
- Protein: 25 g – great for a protein boost.
- Carbohydrates: 15 g – mainly from honey, giving a subtle sweetness.
- Fat: 35 g – mostly from halloumi and olive oil, adding richness.
Make Ahead and Storage
Storing
If you need to prepare in advance, store the cooked halloumi in an airtight container in the fridge. It stays fresh for up to 2 days, but the crispy texture softens slightly.
Freezing
Freezing isn’t ideal for fried halloumi, as the texture changes, but you can freeze uncooked halloumi slices. Thaw and fry them just before serving for the best results.
Reheating
Reheat gently in a non-stick pan over low heat. Avoid microwaving, which can make the cheese rubbery. I like to drizzle a bit more honey after reheating to refresh the flavors.
Why You’ll Love This Recipe?
Here’s why I keep coming back to this dish:
- Simple and quick – ready in just 15 minutes, perfect for any occasion.
- Versatile – works as an appetizer, snack, or part of a mezze board.
- Flavor-packed – salty, sweet, and herbal notes in every bite.
- Customizable – easily adapted to dietary preferences or added flavors.
- Visually appealing – looks gourmet with minimal effort.
Whether I’m hosting friends or just enjoying a solo snack, this halloumi with honey and thyme always hits the spot. The combination of textures and flavors makes it feel indulgent while being incredibly easy to make.
Halloumi with Honey and Thyme Recipe
Ingredients
Method
- Slice the halloumi into thick pieces, about 1 cm each. Thicker slices hold their shape and develop a golden crust while staying chewy inside. Pat them dry with a paper towel to reduce splattering while frying.
- Heat olive oil in a non-stick pan over medium heat. Fry the halloumi slices for 2-3 minutes on each side until golden brown. The cheese should sizzle gently and form a slightly crisp exterior.
- Remove the halloumi from the pan and place it on a serving plate. Drizzle warm honey over the top and sprinkle fresh thyme leaves evenly. Serve immediately while hot to enjoy the perfect balance of flavors.
Notes
- I always use fresh halloumi—it crisps better and tastes creamier.
- Patting the cheese dry before frying helps prevent excessive oil splatter.
- Warm the honey slightly; it spreads more evenly over the hot cheese.
- Don’t overcrowd the pan; give each slice room to crisp properly.
- Experiment with finishing touches like a tiny pinch of sea salt or a dash of smoked paprika.