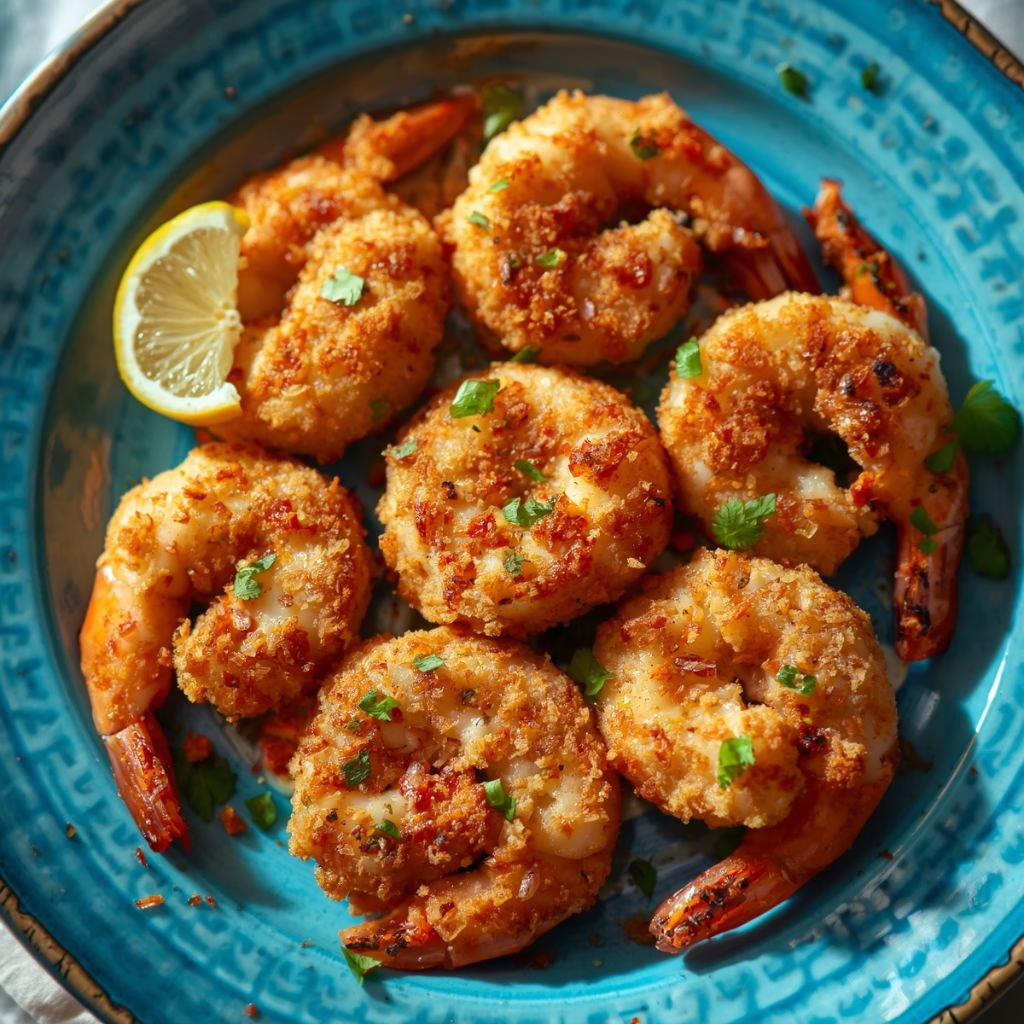
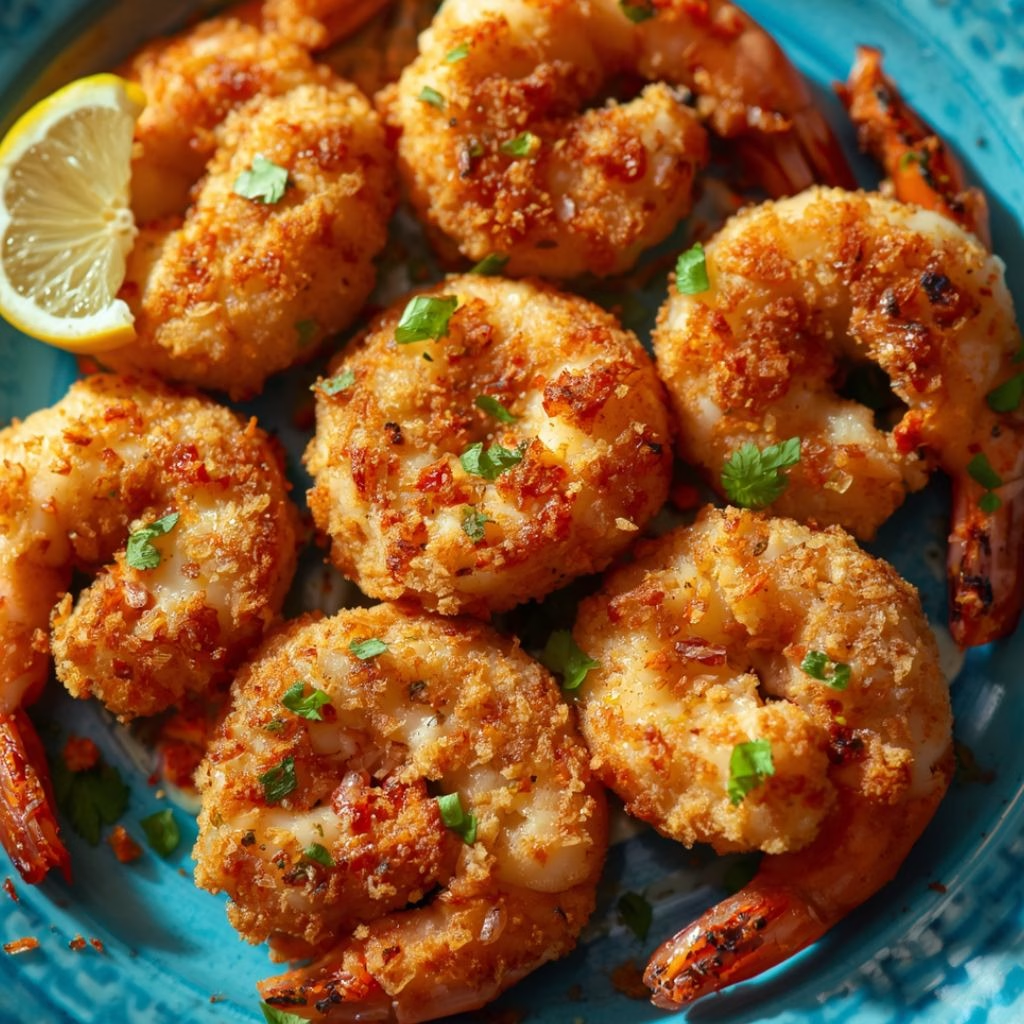
I still remember the first time I made Panko Fried Shrimp Recipe at home, and I honestly couldn’t believe how close it tasted to the restaurant version. I had a bag of shrimp sitting in my freezer and a half-used box of panko crumbs, and within twenty minutes I had a plate of golden, crackly shrimp that disappeared before I could even plate them properly.
Ever since that night, this has become my go-to recipe whenever I want something quick, satisfying, and a little bit special. I love that it works just as well as a party appetizer as it does for a weeknight dinner. Once you try it, I promise it will earn a permanent spot in your recipe rotation too.

Cooking Time
- Prep Time: 10 minutes
- Cook Time: 15 minutes
- Total Time: 25 minutes
Ingredients
- Large shrimp, peeled and deveined – I always look for large or jumbo shrimp since they hold up better in hot oil and stay juicy inside.
- Sea salt – this brings out the natural sweetness of the shrimp without overpowering it.
- Black pepper – freshly cracked pepper adds a mild warmth that balances the crunch.
- All-purpose flour – this creates the base layer that helps the egg and panko stick properly.
- Egg, beaten – acts as the glue between the flour coating and the panko crumbs.
- Panko breadcrumbs – these Japanese-style crumbs are lighter and airier than regular breadcrumbs, so I always reach for them when I want maximum crunch.
- Vegetable or canola oil – neutral oils handle high heat well and won’t compete with the shrimp’s flavor.
Note: this recipe serves 4 people as an appetizer or 2-3 as a main dish.
Equipment You Need
- Large skillet – for shallow frying the shrimp evenly on the stovetop.
- Shallow bowls – one each for the flour, egg, and panko so you can dredge in stages.
- Tongs – for turning the shrimp gently without knocking off the coating.
- Wire rack – lets excess oil drip away so the shrimp stays crisp instead of soggy.
- Meat or candy thermometer – helps you keep the oil at a steady frying temperature.
How to Make a Panko Fried Shrimp Recipe?
I always start by getting my dredging station ready before I touch the shrimp itself. Having everything set up in order makes the whole process move quickly once the oil is hot. Here’s how I break it down step by step.
Pat the Shrimp Dry
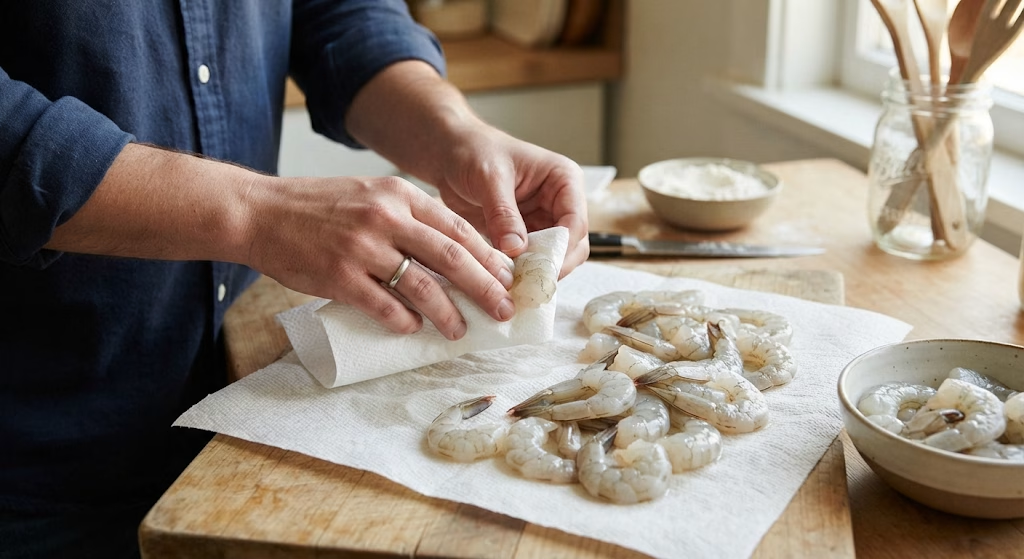
I pat each shrimp completely dry with paper towels before doing anything else. Any extra moisture on the surface stops the flour from sticking properly. This one small step makes a noticeable difference in how crisp the final coating turns out.
Season the Flour
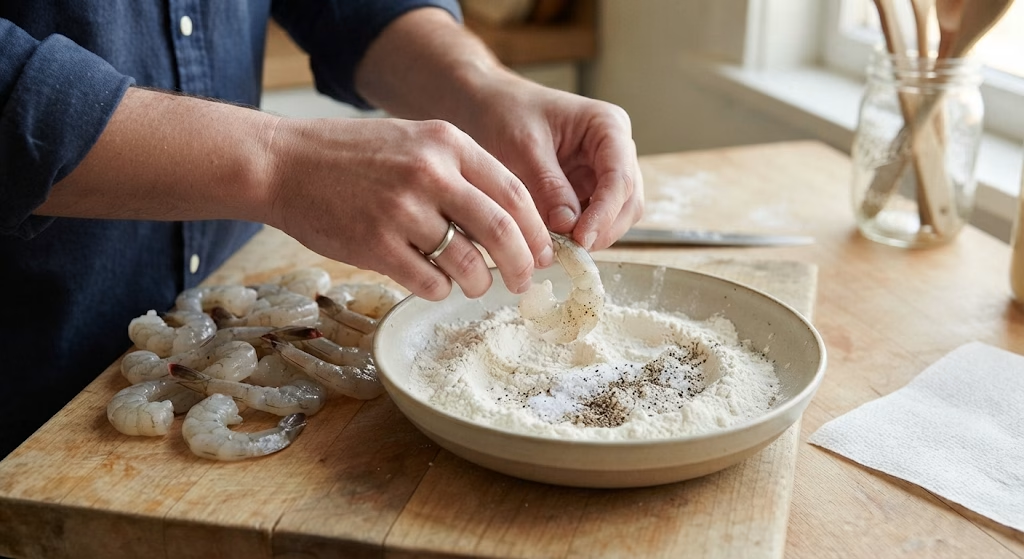
In a shallow bowl, I mix the flour with sea salt and black pepper until it’s evenly combined. This seasoned flour is the very first layer of flavor the shrimp gets. I toss the dried shrimp in it, shaking off any excess before moving on.
Dip in Egg
Next, I dip the floured shrimp into the beaten egg, making sure each piece is fully coated. The egg acts as the glue that holds the panko crumbs in place during frying. I let any drips fall back into the bowl before the next step.
Coat in Panko
I press each shrimp gently into the panko crumbs, turning it a few times so every side is covered. Pressing rather than just rolling helps the crumbs really cling on. This is the step that gives the shrimp its signature crunchy shell.
Fry Until Golden
I heat the oil to around 350-375°F in a large skillet before adding the shrimp in small batches. Each piece fries for about a minute and a half to two minutes per side, until deeply golden. I never crowd the pan, since that drops the oil temperature and leads to soggy shrimp.
Drain and Serve
Once golden, I lift the shrimp out with tongs and set them on a wire rack to drain. This keeps the bottom from steaming and going soft the way paper towels sometimes can. A quick pinch of extra salt while they’re still hot finishes them off perfectly.
Additional Tips for Making This Recipe Better
I’ve made this recipe more times than I can count, and these are the little things that make the biggest difference for me.
- I always use a thermometer for the oil, because guessing the temperature is the easiest way to end up with greasy shrimp.
- I keep one hand for the wet ingredients and one hand for the dry ones, so my fingers don’t turn into a breaded mess.
- I fry in small batches of five or six shrimp at a time to keep the oil temperature steady.
- I season the flour generously, since that’s really where a lot of the flavor comes from.
- I let the shrimp rest on a wire rack for a minute before serving so the coating sets and stays crunchy.
Common Mistakes to Avoid
- I used to skip drying the shrimp, and the coating would slide right off in the oil, so now I never skip that step.
- I once overcrowded the skillet thinking it would save time, but it cooled the oil and left the shrimp soft and pale.
- I’ve learned not to flip the shrimp too early, since disturbing them before the crust sets can tear the coating.
- I stopped using cold shrimp straight from the fridge without patting them dry, because the temperature difference makes the oil splatter more.
- I no longer skip the seasoning in the flour, since plain flour alone leaves the shrimp tasting flat.
How to Serve Panko Fried Shrimp
I love piling these shrimp onto a platter lined with lettuce leaves for a bit of color and crunch underneath. A wedge of lemon on the side always brightens up the flavor right before eating.
For an appetizer spread, I set out a small bowl of dipping sauce in the center and arrange the shrimp around it like a sunburst. When I’m serving it as a main course, I like plating it over a bed of rice or alongside a simple slaw for a full, satisfying meal.
A Summer Elote Quinoa Salad also makes a flavorful side when I want something fresh and hearty alongside the crispy shrimp. A light sprinkle of fresh parsley or chives right before serving makes the whole dish look restaurant-worthy.
Variations
- Gluten-free version – swap the all-purpose flour and panko for gluten-free alternatives, since both work well without changing the texture much.
- Spicy version – mix a pinch of cayenne into the flour and a dash of hot sauce into the egg for a kick of heat.
- Herb-crusted version – stir dried Italian herbs or garlic powder into the panko for extra flavor in every bite.
- Baked version – arrange the coated shrimp on a wire rack over a baking sheet and bake at a high temperature until golden, for a lighter alternative to frying.
- Air fryer version – air fry the coated shrimp in a single layer for a few minutes per side for a quicker, lower-oil option.
Nutritional Information
Here’s a general idea of what one serving of this recipe looks like, though exact numbers can vary based on portion size and oil absorption.
- Calories: around 270-300 per serving
- Protein: around 28-30 grams per serving
- Carbohydrates: around 30-32 grams per serving
- Fat: around 3-6 grams per serving
Make Ahead and Storage
I usually enjoy these shrimp right after frying since that’s when the coating is at its crispiest. If you do want to prep ahead, you can bread the shrimp a few hours in advance and keep them covered in the fridge until you’re ready to fry.
Leftovers keep well in an airtight container in the fridge for up to 2-3 days. I always reheat them in the oven or air fryer rather than the microwave, since that keeps the coating from turning soft and chewy.
For longer storage, I flash freeze the cooked shrimp on a tray for a couple of hours before transferring them to a freezer bag, where they’ll keep for up to 2 months. You can reheat them straight from frozen in a hot oven or air fryer until warmed through and crisp again.
Why You’ll Love This Recipe
This recipe has stayed in my regular rotation for a reason, and I think you’ll find the same things I do once you make it yourself.
- It’s incredibly quick – from prep to plate, this whole recipe comes together in about 25 minutes, which makes it perfect for busy weeknights.
- It’s endlessly versatile – I can serve it as a snack, an appetizer, or a full meal depending on what I pair it with.
- It’s easy to customize – whether I want it spicy, gluten-free, or extra herby, the base recipe adapts without any fuss.
- It’s a guaranteed crowd-pleaser – every time I’ve served this at a gathering, the plate empties faster than anything else on the table. It also pairs nicely with a fresh side like Summer Elote Quinoa Salad when I want to add something bright and hearty to the meal.
- It doesn’t require fancy equipment – a simple skillet and a few bowls are really all I need to pull this off.
FAQs
Can I make panko fried shrimp in the air fryer?
Yes, I’ve made these in the air fryer with great results. Just arrange the breaded shrimp in a single layer and air fry until golden and crisp, flipping halfway through.
Is this panko shrimp recipe good for beginners?
Absolutely, I’d call this one of the easiest breaded shrimp recipes to start with. The three-step dredging process is simple to follow and hard to mess up.
Can I make panko fried shrimp without flour?
Yes, I’ve skipped the flour before and gone straight from egg to panko, and it still turns out crispy, just with a slightly thinner coating.
Can I make baked panko shrimp instead of frying?
Yes, I bake mine on a wire rack over a sheet pan at a high oven temperature until golden, which gives a similar crunch with much less oil.
What’s the best dipping sauce for panko shrimp?
I usually reach for cocktail sauce, tartar sauce, or a simple garlic aioli, since all three complement the crispy coating nicely.
What’s the difference between breaded shrimp and panko shrimp?
Panko shrimp is a type of breaded shrimp, but it uses Japanese-style panko crumbs instead of regular breadcrumbs, which gives it a lighter, crunchier texture.
Can I use butterfly shrimp for this recipe?
Yes, I’ve used butterflied shrimp for this recipe, and the flatter shape actually cooks a bit faster and gives you more surface area for the crunchy coating.
How do I make gluten-free panko fried shrimp?
I simply swap in a gluten-free flour blend and gluten-free panko crumbs, and the rest of the recipe stays exactly the same.

Panko Fried Shrimp Recipe
Ingredients
Method
- I pat each shrimp completely dry with paper towels before doing anything else. Any extra moisture on the surface stops the flour from sticking properly. This one small step makes a noticeable difference in how crisp the final coating turns out.
- In a shallow bowl, I mix the flour with sea salt and black pepper until it’s evenly combined. This seasoned flour is the very first layer of flavor the shrimp gets. I toss the dried shrimp in it, shaking off any excess before moving on.
- Next, I dip the floured shrimp into the beaten egg, making sure each piece is fully coated. The egg acts as the glue that holds the panko crumbs in place during frying. I let any drips fall back into the bowl before the next step.
- I press each shrimp gently into the panko crumbs, turning it a few times so every side is covered. Pressing rather than just rolling helps the crumbs really cling on. This is the step that gives the shrimp its signature crunchy shell.
- I heat the oil to around 350-375°F in a large skillet before adding the shrimp in small batches. Each piece fries for about a minute and a half to two minutes per side, until deeply golden. I never crowd the pan, since that drops the oil temperature and leads to soggy shrimp.
- Once golden, I lift the shrimp out with tongs and set them on a wire rack to drain. This keeps the bottom from steaming and going soft the way paper towels sometimes can. A quick pinch of extra salt while they’re still hot finishes them off perfectly.
Notes
- I always use a thermometer for the oil, because guessing the temperature is the easiest way to end up with greasy shrimp.
- I keep one hand for the wet ingredients and one hand for the dry ones, so my fingers don’t turn into a breaded mess.
- I fry in small batches of five or six shrimp at a time to keep the oil temperature steady.
- I season the flour generously, since that’s really where a lot of the flavor comes from.
- I let the shrimp rest on a wire rack for a minute before serving so the coating sets and stays crunchy.