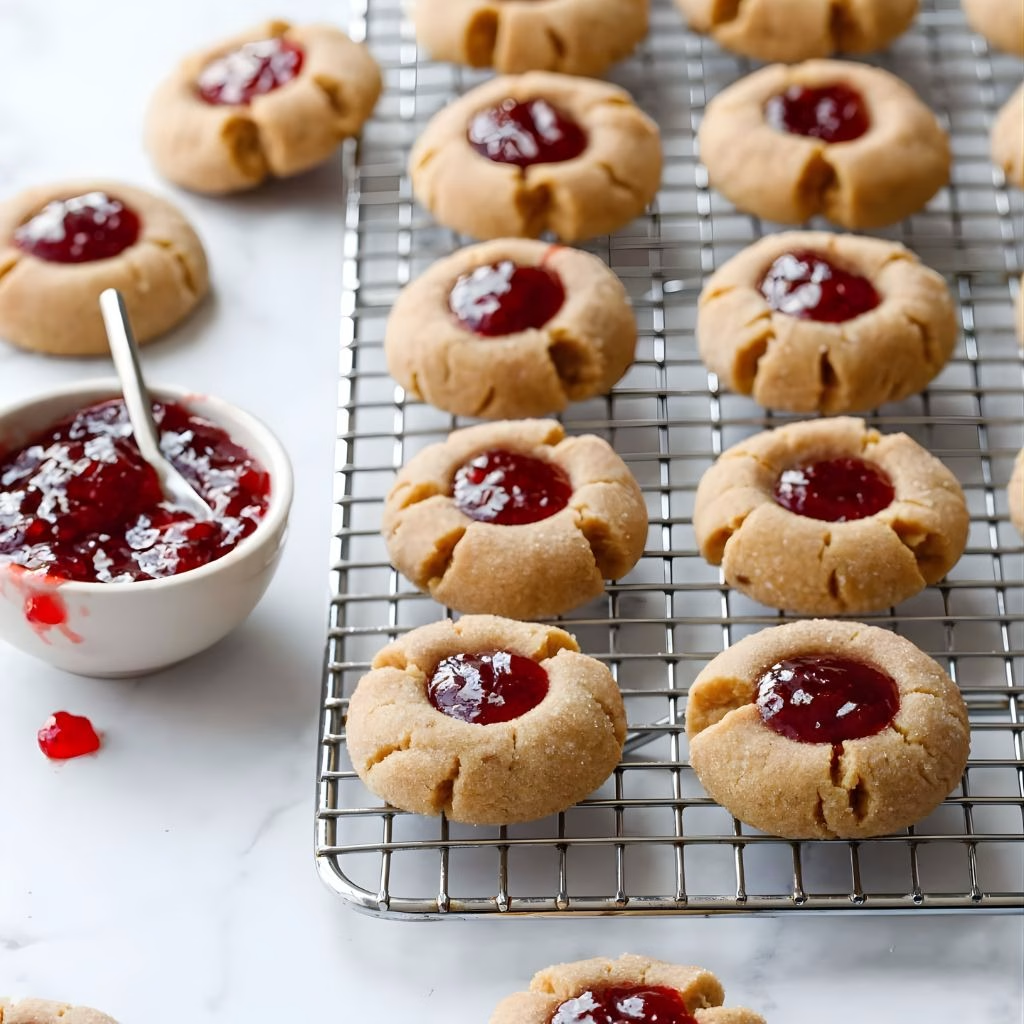
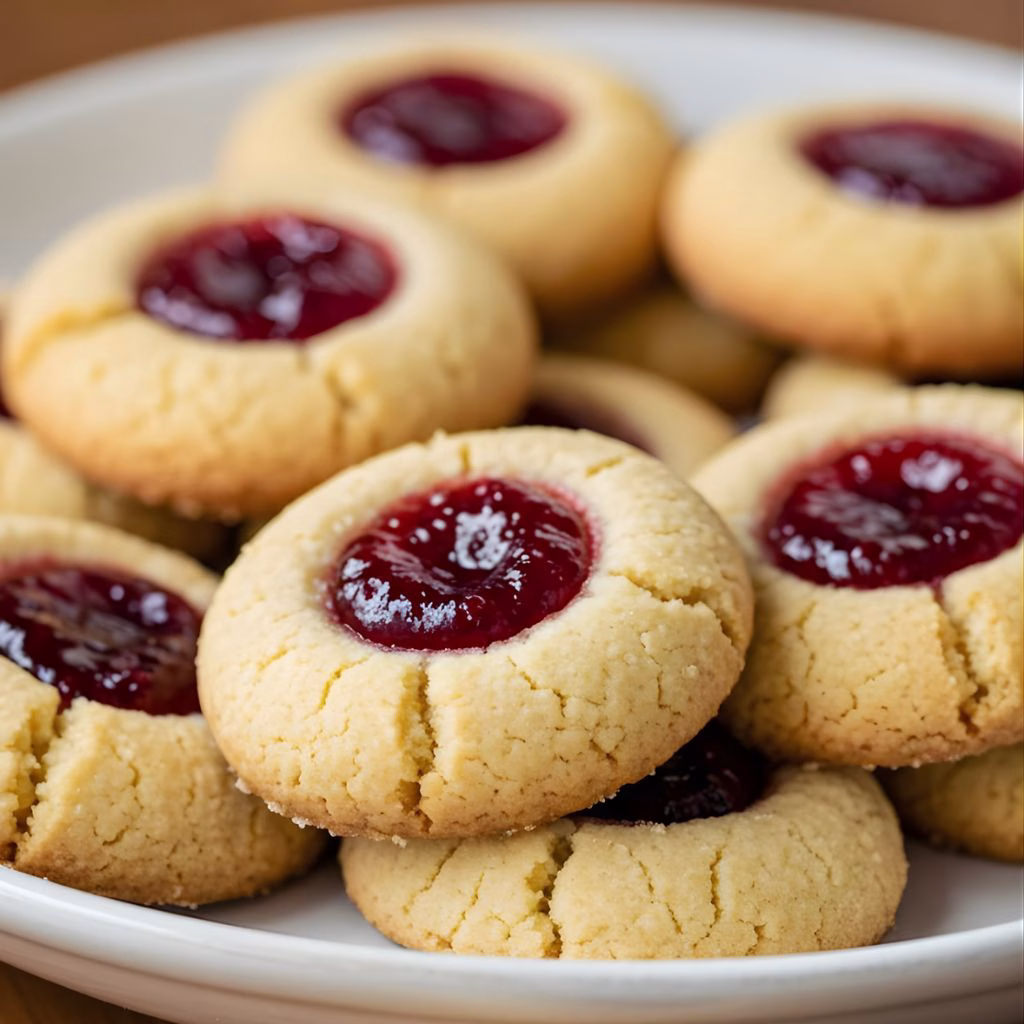
I have to admit, making the Peanut Butter and Jelly Thumbprint Cookies Recipe is one of my favorite baking adventures. There’s something so nostalgic about that first bite—it takes me straight back to childhood lunchboxes. I recently tried this recipe, and the combination of peanut butter’s creaminess with sweet, fruity jelly blew me away.
I even thought about pairing them with a warm, comforting dish like Garlic Bread Leftover Turkey Pot Pie Recipe for a cozy dessert twist. I love how simple it is to make, but it feels so special when served. Honestly, these cookies disappear faster than I can even count!

Ingredients
Here’s everything you’ll need to make these cookies perfectly. I’ve included pro tips so your cookies come out just right every time.
- 1 cup creamy peanut butter – I prefer unsalted for better control of sweetness.
- 1/2 cup unsalted butter, softened – Soft butter helps create a tender cookie texture.
- 1/2 cup granulated sugar – Balances the peanut butter’s savory taste.
- 1/2 cup brown sugar – Adds moisture and a slight caramel flavor.
- 1 large egg – Brings the dough together and adds richness.
- 1 teaspoon vanilla extract – Enhances the flavor, making the cookie taste more rounded.
- 1 1/4 cups all-purpose flour – I always sift mine for a lighter cookie.
- 1/2 teaspoon baking soda – Gives the cookie a little lift.
- 1/4 teaspoon salt – Balances sweetness and enhances the peanut flavor.
- 1/2 cup jelly or jam of choice – I like grape or raspberry for a classic taste.
Note: several serving as a note of full line under the ingredients according to the quantity.
Variations
If you want to switch things up, there are plenty of ways to customize these cookies:
- Dairy-Free: Swap butter with coconut oil or vegan butter.
- Sugar-Free: Use a sugar substitute like erythritol or monk fruit sweetener.
- Flavor Add-ins: Add chocolate chips, chopped nuts, or a sprinkle of cinnamon for an extra twist. You could even mix flavors inspired by dishes like Baked Sausage Ricotta Pasta Recipe for a unique dessert pairing.
- Alternative Jellies: Try strawberry, blueberry, or even marmalade to change the flavor profile.
Cooking Time
Here’s a quick breakdown so you know how long you’ll be in the kitchen:
- Prep Time: 15 minutes
- Cooking Time: 12-14 minutes
- Total Time: 30 minutes
Equipment You Need
To make these cookies easily, gather these tools:
- Mixing bowls – For combining wet and dry ingredients separately.
- Electric mixer – Makes creaming butter and sugar effortless.
- Baking sheet – For placing cookies evenly in the oven.
- Parchment paper – Prevents cookies from sticking and makes cleanup easy.
- Spoon or cookie scoop – Helps portion cookies consistently.
- Small spoon or thumb – For making the indentations for the jelly.
How to Make Peanut Butter and Jelly Thumbprint Cookies Recipe
Prepare the Dough
Start by creaming the peanut butter, butter, and sugars until light and fluffy. Then, beat in the egg and vanilla until smooth. Finally, mix in the flour, baking soda, and salt until just combined.
Shape the Cookies
Use a spoon or cookie scoop to form balls of dough, about 1 inch in diameter. Place them evenly on a lined baking sheet. Make an indentation in the center of each ball with your thumb or a small spoon.
Add the Jelly
Fill each indentation with about 1/2 teaspoon of your favorite jelly or jam. Don’t overfill—it will spread during baking but still hold a perfect thumbprint shape.
Bake the Cookies
Preheat your oven to 350°F (175°C) and bake for 12-14 minutes. The cookies should be slightly golden around the edges but soft in the center. Let them cool on the baking sheet for a few minutes before transferring to a wire rack.
Additional Tips for Making this Recipe Better
From my experience, these tips make a big difference:
- I always chill the dough for 10 minutes if it feels too soft—it prevents spreading.
- Using room temperature butter makes the creaming process easier and yields a lighter cookie.
- I gently press the thumbprint after baking if it has puffed up too much.
- I rotate the baking sheet halfway through to ensure even baking.
How to Serve Peanut Butter and Jelly Thumbprint Cookies Recipe
These cookies are as fun to serve as they are to eat. I like to arrange them on a decorative plate and sprinkle a little powdered sugar over the top for a charming look. Pair them with a cold glass of milk or tea for a nostalgic snack. For parties, I sometimes place them in cupcake liners for a polished presentation.
Nutritional Information
Here’s a quick look at the nutritional breakdown per cookie:
- Calories: Around 150 per cookie – a sweet treat that doesn’t feel too heavy.
- Protein: 4 grams – thanks to peanut butter, it has a little protein boost.
- Carbohydrates: 18 grams – mostly from the sugar and jelly.
- Fat: 8 grams – healthy fats from peanut butter make it satisfying.
Make Ahead and Storage
Storing
You can keep these cookies in an airtight container at room temperature for up to 5 days. I usually store them on a single layer with parchment paper in between.
Freezing
These cookies freeze well—just place them in a freezer-safe bag or container for up to 3 months. I thaw them at room temperature for 30-60 minutes before serving.
Reheating
I like to warm mine in a 300°F (150°C) oven for 5 minutes to revive that freshly-baked feel. A quick 10-second microwave zap also works for a soft, gooey treat.
Why You’ll Love This Recipe?
Here are the reasons I keep coming back to this recipe:
- Easy to Make: Minimal ingredients and simple steps make it beginner-friendly.
- Customizable: You can adjust the jelly flavor, add nuts, or make it dairy-free.
- Nostalgic Flavor: The classic peanut butter and jelly combo always brings smiles.
- Perfect Snack: Great for lunchboxes, parties, or a cozy night in.
- Crowd-Pleaser: Soft, sweet, and slightly salty—it’s hard not to love these cookies.
Peanut Butter and Jelly Thumbprint Cookies Recipe
Ingredients
Method
- Start by creaming the peanut butter, butter, and sugars until light and fluffy. Then, beat in the egg and vanilla until smooth. Finally, mix in the flour, baking soda, and salt until just combined.
- Use a spoon or cookie scoop to form balls of dough, about 1 inch in diameter. Place them evenly on a lined baking sheet. Make an indentation in the center of each ball with your thumb or a small spoon.
- Fill each indentation with about 1/2 teaspoon of your favorite jelly or jam. Don’t overfill—it will spread during baking but still hold a perfect thumbprint shape.
- Preheat your oven to 350°F (175°C) and bake for 12-14 minutes. The cookies should be slightly golden around the edges but soft in the center. Let them cool on the baking sheet for a few minutes before transferring to a wire rack.
Notes
- I always chill the dough for 10 minutes if it feels too soft—it prevents spreading.
- Using room temperature butter makes the creaming process easier and yields a lighter cookie.
- I gently press the thumbprint after baking if it has puffed up too much.
- I rotate the baking sheet halfway through to ensure even baking.