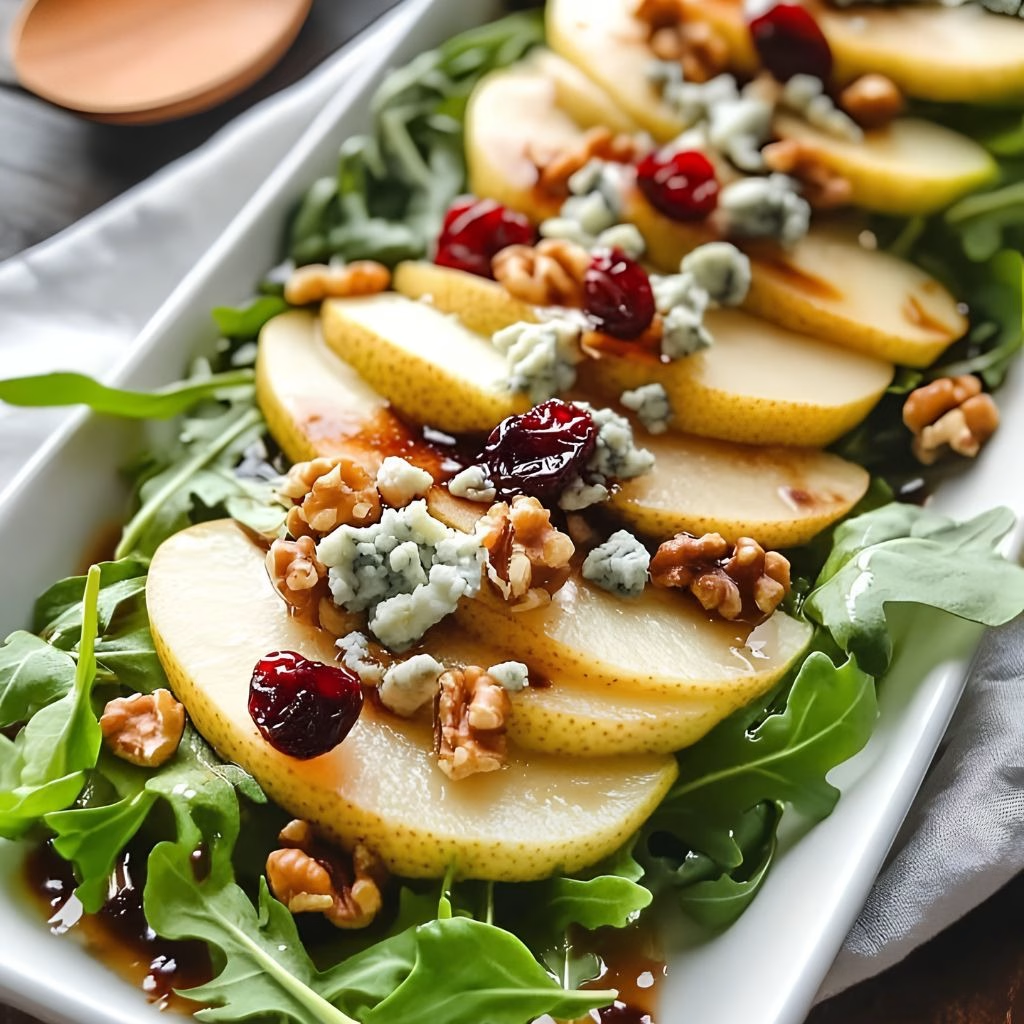
I still remember the first time I tossed together a Pear and Walnut Salad Recipe for a weeknight dinner, and I honestly couldn’t believe how something so simple tasted like it came straight from a restaurant kitchen.
I’ve made this salad more times than I can count now, and it’s become my go-to whenever I want something fresh, a little fancy, and ready in minutes. There’s just something about ripe pear slices, toasted walnuts, and creamy goat cheese all coming together under a honey lemon vinaigrette that never gets old for me.
If you’ve never tried fruit in your salads before, this recipe is exactly where I’d tell you to start. Trust me, once you make it, you’ll be reaching for pears every time you hit the produce aisle.
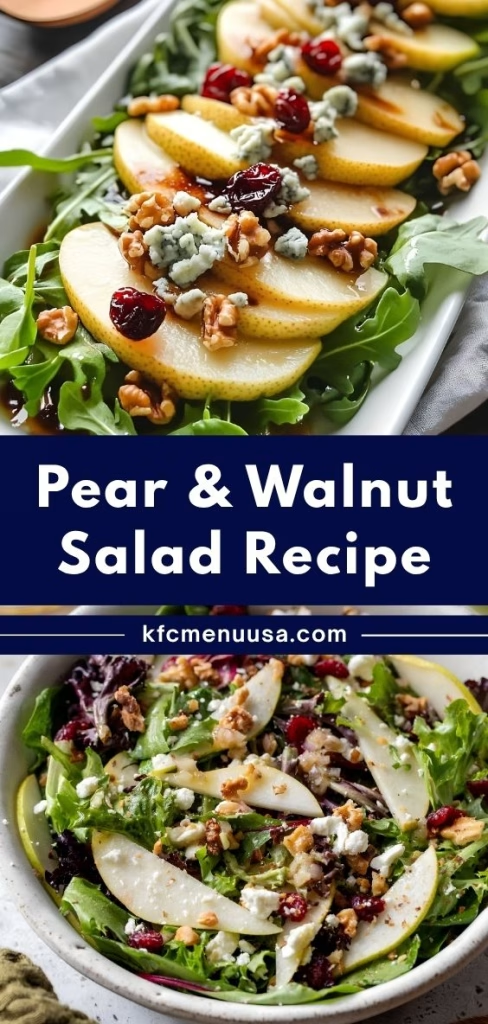
Cooking Time
- Prep Time: 10 minutes
- Cooking Time: 5 minutes (just for toasting the walnuts)
- Total Time: 15 minutes
Ingredients
- 6 cups mixed spring greens – I like a blend with a bit of arugula mixed in for a peppery bite
- 1 ripe pear, thinly sliced – pick one that’s mostly yellow with a hint of green, not mushy
- ¼ cup red onion, diced – soak it in cold water for 5 minutes if you want a milder bite
- ⅓ cup walnuts, toasted – toasting brings out so much more flavor than raw walnuts
- 2 oz. goat cheese, crumbled – I always crumble it fresh rather than buying pre-crumbled cheese
- ½ lemon, juiced – fresh lemon juice makes a huge difference over bottled
- 4 tbsp olive oil – use a good extra virgin olive oil since it’s the base of the dressing
- 2 tbsp white wine vinegar – adds the tangy backbone to the vinaigrette
- 1 tbsp honey – balances the acidity with just the right touch of sweetness
- ½ tsp salt – helps every flavor in the salad pop
- Freshly ground black pepper – I add this to taste right at the end
Note: This recipe serves 4-5 people as a side salad, or 2-3 as a light main dish.
Equipment You Need
- Large salad bowl – for tossing and serving the greens
- Small mixing bowl – for whisking together the vinaigrette
- Whisk or fork – to emulsify the dressing ingredients
- Sharp knife – for slicing the pear and dicing the red onion
- Small skillet – for toasting the walnuts
- Citrus juicer (optional) – makes juicing the lemon quick and mess-free
How to Make Pear and Walnut Salad Recipe?
I promise this salad comes together faster than it takes to set your table. There’s no cooking involved beyond a quick toast of the walnuts, so most of your time goes into simple prep work. Here’s exactly how I build mine from start to finish.
Toast the Walnuts
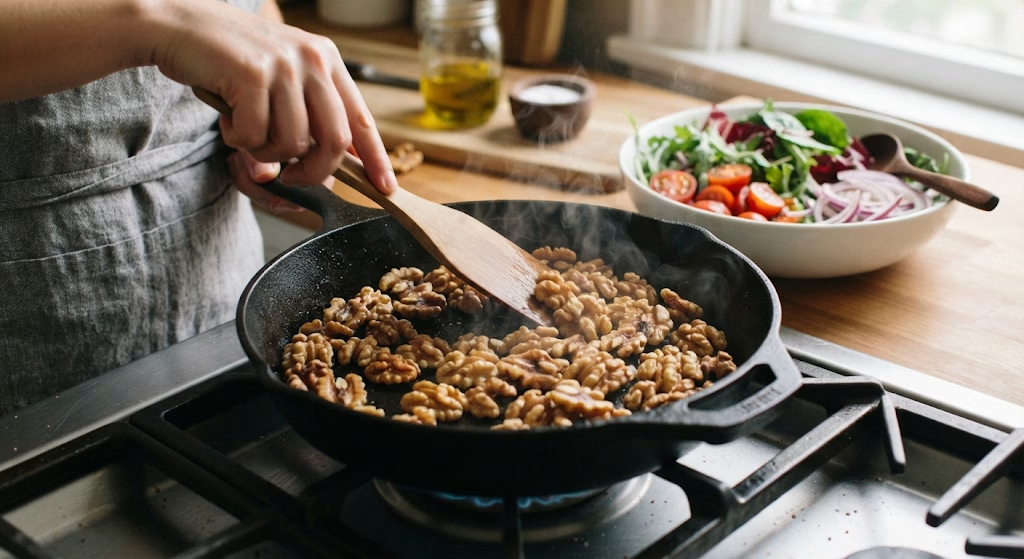
I start by heating a dry skillet over medium heat and adding the walnuts in a single layer. I let them toast for about 3-4 minutes, stirring often so they don’t burn. You’ll know they’re ready when they smell nutty and fragrant. I always let them cool for a minute before adding them to the salad.
Prep the Greens and Toppings
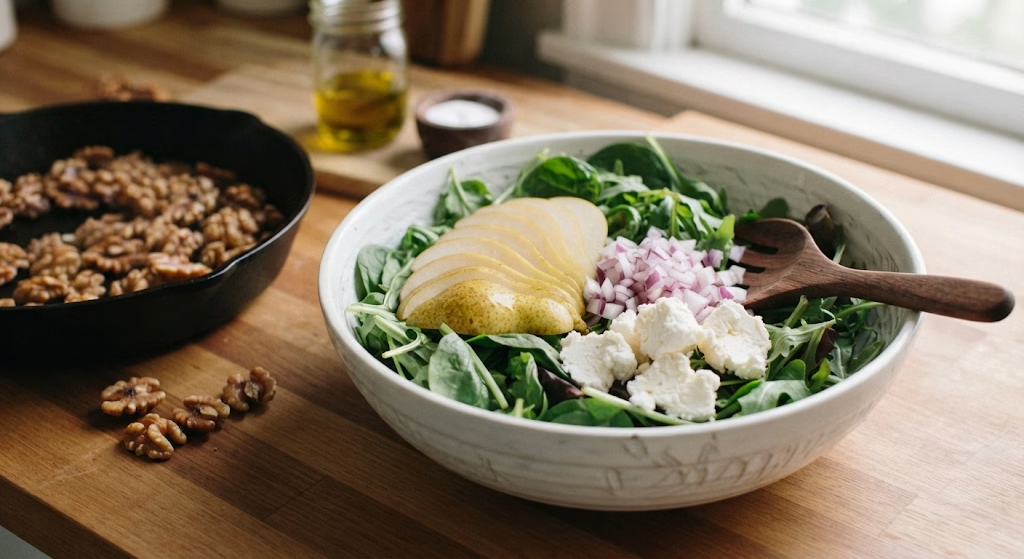
While the walnuts cool, I wash and dry my spring greens thoroughly and add them to a large salad bowl. I thinly slice the pear right before assembling so it doesn’t brown, then dice the red onion. I crumble the goat cheese into small pieces so it distributes evenly through every bite.
Layer the Salad
I place the greens as my base, then top them with the sliced pear, diced red onion, toasted walnuts, and crumbled goat cheese. I like to scatter everything evenly rather than piling it in one spot so every forkful gets a bit of each ingredient.
Whisk the Vinaigrette
In a small bowl, I whisk together the lemon juice, olive oil, white wine vinegar, honey, salt, and pepper until everything is well combined and slightly thickened. I always taste it before pouring, adjusting the honey or salt if needed.
Dress and Toss
Right before serving, I drizzle the vinaigrette over the salad and gently toss everything together. I like using tongs so I don’t bruise the delicate greens. I serve it immediately while the walnuts are still crunchy and the pear is fresh.
Additional Tips for Making This Recipe Better
After making this salad so many times, I’ve picked up a few tricks that make it even better every time.
- I always toast my walnuts, even if I’m short on time, because it makes such a noticeable difference in flavor and crunch.
- I slice my pear last, right before I’m ready to assemble, so it doesn’t brown or turn mushy while sitting out.
- I like to squeeze a tiny bit of lemon juice over the sliced pear if I’m not serving right away, just to keep it looking fresh.
- I always taste my vinaigrette before adding it to the salad since honey brands vary in sweetness, and I adjust from there.
- I like tossing in a handful of dried cranberries when I want a bit more sweetness and color in the mix.
Common Mistakes to Avoid
- I’ve dressed my salad too early before, and the greens turned soggy within minutes, so now I always dress right before serving.
- I once used a pear that was way too ripe, and it turned mushy and hard to slice, so I always look for one that’s still slightly firm.
- I skipped toasting the walnuts once when I was rushing, and I really noticed how flat they tasted compared to toasted ones.
- I’ve overdressed my salad before, which drowned out the fresh flavors, so now I add the vinaigrette a little at a time and toss as I go.
- I forgot to dry my greens thoroughly one time, and the extra water diluted the dressing, so I always spin or pat them dry first.
How to Serve Pear and Walnut Salad?
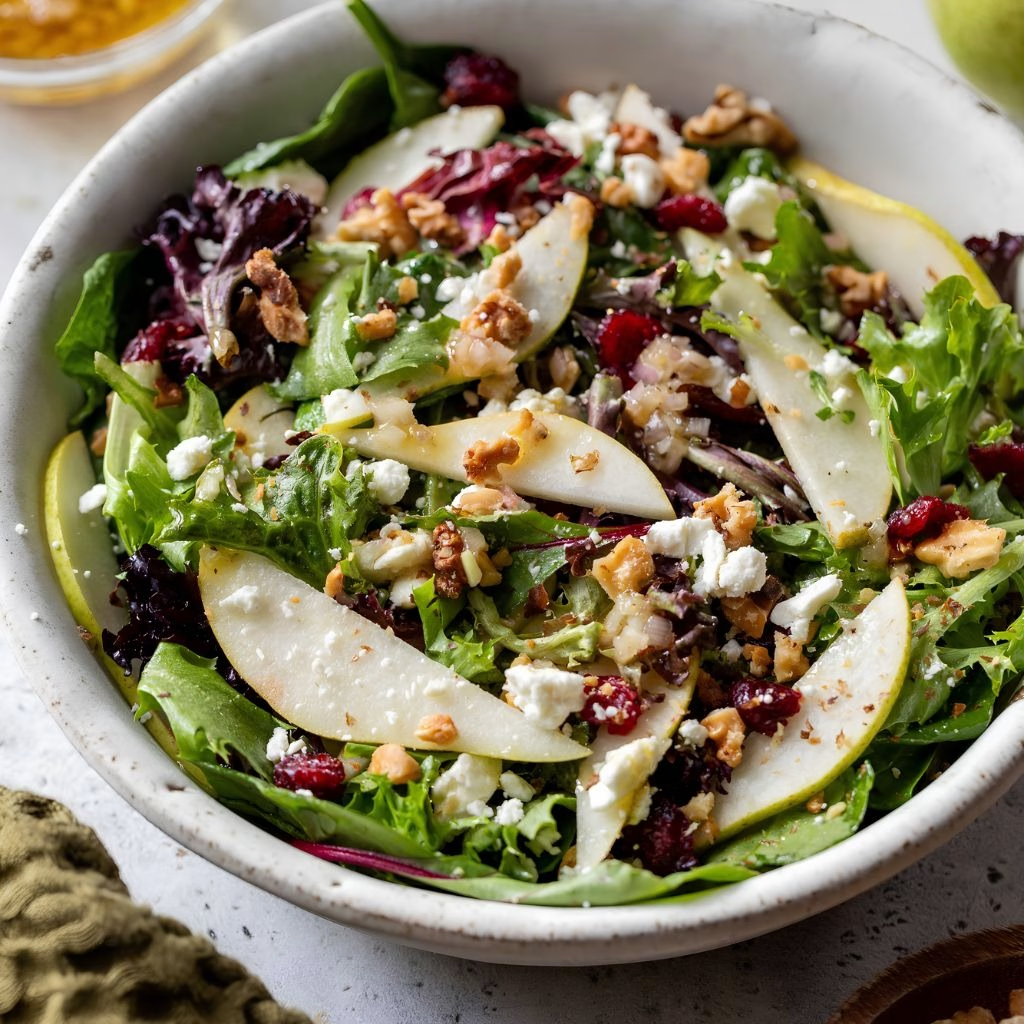
I love serving this salad on a large, shallow platter rather than a deep bowl because it lets all the toppings show off instead of sinking to the bottom. A few extra walnut pieces and a light crumble of goat cheese scattered on top right before serving makes it look extra inviting. I sometimes finish it with a few cracks of black pepper and a light drizzle of honey for shine.
This salad pairs beautifully alongside roasted chicken, grilled salmon, or a warm bowl of soup, and it also works well as a light lunch on its own with a piece of crusty bread on the side. For another comforting meal with fresh ingredients, Green Olive Pasta with Toasted Lemon Breadcrumbs Recipe makes a natural addition to a similar weeknight menu, while Coconut Fish Stew With Ginger & Greens Recipe offers another seafood-centered option.
Variations
- Swap goat cheese for feta if you want a saltier, tangier flavor in every bite.
- Use pecans or candied walnuts instead of plain toasted walnuts for extra sweetness and crunch.
- Try a honey mustard dressing instead of the lemon honey vinaigrette for a slightly different flavor profile.
- Make it dairy-free by leaving out the cheese or using a plant-based feta alternative.
- Add sliced apple alongside or instead of pear for an autumn-inspired twist.
- Toss in cooked, cooled quinoa or farro to turn this into a heartier main-dish salad.
- Use a sugar-free sweetener in place of honey if you’re watching your sugar intake.
Nutritional Information
Here’s a general breakdown per serving, based on this recipe making 4-5 servings.
- Calories: approximately 220-260 kcal
- Protein: approximately 5-6 g
- Carbohydrates: approximately 14-16 g
- Fat: approximately 18-20 g
Make Ahead and Storage
If you want to prep ahead, I recommend keeping the greens, toppings, and vinaigrette stored separately until you’re ready to serve. This keeps everything crisp and fresh instead of getting soggy in the fridge.
The undressed salad components will stay fresh in an airtight container in the refrigerator for up to 2 days, while the vinaigrette keeps well for about a week when stored in a sealed jar.
I don’t recommend freezing this salad since the greens and pear won’t hold their texture once thawed, and there’s no reheating step needed since it’s meant to be enjoyed cold and fresh.
Why You’ll Love This Recipe?
There are so many reasons this pear and walnut salad has become a regular in my kitchen rotation.
- It comes together in just 15 minutes, which makes it perfect for busy weeknights or last-minute guests.
- It feels fancy and restaurant-worthy without requiring any complicated techniques or hard-to-find ingredients.
- It’s easy to customize with different cheeses, nuts, or dressings depending on what I have on hand.
- It works as a light lunch, a dinner side, or even a holiday table addition, so it fits almost any occasion.
- It’s naturally gluten-free and easy to adapt to dairy-free or vegan diets with a few simple swaps.
FAQs
Can I use a different type of pear for this salad?
Yes, absolutely. I’ve used Bartlett, Anjou, and Bosc pears, and they all work well as long as the pear is ripe but still firm.
What’s the best dressing for a pear and walnut salad?
I love a honey lemon vinaigrette, but a honey mustard dressing also works beautifully if you want a bit more tang and depth.
Can I make this salad ahead of time?
I recommend prepping the ingredients ahead but waiting to dress the salad until right before serving so the greens stay crisp.
Is this pear and walnut salad recipe easy for beginners?
Definitely. I’d call this one of the easiest salads I make since there’s no real cooking involved beyond toasting the walnuts.
Can I turn this into a full meal instead of a side dish?
Yes, I often add grilled chicken, salmon, or cooked quinoa to bulk it up into a satisfying main course for lunch or dinner.

Pear and Walnut Salad Recipe
Ingredients
Method
- I start by heating a dry skillet over medium heat and adding the walnuts in a single layer. I let them toast for about 3-4 minutes, stirring often so they don’t burn. You’ll know they’re ready when they smell nutty and fragrant. I always let them cool for a minute before adding them to the salad.
- While the walnuts cool, I wash and dry my spring greens thoroughly and add them to a large salad bowl.
- I place the greens as my base, then top them with the sliced pear, diced red onion, toasted walnuts, and crumbled goat cheese. I like to scatter everything evenly rather than piling it in one spot so every forkful gets a bit of each ingredient.
- In a small bowl, I whisk together the lemon juice, olive oil, white wine vinegar, honey, salt, and pepper until everything is well combined and slightly thickened. I always taste it before pouring, adjusting the honey or salt if needed.
- Right before serving, I drizzle the vinaigrette over the salad and gently toss everything together. I like using tongs so I don’t bruise the delicate greens. I serve it immediately while the walnuts are still crunchy and the pear is fresh.
Notes
- I always toast my walnuts, even if I’m short on time, because it makes such a noticeable difference in flavor and crunch.
- I slice my pear last, right before I’m ready to assemble, so it doesn’t brown or turn mushy while sitting out.
- I like to squeeze a tiny bit of lemon juice over the sliced pear if I’m not serving right away, just to keep it looking fresh.
- I always taste my vinaigrette before adding it to the salad since honey brands vary in sweetness, and I adjust from there.
- I like tossing in a handful of dried cranberries when I want a bit more sweetness and color in the mix.