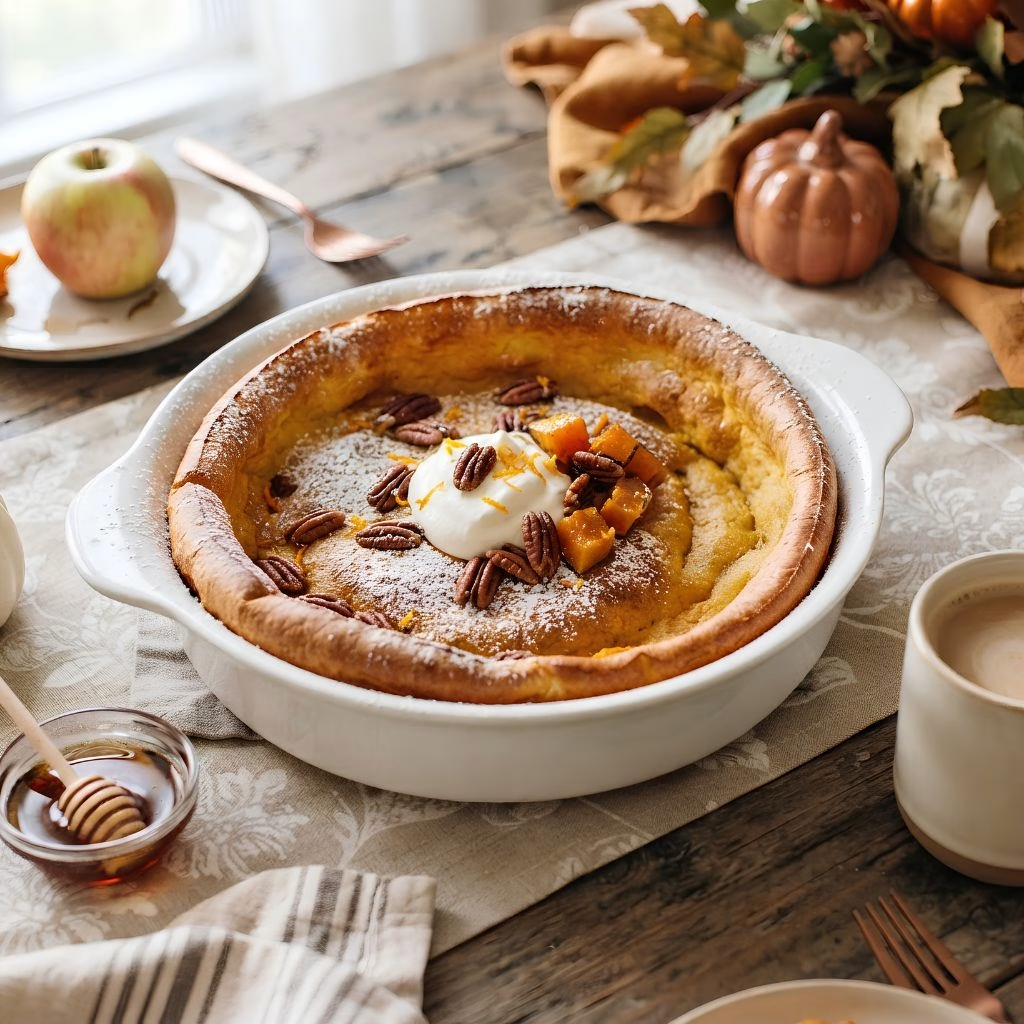
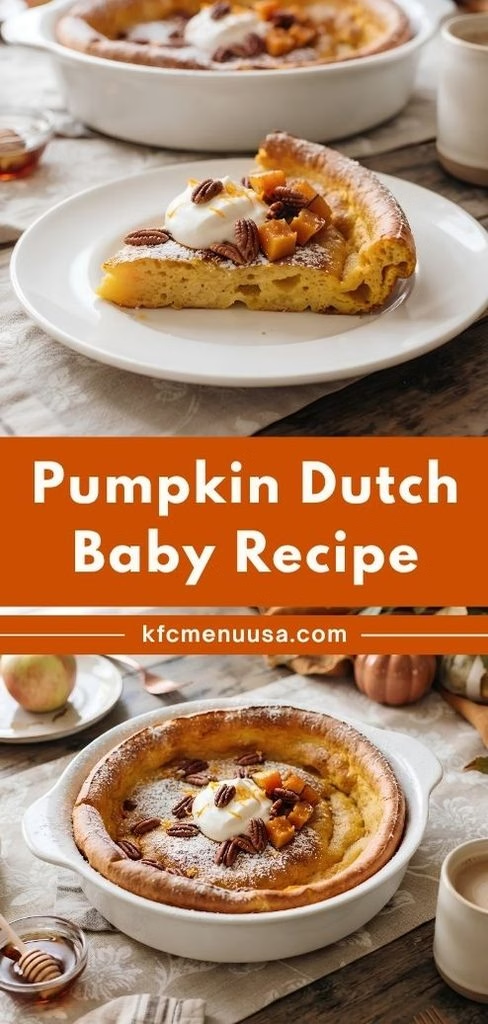
I still remember pulling my very first Pumpkin Dutch Baby Recipe out of the oven and just staring at it, because I genuinely didn’t expect it to puff up that dramatically. It’s one of those recipes that looks like it took real effort, but honestly I threw the batter together in one bowl while my skillet heated up.
Ever since that first try, this has become my go-to whenever I want a cozy fall breakfast that feels a little bit fancy. I love that it’s basically one pan, one whisk, and almost no cleanup. If you’ve never made a fall Dutch baby before, I promise this pumpkin version is the perfect place to start.
Cooking Time
- Prep Time: 10 minutes
- Cooking Time: 28 to 30 minutes
- Total Time: 40 minutes
Ingredients
- 3 tablespoons unsalted butter — melts in the hot skillet and helps the edges turn deeply golden and crisp
- 3 large eggs — the backbone of the batter, giving it that classic custardy puff
- ⅔ cup all-purpose flour — spoon and level it so the batter doesn’t turn dense
- ⅔ cup whole milk — thins the batter to the right pourable consistency
- ½ cup pumpkin purée — use plain pumpkin purée, not pumpkin pie filling, since that’s already sweetened
- 2 tablespoons granulated sugar — just enough sweetness without overpowering the pumpkin flavor
- 1 teaspoon vanilla extract — adds warmth and rounds out the spices nicely
- ¾ teaspoon ground cinnamon — the classic fall spice that makes this taste like autumn
- ¼ teaspoon ground nutmeg — a small amount goes a long way toward that cozy flavor
- ¼ teaspoon salt — balances the sweetness and keeps the batter from tasting flat
- Powdered sugar and maple syrup, for serving — totally optional, but I never skip them
Note: this recipe serves 4.
Equipment You Need
- 11- or 12-inch cast iron skillet — essential for getting that dramatic puff and crisp edge
- Medium mixing bowl — for whisking the batter together
- Whisk — helps break up lumps so the batter bakes up smooth
- Measuring cups and spoons — keeps your ratios accurate every time
- Oven mitts — that skillet handle gets seriously hot
- Spatula — for lifting and cutting the pancake into wedges
How to Make Pumpkin Dutch Baby Recipe?
This recipe comes together in just a few simple stages, and there’s really no way to mess it up if you follow the order. You’ll heat the skillet first, then whisk the batter while it warms, then let the oven do all the work. Here’s exactly how I make mine every single time.
Preheat the Oven and Skillet
Start by setting your oven to 425°F. Place the butter directly into your cast iron skillet and slide it into the oven so it melts while everything heats up. This step matters because a hot, buttered pan is what makes the batter puff so dramatically once it hits the heat.
Whisk the Batter
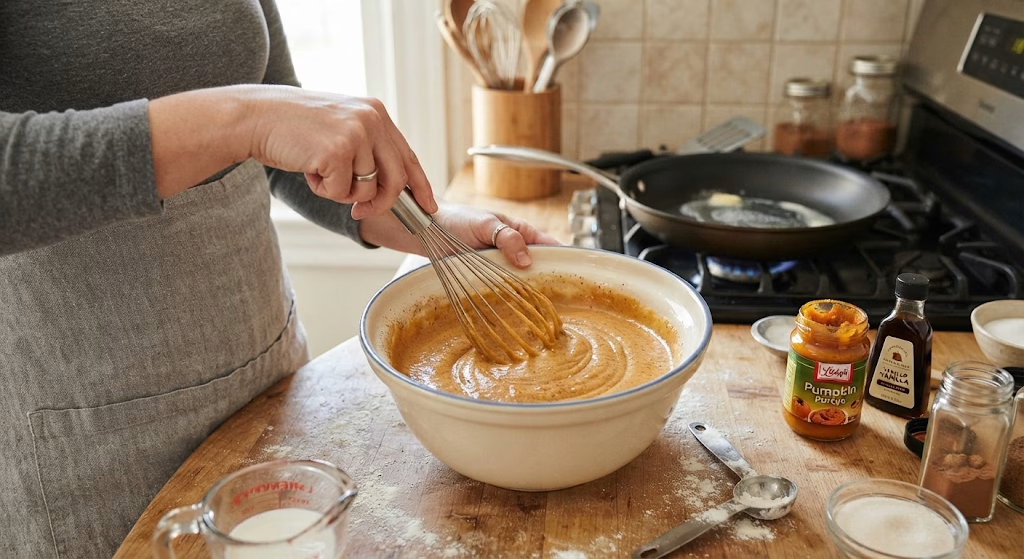
While the skillet is heating, whisk your eggs in a medium bowl until they’re fully blended. Add the flour, milk, pumpkin purée, sugar, vanilla, cinnamon, nutmeg, and salt, whisking until the mixture is smooth and no lumps remain.
Pour the Batter Into the Hot Skillet
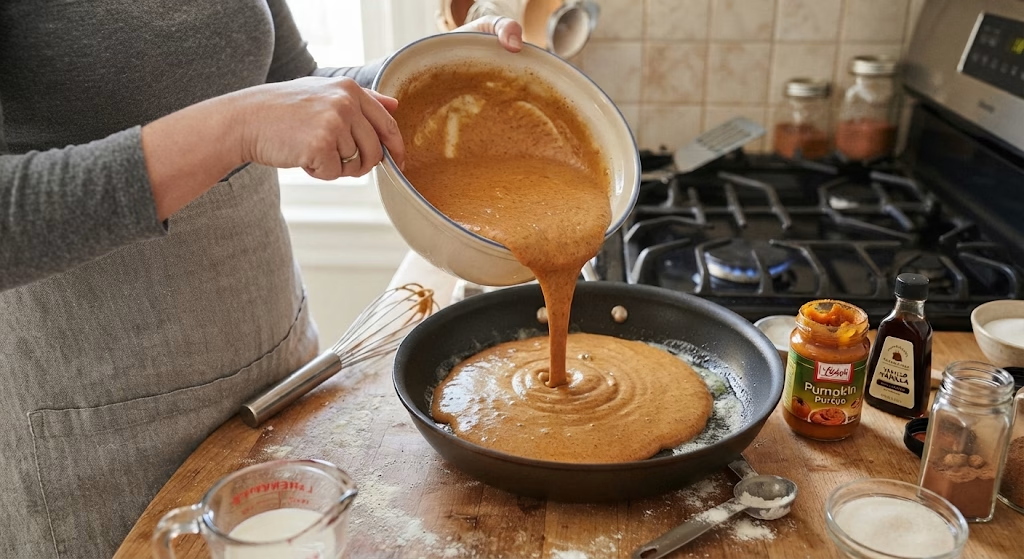
Carefully pull the skillet out of the oven once the butter has melted completely. Pour your batter directly over the melted butter, letting it spread naturally to fill the pan without stirring it again.
Bake Until Puffed and Golden
Slide the skillet back into the oven and bake for 28 to 30 minutes. You’ll see the edges rise dramatically around the 20-minute mark, and the top should turn a deep golden brown by the time it’s done.
Slice and Serve Immediately
Pull the skillet out and cut the pancake into wedges right away, since it will start deflating within a minute or two of leaving the oven. Transfer the wedges to plates and add your toppings before it cools.
Additional Tips for Making This Recipe Better
I’ve made this recipe more times than I can count now, and here’s what actually makes a difference for me.
- I always make sure my eggs and milk are at room temperature, since a cold batter hitting a hot pan doesn’t puff nearly as well.
- I never open the oven door early to peek, because that drop in temperature can stop the rise before it really gets going.
- I like using real pumpkin purée instead of pie filling, since the added spices and sugar in pie filling throw off the whole balance.
- I always serve this the moment it comes out of the oven, since the dramatic puff is half the fun and it fades fast.
- I keep my cast iron skillet well-seasoned, which helps the edges crisp up instead of sticking.
Common Mistakes to Avoid
- I once used a cold skillet straight from the cabinet, and my Dutch baby barely puffed at all, so I always preheat it properly now.
- I opened the oven early to check on mine, and it deflated right there in front of me before it even finished baking.
- I used pumpkin pie filling by accident once, and the whole thing turned out overly sweet and a bit muddled in flavor.
- I overmixed my batter one time trying to get it perfectly smooth, and it turned out slightly tougher than I wanted.
- I left it sitting on the counter too long before slicing, and by the time I served it, all that beautiful puff had completely disappeared.
How to Serve Pumpkin Dutch Baby?
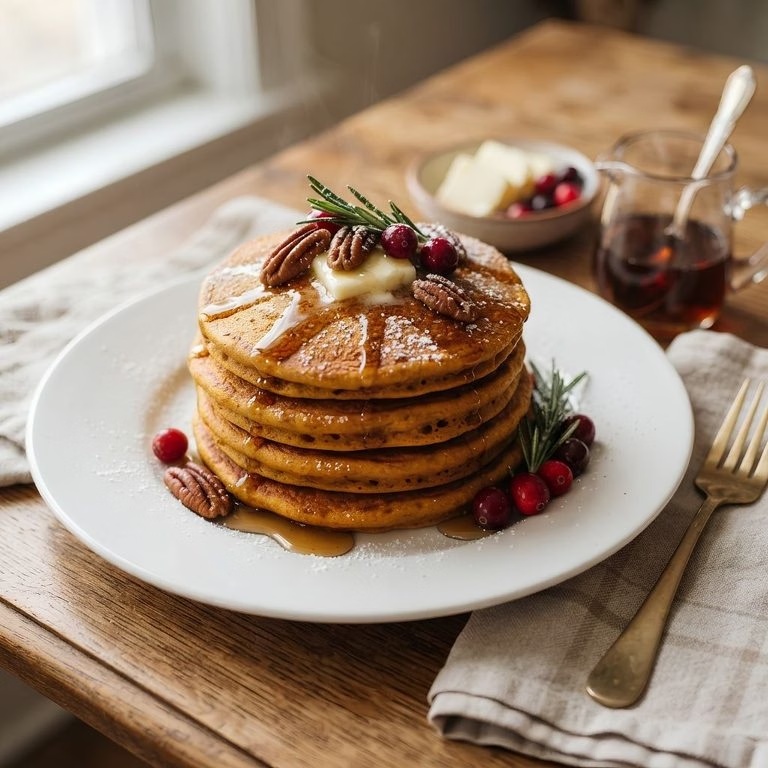
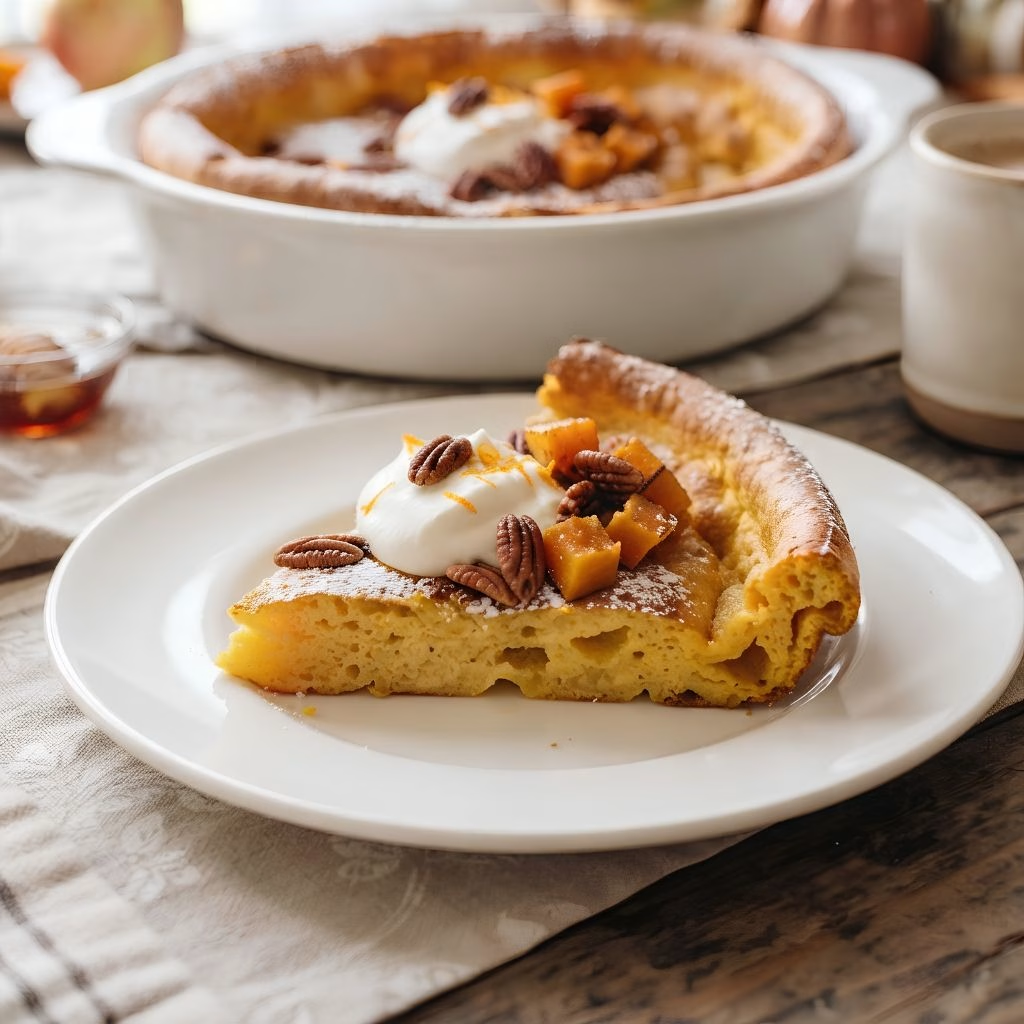
I like bringing the whole skillet straight to the table, since watching it deflate in front of everyone is honestly part of the charm. A generous dusting of powdered sugar right before serving makes it look bakery-worthy in seconds.
I’ll usually add a drizzle of warm maple syrup and a few pecans on top for crunch, though a dollop of whipped cream works just as well if you want something richer.
It also pairs beautifully alongside another fall staple, like a batch of fluffy pumpkin oat pancakes, if you’re feeding a bigger crowd and want more than one pumpkin option on the table.
Variations
- Try a butternut squash Dutch baby by swapping the pumpkin purée for butternut squash purée for a slightly sweeter, nuttier flavor
- Make it a sourdough pumpkin Dutch baby by replacing two tablespoons of the flour with sourdough discard for extra depth and tang
- Use oat flour in place of all-purpose flour if you want a dutch baby with oat flour that’s naturally gluten-free
- Turn it into pumpkin puff pancakes by baking the batter in individual ramekins instead of one large skillet
- Add a splash of bourbon or a pinch of ground cloves for a more dutch pumpkin pie flavor profile
- Swap the milk for oat milk or almond milk for a dairy-free version
Nutritional Information
Here’s a general idea of what one wedge offers, though it will vary slightly depending on your exact ingredients.
- Calories: 210 kcal
- Protein: 7 g
- Carbohydrates: 22 g
- Fat: 10 g
Make Ahead and Storage
You can whisk the batter together the night before and keep it covered in the fridge, just give it a quick stir before pouring it into the hot skillet in the morning.
Leftover slices keep well in an airtight container in the refrigerator for up to 3 days, though the pancake will lose its puff once it’s cooled.
To reheat, warm slices in a 350°F oven for about 5 minutes, or freeze fully cooled pieces in a sealed bag for up to 2 months and thaw in the fridge before reheating.
Why You’ll Love This Recipe?
This one earns a spot in my fall rotation every single year, and here’s why I think you’ll feel the same.
- It’s genuinely easy: With just one bowl and one skillet, this comes together with almost no cleanup involved.
- It looks impressive: That dramatic puff makes it feel like a special occasion breakfast, even on an ordinary weekday.
- It’s easy to customize: Whether you want a sourdough pumpkin Dutch baby or a dairy-free spin, the base recipe adapts easily.
- It feeds a crowd: One skillet serves the whole table at once, so there’s no standing over a griddle flipping individual pancakes.
- It captures fall in every bite: Between the pumpkin and the warm spices, this tastes like autumn without needing a full pumpkin pie.
FAQs
Can I make this pumpkin german pancake without a cast iron skillet?
Yes, any oven-safe skillet works, though cast iron holds heat best and gives you the crispest edges.
Why didn’t my Dutch baby puff up much?
This usually means your skillet or oven wasn’t hot enough, so make sure both are fully preheated before the batter goes in.
Can I use fresh pumpkin instead of canned purée?
Yes, just make sure it’s well-drained and smooth, since watery homemade purée can throw off the batter’s consistency.
How long does this stay fresh once baked?
It’s best eaten within minutes of coming out of the oven, though leftovers keep in the fridge for up to 3 days.
Is this the same as the pumpkin dutch baby whole foods version?
It’s inspired by that same style of skillet-baked pumpkin pancake, just with my own small tweaks to the spice blend and ratios.
If you’re planning a whole fall brunch spread, this pairs really well next to something like a stack of warm, spiced pumpkin spice pancakes for anyone who wants a second pumpkin option on the table.

Pumpkin Dutch Baby Recipe
Ingredients
Method
- Start by setting your oven to 425°F. Place the butter directly into your cast iron skillet and slide it into the oven so it melts while everything heats up. This step matters because a hot, buttered pan is what makes the batter puff so dramatically once it hits the heat.
- While the skillet is heating, whisk your eggs in a medium bowl until they’re fully blended. Add the flour, milk, pumpkin purée, sugar, vanilla, cinnamon, nutmeg, and salt, whisking until the mixture is smooth and no lumps remain.
- Carefully pull the skillet out of the oven once the butter has melted completely. Pour your batter directly over the melted butter, letting it spread naturally to fill the pan without stirring it again.
- Slide the skillet back into the oven and bake for 28 to 30 minutes. You’ll see the edges rise dramatically around the 20-minute mark, and the top should turn a deep golden brown by the time it’s done.
- Pull the skillet out and cut the pancake into wedges right away, since it will start deflating within a minute or two of leaving the oven. Transfer the wedges to plates and add your toppings before it cools.
Notes
- I always make sure my eggs and milk are at room temperature, since a cold batter hitting a hot pan doesn’t puff nearly as well.
- I never open the oven door early to peek, because that drop in temperature can stop the rise before it really gets going.
- I like using real pumpkin purée instead of pie filling, since the added spices and sugar in pie filling throw off the whole balance.
- I always serve this the moment it comes out of the oven, since the dramatic puff is half the fun and it fades fast.
- I keep my cast iron skillet well-seasoned, which helps the edges crisp up instead of sticking.