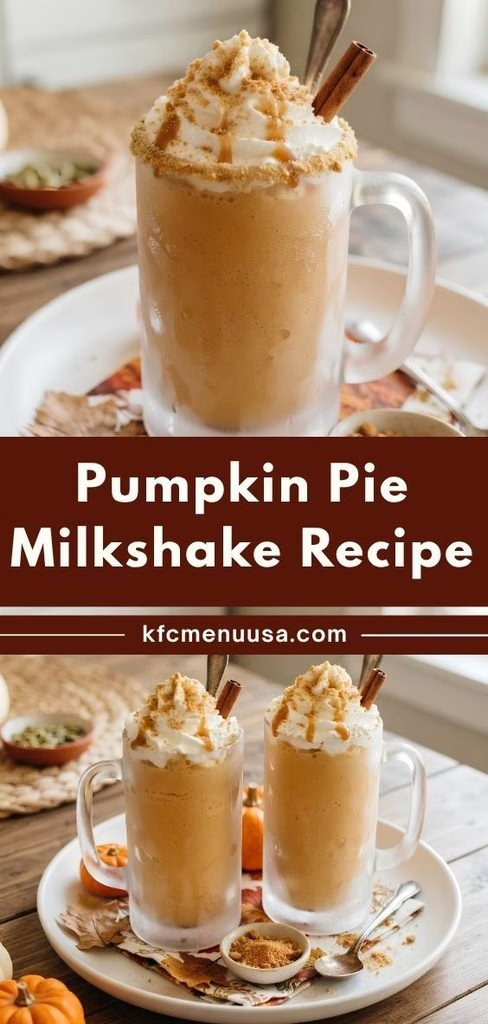
I started making this Pumpkin Pie Milkshake Recipe the first chilly week of October, and honestly, I haven’t stopped since. I wanted all the flavor of a slice of pumpkin pie without turning on my oven, and this milkshake delivers that in under ten minutes flat.
I blend it up whenever I need a little pick-me-up on a crisp afternoon, and my family always seems to appear in the kitchen the second the blender turns on. If you love an easy pumpkin milkshake recipe that tastes just as good as dessert, I think this one is going to become your new favorite too.
Cooking Time
- Prep Time: 5 minutes
- Cooking Time: 0 minutes (no-cook)
- Total Time: 5 minutes
Ingredients
- 2 cups vanilla ice cream — the creamy base that gives this shake its thick, classic milkshake texture
- ½ cup pumpkin puree — use pure canned pumpkin, not pumpkin pie filling, so you control the sweetness
- ½ cup milk — whole milk makes it richer, but any milk you have on hand will blend just fine
- 1 teaspoon pumpkin pie spice — this is what makes it taste like an actual slice of pumpkin pie
- 2 tablespoons brown sugar — adds a warm, caramel-like sweetness that white sugar just can’t match
- ½ teaspoon vanilla extract — rounds out the spices and makes the pumpkin flavor taste fuller
- Whipped cream, for topping — the finishing touch that makes this feel like a real treat
- Graham cracker crumbs, for topping — gives you that pie-crust crunch in every sip
Note: this recipe serves 2, making about two tall glasses of milkshake.
Equipment You Need
- Blender — to bring all the ingredients together into a smooth, thick shake
- Measuring cups and spoons — keeps your pumpkin flavor balanced every time
- Tall milkshake glasses — for that classic milkshake shop presentation
- Rubber spatula — helps scrape down the sides of the blender for an even blend
- Spoon or piping bag — for adding a neat swirl of whipped cream on top
How to Make Pumpkin Pie Milkshake Recipe?
This one comes together faster than almost anything else I make in my kitchen. There’s no cooking involved at all, just a blender and a few pantry staples. Here’s exactly how I put mine together every single time.
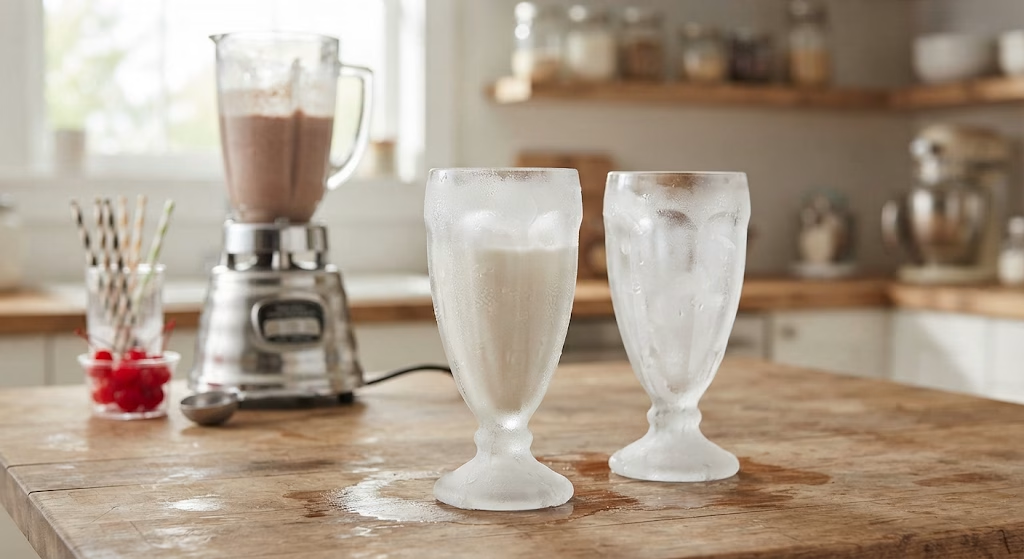
Chill Your Glasses
Before you start blending, pop your serving glasses into the freezer for about five minutes. This keeps your milkshake colder for longer once it’s poured, and it gives you that frosty, shop-style presentation people love.
Add the Ingredients to the Blender
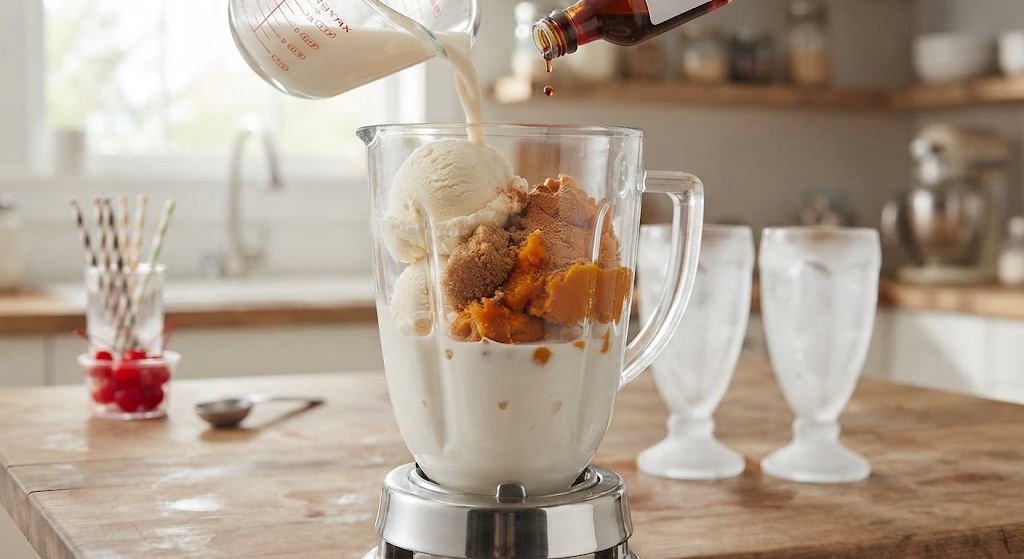
Add your vanilla ice cream, pumpkin puree, milk, pumpkin pie spice, brown sugar, and vanilla extract into the blender jar. I like adding the milk first, since it helps everything else blend more smoothly around the blades.
Blend Until Smooth
Blend everything on high for about 20 to 30 seconds, or until the mixture looks completely smooth and thick. If it looks too thick to blend evenly, stop and give it a quick stir with a spatula before blending again.
Adjust the Consistency
Take a moment to check the texture before pouring. If your shake seems too thick, add a small splash more milk, and if it’s too thin, blend in an extra scoop of ice cream.
Pour and Garnish
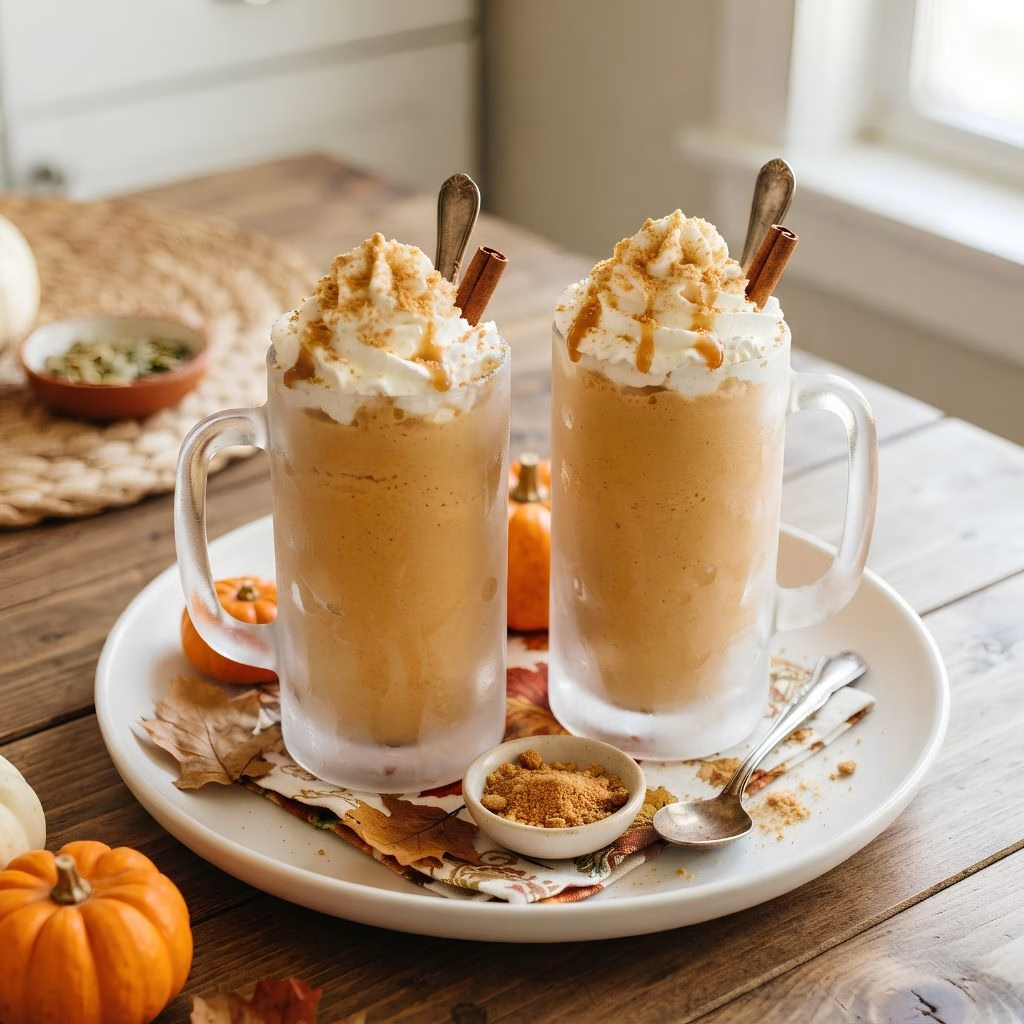
Pour your milkshake into the chilled glasses right away. Top each one with a swirl of whipped cream and a generous sprinkle of graham cracker crumbs before serving.
Additional Tips for Making This Recipe Better
I’ve made this shake more times than I can count during pumpkin season, and here’s what really makes a difference for me.
- I always chill my pumpkin puree in the fridge beforehand, since it keeps the shake colder and prevents the ice cream from melting too fast.
- I never skip the graham cracker topping, because it’s honestly what makes this taste like a real slice of pie.
- I like using a good quality vanilla ice cream, since a cheaper one can water down the pumpkin flavor.
- I sometimes drizzle a little caramel sauce around the inside of the glass before pouring, and it makes the whole thing look bakery-worthy.
- I always taste my blend before pouring, since pumpkin pie spice brands vary a lot in strength.
Common Mistakes to Avoid
- I once used pumpkin pie filling instead of plain puree, and the shake turned out way too sweet and artificial tasting.
- I skipped chilling my glasses one time, and my shake started melting before I even took the first sip.
- I added too much milk trying to make it blend faster, and it ended up thin and more like a smoothie than a milkshake.
- I forgot to scrape down the sides of my blender once, and I ended up with chunks of unblended ice cream at the bottom.
- I let my milkshake sit out too long while taking photos, and it separated before I could actually drink it.
How to Serve Pumpkin Pie Milkshake?
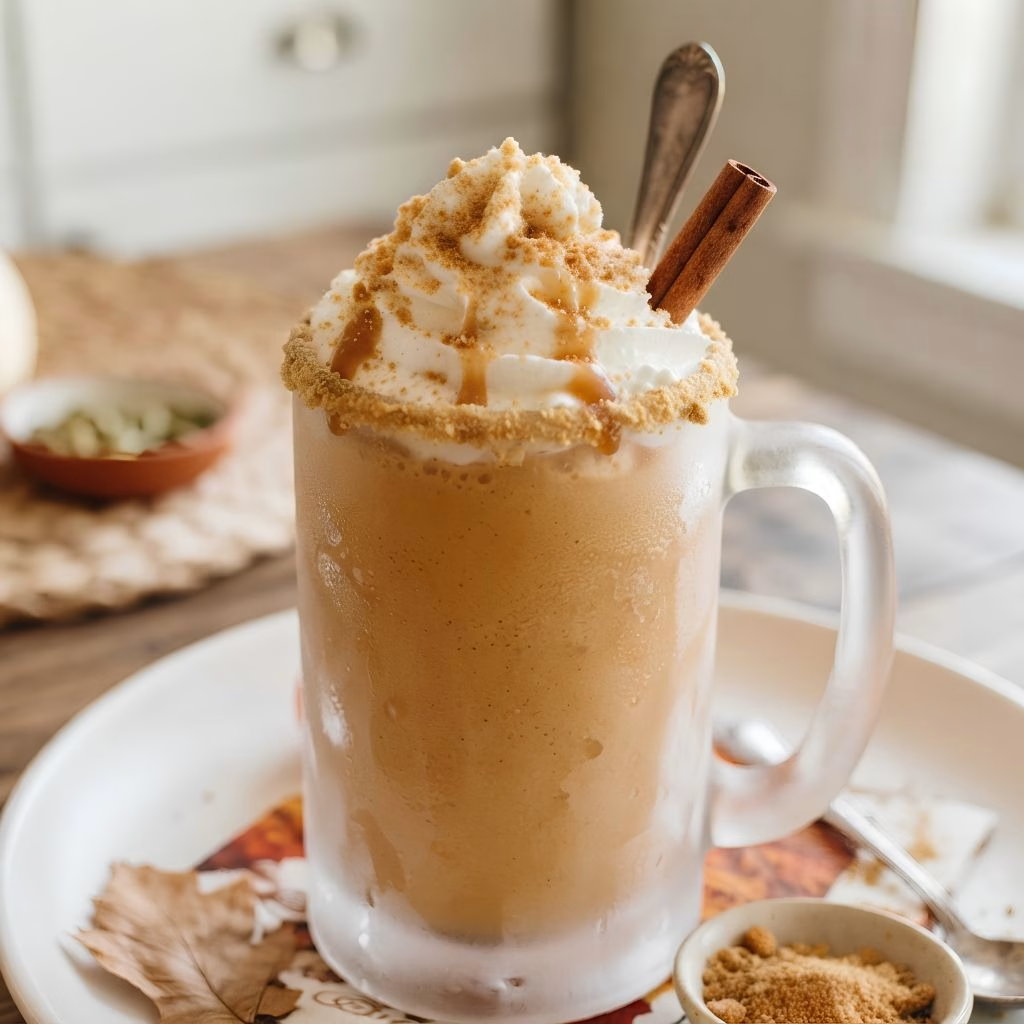
I love serving this in a tall glass with a rim dipped in a bit of caramel and crushed graham crackers, which makes it feel like something from a fall-themed coffee shop menu.
A tall dollop of whipped cream on top, a light dusting of extra pumpkin pie spice, and a cinnamon stick tucked in for garnish always makes it look extra special for guests.
It works beautifully as an after-dinner treat during the holidays, or as a fun addition to a fall brunch spread alongside something like a warm, spiced pumpkin smoothie bowl for the folks who want a spoon instead of a straw.
Variations
- Use dairy-free ice cream, plant-based milk, and coconut whipped cream for a completely dairy-free pumpkin milkshake
- Skip the added brown sugar and rely on the natural sweetness of the pumpkin and a touch of maple syrup instead
- Blend in a shot of cold brew coffee for a pumpkin spice latte twist on this classic shake
- Add a scoop of vanilla protein powder to turn this into more of a healthy pumpkin pie milkshake for an afternoon snack
- Swap the vanilla ice cream for frozen yogurt if you want a lighter, tangier version
- Stir in a spoonful of gingersnap crumbs along with the graham crackers for extra spice and crunch
Nutritional Information
Here’s a rough estimate per serving, though the exact numbers will shift a bit depending on the brands you use.
- Calories: 310 kcal
- Protein: 6 g
- Carbohydrates: 42 g
- Fat: 13 g
Make Ahead and Storage
This milkshake truly tastes best fresh, so I don’t recommend making it too far ahead of when you plan to serve it.
If you do need to store leftovers, pour the shake into an airtight container and keep it in the freezer for up to two days, letting it soften for a few minutes before re-blending.
I don’t recommend freezing the fully blended shake for longer than that, since the texture turns icy and loses that smooth, creamy consistency once thawed.
Why You’ll Love This Recipe?
This has become one of my go-to fall treats, and here’s why I think you’ll love it just as much.
- It’s incredibly quick: With just one blender and five minutes, this comes together faster than almost any dessert I make.
- It’s endlessly customizable: Whether you want it dairy-free, sugar-free, or spiked with coffee, this pumpkin milkshake recipe with ice cream adapts easily to what you’re craving.
- It tastes like actual pumpkin pie: The spice blend and graham cracker topping genuinely capture that classic pie flavor in every sip.
- It’s a fun way to use leftover pumpkin puree: If you have extra puree sitting in your fridge from another fall recipe, this is the perfect way to use it up.
- It’s a crowd-pleaser: Every time I serve this at a fall gathering, it disappears faster than anything else on the table.
FAQs
Can I make a pumpkin milkshake without ice cream?
Yes, you can blend frozen banana, frozen yogurt, or even ice cubes with the pumpkin and milk for a lighter version without traditional ice cream.
Why does my milkshake taste too thin?
This usually means too much milk was added relative to the ice cream, so blend in an extra scoop of ice cream to thicken it back up.
Can I use fresh roasted pumpkin instead of canned puree?
Yes, just make sure it’s well drained and completely smooth before adding it to the blender, since watery pumpkin can thin out your shake.
How long does this milkshake stay good in the freezer?
It’s best enjoyed fresh, but leftovers can be frozen in a sealed container for up to two days before the texture starts to change.
Is this similar to what fast food places serve?
It’s close to a pumpkin pie milkshake fast food chains serve seasonally, though homemade lets you control the sweetness and spice level yourself.
If you’re already in the mood for cozy pumpkin desserts this season, this milkshake pairs really well with something heartier too, like a chilled slice of no-bake pumpkin lasagna dessert for the days you want more than just a drink.

Pumpkin Pie Milkshake Recipe
Ingredients
Method
- Before you start blending, pop your serving glasses into the freezer for about five minutes. This keeps your milkshake colder for longer once it’s poured, and it gives you that frosty, shop-style presentation people love.
- Add your vanilla ice cream, pumpkin puree, milk, pumpkin pie spice, brown sugar, and vanilla extract into the blender jar. I like adding the milk first, since it helps everything else blend more smoothly around the blades.
- Blend everything on high for about 20 to 30 seconds, or until the mixture looks completely smooth and thick. If it looks too thick to blend evenly, stop and give it a quick stir with a spatula before blending again.
- Take a moment to check the texture before pouring. If your shake seems too thick, add a small splash more milk, and if it’s too thin, blend in an extra scoop of ice cream.
- Pour your milkshake into the chilled glasses right away. Top each one with a swirl of whipped cream and a generous sprinkle of graham cracker crumbs before serving.
Notes
- I always chill my pumpkin puree in the fridge beforehand, since it keeps the shake colder and prevents the ice cream from melting too fast.
- I never skip the graham cracker topping, because it’s honestly what makes this taste like a real slice of pie.
- I like using a good quality vanilla ice cream, since a cheaper one can water down the pumpkin flavor.
- I sometimes drizzle a little caramel sauce around the inside of the glass before pouring, and it makes the whole thing look bakery-worthy.
- I always taste my blend before pouring, since pumpkin pie spice brands vary a lot in strength.