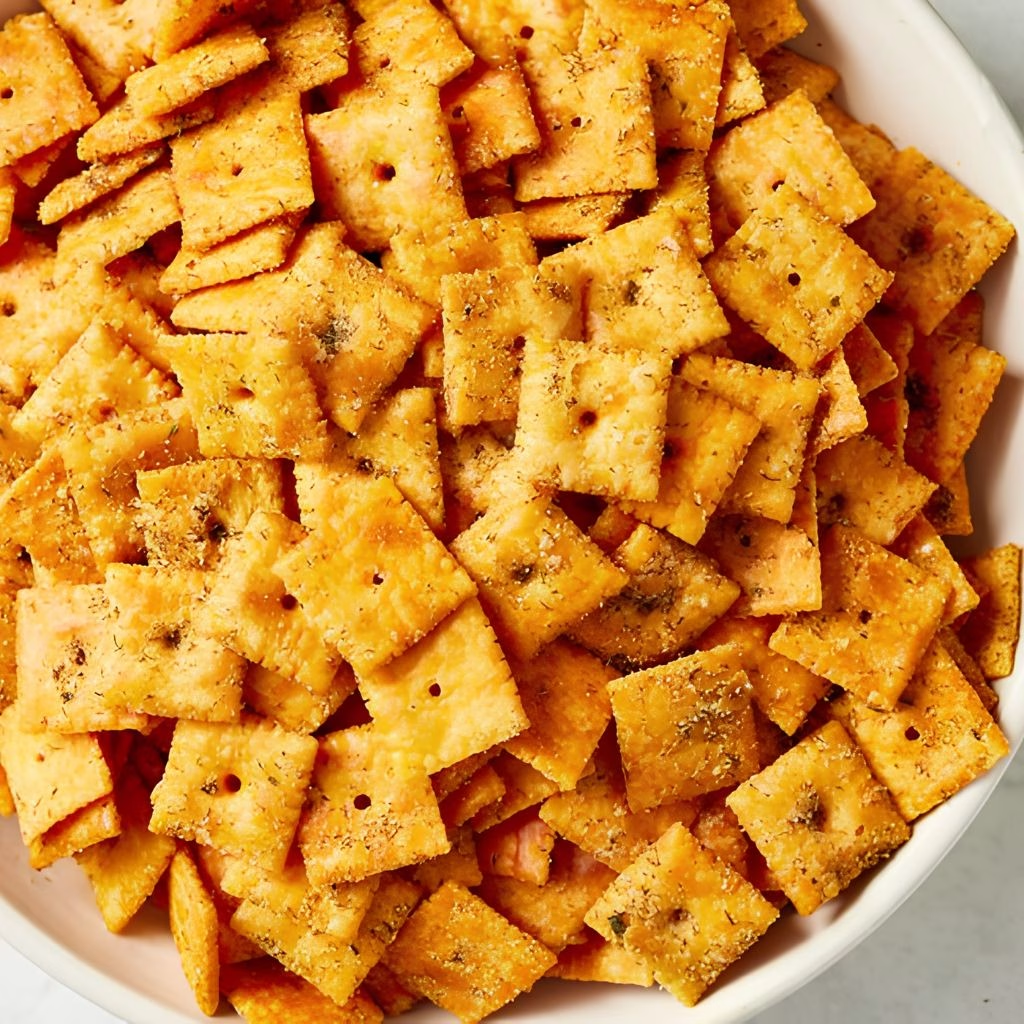
I first made this Ranch Cheese Crackers Recipe for a random Tuesday night snack, and I haven’t stopped making them since. Something about tossing a bag of cheesy crackers in a buttery ranch coating and baking them until crisp just works every single time.
I’ve brought them to game days, potlucks, and even wrapped up little bags as gifts for neighbors. If you’ve been eyeing a ranch Cheez-Its recipe that’s almost too easy to be this good, I promise this one delivers.
Cooking Time
- Prep Time: 5 minutes
- Cooking Time: 30 minutes
- Total Time: 1 hour 5 minutes (includes cooling)
Ingredients
- 2 (16-ounce) boxes bite-size cheddar cheese crackers such as Cheez-Its — the base of the whole snack, so pick your favorite cheesy cracker brand
- ⅓ cup olive oil — helps the seasoning cling evenly to every single cracker
- 1 (1-ounce) packet ranch dressing mix — the star flavor here, hidden valley ranch cheez-its fans will recognize this instantly
- 1 tablespoon dried dill — adds a fresh, herby note that balances out the richness of the cheese
- 1 tablespoon garlic powder — gives the crackers a savory depth without overpowering the ranch flavor
Note: this recipe serves 32.
Equipment You Need
- Large mixing bowl — for tossing the crackers evenly in the seasoned oil
- Small bowl — for whisking together the oil and seasonings before pouring
- Whisk or fork — helps combine the ranch mix smoothly into the oil
- Two rimmed baking sheets — gives the crackers room to toast without steaming
- Parchment paper — makes cleanup easier and prevents sticking
- Wire rack — lets the crackers cool completely and stay crisp
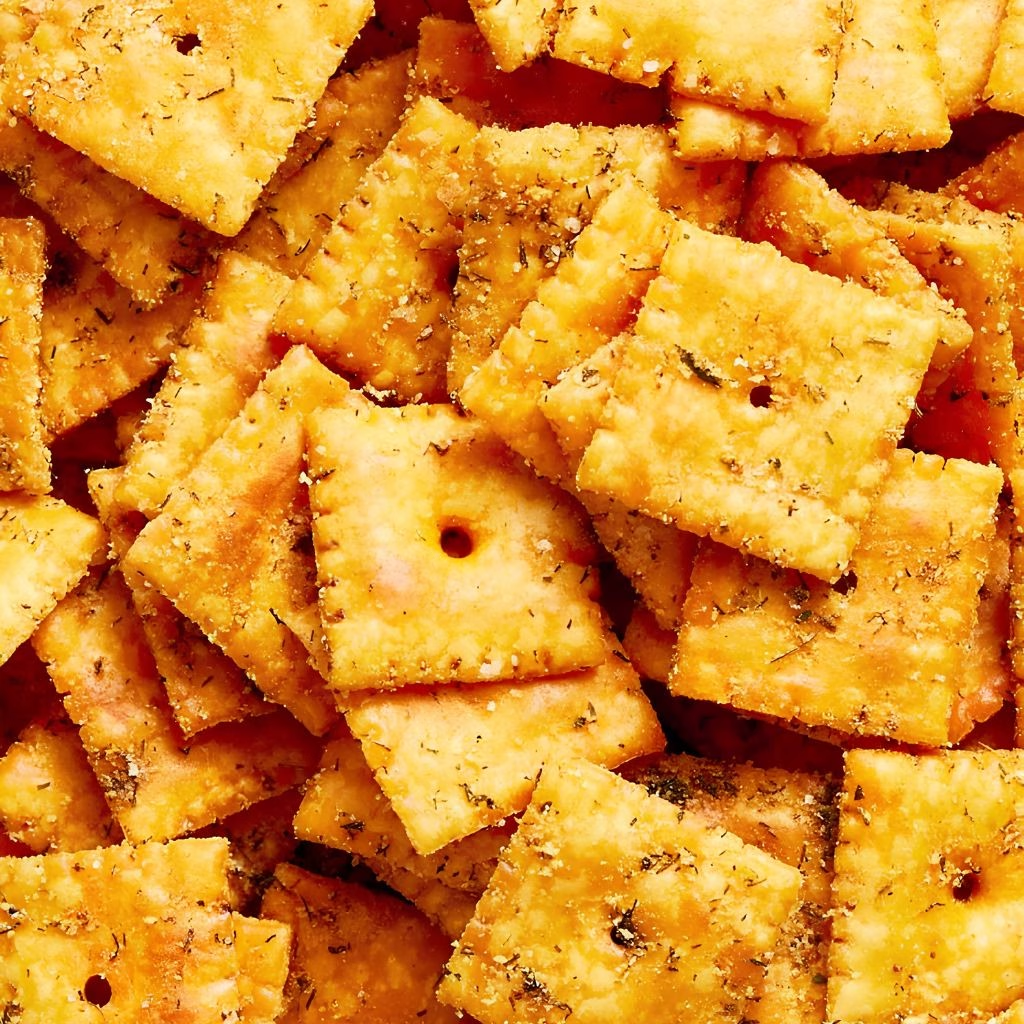
How to Make Ranch Cheese Crackers Recipe?
This whole recipe comes together with barely any hands-on effort, which is exactly why I make it so often. There’s no dough, no chilling, and only one real step before the oven takes over. Here’s exactly how I do it every time.
Mix the Seasoned Oil
In a small bowl, whisk together the olive oil, ranch dressing mix, dried dill, and garlic powder until fully combined. The mixture should look thick and slightly grainy from the seasoning packet. This only takes about a minute to pull together.
Coat the Crackers
Pour your cheddar crackers into a large mixing bowl, then drizzle the seasoned oil over the top. Toss everything gently but thoroughly, making sure every cracker gets an even coating. I like to use my hands here since a spoon tends to miss spots.
Spread and Bake
Divide the coated crackers between two large rimmed baking sheets, spreading them out into a single even layer. Bake at 300°F for about 30 minutes, stirring every 10 minutes so they toast evenly on all sides.
Cool Completely
Once golden and fragrant, pull the sheets out of the oven and let the crackers cool right on the pans for about 30 minutes. This resting time is what makes them crisp up properly instead of staying soft.
Store or Serve
Once fully cooled, move your crackers into an airtight container or a large zip-top bag. They’re ready to snack on immediately, or you can save them for later get-togethers.
Additional Tips for Making This Recipe Better
I’ve made more batches of this than I can count, and a few small habits have made a real difference for me.
- I always use fresh dried dill, since the stale kind sitting in my pantry too long barely adds any flavor.
- I toss the crackers with my hands rather than a spoon, since it coats every single one much more evenly.
- I spread the crackers out thin on the baking sheet, because crowding them leads to soggy spots instead of that crisp toasted texture.
- I set a timer for every 10 minutes so I don’t forget to stir, which keeps the crackers from burning on one side.
- I let mine cool fully before sealing them up, otherwise trapped steam makes the crackers lose their crunch.
Common Mistakes to Avoid
- I once skipped stirring halfway through baking, and the crackers on the edges burned while the middle stayed pale.
- I crowded both pans thinking it would save time, but the crackers steamed instead of toasting and turned out chewy.
- I sealed my crackers in a bag while they were still warm, and the trapped moisture made them go soft within an hour.
- I used too much oil once thinking it would make them extra flavorful, and it just left the crackers greasy and heavy.
- I forgot to preheat my oven fully before baking, so the first batch came out underdone and had to go back in.
How to Serve Ranch Cheese Crackers?
I love piling these into a big wooden bowl for parties, since the golden color and herby specks look great on any snack table. A small side of ranch dip or pimento cheese spread makes a nice pairing if you want to dress things up further.
They also work well scattered over a charcuterie board next to cured meats and pickles for extra crunch. For game day, I like setting these out right alongside something equally snackable, like a warm batch of garlic parmesan fries, so there’s a mix of crunchy textures on the table.
Variations
- Swap the dried dill for Italian seasoning if you want to turn this into more of an italian seasoned crackers recipe
- Add a pinch of cayenne pepper or red pepper flakes for a spicy ranch crackers recipe with a little heat
- Use avocado oil instead of olive oil for a slightly milder, more neutral flavor
- Try a dairy-free cheddar cracker option if you’re avoiding dairy but still want that cheesy crunch
- Mix in pretzels or oyster crackers along with the cheese crackers for a heartier seasoned crackers recipe snack mix
- Use a reduced-sodium ranch packet if you want to cut back on salt without losing the flavor
Nutritional Information
Here’s a rough estimate per serving, though the numbers will shift slightly depending on the cracker brand you choose.
- Calories: 140 kcal
- Protein: 2 g
- Carbohydrates: 15 g
- Fat: 8 g
Make Ahead and Storage
You can whisk together the seasoned oil a day in advance and keep it covered at room temperature until you’re ready to toss and bake.
Store fully cooled crackers in an airtight container at room temperature, where they’ll stay crisp and flavorful for up to two weeks.
For longer storage, freeze them in a sealed freezer bag for up to two months, then let them sit out for about 15 minutes before serving to restore their crunch.
Why You’ll Love This Recipe?
This has become one of my most-requested snacks, and here’s exactly why I think it deserves a spot in your rotation too.
- It’s incredibly easy: With just five ingredients and one bowl to toss everything together, this comes together faster than almost any other party snack I make.
- It’s endlessly customizable: Whether you want a spicy kick or a more herby Italian twist, this recipe adapts to whatever flavor mood you’re in.
- It travels beautifully: These hold their crunch in a lunchbox, a car console, or a party spread without turning stale too quickly.
- It’s a crowd-pleaser: I’ve never brought these to a gathering without someone asking for the recipe before the night is over.
FAQs
Can I use a different brand of cheese crackers?
Yes, any bite-size cheddar cracker works fine here, though Cheez-Its hold their shape and crunch especially well through baking.
Why did my ranch cheese crackers turn out soggy?
This usually happens when the crackers are packed too tightly on the pan or sealed up before they’ve fully cooled, so give them room to breathe both in the oven and while cooling.
Can I make this a spicier version?
Absolutely, just add cayenne pepper or a spicy ranch packet instead of the regular one for a spicy ranch crackers recipe kick.
How long do these ranch cheese crackers stay fresh?
They’ll stay crisp in a sealed container at room temperature for about two weeks, or up to two months if frozen.
Do I need to use a stand mixer or food processor for this recipe?
No, this recipe is entirely hands-on with just a whisk and a mixing bowl, which is part of what makes it so quick to pull together.
If you’re planning a whole snack spread for game day, these pair especially well with a bowl of classic ranch dip on the side for anyone who wants extra dipping power with their crackers.

Ranch Cheese Crackers Recipe
Ingredients
Method
- In a small bowl, whisk together the olive oil, ranch dressing mix, dried dill, and garlic powder until fully combined. The mixture should look thick and slightly grainy from the seasoning packet. This only takes about a minute to pull together.
- Pour your cheddar crackers into a large mixing bowl, then drizzle the seasoned oil over the top. Toss everything gently but thoroughly, making sure every cracker gets an even coating. I like to use my hands here since a spoon tends to miss spots.
- Divide the coated crackers between two large rimmed baking sheets, spreading them out into a single even layer. Bake at 300°F for about 30 minutes, stirring every 10 minutes so they toast evenly on all sides.
- Once golden and fragrant, pull the sheets out of the oven and let the crackers cool right on the pans for about 30 minutes. This resting time is what makes them crisp up properly instead of staying soft.
- Once fully cooled, move your crackers into an airtight container or a large zip-top bag. They’re ready to snack on immediately, or you can save them for later get-togethers.
Notes
- I always use fresh dried dill, since the stale kind sitting in my pantry too long barely adds any flavor.
- I toss the crackers with my hands rather than a spoon, since it coats every single one much more evenly.
- I spread the crackers out thin on the baking sheet, because crowding them leads to soggy spots instead of that crisp toasted texture.
- I set a timer for every 10 minutes so I don’t forget to stir, which keeps the crackers from burning on one side.
- I let mine cool fully before sealing them up, otherwise trapped steam makes the crackers lose their crunch.