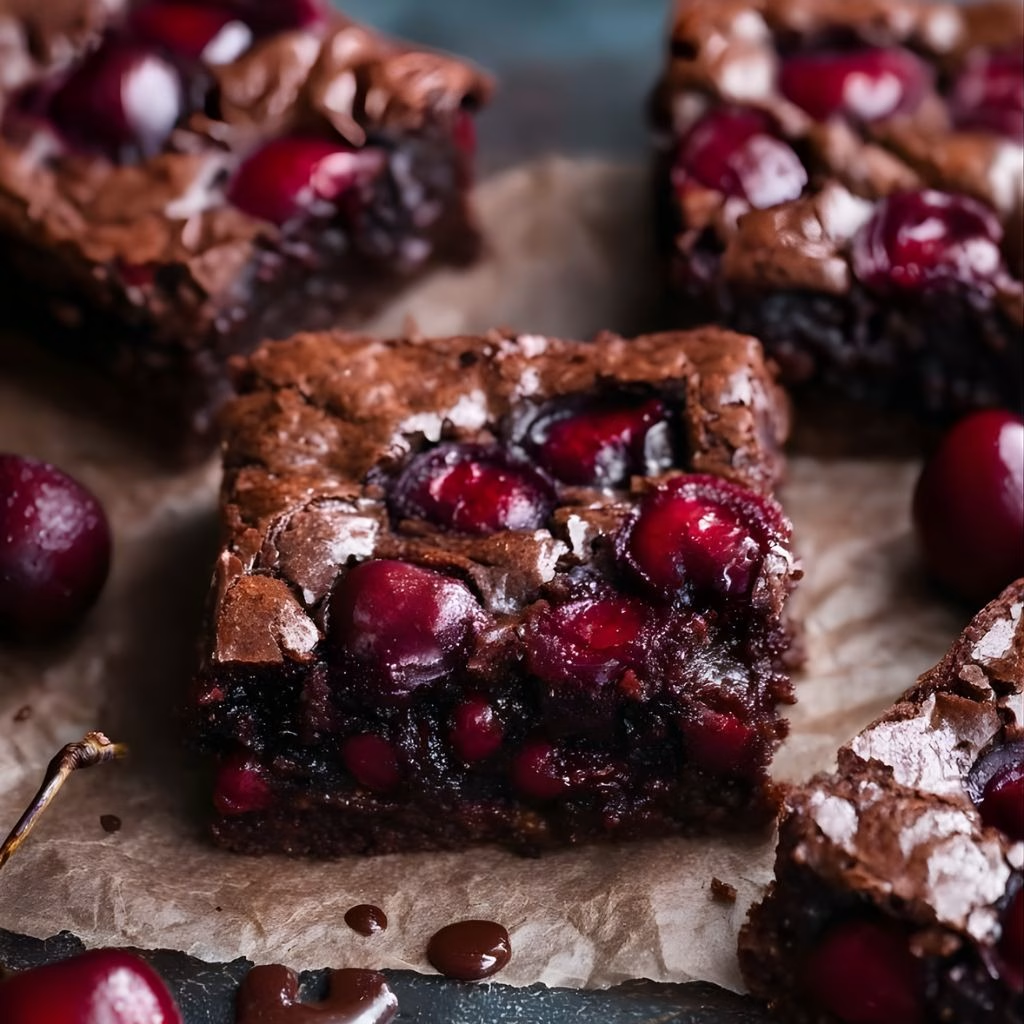
I still remember pulling these Roasted Cherry Brownies Recipe out of the oven and being completely floored by the smell alone. The deep chocolate aroma mixed with warm, jammy cherries felt like something straight out of a bakery. When I finally took a bite, the fudgy texture and bursts of roasted fruit made me pause for a second. I knew right away this wasn’t just another brownie recipe.
After making these a few times, I can honestly say they’ve become one of my favorite desserts to share—and secretly keep for myself too. You can also enjoy similar indulgence in recipes like Garlic Butter Steak Bites with Parmesan Cream Sauce Recipe or Creamy Butter Lemon Chicken Recipe for dinner inspiration.
Ingredients
Here’s a quick intro before we dive in. These ingredients are simple, but each one plays a big role in getting that rich, bakery-style brownie with bold cherry flavor.
- 1 cup fresh cherries, pitted – Roasting the cherries intensifies their sweetness and reduces excess moisture.
- 1 tablespoon olive oil – Helps caramelize the cherries while keeping them juicy.
- 1/2 teaspoon vanilla extract – Adds a warm, fragrant flavor that pairs perfectly with chocolate.
- 1/2 cup unsalted butter, melted – Gives the brownies a rich, fudgy texture.
- 1 cup granulated sugar – Sweetens the brownie while balancing the tartness of cherries.
- 2 large eggs – Provides structure and moisture.
- 1 teaspoon vanilla extract – Enhances the overall flavor of the batter.
- 1/3 cup unsweetened cocoa powder – For deep chocolate flavor; make sure it’s good quality.
- 1/2 cup all-purpose flour – Keeps the brownies tender without weighing them down.
- 1/4 teaspoon salt – Balances sweetness and enhances chocolate taste.
- 1/2 cup chocolate chunks or chips – Optional, but adds pockets of melty chocolate.
Note: This recipe yields approximately 9 generous servings based on the ingredient quantities listed above.
Variations
This recipe is flexible, which is one reason I love it so much. You can easily customize it based on your needs or cravings.
For a dairy-free version, swap the butter with melted coconut oil and use dairy-free chocolate chips. If you’re cutting back on sugar, try a granulated sugar substitute designed for baking—it works surprisingly well here. For extra flavor, add a pinch of espresso powder to deepen the chocolate taste, or mix in chopped dark chocolate chunks for texture. Almond extract can also be added in small amounts to complement the cherries beautifully.
Cooking Time
Here’s a quick breakdown so you can plan ahead easily:
- Prep Time: 20 minutes
- Cooking Time: 35–40 minutes
- Total Time: About 1 hour
Equipment You Need
Having the right tools makes this recipe smooth and stress-free.
- Baking sheet – Used for roasting the cherries evenly
- 9×9-inch baking pan – Perfect size for thick, fudgy brownies
- Parchment paper – Prevents sticking and makes lifting brownies easy
- Mixing bowls – For separating wet and dry ingredients
- Whisk – Helps combine ingredients smoothly
- Spatula – Ideal for folding and spreading batter evenly
How to Make Roasted Cherry Brownies Recipe?
This section walks you through the process step by step. Each stage builds flavor, so don’t rush it.
Roasting the Cherries
Start by preheating your oven and spreading the pitted cherries evenly on a baking sheet. Sprinkle them lightly with sugar and roast until they soften and release their juices. This step intensifies their sweetness and removes excess moisture. Let them cool slightly before adding to the batter.
Preparing the Brownie Batter
Melt the butter and chocolate chips together until smooth and glossy. I usually do this gently to avoid burning the chocolate. Whisk in the sugar, eggs, and vanilla until fully combined. The mixture should look thick and shiny at this stage.
Mixing the Dry Ingredients
In a separate bowl, combine flour, cocoa powder, and salt. Mixing these first ensures even distribution and prevents clumps. Slowly fold the dry mixture into the wet ingredients. Be careful not to overmix, as that can make the brownies tough.
Folding in the Cherries
Gently fold the roasted cherries into the batter, including some of their syrupy juices. This gives the brownies pockets of intense cherry flavor. Make sure they’re evenly distributed without crushing them too much.
Baking the Brownies
Pour the batter into a lined baking pan and spread it evenly. Bake until the edges are set but the center is slightly soft. A toothpick should come out with moist crumbs, not wet batter. Let the brownies cool completely before slicing for clean edges.
Additional Tips for Making This Recipe Better
After making these brownies several times, I’ve picked up a few tricks that really elevate them.
- I always let the brownies cool fully before cutting; it makes a huge difference in texture.
- I’ve found that using high-quality cocoa powder gives a richer chocolate flavor.
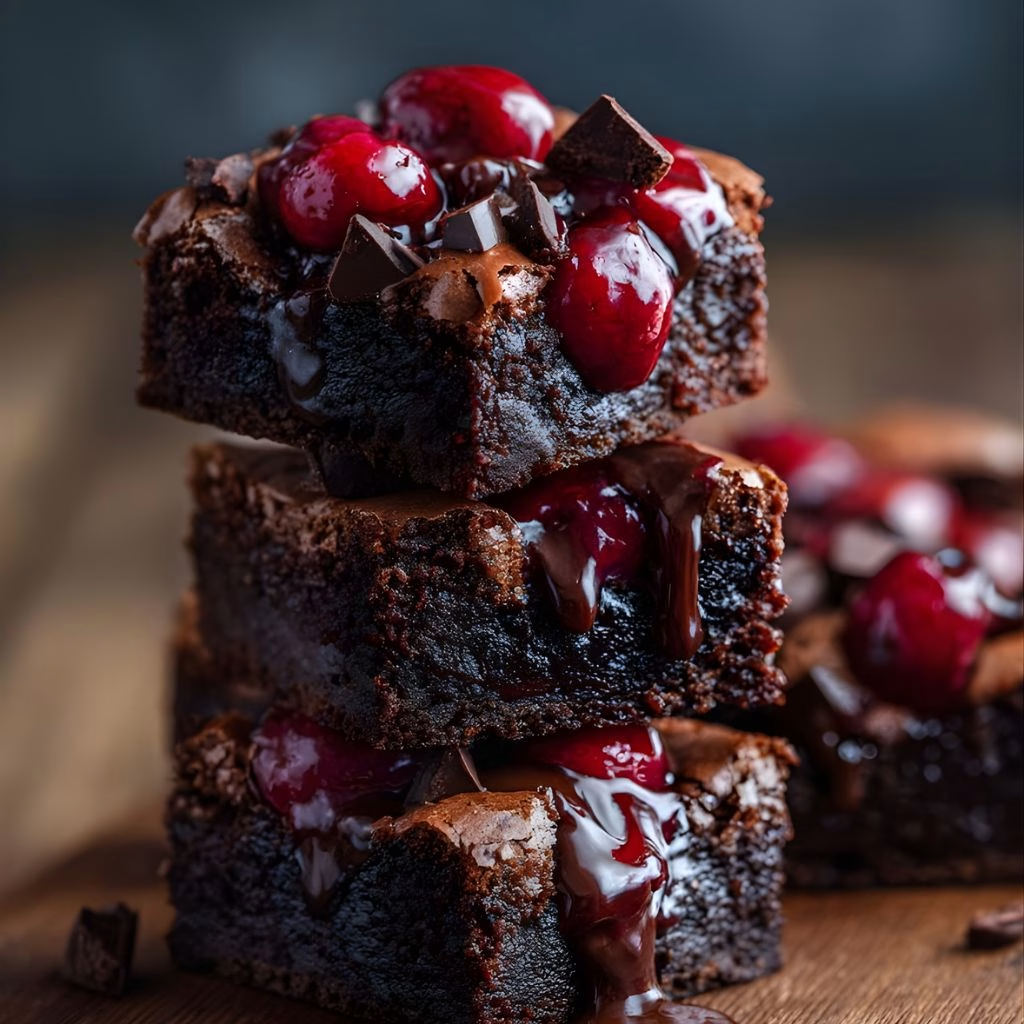
- When I want extra decadence, I drizzle melted chocolate over the top once cooled.
- I sometimes chill them for an hour before serving—they taste even fudgier that way.
How to Serve Roasted Cherry Brownies?
These brownies are amazing on their own, but serving them thoughtfully takes them to the next level. I love plating them with a scoop of vanilla ice cream and a few fresh cherries on the side. A light dusting of powdered sugar adds a bakery-style finish. For special occasions, a drizzle of chocolate or cherry sauce makes them look extra impressive without much effort.
Nutritional Information
Here’s a quick snapshot to give you an idea of what you’re enjoying.
- Calories: Rich and satisfying per serving
- Protein: Contains a moderate amount from eggs
- Carbohydrates: Primarily from sugar, flour, and cherries
- Fat: Comes mainly from butter and chocolate
Make Ahead and Storage
A short intro before details. These brownies store beautifully, making them great for planning ahead.
Storing
Once cooled, store the brownies in an airtight container at room temperature for up to 3 days. If refrigerated, they stay fresh for about 5 days while remaining fudgy.
Freezing
You can freeze individual brownie squares wrapped tightly in plastic wrap. Place them in a freezer-safe bag and store for up to 2 months without losing flavor.
Reheating
To reheat, let frozen brownies thaw at room temperature or warm briefly in the microwave. I usually heat them for just a few seconds to keep them soft.
Why You’ll Love This Recipe?
Here’s a quick intro before the reasons. These brownies truly stand out, and here’s why they’re worth making.
- They’re easy to prepare with simple, accessible ingredients and clear steps.
- The roasted cherries add a unique, gourmet twist to classic brownies.
- The recipe is versatile and adapts well to dietary needs or flavor add-ins.
- The texture is perfectly fudgy with rich chocolate flavor in every bite.
- They’re great for both casual treats and special occasions without extra effort.
If you’re looking for a dessert that feels indulgent but still approachable, these roasted cherry brownies are absolutely worth trying.
Roasted Cherry Brownies Recipe
Ingredients
Method
- Start by preheating your oven and spreading the pitted cherries evenly on a baking sheet. Sprinkle them lightly with sugar and roast until they soften and release their juices. This step intensifies their sweetness and removes excess moisture. Let them cool slightly before adding to the batter.
- Melt the butter and chocolate chips together until smooth and glossy. I usually do this gently to avoid burning the chocolate. Whisk in the sugar, eggs, and vanilla until fully combined. The mixture should look thick and shiny at this stage.
- In a separate bowl, combine flour, cocoa powder, and salt. Mixing these first ensures even distribution and prevents clumps. Slowly fold the dry mixture into the wet ingredients. Be careful not to overmix, as that can make the brownies tough.
- Gently fold the roasted cherries into the batter, including some of their syrupy juices. This gives the brownies pockets of intense cherry flavor. Make sure they’re evenly distributed without crushing them too much.
- Pour the batter into a lined baking pan and spread it evenly. Bake until the edges are set but the center is slightly soft. A toothpick should come out with moist crumbs, not wet batter. Let the brownies cool completely before slicing for clean edges.
Notes
- I always let the brownies cool fully before cutting; it makes a huge difference in texture.
- I’ve found that using high-quality cocoa powder gives a richer chocolate flavor.
- When I want extra decadence, I drizzle melted chocolate over the top once cooled.
- I sometimes chill them for an hour before serving—they taste even fudgier that way.