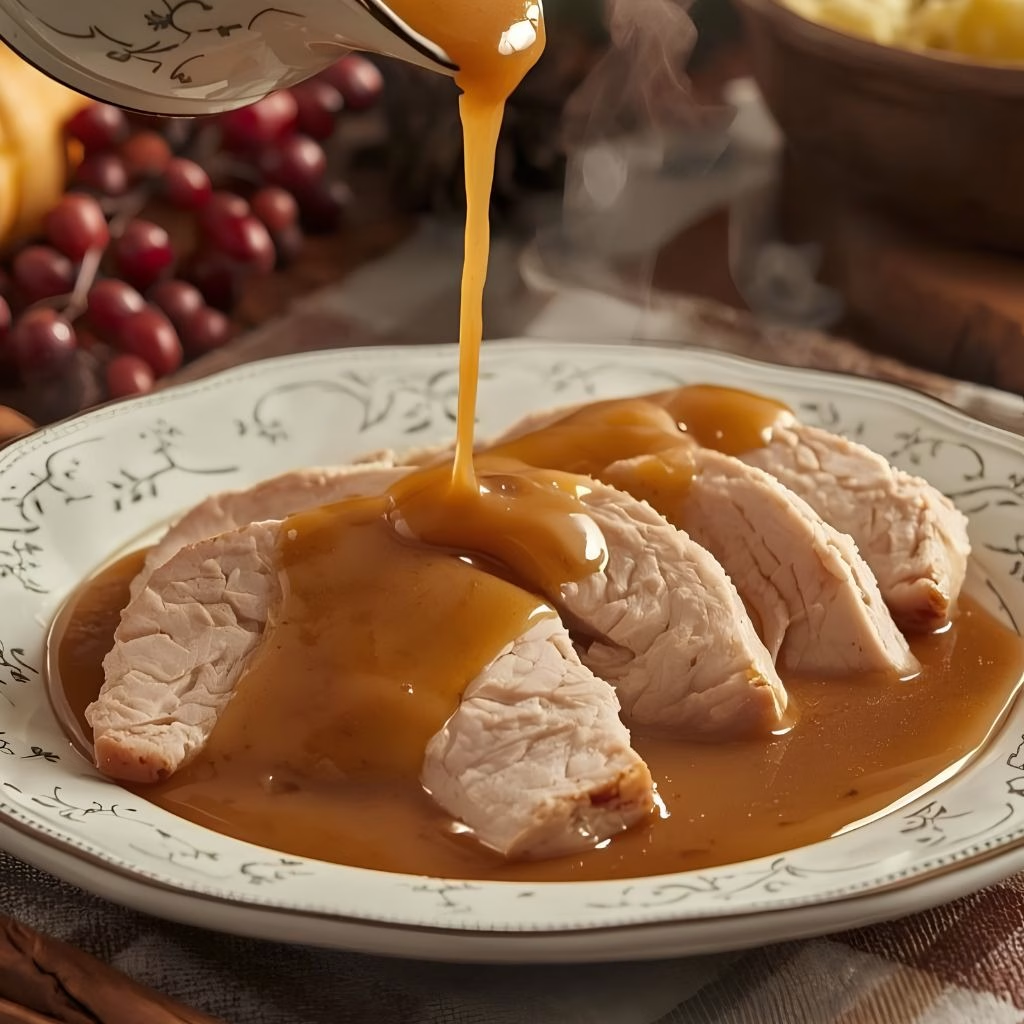
I still remember the first time I made Thanksgiving Turkey Gravy Recipe completely on my own, standing over the roasting pan while everyone waited at the table. I was nervous I’d end up with lumpy, bland gravy instead of that silky, golden sauce my grandma always made.
After a few Thanksgivings of trial and error, I finally nailed a version that’s rich, flavorful, and ready in minutes using nothing but the drippings from my roasted turkey. Now it’s the one recipe my family asks me to make every single year without fail. Let me walk you through exactly how I make it, mistakes and all.
Cooking Time
- Prep Time: 10 minutes
- Cooking Time: 10 minutes
- Total Time: 20 minutes
Ingredients
- 4 cups low-sodium chicken broth (or turkey or vegetable broth) – this is the backbone of your gravy, so use a good quality one for the best flavor
- 1/2 cup all-purpose flour – whisked with fat to form the roux that thickens the gravy
- Drippings from roasted turkey – this is where all the deep, roasted flavor comes from, so don’t toss them out
- Giblets and neck of uncooked turkey (optional) – simmering these in broth adds an extra layer of savory flavor for a classic giblet gravy
- Salt and pepper, to taste – added at the end since drippings are often already salty
Note: This recipe makes about 4 cups of gravy, enough to serve 15 people.
Equipment You’ll Need
- Medium saucepan – for simmering the giblets and neck to build flavorful broth
- Roasting pan – to catch all those flavorful turkey drippings
- Whisk – essential for a smooth, lump-free gravy
- Fine mesh strainer – to remove any solid bits from the drippings before adding them
- Measuring cups – to keep your broth-to-flour ratio accurate
- Gravy boat or serving bowl – for bringing it to the table in style
How to Make Turkey Gravy Recipe?
Making turkey gravy from scratch sounds intimidating, but it’s honestly one of the simplest things you’ll cook all Thanksgiving. Once your turkey comes out of the oven, you’re only about 20 minutes away from a smooth, savory gravy. Here’s exactly how I break it down in my own kitchen.
Step 1: Simmer the Giblets and Neck
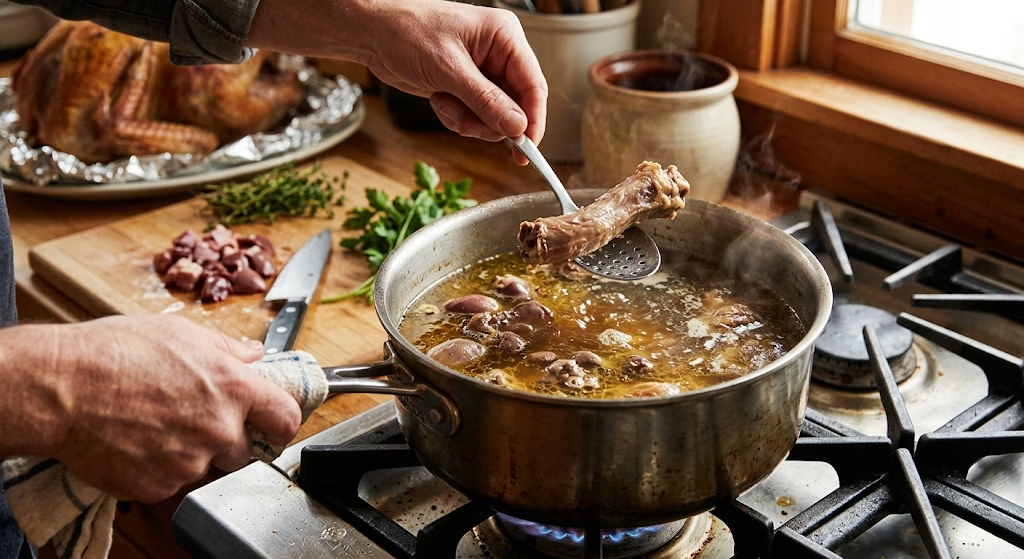
If I’m using the giblets and neck, I place them in a medium saucepan with the chicken broth and bring it to a gentle simmer. I let this cook for about 10 minutes while the turkey rests, which pulls all that deep flavor into the broth. Once done, I pull out the neck, pick off any meat, and dice the giblets into small pieces to stir back in later.
Step 2: Strain the Turkey Drippings
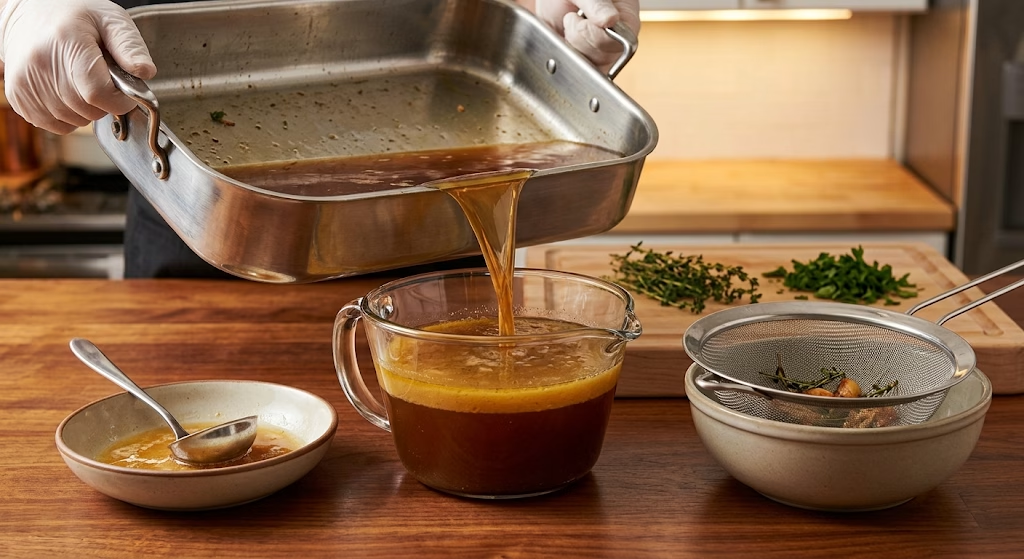
While the broth simmers, I carefully pour the drippings from the roasting pan into a separator or a heatproof bowl. I let the fat rise to the top, then skim it off, keeping the flavorful liquid underneath. I pass everything through a fine mesh strainer so there are no burnt bits or stray herbs left behind.
Step 3: Make the Roux
In the same saucepan, I whisk the flour into a bit of the reserved turkey fat until it forms a smooth, thick paste. If the mixture looks greasy or too wet, I add a touch more flour until it comes together into a paste that coats the whisk.
Step 4: Whisk in the Broth and Drippings
I slowly pour the warm giblet broth and strained drippings into the roux, whisking constantly so no lumps form. I keep the heat at medium and keep whisking until everything is fully combined into one smooth mixture.
Step 5: Simmer Until Thickened
I let the gravy bubble gently for about 10 minutes, stirring often. If it looks too thick, I splash in a little more broth; if it’s too thin, I just let it simmer a few extra minutes until it coats the back of a spoon.
Step 6: Season and Serve
Finally, I stir in the diced giblets if I’m using them, then taste and season with salt and pepper. Since the drippings are already salty, I always taste before adding more. I pour it into a warm gravy boat and serve it immediately alongside the turkey and mashed potatoes.
Additional Tips for Making This Recipe Better
I’ve made this gravy more times than I can count, and these little tricks have made the biggest difference for me over the years.
- I always strain my drippings twice if they look all cloudy it makes the gravy noticeably smoother.
- I keep my broth warm before adding it to the roux, since cold broth tends to seize up and create lumps.
- I whisk constantly instead of stirring, especially in the first few minutes, to stop lumps before they start.
- I taste as I go instead of waiting until the end, since drippings vary in saltiness every single year.
- I make my roux a shade darker than I think I need to, which gives the gravy a deeper, nuttier flavor.
Common Mistakes to Avoid
Over the years I’ve made just about every gravy mistake there is, so here’s what I now watch out for every time.
- I used to add cold broth straight into hot roux, and it always turned lumpy — now I warm it first.
- I once forgot to skim the fat off my drippings, and the gravy turned out greasy and heavy.
- I’ve oversalted my gravy more than once by forgetting the drippings are already salted, so now I always taste first.
- I used to rush the simmering step, which left my gravy thin and watery instead of silky.
- I forgot to strain out the herbs and burnt bits once, and it left a bitter, gritty texture I couldn’t fix.
How to Serve Turkey Gravy
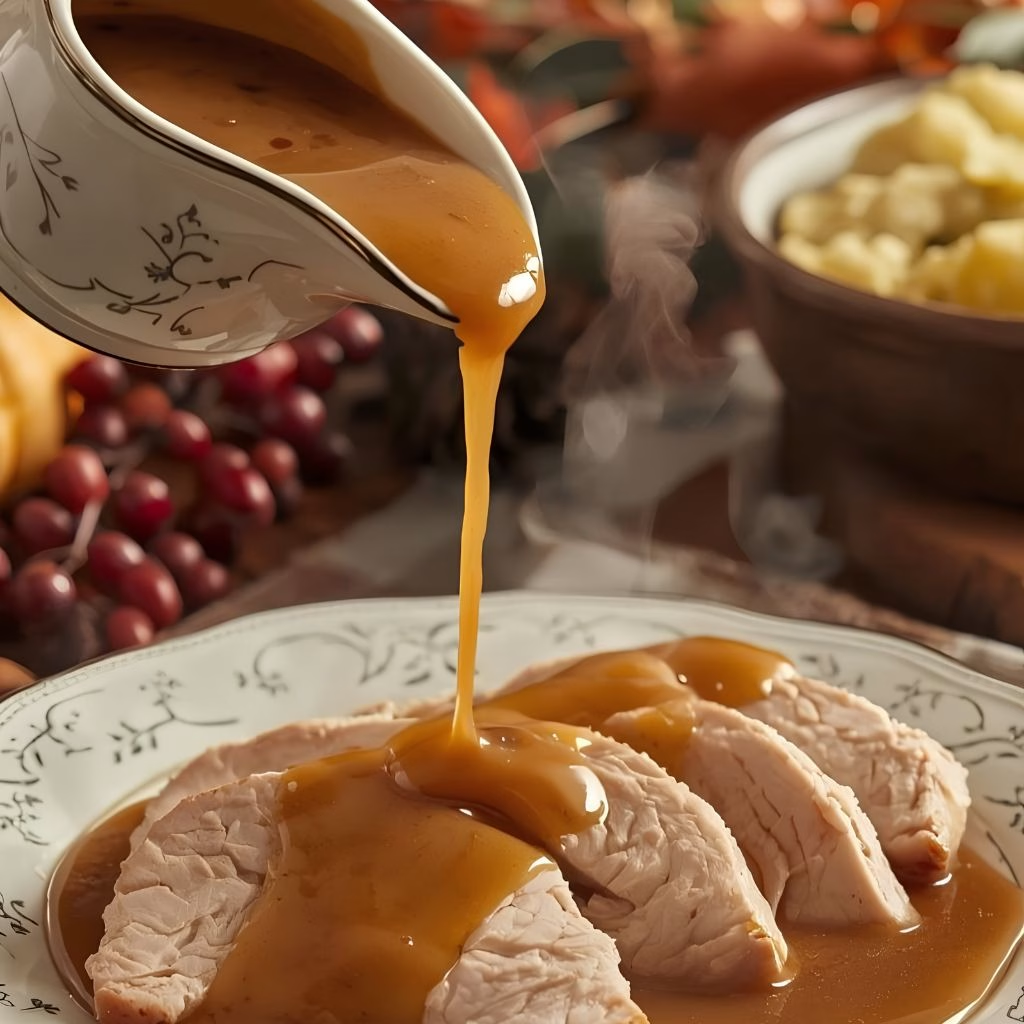
I like to pour my gravy into a warm gravy boat right before we sit down, so it stays silky instead of forming a skin on top. It pairs beautifully with a big bowl of creamy mashed potatoes, and honestly, I always make sure to have extra on hand since everyone goes back for seconds.
For presentation, I’ll sprinkle a few fresh thyme leaves or a light dusting of cracked black pepper over the top right before serving. It’s also fantastic spooned over stuffing, dinner rolls, or even leftover turkey sandwiches the next day.
If you’re planning out your whole holiday spread, this gravy also works wonderfully alongside a batch of creamy mashed potatoes, which soak up every last drop.
Variations
- Dairy-free version: skip any butter and use turkey fat or olive oil instead for the roux.
- Gluten-free version: swap the flour for cornstarch, mixing it with cold broth first before whisking it in.
- Herb-infused gravy: stir in fresh thyme, sage, or rosemary while simmering for extra aroma.
- Giblet-free gravy: simply skip the giblets and neck and rely on broth and drippings alone.
- Wine-finished gravy: add a small splash of white wine or sherry after the roux for added depth.
- Creamy gravy: stir in a tablespoon of heavy cream at the end for a richer, silkier finish.
Nutritional Information
Here’s a general idea of what you’re working with per serving of this turkey gravy.
- Calories: approximately 45 kcal
- Protein: 2g
- Carbohydrates: 4g
- Fat: 2g
Make Ahead and Storage
I often make the broth base a day ahead of Thanksgiving so I’m not scrambling once the turkey comes out of the oven. It keeps beautifully in the fridge in an airtight container for up to 2 days before you finish it with the drippings.
Leftover gravy stays fresh in the refrigerator for about 3 to 4 days in a sealed container. When reheating, I warm it gently on the stovetop over low heat, whisking in a splash of broth if it has thickened too much.
This gravy also freezes well for up to 2 months. I let it cool completely, freeze it flat in a freezer bag, then thaw it in the fridge overnight before reheating on the stove.
Why You’ll Love This Recipe
I keep coming back to this gravy every single Thanksgiving, and here’s why I think you’ll love it just as much as I do.
- It’s incredibly quick: from start to finish, this gravy comes together in about 20 minutes, so it won’t hold up your holiday meal.
- It uses what you already have: since it’s built entirely from turkey drippings and broth, there’s no need for extra special ingredients.
- It’s endlessly customizable: whether you want it dairy-free, gluten-free, or herb-infused, this base recipe adapts easily.
- It brings real homemade flavor: nothing beats the taste of gravy made from the actual drippings of your roasted turkey.
- It pairs with everything: from mashed potatoes to stuffing to leftover sandwiches, this gravy never goes to waste.
While your gravy simmers, it’s the perfect time to pull together a quick appetizer like classic deviled eggs to keep guests happy before the main meal is ready.
FAQs
Can I make turkey gravy without turkey drippings?
Yes, you can make a simple gravy using just broth, butter, and flour for the roux, though you’ll miss some of that deep roasted flavor drippings provide.
Why is my turkey gravy lumpy?
Lumps usually form when cold broth is added to hot roux too quickly, so always warm your broth first and whisk constantly.
Can I make this gravy ahead of time?
You can prepare the broth base a day in advance, then finish it with your drippings once the turkey is done roasting.
How do I thicken gravy that turned out too thin?
Simply let it simmer a few extra minutes uncovered, or whisk in a small slurry of cornstarch and cold water for a quick fix.
Can I use giblets even if I’ve never cooked with them before?
Absolutely, simmering the giblets and neck in broth is simple and adds a wonderful depth of flavor to your gravy, though it’s completely optional.

Thanksgiving Turkey Gravy Recipe
Ingredients
Method
- If I’m using the giblets and neck, I place them in a medium saucepan with the chicken broth and bring it to a gentle simmer. I let this cook for about 10 minutes while the turkey rests, which pulls all that deep flavor into the broth. Once done, I pull out the neck, pick off any meat, and dice the giblets into small pieces to stir back in later.
- While the broth simmers, I carefully pour the drippings from the roasting pan into a separator or a heatproof bowl. I let the fat rise to the top, then skim it off, keeping the flavorful liquid underneath. I pass everything through a fine mesh strainer so there are no burnt bits or stray herbs left behind.
- In the same saucepan, I whisk the flour into a bit of the reserved turkey fat until it forms a smooth, thick paste. If the mixture looks greasy or too wet, I add a touch more flour until it comes together into a paste that coats the whisk.
- I slowly pour the warm giblet broth and strained drippings into the roux, whisking constantly so no lumps form. I keep the heat at medium and keep whisking until everything is fully combined into one smooth mixture.
- I let the gravy bubble gently for about 10 minutes, stirring often. If it looks too thick, I splash in a little more broth; if it’s too thin, I just let it simmer a few extra minutes until it coats the back of a spoon.
- Finally, I stir in the diced giblets if I’m using them, then taste and season with salt and pepper. Since the drippings are already salty, I always taste before adding more. I pour it into a warm gravy boat and serve it immediately alongside the turkey and mashed potatoes.
Notes
- I always strain my drippings twice if they look all cloudy it makes the gravy noticeably smoother.
- I keep my broth warm before adding it to the roux, since cold broth tends to seize up and create lumps.
- I whisk constantly instead of stirring, especially in the first few minutes, to stop lumps before they start.
- I taste as I go instead of waiting until the end, since drippings vary in saltiness every single year.
- I make my roux a shade darker than I think I need to, which gives the gravy a deeper, nuttier flavor.