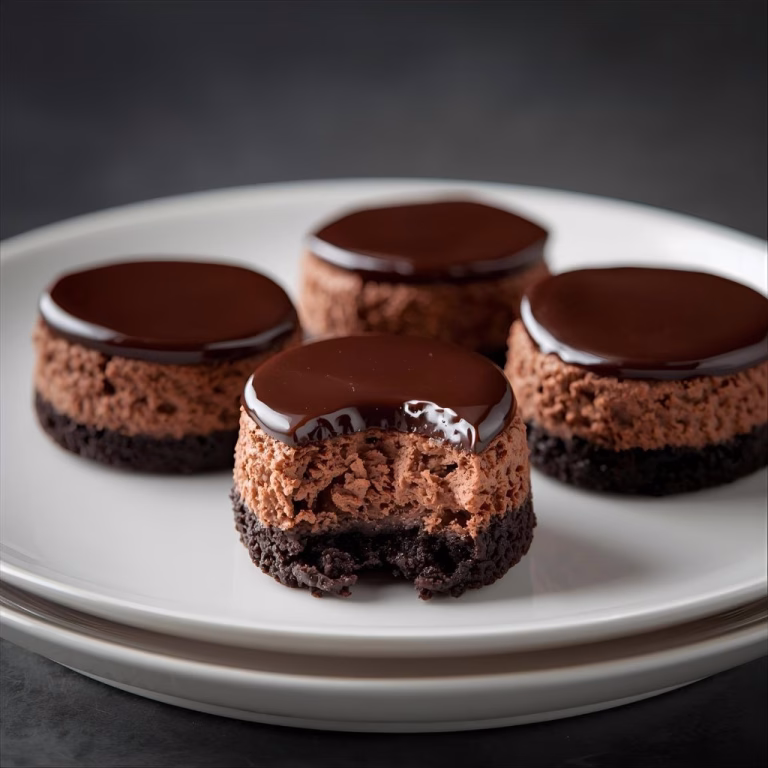
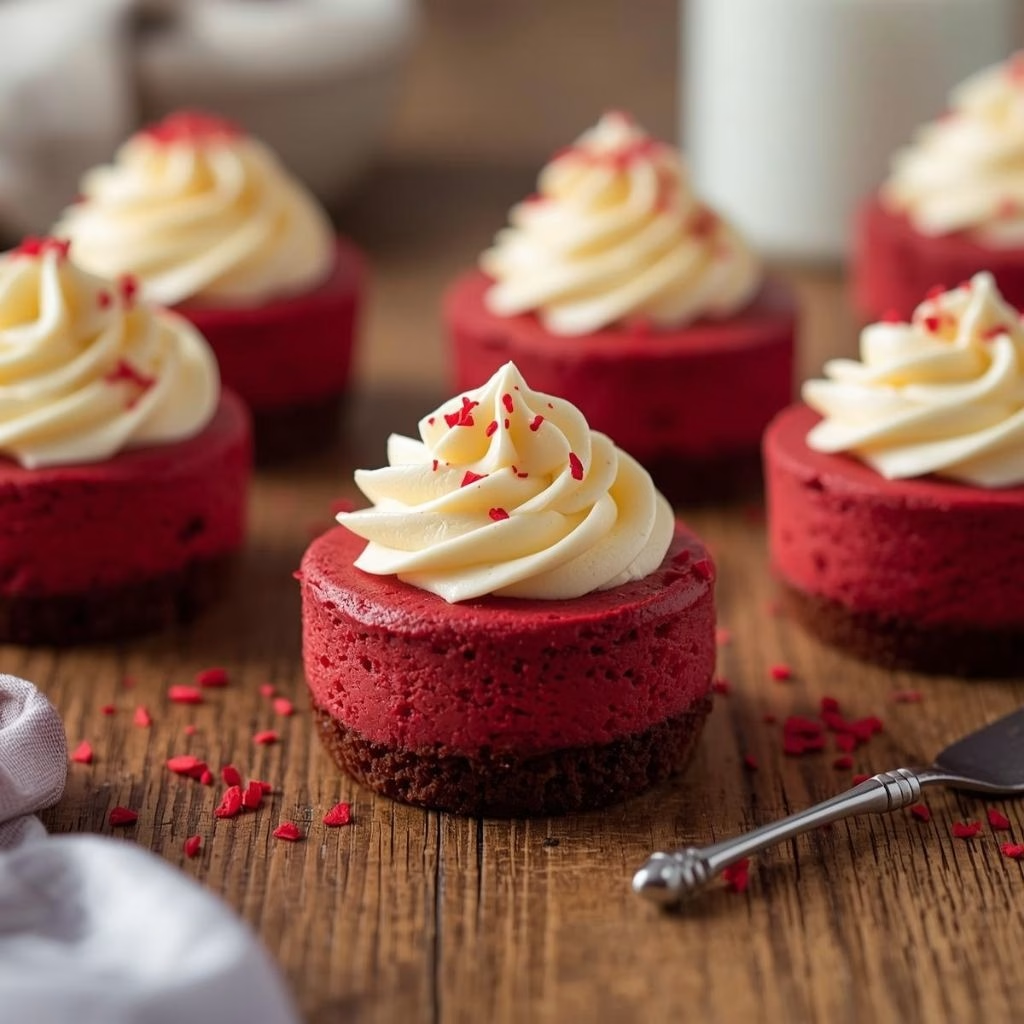
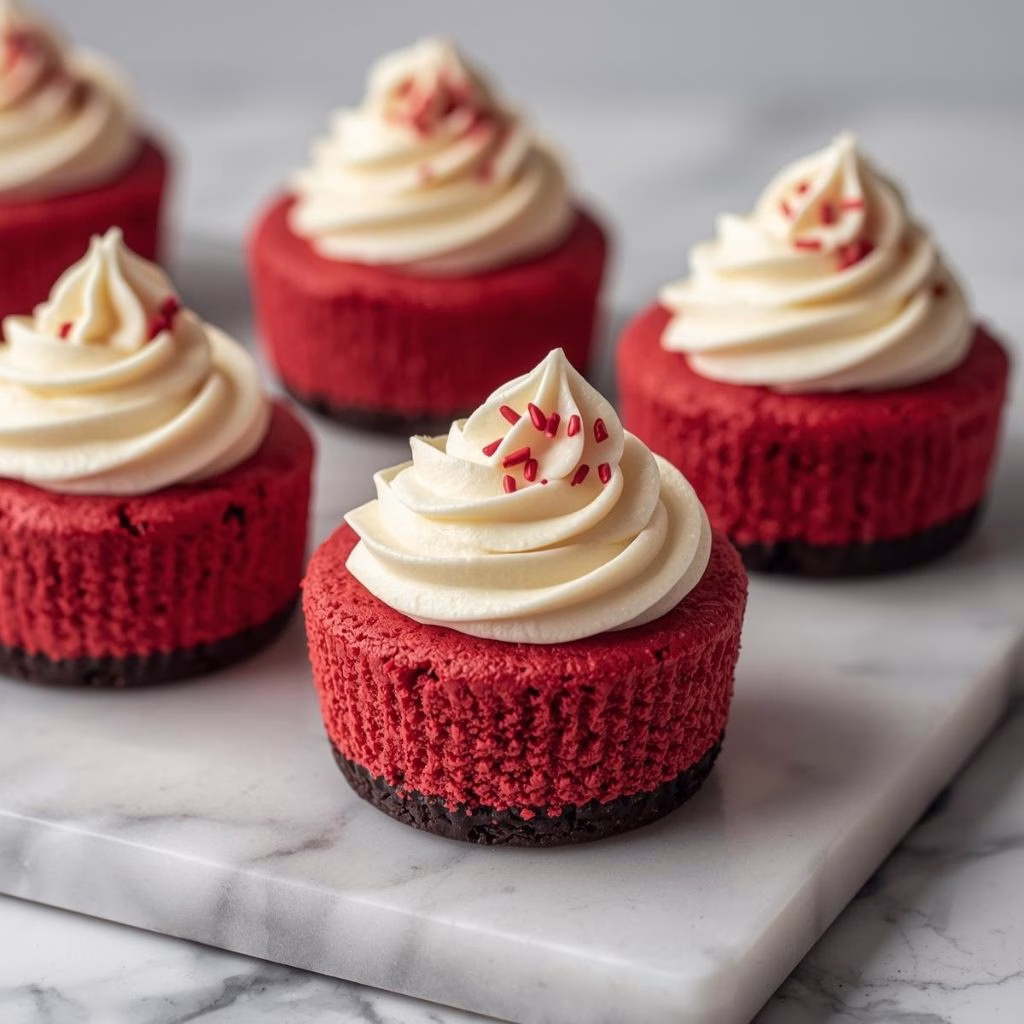
I recently made these Mini Red Velvet Cheesecakes Recipe, and I have to say, they turned out even better than I imagined! The combination of creamy cheesecake filling and a soft red velvet base is just irresistible. I loved how perfectly these bite-sized treats worked for a party or just a sweet snack for myself.
Making them felt easier than I expected, and the results were impressive. If you enjoy experimenting with unique desserts, you might also like the Apple Cider Stew Over Mashed Potatoes Recipe for a cozy twist on comfort food. Now, I can’t wait to share the recipe with you!

Ingredients
- Cream cheese, 8 ounces, softened — I always soften cream cheese to room temperature for a smoother batter.
- Sugar, 1/3 cup — Using fine granulated sugar helps it blend completely into the cream cheese.
- Large egg, 1 — Room temperature eggs incorporate better and prevent curdling.
- Red food coloring, 2 tablespoons — This gives the red velvet its signature color; you can adjust to your preference.
- Vanilla extract, 1 teaspoon — Adds a subtle, classic flavor that complements the cheesecake.
- All-purpose flour, 1 tablespoon — Helps stabilize the cheesecake filling so it doesn’t crack.
- Chocolate wafer cookies, 15 — I crush these finely for a crunchy, chocolatey crust.
- Butter, 3 tablespoons, melted — Melted butter binds the crust together and adds richness.
- Whipped topping, 1/2 cup (optional for garnish) — Lightly sweetened whipped cream gives a perfect finishing touch.
Note: serves 12 mini cheesecakes
Variations
You can tweak this recipe in several ways depending on your taste or dietary needs:
- For a dairy-free version, swap cream cheese with a plant-based alternative.
- Use a sugar substitute like erythritol for a lower-sugar treat.
- Try adding a hint of orange or espresso extract for a unique flavor twist.
- Swap the chocolate wafer crust with crushed graham crackers or nut crusts for variation. You could also try pairing with savory dishes like the Hot Honey Infused Feta Chicken Recipe for a sweet and spicy contrast.
Cooking Time
Here’s how long each part of this recipe takes:
- Prep Time: 20 minutes
- Cooking Time: 18–20 minutes
- Total Time: 40 minutes
Equipment You Need
These tools will make the process smooth and easy:
- Muffin pan – holds the mini cheesecakes in shape.
- Paper cupcake liners – helps with easy removal and cleanup.
- Mixing bowls – for combining crust and filling ingredients.
- Electric mixer – ensures a smooth, creamy cheesecake batter.
- Measuring cups and spoons – for precise ingredient amounts.
- Food processor or rolling pin – for crushing the chocolate cookies into crumbs.
How to Make Mini Red Velvet Cheesecakes
Prepare the Crust
Start by crushing your chocolate wafers until they’re fine crumbs. Mix them with melted butter and press the mixture into lined muffin cups. This forms a firm base for your cheesecake.
Make the Cheesecake Filling
Beat the softened cream cheese until smooth. Gradually add sugar, then mix in the egg, vanilla, flour, and red food coloring until you get a creamy, evenly colored batter.
Assemble the Cheesecakes
Spoon the filling onto the cookie crusts, filling each cup almost to the top. Smooth the tops with a spoon or spatula for an even finish.
Bake
Bake in a preheated oven at 325°F (163°C) for about 18–20 minutes. The edges should be set while the centers remain slightly jiggly.
Cool and Chill
Allow the mini cheesecakes to cool at room temperature for 30 minutes. Then refrigerate for at least 2 hours, or until completely chilled and firm.
Garnish and Serve
Add a dollop of whipped topping or a light dusting of cocoa powder before serving. I also love adding mini chocolate curls for extra flair.
Additional Tips for Making This Recipe Better
From my experience, these tricks really elevate the mini cheesecakes:
- I always use room temperature cream cheese and eggs for a silky, crack-free filling.
- Press the crust firmly into the cups to prevent it from separating when you serve.
- Don’t overbake; the center should still jiggle slightly—it firms as it cools.
- Chill fully before serving to make slicing and garnishing easier.
How to Serve Mini Red Velvet Cheesecakes
These bite-sized treats are perfect for any occasion. I like to:
- Arrange them on a decorative plate for a party display.
- Top with whipped cream, berries, or chocolate drizzle for a festive look.
- Serve with coffee or hot cocoa for a cozy dessert pairing.
Nutritional Information
Here’s a quick snapshot of what you’re enjoying in each mini cheesecake:
- Calories: ~170 per serving
- Protein: 3g
- Carbohydrates: 15g
- Fat: 11g
Make Ahead and Storage
Storing
These cheesecakes keep well in the fridge for up to 5 days. I store them in an airtight container to prevent them from drying out.
Freezing
You can freeze mini cheesecakes for up to 2 months. I wrap each one individually in plastic wrap and then place them in a freezer-safe container.
Reheating
I usually serve them cold, but if you prefer, you can thaw frozen cheesecakes overnight in the fridge. I avoid microwaving to keep the texture smooth.
Why You’ll Love This Recipe
Here’s why I keep coming back to this mini red velvet cheesecake recipe:
- Quick and easy: From start to finish, it’s manageable even for beginners.
- Perfect for portion control: Individual servings are ideal for parties or snacks.
- Flavorful and visually stunning: The vibrant red color always impresses guests.
- Versatile: Easy to adapt for dietary preferences or flavor experiments.
- Make-ahead friendly: Perfect for prepping in advance for celebrations.
Mini Red Velvet Cheescakes Recipe
Ingredients
Method
- Start by crushing your chocolate wafers until they’re fine crumbs. Mix them with melted butter and press the mixture into lined muffin cups. This forms a firm base for your cheesecake.
- Beat the softened cream cheese until smooth. Gradually add sugar, then mix in the egg, vanilla, flour, and red food coloring until you get a creamy, evenly colored batter.
- Spoon the filling onto the cookie crusts, filling each cup almost to the top. Smooth the tops with a spoon or spatula for an even finish.
- Bake in a preheated oven at 325°F (163°C) for about 18–20 minutes. The edges should be set while the centers remain slightly jiggly.
- Allow the mini cheesecakes to cool at room temperature for 30 minutes. Then refrigerate for at least 2 hours, or until completely chilled and firm.
- Add a dollop of whipped topping or a light dusting of cocoa powder before serving. I also love adding mini chocolate curls for extra flair.
Notes
- I always use room temperature cream cheese and eggs for a silky, crack-free filling.
- Press the crust firmly into the cups to prevent it from separating when you serve.
- Don’t overbake; the center should still jiggle slightly—it firms as it cools.
- Chill fully before serving to make slicing and garnishing easier.