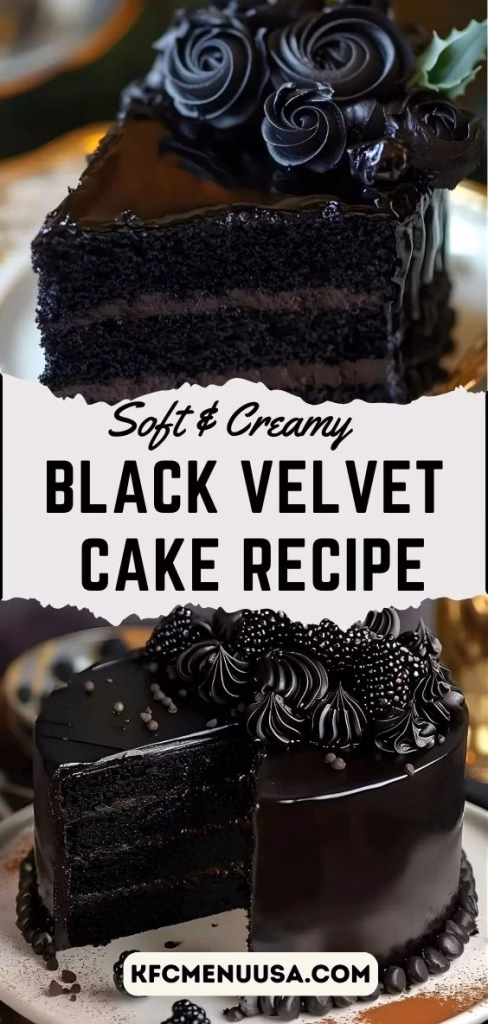
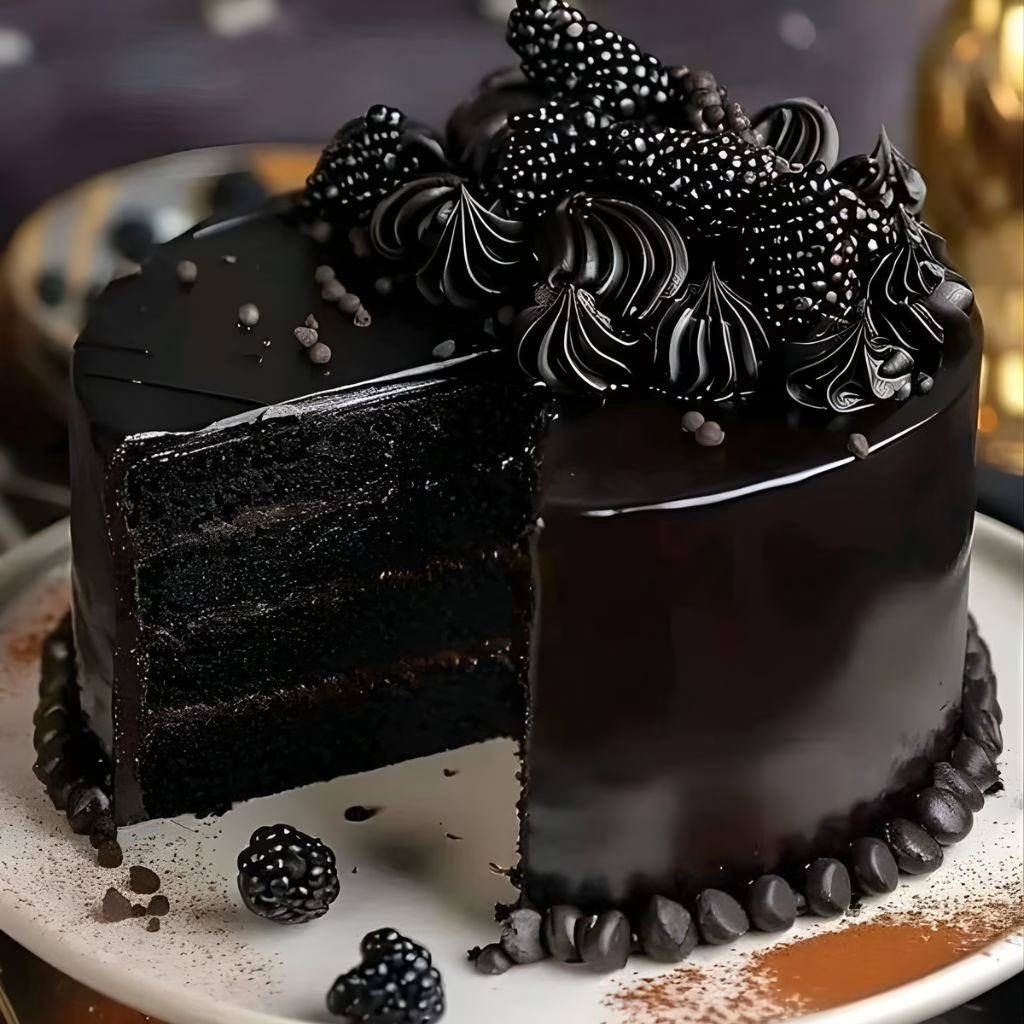
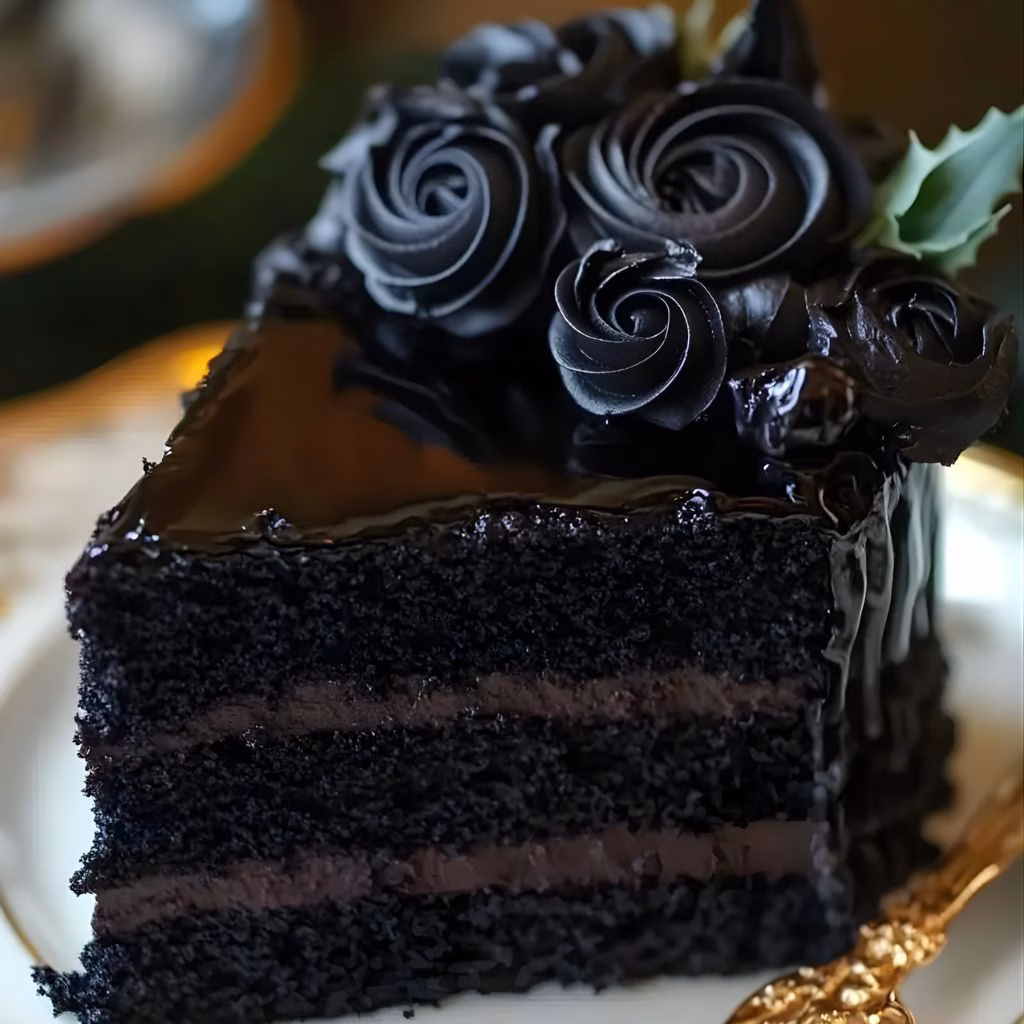
I still remember pulling this Black Velvet Cake Recipe out of my oven and thinking, ” This is something special. The crumb was dark, soft, and incredibly plush, with a deep cocoa flavor that felt richer than classic chocolate cake. When I sliced into it after frosting, the texture was smooth and tender, almost luxurious.
I’ve made many cakes over the years, but this one instantly became a favorite in my kitchen. Let me walk you through exactly how I make it so you can enjoy the same results at home. If you love decadent desserts, you might also enjoy trying the Hot Fudge Brownie Bread Recipe for another rich chocolate treat.
Ingredients Section
Here’s everything I use to make this cake perfectly moist, dark, and flavorful, along with a few tips I’ve learned along the way. Sometimes, I also prepare a simple, comforting dessert like Creamy Rice Pudding Recipe to serve alongside lighter meals.
- All-purpose flour – 2½ cups (Provides structure; spoon and level it to avoid a dense cake)
- Granulated sugar – 1¾ cups (Sweetens the cake and keeps the crumb tender; regular white sugar works best)
- Unsweetened natural cocoa powder – ½ cup (Creates the deep dark color and reacts with baking soda for proper rise)
- Baking soda – 1½ teaspoons (Helps the cake rise and enhances the rich, dark hue)
- Salt – 1 teaspoon (Balances sweetness and intensifies the cocoa flavor)
- Unsalted butter – ½ cup, softened (Adds richness and flavor; make sure it’s soft, not melted)
- Vegetable oil – ½ cup (Keeps the cake moist for days; using oil plus butter gives the best texture)
- Eggs – 2 large, room temperature (Bind the ingredients and add structure; room temperature eggs mix smoothly)
- Vanilla extract – 2 teaspoons (Enhances chocolate flavor without overpowering it)
- Black gel food coloring – 1 to 1½ teaspoons (Creates the signature black velvet color without thinning the batter)
- Buttermilk – 1 cup, room temperature (Adds moisture and acidity for a soft, tender crumb)
- Hot brewed coffee or hot water – 1 cup (Blooms the cocoa and deepens the chocolate flavor without tasting like coffee)
Note: This ingredient quantity makes one 9×13-inch cake or two 8-inch round layers, serving about 12–14 people.
Variations
This Black Velvet Cake is easy to customize depending on your needs or preferences.
- For a dairy-free version, replace butter with dairy-free margarine and use almond milk with a teaspoon of vinegar instead of buttermilk.
- To reduce sugar, use a granulated sugar substitute designed for baking, keeping the same measurements.
- For extra flavor, add a teaspoon of espresso powder or a hint of almond extract.
- If you want a festive twist, fold mini chocolate chips into the batter for added texture.
Cooking Time
Here’s how long the recipe takes from start to finish.
- Prep Time: 20 minutes
- Cooking Time: 30–35 minutes
- Total Time: About 55 minutes
Equipment You Need
- Mixing bowls – for combining dry and wet ingredients separately
- Electric mixer – helps cream butter and sugar smoothly
- Measuring cups and spoons – ensures accurate measurements
- Rubber spatula – for scraping and folding batter evenly
- Cake pans – holds the batter while baking
- Wire rack – allows the cake to cool evenly
How to Make Black Velvet Cake Recipe?
This recipe comes together smoothly when you follow each step carefully. I always prep everything first, which makes the process stress-free and enjoyable.
Prepare the Oven and Pans
I start by preheating my oven to 350°F (175°C). Then I grease and line my cake pans with parchment paper to prevent sticking. This step saves so much frustration later.
Mix the Dry Ingredients
In a large bowl, I whisk together flour, cocoa powder, baking soda, and salt. This evenly distributes the leavening and cocoa for a consistent crumb.
Cream Butter, Oil, and Sugar
In another bowl, I beat the butter, oil, and sugar until light and fluffy. This step incorporates air, which helps the cake bake up soft and tender.
Add Eggs, Vanilla, and Coloring
I add the eggs one at a time, mixing well after each. Then I blend in vanilla and black food coloring until the batter looks evenly dark.
Alternate Buttermilk and Dry Ingredients
I add the dry ingredients in three parts, alternating with buttermilk. Mixing gently here keeps the batter smooth without overworking it.
Add Hot Coffee or Water
Slowly pouring in the hot liquid transforms the batter into a thin, glossy mixture. This step intensifies the cocoa flavor beautifully.
Bake the Cake
I pour the batter into prepared pans and bake until a toothpick comes out with just a few moist crumbs. Overbaking can dry it out, so I keep a close eye.
Cool Completely
Once baked, I let the cakes cool in the pans briefly before transferring them to a rack. Cooling fully is important before frosting.
Additional Tips for Making This Recipe Better
After making this cake several times, I’ve picked up a few helpful tricks that really elevate the final result.
- I always use gel food coloring because it gives a darker color without thinning the batter.
- Letting all ingredients come to room temperature helps everything blend smoothly.
- I avoid overmixing once the flour is added to keep the cake soft.
- Using coffee instead of water makes the chocolate flavor noticeably richer.
How to Serve Black Velvet Cake Recipe?
This cake looks stunning on its own, but I love dressing it up for special occasions. I usually frost it with cream cheese frosting or chocolate buttercream for contrast. For presentation, I add chocolate shavings, fresh berries, or a light dusting of cocoa powder. Slicing it cleanly with a warm knife makes each piece look bakery-perfect.
Nutritional Information
Here’s a general idea of what you get in each slice.
- Calories: Approximately 430 per serving
- Protein: About 5 grams
- Carbohydrates: Around 55 grams
- Fat: Roughly 22 grams
Make Ahead and Storage
This cake is great for planning ahead, which I really appreciate when hosting.
Storing:
I store the unfrosted cake tightly wrapped at room temperature for up to 2 days or in the fridge for 5 days.
Freezing:
The cake layers freeze well. I wrap them in plastic wrap and foil, then freeze for up to 2 months.
Reheating/Restoring:
To restore softness, I let frozen cake thaw at room temperature. If chilled, I bring it to room temperature before serving.
Why You’ll Love This Recipe?
There are so many reasons this cake has become a staple in my recipe collection.
This recipe stands out for its rich flavor, soft texture, and stunning appearance.
- It’s easy to make with simple pantry ingredients and clear steps.
- The cake stays moist for days, making it perfect for events.
- You can customize it for dietary needs or flavor preferences.
- The deep black color makes it visually impressive for celebrations.
If you’re looking for a cake that’s both dramatic and delicious, this Black Velvet Cake is one I truly recommend trying.
Black Velvet Cake Recipe
Ingredients
Method
- I start by preheating my oven to 350°F (175°C). Then I grease and line my cake pans with parchment paper to prevent sticking. This step saves so much frustration later.
- In a large bowl, I whisk together flour, cocoa powder, baking soda, and salt. This evenly distributes the leavening and cocoa for a consistent crumb.
- In another bowl, I beat the butter, oil, and sugar until light and fluffy. This step incorporates air, which helps the cake bake up soft and tender.
- I add the eggs one at a time, mixing well after each. Then I blend in vanilla and black food coloring until the batter looks evenly dark.
- I add the dry ingredients in three parts, alternating with buttermilk. Mixing gently here keeps the batter smooth without overworking it.
- Slowly pouring in the hot liquid transforms the batter into a thin, glossy mixture. This step intensifies the cocoa flavor beautifully.
- I pour the batter into prepared pans and bake until a toothpick comes out with just a few moist crumbs. Overbaking can dry it out, so I keep a close eye.
- Once baked, I let the cakes cool in the pans briefly before transferring them to a rack. Cooling fully is important before frosting.
Notes
- I always use gel food coloring because it gives a darker color without thinning the batter.
- Letting all ingredients come to room temperature helps everything blend smoothly.
- I avoid overmixing once the flour is added to keep the cake soft.
- Using coffee instead of water makes the chocolate flavor noticeably richer.