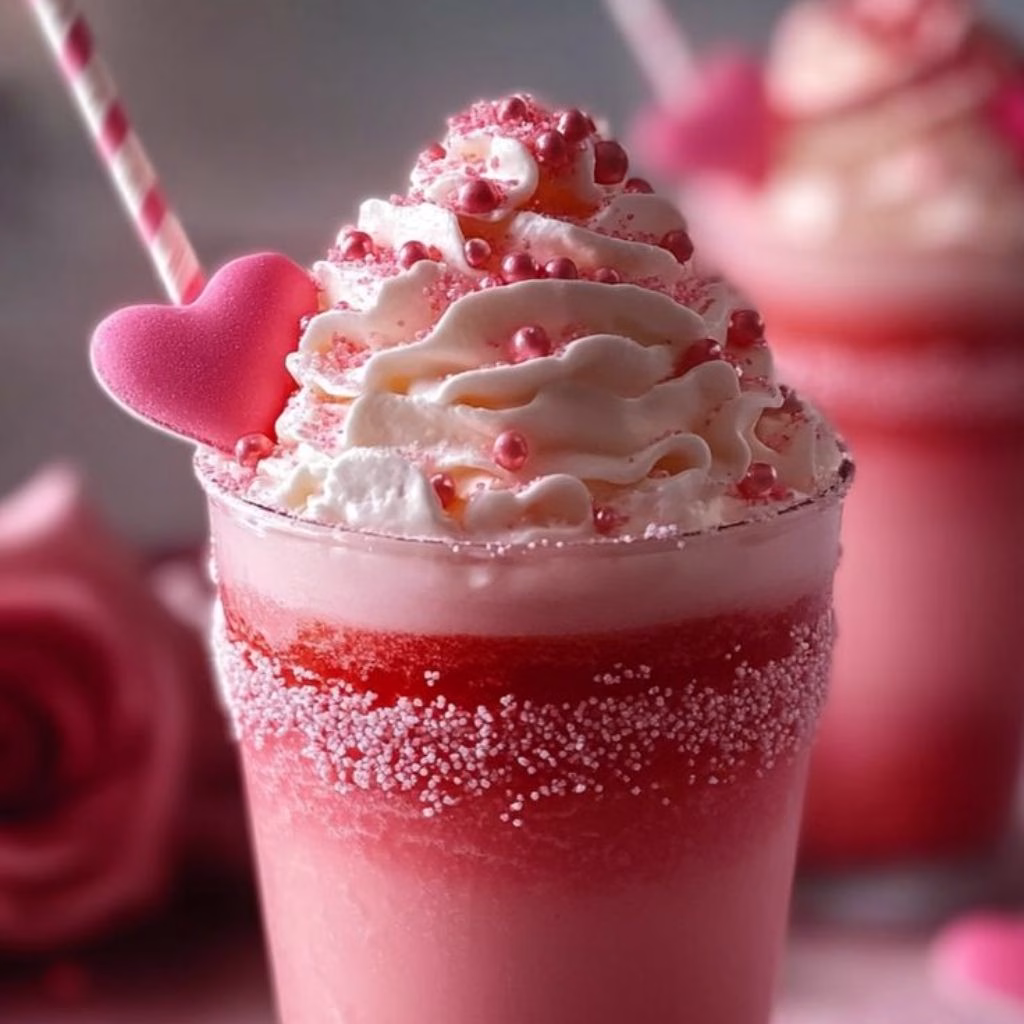
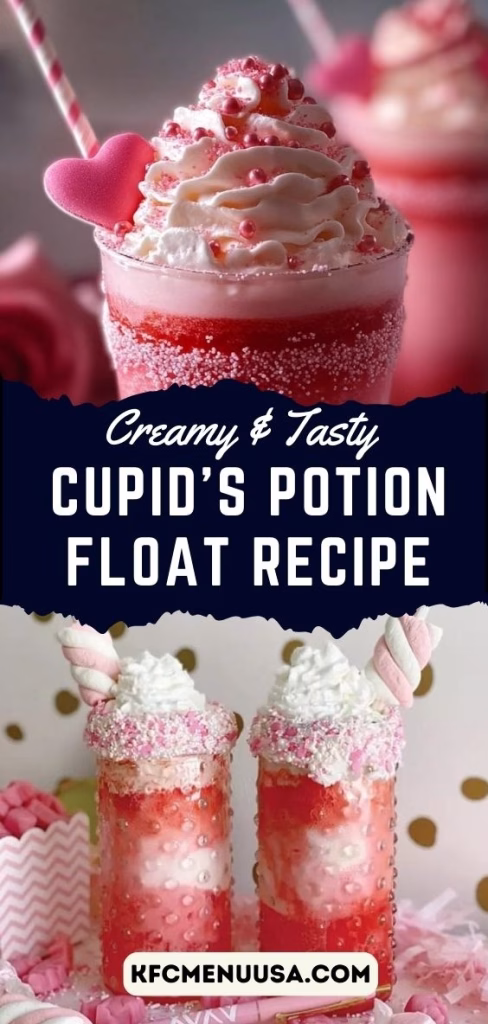
I just tried making the Cupid’s Potion Float Recipe, and I have to say—it was a delightful experience! From mixing the creamy ice cream with fizzy strawberry soda to decorating it with sprinkles and gummies, every step felt fun and festive.
I love how easy it is to create a drink that looks so special without a ton of fuss. This float instantly brightened my day, and I can’t wait to share it with anyone looking for a sweet, playful treat.
If you’re in the mood for a Valentine’s Day-inspired beverage, this recipe is a must-try. You can also enjoy similar indulgent recipes like Smothered Baked Chicken Burritos Recipe or the hearty Chicken Bacon Ranch Sloppy Joes Recipe for a full festive menu.
Ingredients
Here’s what you’ll need to whip up your Cupid’s Potion Float. Each ingredient has a tip to help it shine in the drink:
- 1 bottle strawberry soda – I like using chilled soda to make the float extra fizzy and refreshing.
- 1 pint vanilla ice cream – Using high-quality ice cream makes the float creamier and richer.
- Heavy cream – For homemade whipped cream; it whips best when cold.
- Sugar – To sweeten your whipped cream; adjust to taste.
- Sprinkles – Adds a playful touch; pick colorful ones for a festive look.
- White chocolate (optional) – Perfect for decorating the glass rim; melt gently.
- Gummies (optional) – Fun garnish to make the float look extra special.
Note: several servings
For the Glass Rim (Optional)
- Melt white chocolate and dip the rim of the glass
- Roll in sprinkles and let it harden before pouring in the drink
Variations
You can tweak the float to suit your taste or dietary needs:
- Dairy-free: Swap ice cream with coconut milk or almond milk-based ice cream.
- Sugar-free: Use diet or naturally sweetened soda and sugar-free whipped cream.
- Flavor enhancers: Add a drizzle of chocolate or strawberry syrup for extra indulgence.
- Garnish fun: Swap gummies for marshmallows, chocolate chips, or edible glitter.
Cooking Time
This float comes together quickly, making it perfect for last-minute celebrations.
- Prep Time: 5 minutes
- Cooking Time: 0 minutes (assembly only)
- Total Time: 5 minutes
Equipment You Need
Here’s what helped me make the float effortlessly:
- Tall glasses – For holding the float and showing off the layers.
- Ice cream scoop – Makes evenly sized scoops for a neat presentation.
- Whisk – Essential for whipping the cream to soft peaks.
- Spoon – To layer soda and ice cream smoothly.
- Small saucepan or microwave-safe bowl – For melting white chocolate if decorating the rim.
How to Make Cupid’s Potion Float Recipe
Making this float is simple, and the steps are as enjoyable as the finished drink.
Prepare the Glasses and Decorations
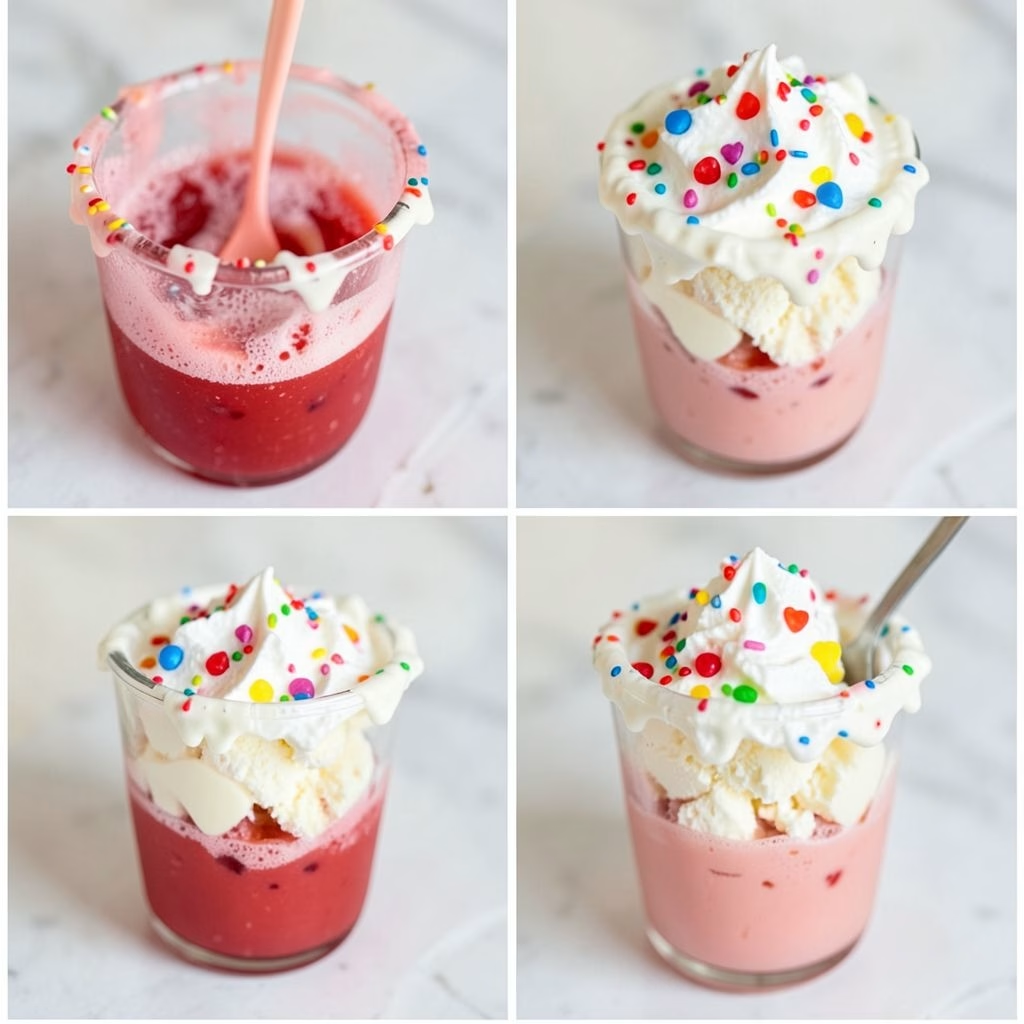
I like to start by preparing the glass rim. Melt some white chocolate and dip the edge into sprinkles. Let it harden while you prep the float—it adds a playful, colorful touch that makes the drink extra special.
Layer the Ice Cream and Soda
Start by adding two scoops of vanilla ice cream into the glass. Slowly pour in strawberry soda until the glass is half full, creating a frothy, creamy layer. Then, add two more scoops of ice cream and top with more soda.
Whip and Top
Whip your heavy cream with a little sugar until soft peaks form. Generously top your float with whipped cream, then sprinkle over your sprinkles and gummies. I like to use colorful and heart-shaped sprinkles for a festive Valentine’s vibe.
Garnish Creatively
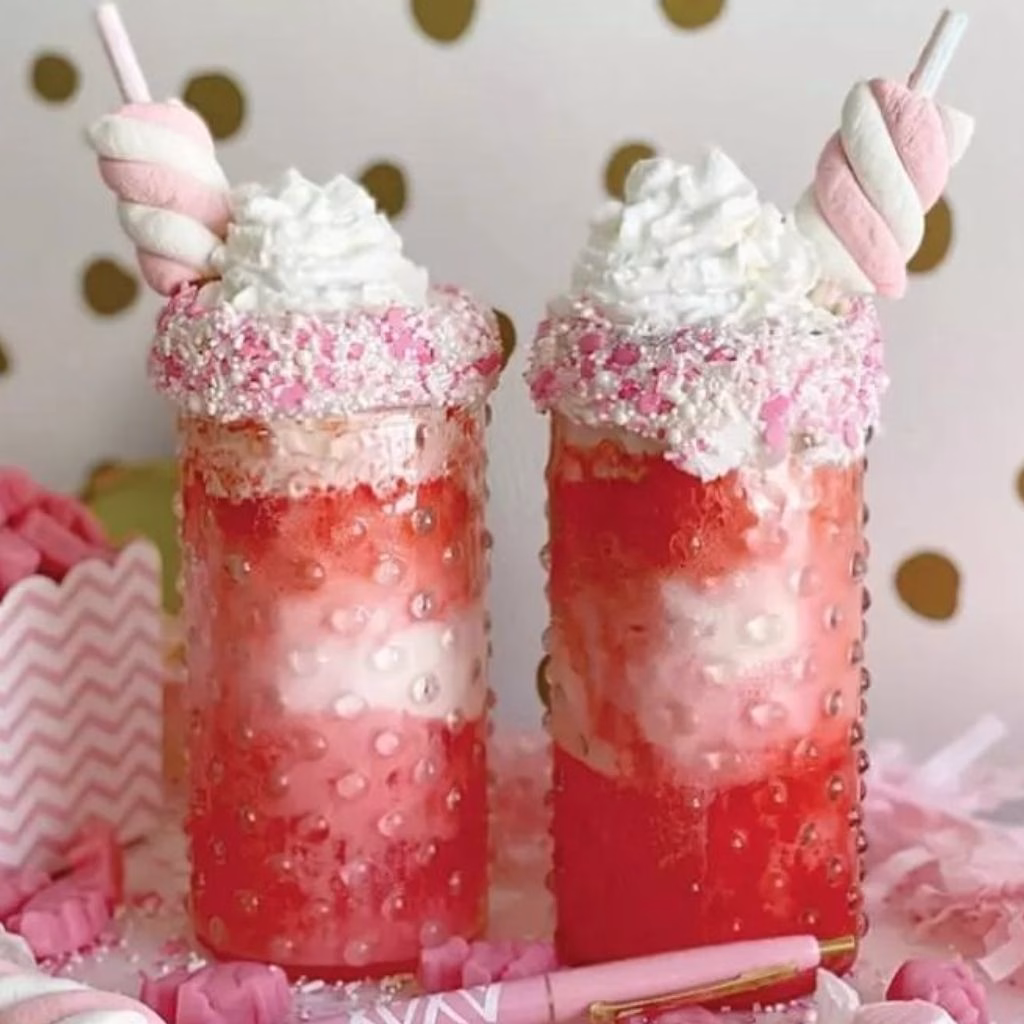
For extra charm, I added small gummies and marshmallows on top. It’s playful and visually appealing, and I love how it makes the float feel like a special treat.
Additional Tips for Making This Recipe Better
From my experience, these small tweaks make the float even more enjoyable:
- I always chill my glasses beforehand to keep the float cold longer.
- I prefer homemade whipped cream—it tastes fresher and holds its shape better.
- Pour soda gently over the ice cream to avoid too much foam overflow.
- I like to layer ice cream and soda in even scoops for a perfect, photo-ready float.
- Using fun-shaped sprinkles or candy adds an extra “wow” factor for kids.
How to Serve Cupid’s Potion Float Recipe
Serving is just as fun as making it! I like to use tall, clear glasses so you can see the pink layers. Top with whipped cream, sprinkles, and gummies, then serve with a long spoon or a colorful straw. It’s a hit at parties, Valentine’s Day breakfasts, or even an afternoon treat.
Nutritional Information
Here’s a quick look at what you’re enjoying with each float:
- Calories: Approximately 350–400 per serving, depending on toppings
- Protein: 4–6 grams
- Carbohydrates: 50–55 grams
- Fat: 15–18 grams
These numbers can vary based on the ice cream and soda brands you use.
Make Ahead and Storage
Storing
The float is best enjoyed immediately, but you can prepare the soda and ice cream separately in advance. Keep ice cream in the freezer and soda in the fridge until ready to assemble.
Freezing
I don’t recommend freezing the fully assembled float—it will lose its texture. You can, however, pre-scoop ice cream into small containers for convenience.
Reheating
Since this is a cold treat, reheating isn’t applicable. Just assemble fresh for the best experience.
Why You’ll Love This Recipe
Here’s why I keep making Cupid’s Potion Float every Valentine’s Day:
- Easy to make: Minimal ingredients and steps make it stress-free.
- Kid-friendly: My little ones love customizing it with gummies and sprinkles.
- Visually stunning: The pink layers, whipped cream, and decorations make it Instagram-worthy.
- Versatile: Adjust flavors, toppings, and dietary needs easily.
- Fun to share: It’s a playful treat for family, friends, or a romantic Valentine’s surprise.
Cupid’s Potion Float is more than just a drink—it’s a celebration in a glass. The combination of creamy ice cream, fizzy soda, and whimsical toppings makes it a treat everyone will love. Whether you’re celebrating Valentine’s Day, a birthday, or just a sweet moment, this float is simple, joyful, and irresistibly delicious.
Cupid’s Potion Float Recipe
Ingredients
Method
- I like to start by preparing the glass rim. Melt some white chocolate and dip the edge into sprinkles. Let it harden while you prep the float—it adds a playful, colorful touch that makes the drink extra special.
- Start by adding two scoops of vanilla ice cream into the glass. Slowly pour in strawberry soda until the glass is half full, creating a frothy, creamy layer. Then, add two more scoops of ice cream and top with more soda.
- Whip your heavy cream with a little sugar until soft peaks form. Generously top your float with whipped cream, then sprinkle over your sprinkles and gummies. I like to use colorful and heart-shaped sprinkles for a festive Valentine’s vibe.
- For extra charm, I added small gummies and marshmallows on top. It’s playful and visually appealing, and I love how it makes the float feel like a special treat.
Notes
- I always chill my glasses beforehand to keep the float cold longer.
- I prefer homemade whipped cream—it tastes fresher and holds its shape better.
- Pour soda gently over the ice cream to avoid too much foam overflow.
- I like to layer ice cream and soda in even scoops for a perfect, photo-ready float.
- Using fun-shaped sprinkles or candy adds an extra “wow” factor for kids.