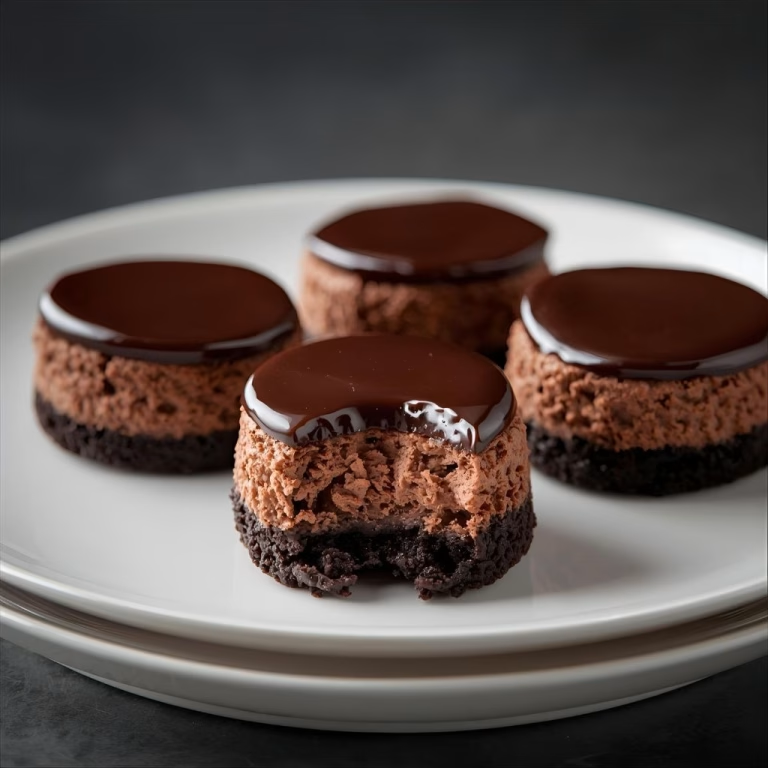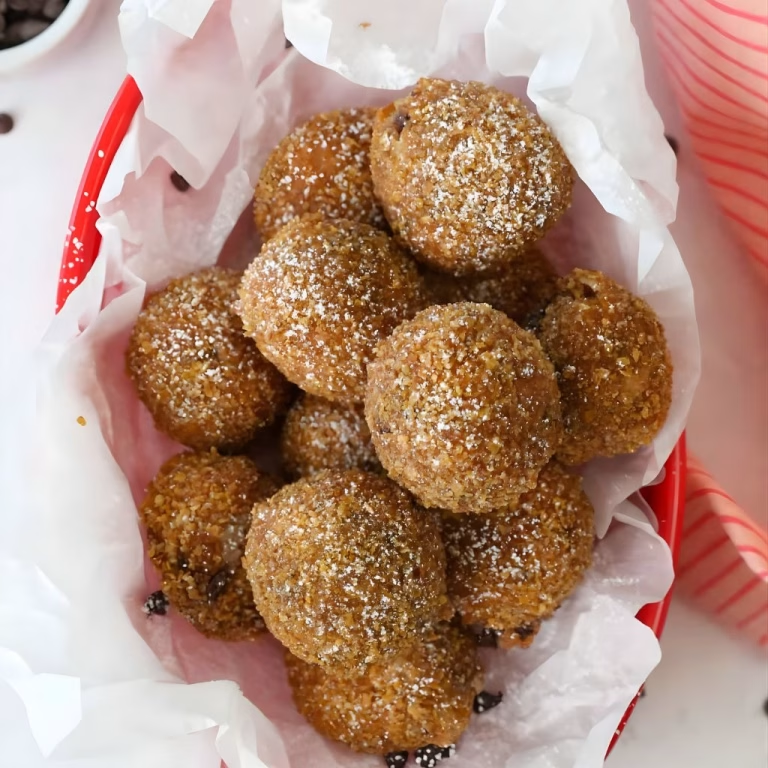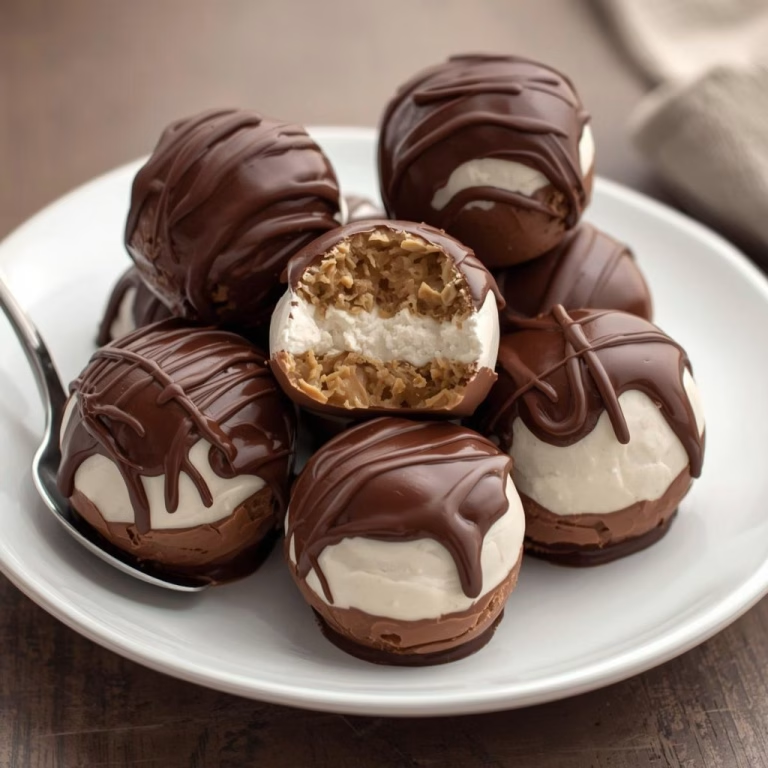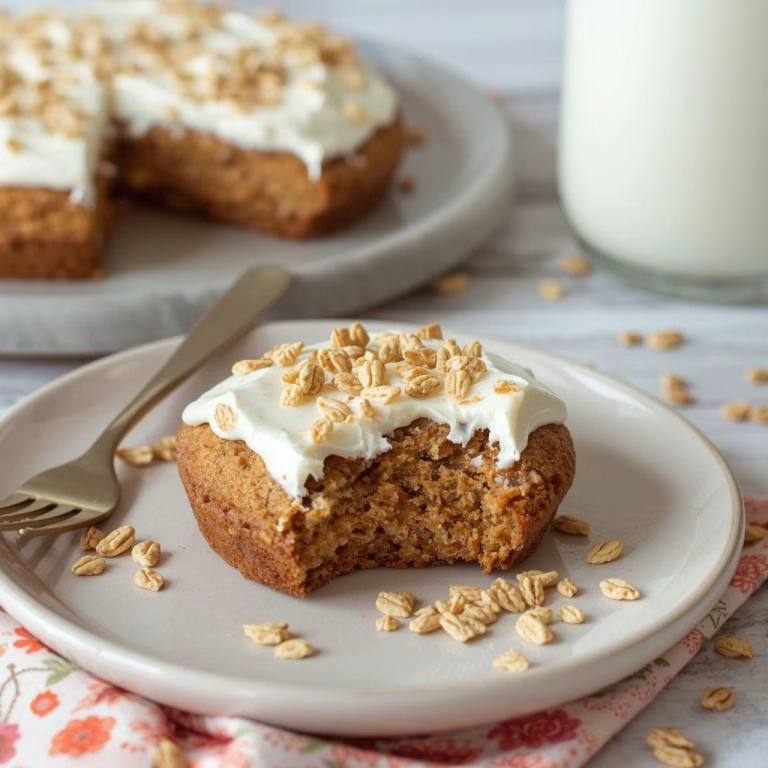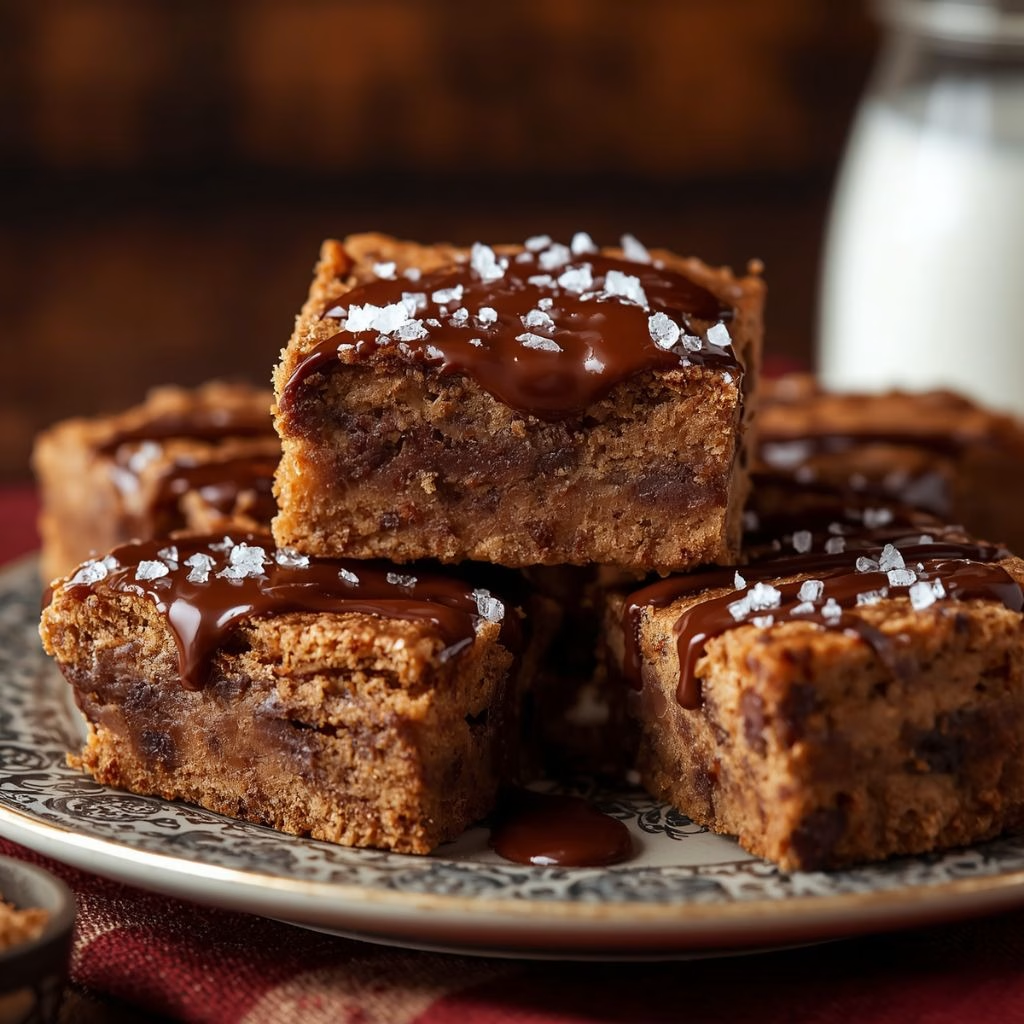
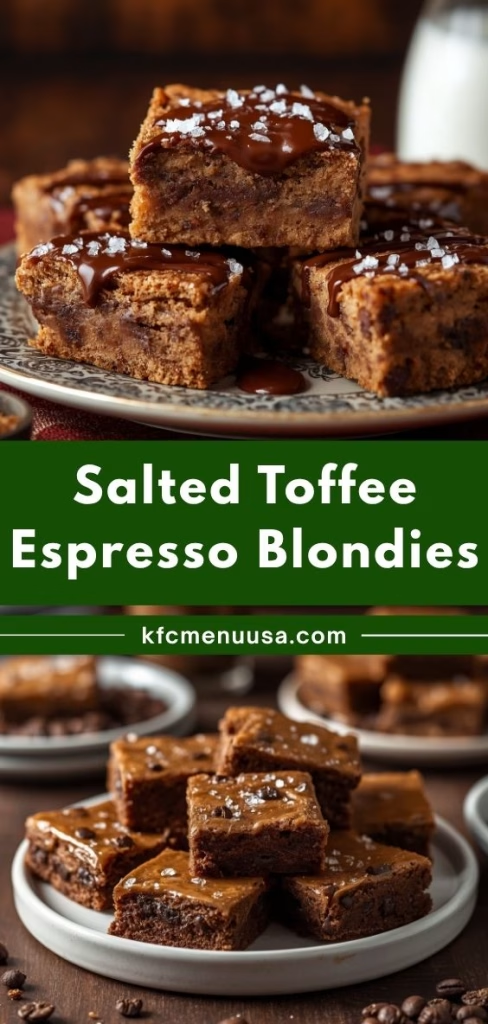
I still remember the first time I pulled a pan of this Salted Toffee Espresso Blondies Recipe out of the oven the whole kitchen smelled like a coffee shop mixed with a candy store, and I knew I had a winner. I’ve made a lot of blondies over the years, but the combo of homemade toffee, melty chocolate and a hit of espresso is something I keep coming back to.
Every bite is chewy in the middle with crisp, caramelized toffee bits scattered throughout. If you love coffee and chocolate together, this is the bar you didn’t know you were missing. I’m sharing everything I learned while testing this recipe so you can nail it on your first try.
Cooking Time
- Prep Time: 20 minutes
- Toffee Making Time: 10 minutes
- Cook Time: 20-24 minutes
- Total Time: About 50-55 minutes (plus 2 hours to cool)
Ingredients
For the homemade toffee bits
- Unsalted butter (¼ cup / 56g) – forms the rich base of the toffee and helps it turn glassy as it cooks
- Light or dark brown sugar (½ cup / 100g) – melts into that deep caramel flavor you want in every bite
- Fine salt (¼ teaspoon) – balances the sweetness so the toffee doesn’t taste one-note
For the blondies
- Unsalted butter, melted (½ cup / 113g) – gives the batter its rich, dense base, similar to a brownie
- All-purpose flour (1¼ cups / 150g) – the structure of the bar, so spoon and level it instead of scooping
- Fine instant espresso powder (1½ teaspoons) – boosts the chocolate flavor and adds that coffeehouse kick
- Fine salt (½ teaspoon) – keeps the sweetness in check and makes every other flavor pop
- Light or dark brown sugar, packed (1 cup / 200g) – adds moisture and that classic chewy blondie texture
- 1 large egg + 1 large egg yolk, room temperature – the extra yolk is the secret to a fudgier, chewier bite
- Vanilla paste or extract (1 teaspoon) – rounds out the flavor and adds warmth
- Semi-sweet or dark chocolate bar, chopped (4 oz / 113g) – melts into gooey pockets throughout the batter
- Homemade toffee bits (½ cup / 78g), or store-bought if you’re short on time – adds crunch and caramel notes
- Flaky sea salt, for topping – the finishing touch that makes the sweetness sing
Note: This recipe makes 9 large or 16 smaller squares, so it easily serves a small gathering or a family with leftovers to spare.
Equipment You Need
- 8×8 inch square pan – bakes the blondies to the right thickness and shape
- Small saucepan or pot – for cooking the toffee mixture on the stove
- Candy or instant-read thermometer – helps you hit the exact hard-crack stage for perfect toffee
- Mixing bowls (one small, one large) – for keeping dry and wet ingredients separate
- Whisk and rubber spatula – whisk the wet ingredients, then fold in the mix-ins without deflating the batter
- Cooling rack – lets the pan cool evenly before you slice
How to Make Salted Toffee Espresso Blondies Recipe?
This recipe comes together in two quick stages: homemade toffee first, then a simple one-bowl blondie batter. Nothing here needs a stand mixer, just a bit of patience while things cool. Here’s exactly how I put it all together, step by step.
Make the Homemade Toffee
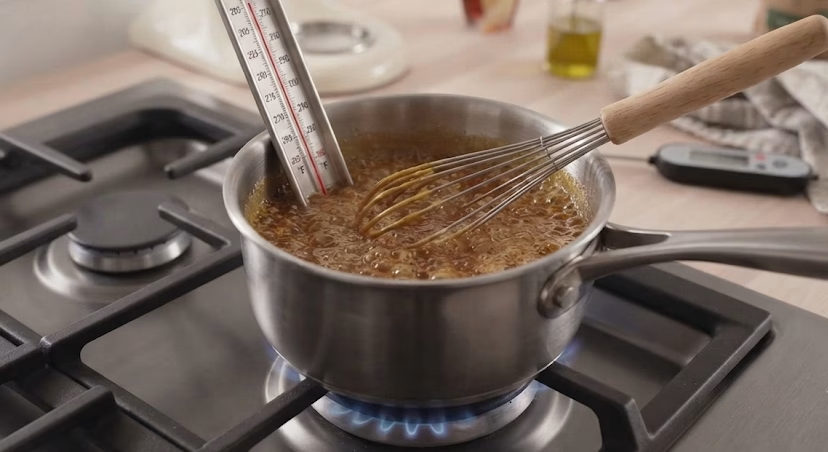
Add the butter, brown sugar and salt to a small saucepan over medium heat. Whisk often as it bubbles and darkens, watching the thermometer climb toward 300°F, the hard-crack stage. This usually takes about 8 to 10 minutes on my stove, so don’t walk away from the pan.
Cool and Break the Toffee
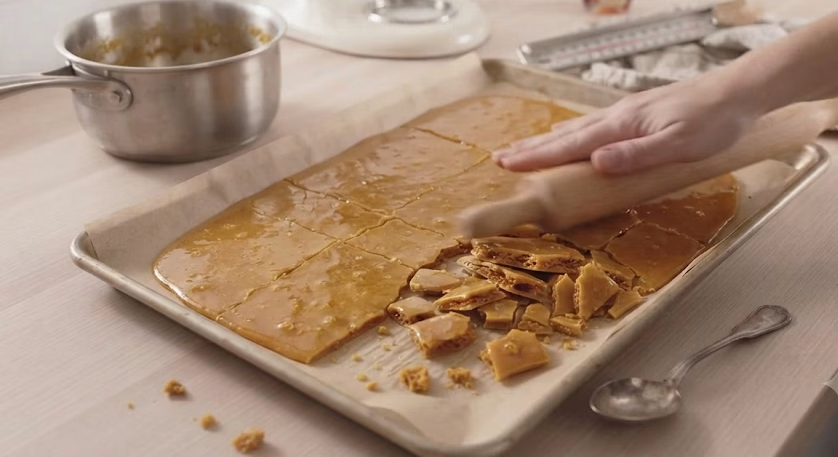
Pour the hot toffee onto a parchment-lined baking sheet right away and spread it thin with a spatula before it sets. Let it cool for about 15 minutes until it’s fully hardened. Once cooled, break it into small pieces using a spoon or rolling pin.
Mix the Dry Ingredients
While the toffee cools, whisk together the flour, espresso powder and salt in a small bowl. Keeping these separate first means the espresso gets evenly distributed instead of clumping in one spot. Set this bowl aside until you need it.
Combine the Butter and Sugar
In a large bowl, whisk the melted butter and brown sugar together until fully combined and glossy. Let this mixture cool for about 5 minutes so it doesn’t scramble the egg you add next. This short rest really does make a difference.
Add the Eggs and Vanilla
Whisk in the whole egg, the extra yolk and the vanilla until the batter looks smooth and slightly emulsified. This is the step that gives the blondies their signature shiny, crackly top once baked. Take your time whisking here.
Fold in Dry Ingredients
Sift the flour mixture into the wet ingredients and stir just until the streaks disappear. Overmixing at this point develops too much gluten, which makes the bars tough instead of chewy. A few gentle folds is really all you need.
Add the Chocolate and Toffee
Gently fold in the chopped chocolate and toffee bits, saving a small handful of each for the top. This keeps the mix-ins evenly spread rather than sinking to the bottom of the pan. The batter will look thick and studded with goodies.
Bake the Blondies
Pour the batter into your prepared, parchment-lined pan and scatter the reserved chocolate and toffee over the top. Bake at 350°F for 20 to 24 minutes, until the edges turn golden and the center looks shiny and slightly puffed. A toothpick should come out with a few moist crumbs, not wet batter.
Cool and Slice
Set the pan on a cooling rack and let the blondies cool completely, which takes about 2 hours. Sprinkle with flaky sea salt right before slicing into neat squares. Patience here really pays off with clean cuts.
Additional Tips for Making This Recipe Better
I’ve made this recipe enough times to pick up a few tricks that make a real difference.
- I always weigh my flour on a kitchen scale instead of scooping, since it keeps the bars from turning dry or dense.
- I like using a metal pan instead of glass, because it bakes more evenly and gives me that crisp edge I want.
- I make a double batch of toffee at once since it stores well, and I also enjoy using the extra in the Corsican Green Bean and Mint Salad Recipe when I want to prepare both a fresh side dish and dessert for the same meal.
- I pull my blondies out slightly early, when the center still looks a bit underbaked, because they firm up as they cool.
- I always line my pan with a parchment sling, which makes lifting the whole slab out so much easier than digging with a spatula.
Common Mistakes to Avoid
I’ve made a few of these mistakes myself, so I’m passing on what I learned the hard way.
- I once walked away from the toffee for a minute and it went from golden to burnt fast, so I never leave the pot unattended now.
- I used to pack my flour into the measuring cup, which made my blondies dry and cakey instead of chewy.
- I overmixed the batter once thinking it needed to be smoother, and it turned my bars tough and dense.
- I cut into a warm pan early on and ended up with a gooey mess, so now I always wait the full cooling time.
- I forgot the flaky salt on top once, and honestly the whole bar tasted flat without that final contrast.
How to Serve Salted Toffee Espresso Blondies?
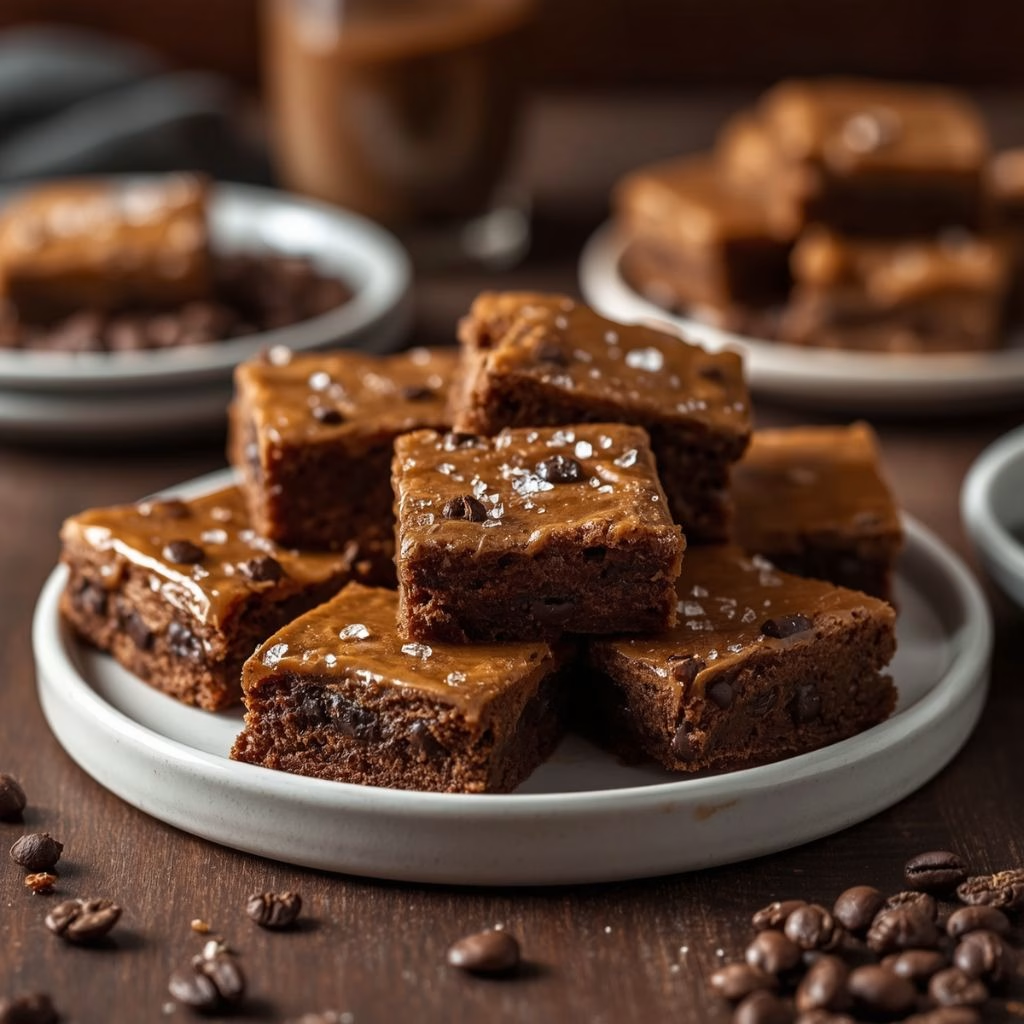
I love serving these slightly warm with a scoop of vanilla ice cream melting over the top, especially after dinner. For a party or bake sale, I cut them into small 1-inch bites and arrange them on a platter with extra toffee crumbs and a light dusting of flaky salt for a bakery-style look.
They also pair beautifully with a cup of coffee or espresso, since the flavors echo each other so well. If I’m putting together a complete meal, I like serving them after something fresh like the Haricot Verts in Dijon Mustard Cream Sauce Recipe. If I’m gifting a batch, I stack the squares in a clear box tied with twine, which shows off those shiny, crackly tops.
Variations
- Swap the chocolate bar for white chocolate chunks if you want a sweeter, creamier contrast to the toffee.
- Fold in chopped pecans, walnuts or macadamias for extra crunch and a nuttier flavor.
- Add crushed pretzels or a swirl of caramel sauce for an even more toffee-forward bite.
- Skip the espresso powder entirely if you’d rather have a classic toffee blondie without the coffee kick.
- Use a gluten-free 1-to-1 flour blend to make these gluten-free without changing the texture much.
- Try dark brown butter in place of regular melted butter for a nuttier, deeper flavor throughout.
Nutritional Information
Here’s a general idea of what to expect per serving, though exact numbers will vary based on the chocolate and toffee amounts you use.
- Calories: Around 220-260 per square
- Protein: About 3-4 grams
- Carbohydrates: Roughly 28-32 grams
- Fat: Approximately 11-14 grams
Make Ahead and Storage
You can make the toffee bits several days ahead and store them at room temperature until you’re ready to bake, which saves time on busy days.
Store the finished blondies in an airtight container on the counter for 3 to 4 days, and they’ll stay soft and chewy the whole time.
In the fridge, they’ll keep well for about a week; just let them sit out a bit before eating, or enjoy them cold straight from the fridge.
To freeze, wrap the cooled squares tightly and store in a freezer bag for up to 2 months, then thaw at room temperature for about 45 minutes before serving.
Why You’ll Love This Recipe?
This one has earned a permanent spot in my baking rotation, and here’s why.
- Easy to make without a mixer: All you need is a bowl, a whisk and a spatula, so cleanup is quick and there’s no fancy equipment involved.
- Incredible texture: The chewy center, gooey chocolate pockets and crisp toffee bits give every bite something different to enjoy.
- Great for gifting or parties: Cut small, these travel well and always disappear fast at gatherings or cookie swaps.
- Customizable: You can swap the chocolate, skip the espresso, or add nuts, so it adapts to whatever you’re craving.
- Make-ahead friendly: The toffee and even the baked bars hold up well in the fridge or freezer, so you can prep in advance.
FAQs
How is this different from vanilla salted espresso blondies?
Vanilla salted espresso blondies usually skip the toffee bits and lean more on vanilla for flavor. This recipe layers in homemade toffee for extra crunch and caramel depth alongside the espresso.
Can I turn this into salted espresso chocolate chunk blondies?
Yes, just use large chocolate chunks instead of chopped chocolate bar pieces. You’ll get bigger melty pools of chocolate throughout each bar.
Is this the same as a basic coffee blondies recipe?
Not quite. A basic coffee blondies recipe usually only adds coffee flavor, while this version also includes homemade toffee and chopped chocolate for extra texture and richness.
How do these compare to espresso caramel blondies?
Espresso caramel blondies often use a caramel sauce drizzle, while this recipe uses actual toffee bits folded into the batter for a crunchier bite instead of a gooey caramel layer.
Can I make white chocolate espresso blondies with this recipe?
Absolutely, just swap the semi-sweet chocolate for white chocolate chunks. It creates a sweeter, creamier bar that still has that toffee crunch and coffee kick.
Are these similar to justine snacks espresso blondies?
Both are chewy, espresso-flavored blondie bars, though this recipe’s homemade toffee gives it a more caramelized, crunchy element that sets it apart.
What if I only have store-bought blondies with toffee bits mix-ins?
That works fine. Store-bought toffee bits save time and still give you that crunchy caramel flavor, even without making toffee from scratch.
How does this compare to kitchen by the sea espresso blondies?
The overall idea is similar, chewy blondies with coffee flavor, but this recipe’s homemade toffee and extra egg yolk give it a fudgier, chewier finish.

Salted Toffee Espresso Blondies Recipe
Ingredients
Method
- Add the butter, brown sugar and salt to a small saucepan over medium heat. Whisk often as it bubbles and darkens, watching the thermometer climb toward 300°F, the hard-crack stage. This usually takes about 8 to 10 minutes on my stove, so don’t walk away from the pan.
- Pour the hot toffee onto a parchment-lined baking sheet right away and spread it thin with a spatula before it sets. Let it cool for about 15 minutes until it’s fully hardened. Once cooled, break it into small pieces using a spoon or rolling pin.
- While the toffee cools, whisk together the flour, espresso powder and salt in a small bowl. Keeping these separate first means the espresso gets evenly distributed instead of clumping in one spot. Set this bowl aside until you need it.
- In a large bowl, whisk the melted butter and brown sugar together until fully combined and glossy. Let this mixture cool for about 5 minutes so it doesn’t scramble the egg you add next. This short rest really does make a difference.
- Whisk in the whole egg, the extra yolk and the vanilla until the batter looks smooth and slightly emulsified. This is the step that gives the blondies their signature shiny, crackly top once baked. Take your time whisking here.
- Sift the flour mixture into the wet ingredients and stir just until the streaks disappear. Overmixing at this point develops too much gluten, which makes the bars tough instead of chewy. A few gentle folds is really all you need.
- Gently fold in the chopped chocolate and toffee bits, saving a small handful of each for the top. This keeps the mix-ins evenly spread rather than sinking to the bottom of the pan. The batter will look thick and studded with goodies.
- Pour the batter into your prepared, parchment-lined pan and scatter the reserved chocolate and toffee over the top. Bake at 350°F for 20 to 24 minutes, until the edges turn golden and the center looks shiny and slightly puffed. A toothpick should come out with a few moist crumbs, not wet batter.
- Set the pan on a cooling rack and let the blondies cool completely, which takes about 2 hours. Sprinkle with flaky sea salt right before slicing into neat squares. Patience here really pays off with clean cuts.
Notes
- I always weigh my flour on a kitchen scale instead of scooping, since it keeps the bars from turning dry or dense.
- I like using a metal pan instead of glass, because it bakes more evenly and gives me that crisp edge I want.
- I make a double batch of toffee at once since it stores well, and I use the extra in cookies or ice cream later.
- I pull my blondies out slightly early, when the center still looks a bit underbaked, because they firm up as they cool.
- I always line my pan with a parchment sling, which makes lifting the whole slab out so much easier than digging with a spatula.