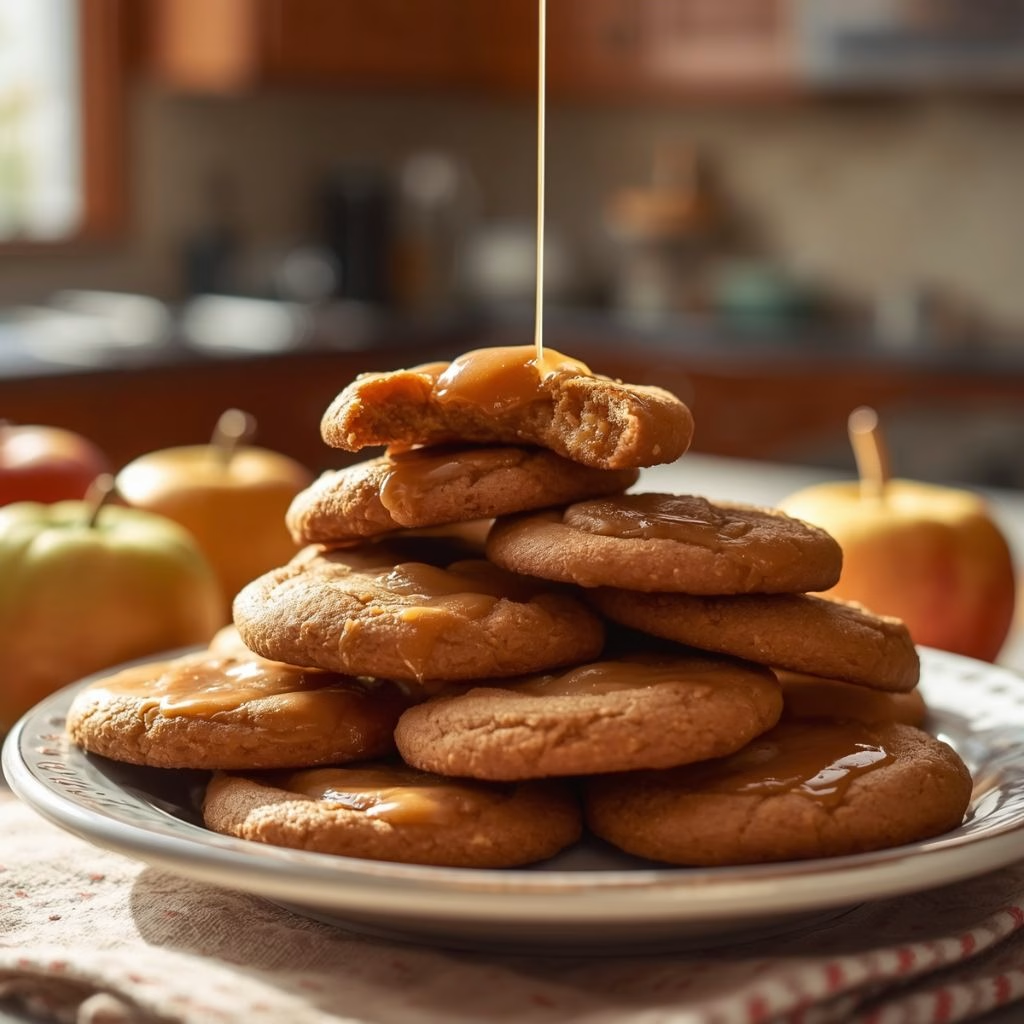
The first time I pulled a batch of this Apple Cider Caramel Cookies Recipe out of the oven, my whole kitchen smelled like a county fair in October. I honestly wasn’t expecting much from a cookie built around an apple cider mix, but one bite into that molten caramel center and I was hooked.
I’ve made these for potlucks, cookie exchanges, and just because it was raining outside. If you love a cookie with a little surprise waiting in the middle, this one’s for you. Let me walk you through exactly how I make mine.

Cooking Time
- Prep Time: 15 minutes
- Cook Time: 13 minutes
- Total Time: 28 minutes
Ingredients
- 1 cup unsalted butter, nearly melted — this gives the dough a soft, chewy texture instead of a cakey one
- 1 cup granulated sugar — sweetens the dough and helps the edges turn golden
- ½ teaspoon salt — balances the sweetness so the cookie doesn’t taste flat
- 1 box (about 7.4 oz) spiced apple cider instant drink mix, all packets used — this is where all that warm apple-spice flavor comes from
- 2 large eggs — binds the dough and adds richness
- 1 teaspoon vanilla extract — rounds out the spiced apple flavor
- 1 teaspoon baking soda — helps the cookies spread and stay soft
- ½ teaspoon baking powder — gives just a little extra lift
- 3 cups all-purpose flour — spoon and level it so your dough doesn’t turn out dry
- 14 oz soft caramel candies, unwrapped — go for a soft, chewy caramel or it can turn hard once the cookies cool
Note: this recipe serves about 24 people (makes roughly 24 cookies).
Equipment You Need
- Baking sheet — for baking the cookies evenly
- Parchment paper — keeps the melted caramel from sticking to the pan
- Stand or hand mixer — creams the butter and sugar smoothly
- Cookie scoop — keeps every cookie the same size so they bake evenly
- Cooling rack — lets air circulate so the bottoms don’t get soggy
How to Make Apple Cider Caramel Cookies Recipe?
I promise this looks fancier than it actually is to make. Once you’ve got your ingredients measured out, the whole process moves pretty quickly. Here’s exactly how I break it down in my own kitchen.
Preheat and Prep Your Pans
I start by heating my oven to 350°F and lining my baking sheets with parchment paper. Don’t skip the parchment trust me, it’s the only thing standing between you and a caramel disaster stuck to your pan. This step takes two minutes but saves a huge headache later.
Cream the Butter and Sugar
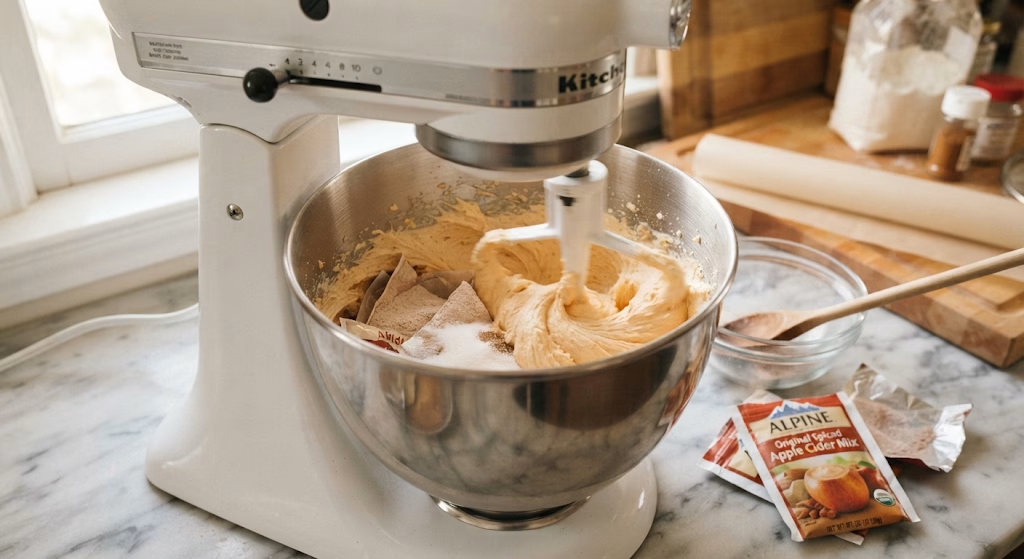
In my mixer, I beat the softened butter, sugar, salt, and every single packet of the apple cider mix together until it turns light and fluffy. This is where most of the flavor gets built in, so I don’t rush it. It usually takes about two minutes at medium speed.
Add the Wet Ingredients
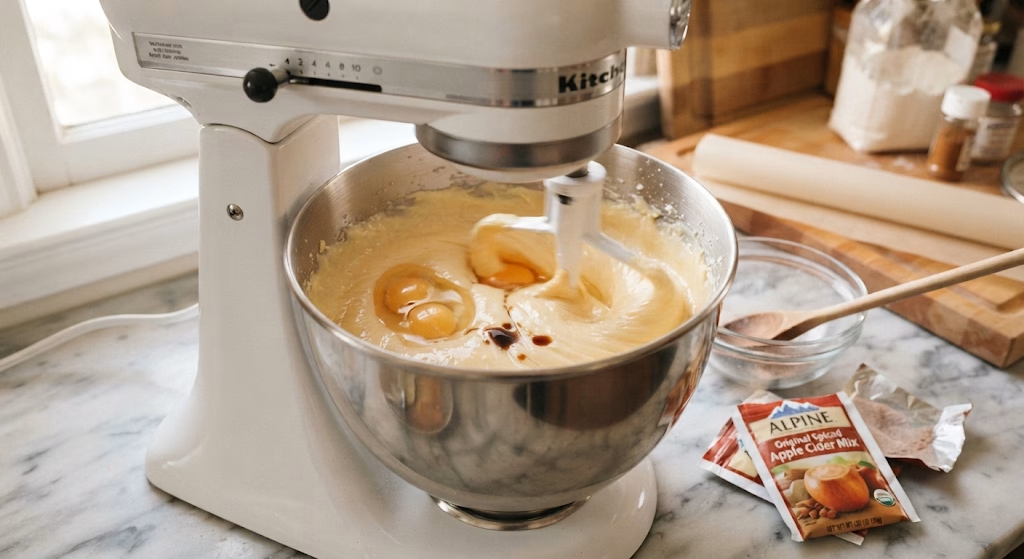
Next, I beat in the eggs and vanilla extract until everything’s fully combined. The mixture will look a little glossy at this point, which is exactly what I want. This step only takes a minute or so with a stand mixer running.
Mix in the Dry Ingredients
I sprinkle in the baking soda and baking powder first, then add the flour and mix just until it comes together. I stop as soon as I don’t see streaks of flour anymore. Overmixing here makes the cookies tougher than they should be.
Wrap the Dough Around the Caramel
Using a standard cookie scoop, I portion out the dough and flatten each piece slightly in my palm. I press a caramel into the center and work the dough around it, sealing every edge so none of that caramel peeks through. I space the cookies two to three inches apart on the sheet.
Bake Until Golden
I bake mine for 12 to 14 minutes, just until the edges turn golden brown. I keep a close eye around the 12-minute mark because overbaking dries them out fast. The centers will look slightly underdone, and that’s exactly right.
Cool Before You Move Them
Once they’re out of the oven, I let the whole tray sit on the counter until the cookies firm up but are still a little warm. I lift them gently and finish cooling them upside down on a rack so the caramel doesn’t pool on one side.
Additional Tips for Making This Recipe Better
I’ve made these enough times now to have a few tricks up my sleeve:
- I always chill my dough for 20 to 30 minutes if it feels too soft to shape. It makes wrapping the caramel so much easier.
- I like to flatten my caramel piece slightly before wrapping it in dough, since it spreads more evenly through the cookie instead of pooling in one spot.
- I flour my hands lightly before shaping each cookie so the dough doesn’t stick to my palms.
- I’ve started cutting my caramels into smaller chunks and mixing a couple into the dough instead of using one giant piece less risk of a caramel blowout in the oven.
- When I want a little sparkle on top, I roll the shaped dough balls in sugar before baking.
Common Mistakes to Avoid
- I once used butter that was way too melted, and my dough turned out runny and impossible to shape. Nearly melted, not fully liquid, is what you want.
- I’ve overbaked a batch trying to get them “extra golden,” and they turned out dry and hard once cooled, pulling them at the first sign of golden edges.
- I forgot to seal the dough completely around the caramel once, and it leaked out all over my pan to make sure every seam is pinched shut.
- I tried skipping the parchment paper on a rushed weeknight, and I regretted it the second I tried to scrape caramel off my baking sheet.
- I didn’t let mine cool enough before moving them once, and they fell apart in my hands after giving them a few minutes on the tray first.
How to Serve Apple Cider Caramel Cookies?
I love serving these slightly warm, so the caramel center is still soft and stretchy when you bite in. If they’ve cooled completely, I pop them in the microwave for about 8 to 10 seconds right before serving.
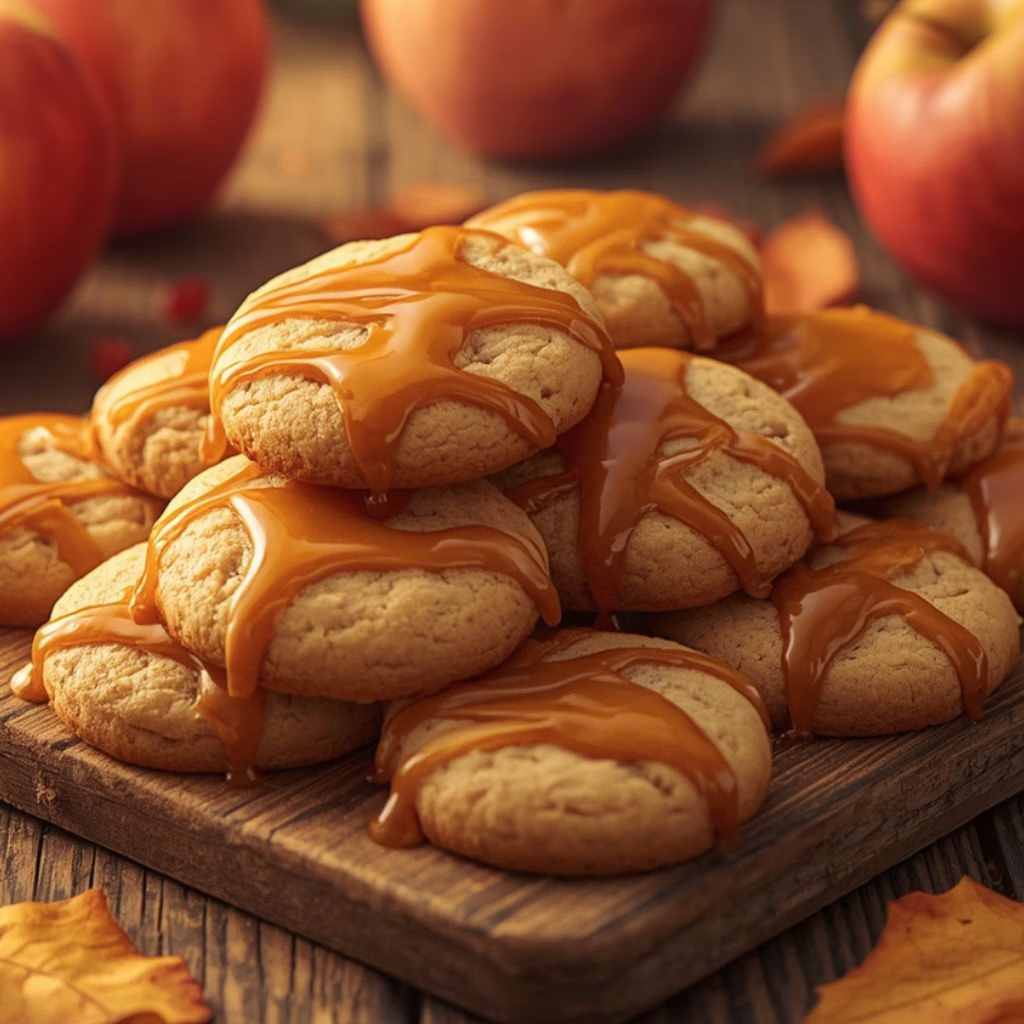
For a fall dessert table, I like stacking them on a wooden board with a few cinnamon sticks and mini apples scattered around for a rustic look. A light dusting of powdered sugar or a drizzle of extra caramel sauce on top also makes them look bakery-worthy for parties or cookie exchanges.
Variations
- Dairy-free option: swap the butter for a plant-based baking stick and use a dairy-free soft caramel.
- Nutty twist: press a few chopped pecans or walnuts into the dough alongside the caramel.
- Extra cinnamon: stir in an additional half teaspoon of cinnamon if you want a stronger spice punch.
- Chocolate lover’s version: swap the soft caramel for a caramel-filled chocolate candy for a richer bite.
- Smaller bites: use mini caramel bits mixed throughout the dough instead of one large piece per cookie for a more even distribution of caramel in every bite.
Nutritional Information
Here’s roughly what you can expect per cookie based on a batch of 24:
- Calories: about 230 kcal
- Protein: about 3 g
- Carbohydrates: about 34 g
- Fat: about 10 g
Make Ahead and Storage
Counter: I store cooled cookies in an airtight container at room temperature for up to 4 days. Tossing in a slice of bread helps keep them from drying out.
Refrigerator: These will keep well in an airtight container in the fridge for up to a week, though I usually warm them slightly before eating since the caramel firms up when cold.
Freezer: I freeze the shaped, unbaked dough balls on a tray for 30 minutes, then transfer them to a freezer bag for up to 3 months. Baked cookies also freeze well in an airtight bag for the same amount of time — just thaw and warm before serving.
Why You’ll Love This Recipe?
These have become one of my go-to fall bakes, and here’s why I keep coming back to them:
- Easy to make: The dough comes together in one bowl with a mixer, so there’s no complicated technique involved.
- A fun surprise: I love watching people bite into the gooey caramel center for the first time. It never fails to get a reaction.
- Perfect for fall gatherings: The warm apple-spice flavor makes these feel right at home at cookie exchanges, potlucks, and holiday tables.
- Customizable: I can easily swap in different mix-ins or caramel styles depending on what I’m in the mood for.
- Freezer-friendly: I can prep the dough ahead of time and bake fresh cookies whenever I want without starting from scratch.
If you’re planning a full meal alongside these sweet fall cookies, you can also enjoy a savory seafood dish like the Teriyaki Shrimp Rice Bowls Recipe, which pairs tender shrimp with rice and a flavorful teriyaki sauce. For another comforting shrimp option, the Shrimp Orzo in Lemon Garlic Sauce Recipe makes a flavorful meal with tender orzo, shrimp, and a bright lemon-garlic sauce.
FAQs
Can I use apple cider powder instead of the packeted drink mix?
Yes, apple cider powder works the same way as the packeted mix. Just measure it out to match the total weight the recipe calls for.
What makes these different from old fashioned apple cider cookies?
Traditional apple cider cookies usually skip the caramel center and lean more on cinnamon and glaze. This version adds a gooey caramel surprise inside each cookie.
Can I make a chewy version of these apple cider cookies?
Yes, pulling them out of the oven right when the edges turn golden (not fully browned) keeps them soft and chewy in the center.
Do these taste like apple cider donuts?
They share that warm, spiced apple flavor you’d get from apple cider donut cookies, but these have a soft caramel center instead of a cinnamon-sugar coating.
Can I make these without a stand mixer?
Absolutely. A hand mixer or even a sturdy whisk and some elbow grease will work fine for creaming the butter and sugar together.

Apple Cider Caramel Cookies Recipe
Ingredients
Method
- I start by heating my oven to 350°F and lining my baking sheets with parchment paper.
- In my mixer, I beat the softened butter, sugar, salt, and every single packet of the apple cider mix together until it turns light and fluffy. This is where most of the flavor gets built in, so I don’t rush it. It usually takes about two minutes at medium speed.
- Next, I beat in the eggs and vanilla extract until everything’s fully combined. The mixture will look a little glossy at this point, which is exactly what I want. This step only takes a minute or so with a stand mixer running.
- I sprinkle in the baking soda and baking powder first, then add the flour and mix just until it comes together. I stop as soon as I don’t see streaks of flour anymore. Overmixing here makes the cookies tougher than they should be.
- Using a standard cookie scoop, I portion out the dough and flatten each piece slightly in my palm. I press a caramel into the center and work the dough around it, sealing every edge so none of that caramel peeks through. I space the cookies two to three inches apart on the sheet.
- I bake mine for 12 to 14 minutes, just until the edges turn golden brown. I keep a close eye around the 12-minute mark because overbaking dries them out fast. The centers will look slightly underdone, and that’s exactly right.
- Once they’re out of the oven, I let the whole tray sit on the counter until the cookies firm up but are still a little warm. I lift them gently and finish cooling them upside down on a rack so the caramel doesn’t pool on one side.
Notes
- I always chill my dough for 20 to 30 minutes if it feels too soft to shape. It makes wrapping the caramel so much easier.
- I like to flatten my caramel piece slightly before wrapping it in dough, since it spreads more evenly through the cookie instead of pooling in one spot.
- I flour my hands lightly before shaping each cookie so the dough doesn’t stick to my palms.
- I’ve started cutting my caramels into smaller chunks and mixing a couple into the dough instead of using one giant piece less risk of a caramel blowout in the oven.
- When I want a little sparkle on top, I roll the shaped dough balls in sugar before baking