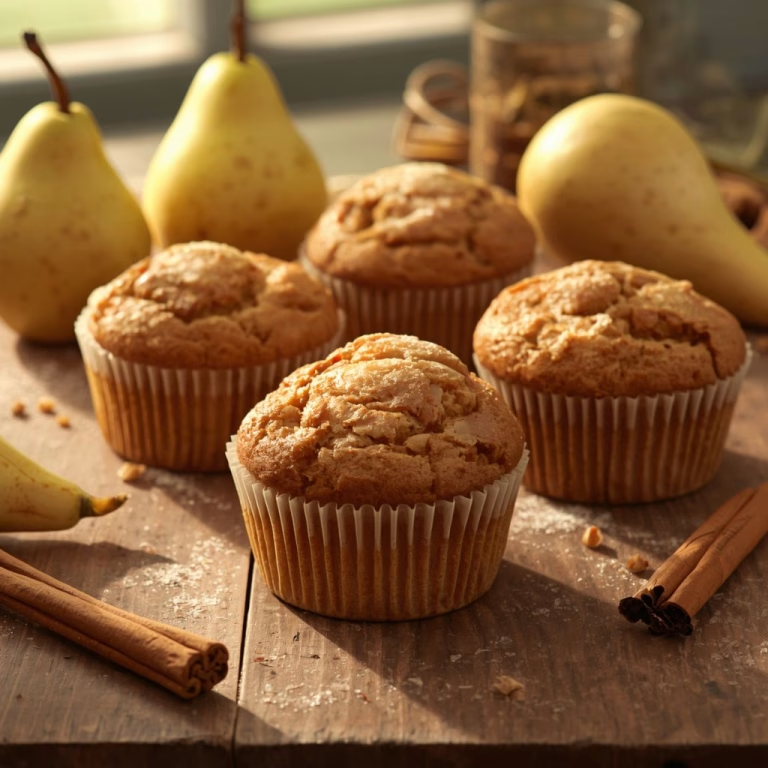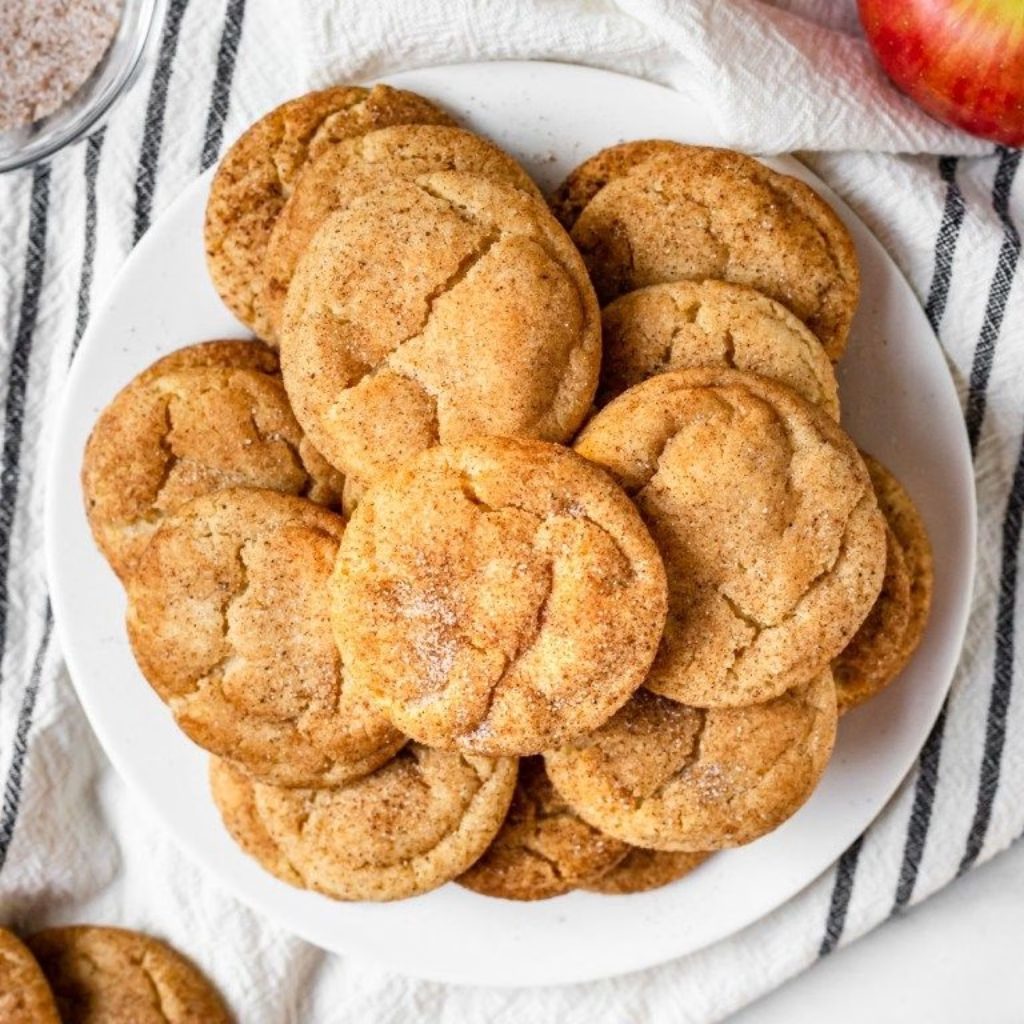
I made this Apple Cider Snickerdoodles Recipe on the first properly chilly weekend of the year, and I haven’t stopped making them since. I love how the classic cinnamon-sugar cookie gets a fall glow-up with a splash of boiled cider and warm apple pie spice.
Me and my kitchen smelled like a farmstand for an entire afternoon, and honestly, I wasn’t mad about it. The dough chills overnight, so I get all the prep out of the way and just bake fresh the next day. If you’ve ever loved a snickerdoodle, this is the version I think you’ll make on repeat every autumn.

Cooking Time
- Prep Time: 20 minutes (plus mixing)
- Chill Time: 4 hours (or overnight)
- Cooking Time: 12 to 15 minutes
- Total Time: About 4 hours 35 minutes
Ingredients
- 8 tablespoons unsalted butter, softened – gives the dough its rich, tender base
- 3/4 cup granulated sugar – sweetens the dough and helps the edges turn golden
- 2 tablespoons boiled cider – this is the ingredient that brings real apple flavor, not just spice
- 1 large egg – binds everything and adds a soft, chewy bite
- 1 teaspoon pure vanilla extract – rounds out the warm spices with a little depth
- 1 1/2 cups all-purpose flour (or a 1:1 gluten-free blend) – the sturdy structure for your cookie
- 1 1/4 teaspoons apple pie spice – the real star for that cozy fall flavor
- 1 teaspoon baking powder – helps the cookies puff up soft in the middle
- 1/2 teaspoon table salt – balances the sweetness so it isn’t one-note
- 3 tablespoons granulated sugar (for coating) – creates that classic crackly, sparkly shell
- 1 teaspoon apple pie spice (for coating) – rolls right into the sugar for a fragrant crust
Note: This recipe makes about 13 medium cookies, so it’s perfect for a small gathering or a week of after-dinner treats.
Equipment You Need
- Stand mixer or hand mixer – creams the butter and sugar quickly and evenly
- Mixing bowls – one for the dough, one for the coating
- Measuring cups and spoons – accuracy really matters in cookie baking
- Rubber spatula – for scraping down the bowl so nothing is left unmixed
- Small cookie scoop (2 tablespoon size) – keeps every cookie the same size for even baking
- Baking sheets – I use two so I can bake in batches without waiting
- Parchment paper – stops sticking and makes cleanup painless
- Wire cooling rack – helps the cookies cool without going soggy on the bottom
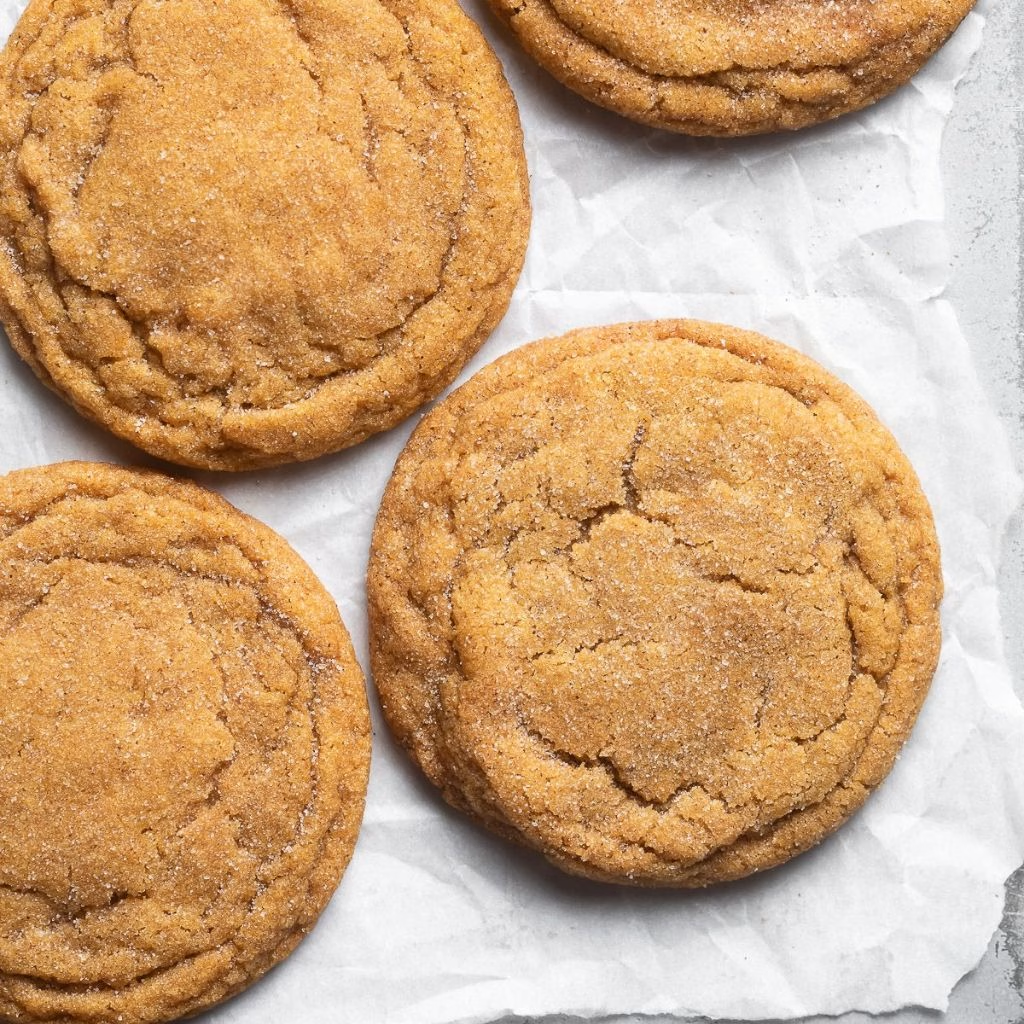
How to Make Apple Cider Snickerdoodle Recipe?
I promise this recipe isn’t fussy, even with the chill time involved. It’s really just mix, chill, roll, and bake. Here’s exactly how I do it every single time so my cookies come out soft in the middle with that perfect crinkled top.
Cream the Butter and Sugar
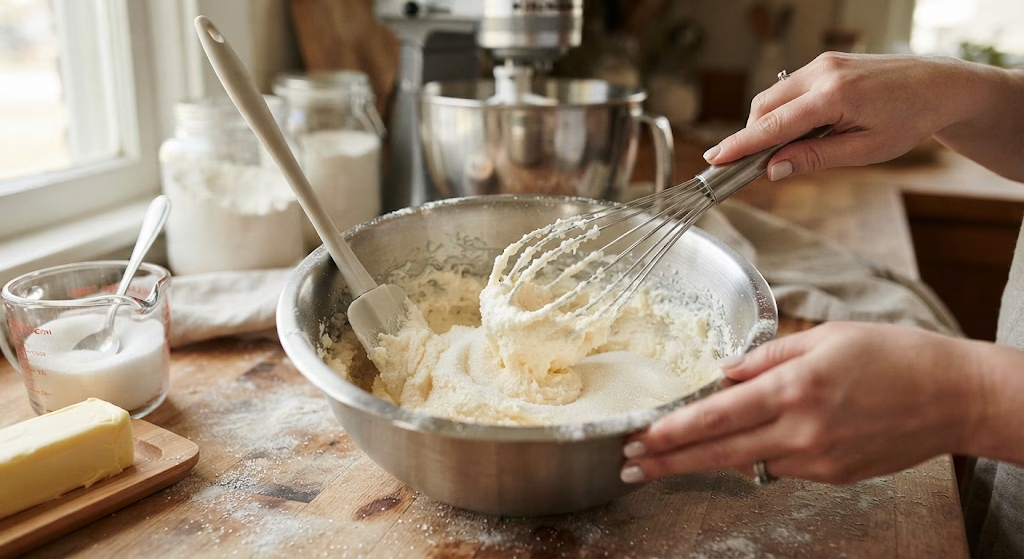
I start by beating the softened butter and sugar together until the mixture turns pale and fluffy, which usually takes about three to five minutes. This step matters more than people think, since it traps air that keeps your cookies from turning dense. I scrape the bowl once halfway through so nothing sits unmixed at the bottom.
Add the Wet Ingredients
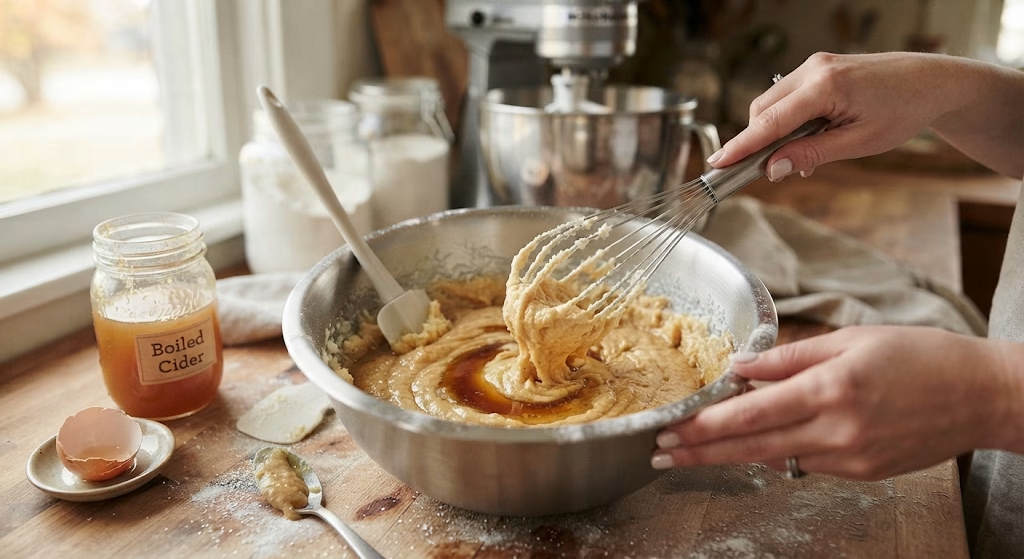
Next, I mix in the boiled cider, followed by the egg and vanilla. I beat just until everything looks smooth and combined, then stop the mixer and scrape the sides again. This is where the batter starts smelling like fall, and I always sneak a little taste of the dough here.
Mix in the Dry Ingredients
I whisk the flour, apple pie spice, baking powder, and salt together separately first, then add it to the wet mixture. I mix on low just until the dough comes together and I don’t see any dry streaks of flour left in the bowl.
Chill the Dough
I transfer the dough into a bowl, cover it, and pop it in the fridge for at least four hours, though overnight works even better. This step firms up the butter so the cookies hold their shape and don’t spread into flat puddles in the oven.
Roll and Coat the Dough
Once the dough is chilled, I preheat my oven to 375°F and set my racks in the upper and lower thirds. I scoop the dough into two-tablespoon balls, then roll each one in the cinnamon-sugar coating until it’s fully covered on all sides.
Bake Until Golden
I space the cookies at least two inches apart on my lined baking sheets and sprinkle any leftover coating on top. They bake for 12 to 15 minutes, and I swap the pans’ positions halfway through so everything browns evenly.
Cool and Enjoy
Once they’re out of the oven, I let the cookies cool completely right on the baking sheet. They finish setting up as they cool, so the centers stay soft while the edges stay slightly crisp.
Additional Tips for Making This Recipe Better
I’ve made this batch enough times now to have a few tricks up my sleeve, and I think they genuinely make a difference.
- I always use room-temperature butter, not melted, or my dough turns out greasy instead of fluffy.
- I don’t skip the chilling step, even when I’m impatient, because unchilled dough spreads too thin.
- I weigh my flour instead of scooping it, since too much flour makes the cookies dry and cakey.
- I double the coating mixture when I want extra crackly, sugary tops.
- I rotate my pans halfway through baking so both trays brown at the same rate.
Common Mistakes to Avoid
I’ve made a few of these mistakes myself, so I like sharing them so you can skip the trial and error.
- I once used cold, hard butter straight from the fridge, and my dough never got fluffy, so I always let mine soften first.
- I underbaked a batch trying to keep them extra soft, and they ended up doughy in the middle, so now I watch for set, golden edges.
- I crowded my cookies too close together once, and they merged into one giant cookie, so I always leave two inches of space.
- I skipped rolling the dough evenly, which gave me lopsided cookies, so now I use a scoop for consistent sizing.
- I forgot to scrape the bowl while mixing, and I ended up with a streak of unmixed butter in one cookie, so I scrape twice now.
How to Serve Apple Cider Snickerdoodles?
I like piling these cookies on a rustic wooden board with a few extra cinnamon sticks scattered around for a cozy, styled look. A light dusting of extra cinnamon-sugar right before serving makes them look bakery-fresh.
They pair beautifully with a mug of hot apple cider, a pumpkin spice latte, or even a scoop of vanilla ice cream sandwiched between two cookies for a fall-inspired ice cream sandwich. For another fun fruit-forward cookie idea, I also enjoy making Fruit Pizza Cookies when I’m craving something a little brighter.
Variations
- Dairy-free: I swap the butter for a plant-based baking stick with the same texture and results.
- Sugar-free: I use a granulated sugar substitute that measures cup-for-cup for both the dough and coating.
- Caramel apple twist: I drizzle melted caramel over the cooled cookies for a caramel apple snickerdoodle spin.
- Extra apple flavor: I fold in finely chopped dried apple pieces for more texture and fruitiness.
- Nutty crunch: I mix in chopped toasted pecans or walnuts for added crunch. For a different kind of nutty dessert, I also enjoy Pistachio and Blackberry Olive Oil Cake when I want something fruity and rich.
- Spice boost: I add a pinch of ground ginger to the coating for a spicier kick.
Nutritional Information
Here’s a rough estimate per cookie, though it can shift slightly depending on your exact ingredients.
- Calories: About 150 kcal
- Protein: About 2g
- Carbohydrates: About 21g
- Fat: About 6g
Make Ahead and Storage
I usually make the dough a day or two ahead since it needs to chill anyway, which makes this a great make-ahead treat for gatherings. Once baked, I store the cookies in an airtight container at room temperature, and they stay soft and fresh for about four to five days.
For longer storage, I freeze the baked cookies in a sealed freezer bag for up to two months, then let them thaw at room temperature before serving. I can also freeze the raw dough balls before baking, then bake them straight from frozen with just a couple extra minutes in the oven.
Why You’ll Love This Recipe?
I keep coming back to this recipe because it checks every box I want in a fall cookie.
- Easy to make ahead: I love that the dough chills overnight, so my actual baking day is quick and stress-free.
- Real apple flavor: The boiled cider gives an authentic apple taste that spice alone can’t match.
- Customizable: I can easily swap ingredients for dietary needs without losing the classic texture.
- Perfect texture: These stay soft and chewy in the middle with just the right amount of crisp edge.
- Great for sharing: This small batch is ideal for get-togethers, bake sales, or just cozy nights in.
FAQs
Can I use apple cider instead of boiled cider?
Not directly, since regular apple cider has too much liquid and not enough concentrated flavor. I recommend simmering apple cider down until it’s syrupy, or using a boiled cider product for the best results.
Can I use an apple cider mix packet instead?
Yes, an apple cider drink packet can work in a pinch for extra flavor, but I still like pairing it with real apple pie spice for a fuller, more balanced taste.
What’s the best way to store leftover snickerdoodles?
I keep mine in an airtight container at room temperature for about four to five days, or freeze them for longer storage.
Can I turn this into an apple snickerdoodle dump cake?
I haven’t tried that swap myself, but the same apple cider and spice flavors would work beautifully layered into a dump cake style dessert if you want to experiment.
Can I make these into apple pie snickerdoodles with a filling?
Yes, I’ve pressed a small spoonful of apple pie filling into the center of a few dough balls before baking, and it adds a lovely surprise pocket of fruit inside.
Do I really need to chill the dough for this apple cider cookie recipe?
Yes, I always chill mine for at least four hours, since it keeps the cookies from spreading too thin and helps develop a richer flavor overall.

Apple Cider Snickerdoodles Recipe
Ingredients
Method
- I start by beating the softened butter and sugar together until the mixture turns pale and fluffy, which usually takes about three to five minutes. This step matters more than people think, since it traps air that keeps your cookies from turning dense. I scrape the bowl once halfway through so nothing sits unmixed at the bottom.
- Next, I mix in the boiled cider, followed by the egg and vanilla. I beat just until everything looks smooth and combined, then stop the mixer and scrape the sides again. This is where the batter starts smelling like fall, and I always sneak a little taste of the dough here.
- I whisk the flour, apple pie spice, baking powder, and salt together separately first, then add it to the wet mixture. I mix on low just until the dough comes together and I don’t see any dry streaks of flour left in the bowl.
- I transfer the dough into a bowl, cover it, and pop it in the fridge for at least four hours, though overnight works even better. This step firms up the butter so the cookies hold their shape and don’t spread into flat puddles in the oven.
- Once the dough is chilled, I preheat my oven to 375°F and set my racks in the upper and lower thirds. I scoop the dough into two-tablespoon balls, then roll each one in the cinnamon-sugar coating until it’s fully covered on all sides.
- I space the cookies at least two inches apart on my lined baking sheets and sprinkle any leftover coating on top. They bake for 12 to 15 minutes, and I swap the pans’ positions halfway through so everything browns evenly.
- Once they’re out of the oven, I let the cookies cool completely right on the baking sheet. They finish setting up as they cool, so the centers stay soft while the edges stay slightly crisp.
Notes
- I always use room-temperature butter, not melted, or my dough turns out greasy instead of fluffy.
- I don’t skip the chilling step, even when I’m impatient, because unchilled dough spreads too thin.
- I weigh my flour instead of scooping it, since too much flour makes the cookies dry and cakey.
- I double the coating mixture when I want extra crackly, sugary tops.
- I rotate my pans halfway through baking so both trays brown at the same rate.