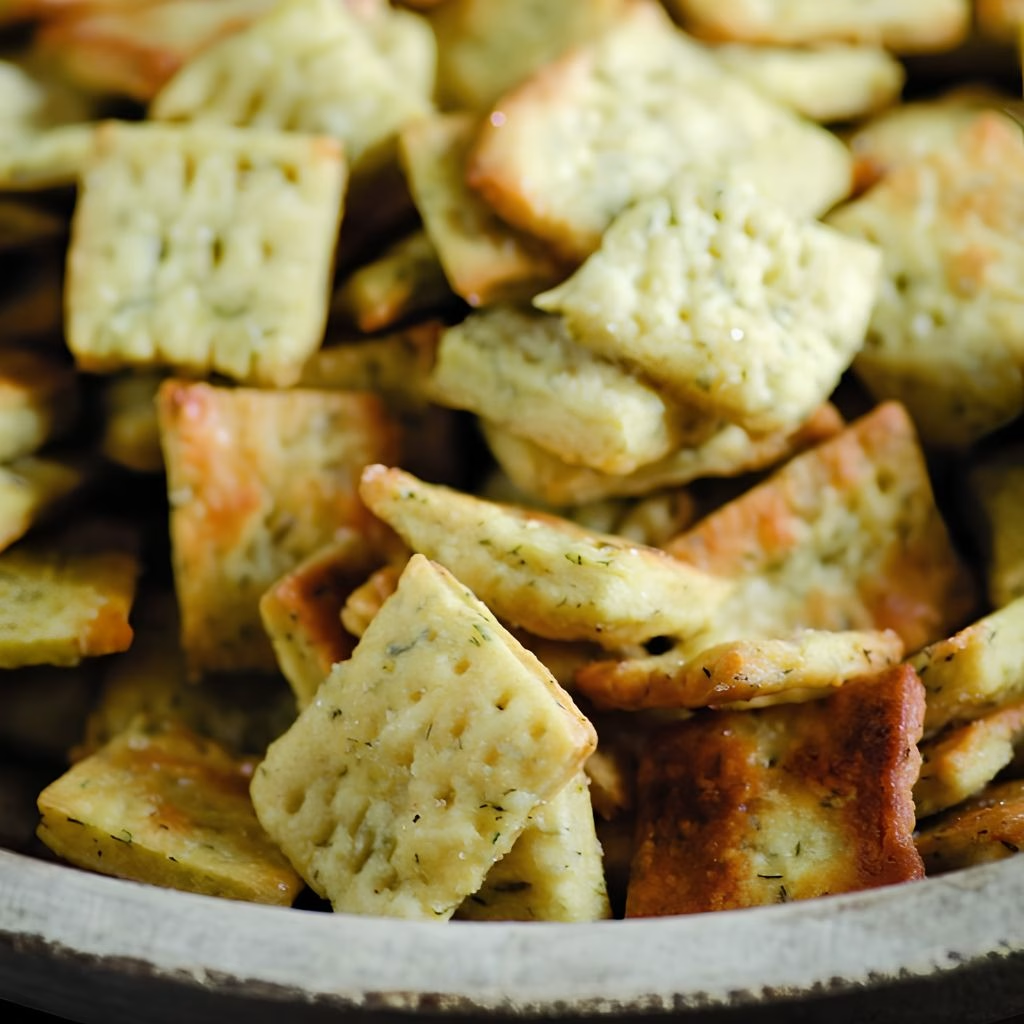
I still remember the first time I pulled these little squares out of the oven and watched them turn a soft golden brown around the edges. I wasn’t expecting much from a dough made mostly of flour and yogurt, but the smell of warm butter and dill filling my kitchen told me otherwise.
One bite in, and I knew I had found my new go-to snack cracker. They’re crisp, a little tangy, and so much better than anything I’ve grabbed off a store shelf. If you love homemade snacks with real ingredients, this Yogurt Dill Crackers Recipe is going straight into your regular rotation.
Cooking Time
- Prep Time: 20 minutes (plus 8 to 12 hours resting time for the dough)
- Cooking Time: 6 to 8 minutes per batch
- Total Time: About 9 to 13 hours (mostly hands-off resting)
Ingredients
- Whole wheat pastry flour (1 1/2 cups) – this softer flour keeps the crackers light instead of dense and tough.
- Fine sea salt (1/2 teaspoon) – wakes up all the other flavors in the dough.
- Dried dill (1 1/2 teaspoons) – gives the crackers their signature herby, slightly grassy flavor.
- Unsalted butter (6 tablespoons, divided) – 4 tablespoons at room temperature for the dough, 2 tablespoons melted for brushing before baking.
- Plain yogurt (1/2 cup) – adds tang, helps bind the dough, and makes the texture more tender.
Note: This batch makes about 5 dozen small crackers, enough to serve 8 to 10 people as a snack or appetizer.
Equipment You Need
- Large mixing bowl – for combining and kneading the dough.
- Rolling pin – to roll the dough out thin and even.
- Pizza cutter or sharp knife – for cutting the dough into neat squares.
- Two baking sheets – gives you enough surface area to bake in fewer batches.
- Parchment paper – keeps the crackers from sticking and makes cleanup quick.
- Pastry brush – for brushing melted butter evenly over each cracker.
- Fork – to prick the dough so it bakes flat instead of puffing up.
How to Make Yogurt Dill Crackers Recipe?
I know a dough that rests for up to 12 hours sounds intimidating, but honestly, most of that time is just waiting while your kitchen does the work for you. The active steps are quick and simple. Here’s exactly how I put this dough together and turn it into crisp little crackers.
Mix the Dough
I start by whisking the flour, salt, and dill together in a large bowl so the seasoning is evenly distributed. Then I beat in the room-temperature butter until the mixture looks crumbly, almost like cornmeal. Finally, I mix in the yogurt until everything comes together into a thick, shaggy dough.
Let It Rest
Once the dough is formed, I cover the bowl tightly and leave it in a warm spot in my kitchen for 8 to 12 hours. This resting period softens the grain and mellows the flavor, so don’t rush this part even though it’s tempting.
Roll and Cut
After resting, I preheat my oven to 450°F and line two baking sheets with parchment. I divide the dough into four pieces, flour my counter, and roll each piece out to about 1/16-inch thick before cutting it into small 1 1/2-inch squares.
Brush and Bake
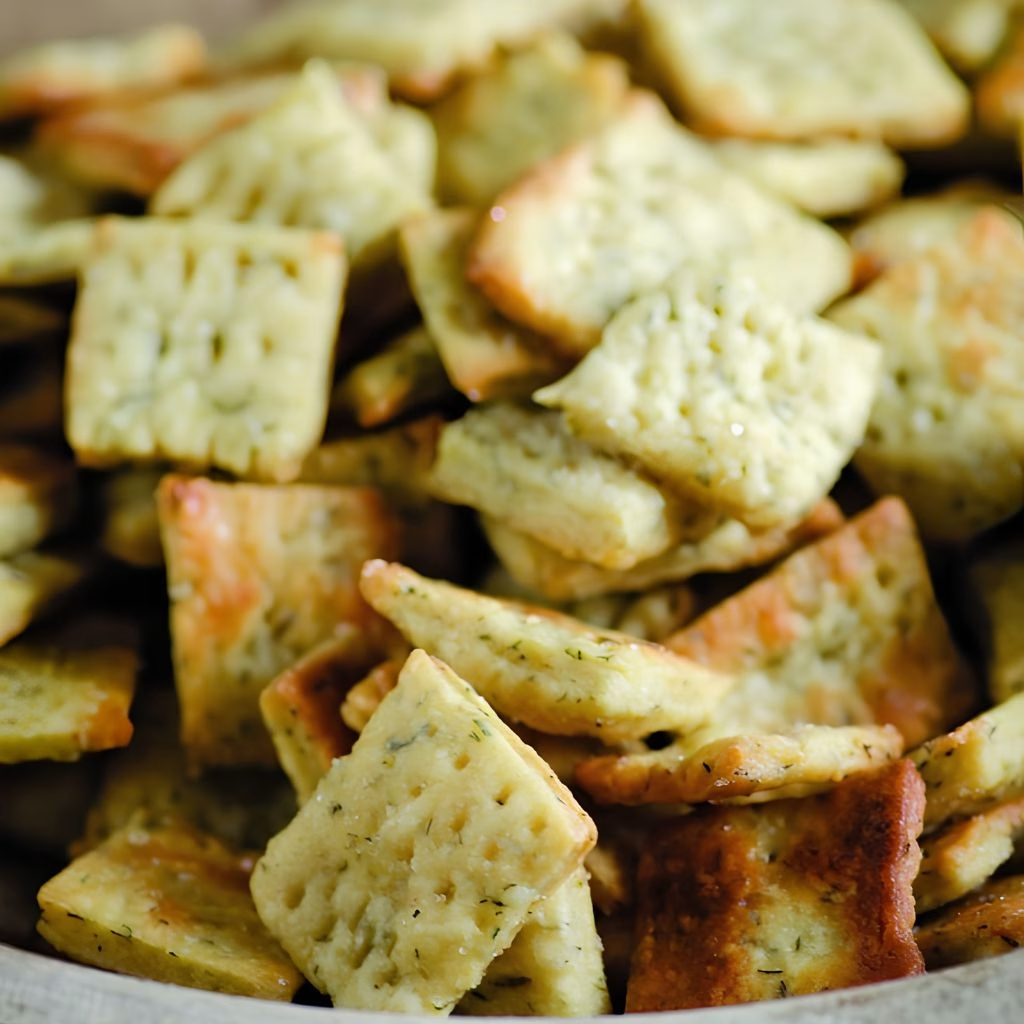
I arrange the squares on the baking sheets with a little space between each one, brush them with melted butter, and prick each square with a fork. They bake for just 6 to 8 minutes, until the edges turn golden. I pull them out and let them cool completely on a wire rack before storing.
Additional Tips for Making This Recipe Better
I’ve made this recipe enough times now to have picked up a few tricks along the way.
- I always use room-temperature butter for the dough itself; cold butter makes it much harder to work into the flour evenly.
- I roll the dough as thin and even as I can, since uneven thickness means some crackers burn while others stay soft.
- I like using fresh, plain yogurt rather than flavored varieties, since anything sweetened throws off the savory flavor.
- I keep a close eye on the oven during the last two minutes of baking, because these crackers go from golden to overdone quickly.
- I let the crackers cool completely before storing them, otherwise trapped steam makes them go soft.
Common Mistakes to Avoid
- I once rushed the resting time and the dough was noticeably harder to roll out, so I always plan ahead and give it the full 8 hours at minimum.
- I’ve rolled the dough too thick before, and it baked up more like a soft cracker-biscuit hybrid instead of crisp and snappy.
- I forgot to prick the dough with a fork one time, and the squares puffed up unevenly in the oven.
- I’ve overcrowded the baking sheet before, which led to uneven baking since the crackers need a bit of airflow around them.
- I stored a batch while they were still slightly warm, and the extra moisture softened the whole container within a day.
How to Serve Yogurt Dill Crackers
These crackers are endlessly versatile, and I love setting them out on a simple wooden board with a few dips and spreads scattered around for color. A bowl of creamy greek yogurt dill dip recipe pairs beautifully here, since the tangy, herby flavors echo what’s already baked into the crackers themselves.
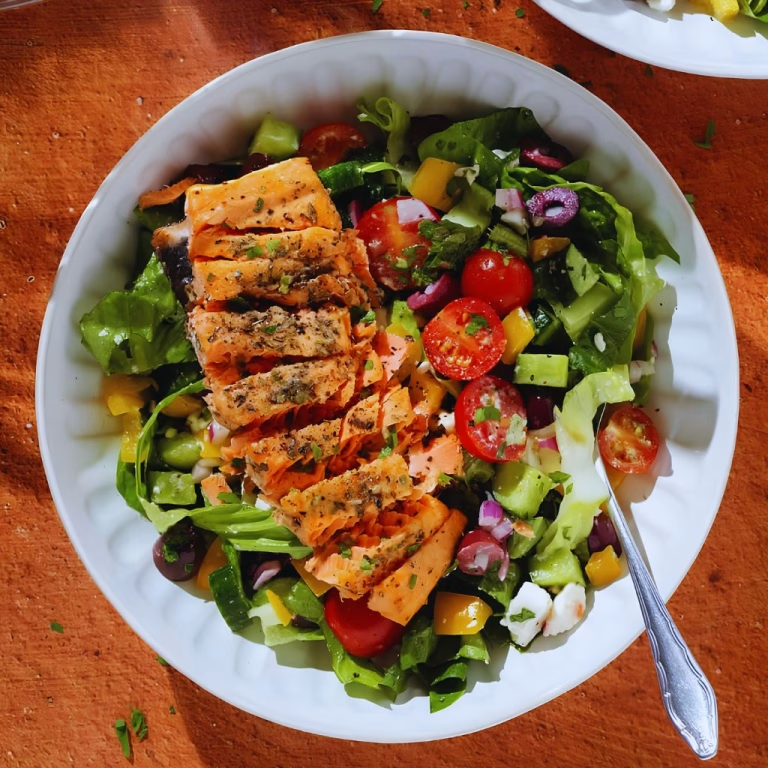
I also like serving them alongside soft cheeses, smoked salmon, or a simple vegetable platter for a light lunch spread. For parties, I arrange them in overlapping rows on a platter with fresh dill sprigs tucked in between for a little visual freshness.
Variations
- Swap the dried dill for other dried herbs like rosemary or thyme if dill isn’t your favorite. If you love herb-forward crackers, my Parmesan Rosemary Crackers Recipe is another one worth trying.
- Use whole milk greek yogurt instead of regular yogurt for a slightly richer, tangier dough.
- Add a pinch of garlic powder or onion powder to the flour mixture for extra depth of flavor.
- Sprinkle flaky sea salt over the butter-brushed squares right before baking for a salty finishing touch.
- Mix in a tablespoon of grated parmesan for a cheesier, savory version of the same base recipe.
- If you enjoy experimenting with different textures, my Seed and Nut Crackers Recipe is a heartier option built around a similar homemade cracker idea.
Nutritional Information
Here’s a general idea of what you’re working with per serving of these crackers, though exact numbers will vary based on your specific ingredients.
- Calories: Roughly 45 to 55 kcal per small handful of crackers
- Protein: About 1 to 2 grams per serving
- Carbohydrates: Around 6 to 8 grams per serving
- Fat: Approximately 2 to 3 grams per serving
Make Ahead and Storage
You can prepare the dough a day ahead and let it rest in the fridge for the last few hours if your kitchen runs warm, then bring it to room temperature before rolling it out.
Store the baked crackers in an airtight container at room temperature, where they’ll stay fresh and crisp for up to two weeks.
If you want to freeze them, place the fully cooled crackers in a freezer-safe bag with the air pressed out, and they’ll keep well for up to a month; just let them come back to room temperature before serving.
Why You’ll Love This Recipe?
This recipe has earned a permanent spot in my kitchen for a handful of reasons.
- Simple ingredient list: You only need five basic ingredients, most of which are probably already in your kitchen.
- Make-ahead friendly: The long rest time means you can start the dough the night before and bake fresh crackers the next day.
- Customizable flavor: The base recipe takes well to different herbs, spices, and cheese add-ins depending on your mood.
- Better than store-bought: Homemade means no preservatives, and you control exactly how much salt and butter goes in.
- Great for snacking or entertaining: These crackers work just as well for a quiet afternoon snack as they do on a party platter.
FAQs
Can I use greek yogurt instead of regular yogurt?
Yes, greek yogurt works well here and actually gives the dough a slightly thicker, tangier result compared to regular yogurt.
Why does my dough need to rest for so long?
The long rest softens the grain in the flour and develops a better texture and flavor, similar to how a dill dip with greek yogurt and mayo develops flavor the longer it sits.
Can I make these crackers without dairy?
The yogurt and butter are both fairly central to this recipe’s texture, so a true dairy-free version would need testing with plant-based substitutes, though a thick coconut yogurt and vegan butter combination is worth trying.
How thin should I roll the dough?
Aim for about 1/16-inch thickness, which is thin enough to crisp up nicely without becoming too fragile to handle.
What’s the best way to keep these crackers crunchy?
Make sure they’re fully cooled before sealing them in an airtight container, since any leftover warmth or steam will soften their texture over time.

Yogurt Dill Crackers Recipe
Ingredients
Method
- I start by whisking the flour, salt, and dill together in a large bowl so the seasoning is evenly distributed. Then I beat in the room-temperature butter until the mixture looks crumbly, almost like cornmeal. Finally, I mix in the yogurt until everything comes together into a thick, shaggy dough.
- Once the dough is formed, I cover the bowl tightly and leave it in a warm spot in my kitchen for 8 to 12 hours. This resting period softens the grain and mellows the flavor, so don’t rush this part even though it’s tempting.
- After resting, I preheat my oven to 450°F and line two baking sheets with parchment. I divide the dough into four pieces, flour my counter, and roll each piece out to about 1/16-inch thick before cutting it into small 1 1/2-inch squares.
- I arrange the squares on the baking sheets with a little space between each one, brush them with melted butter, and prick each square with a fork. They bake for just 6 to 8 minutes, until the edges turn golden. I pull them out and let them cool completely on a wire rack before storing
Notes
- I always use room-temperature butter for the dough itself; cold butter makes it much harder to work into the flour evenly.
- I roll the dough as thin and even as I can, since uneven thickness means some crackers burn while others stay soft.
- I like using fresh, plain yogurt rather than flavored varieties, since anything sweetened throws off the savory flavor.
- I keep a close eye on the oven during the last two minutes of baking, because these crackers go from golden to overdone quickly.
- I let the crackers cool completely before storing them, otherwise trapped steam makes them go soft.