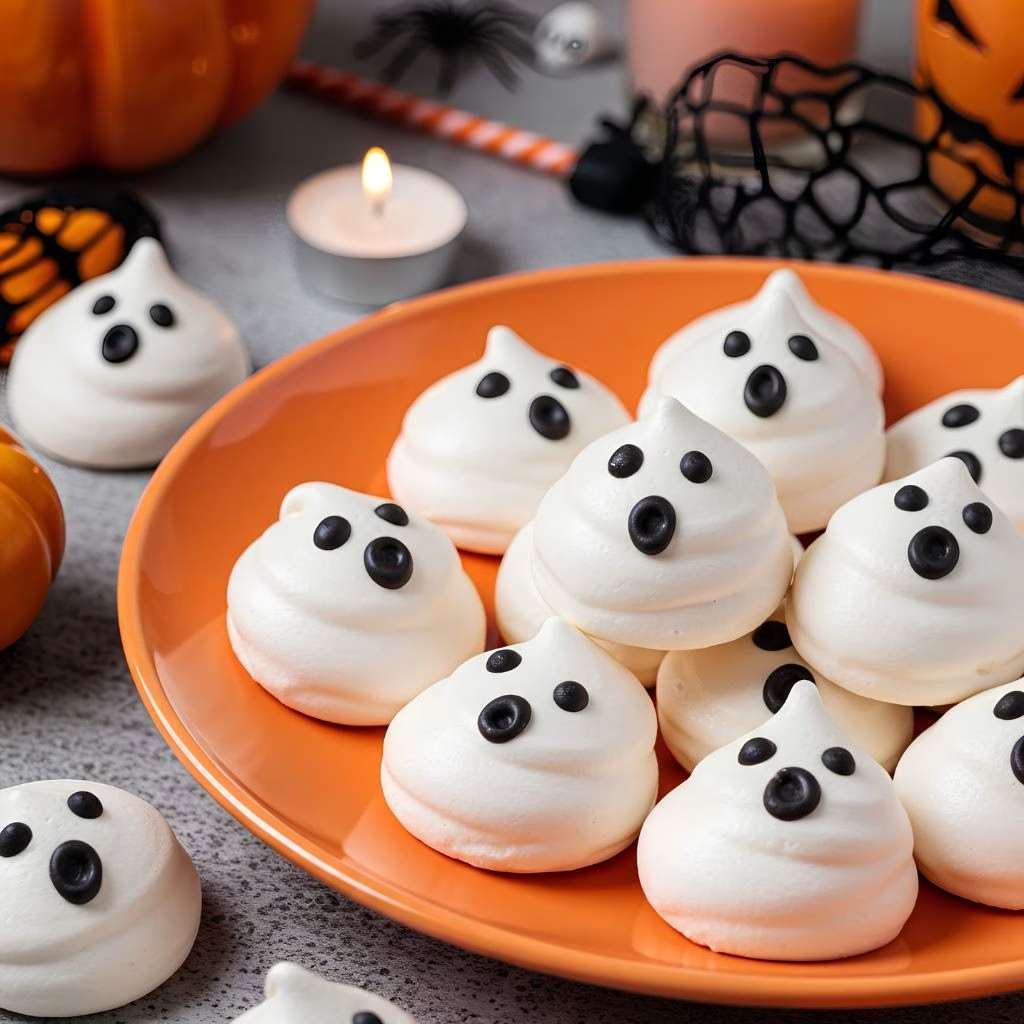
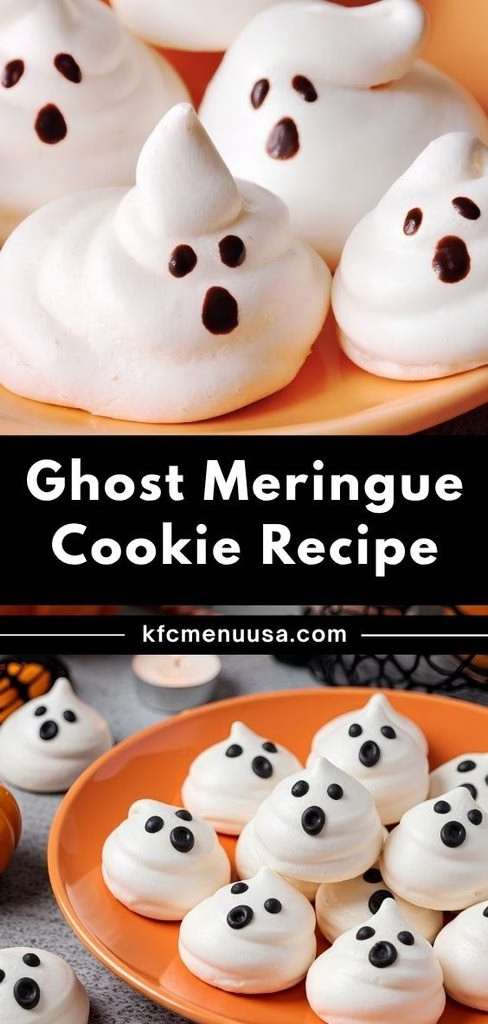
I made a batch of this Ghost Meringue Cookies Recipe last October, and honestly, I haven’t stopped since. I love how just a handful of pantry staples turn into these light, crisp little ghosts that practically float off the baking sheet.
Me and my kids piped a whole army of them for a school party, and they vanished faster than any candy bowl on the table. If you’ve ever been intimidated by meringue, I promise this recipe is far more forgiving than it looks. I’m walking you through everything I learned so your ghosts come out just as cute and crunchy as mine.
These meringue ghosts and pumpkins are a staple on my Halloween dessert table every single year, right alongside my meringue monsters recipe when I want a bit of variety. When I want something even quicker to set out beside them, I usually reach for my witch finger pretzels recipe, since it needs zero baking and comes together in minutes.
Cooking Time
- Prep Time: 20 minutes
- Cooking Time: 1 hour 15 minutes
- Total Time: 1 hour 35 minutes (plus cooling time in the oven)
Ingredients
- Egg whites (100g, about 3 large eggs) – the base of every meringue, so use them fresh and completely free of yolk
- Cream of tartar (¼ teaspoon) – stabilizes the egg whites so they whip into stiff, glossy peaks
- Granulated sugar (200g, about 1 cup) – adds sweetness and gives the shells their crisp, crunchy bite
- Vanilla bean paste or vanilla extract (1 teaspoon) – brings flavor without adding extra moisture that can soften the meringue
- Pinch of fine salt – balances the sweetness so the cookies don’t taste one-note
- Black candy melts or black gel icing (a small amount) – used only for piping on the ghost faces once baked
Note: this recipe makes about 20-24 ghost meringues, enough to serve a small Halloween party or classroom.
Equipment You Need
- Stand mixer or hand mixer with a whisk attachment – whips the egg whites into stiff peaks quickly and evenly
- Large mixing bowl – needs to be completely clean and dry so the egg whites whip properly
- Piping bag – shapes the meringue into tall, ghost-like peaks
- Large round piping tip – gives you a clean, rounded base for each ghost
- Baking sheets – hold the meringues while they slowly dry out in the oven
- Parchment paper or silicone baking mats – prevents sticking and helps the ghosts release cleanly
- Small offset spatula or toothpick – handy for smoothing out any pointy tips before baking
- Kitchen scale – measuring egg whites and sugar by weight gives you far more consistent results
How to Make Ghost Meringue Cookies Recipe?
I know meringue has a reputation for being fussy, but this recipe genuinely just comes down to whipping, piping, and low, slow baking. I break it into five simple stages below so nothing catches you off guard. Once you’ve made it once, you’ll see how quick it really is.
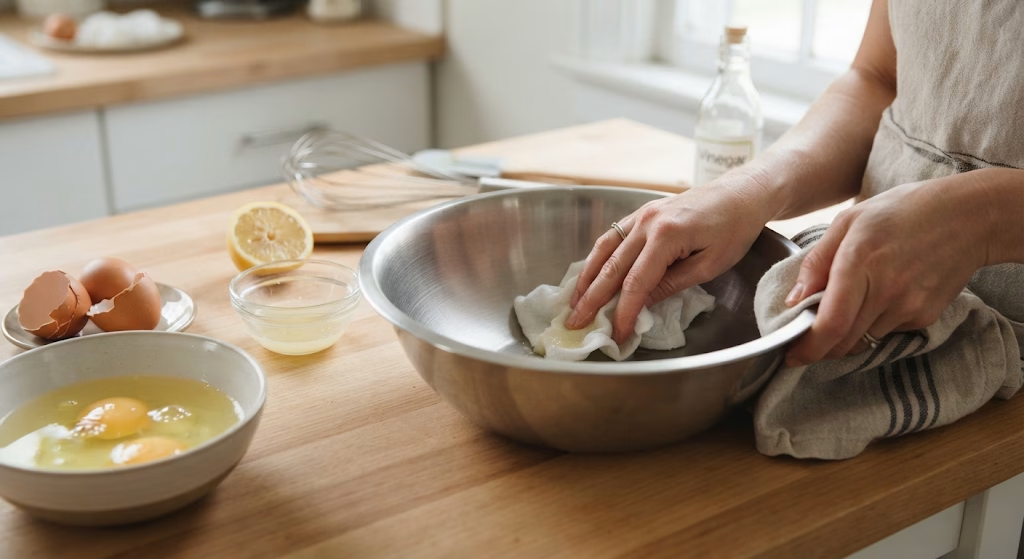
Step 1: Prep Your Bowl and Egg Whites
I always start by wiping my mixing bowl with a splash of lemon juice or white vinegar to remove any hidden grease. Even a tiny bit of fat can stop egg whites from whipping properly, so this step matters more than people think. I also make sure my egg whites are at room temperature, since cold whites take much longer to build volume.
Step 2: Whip to Soft Peaks
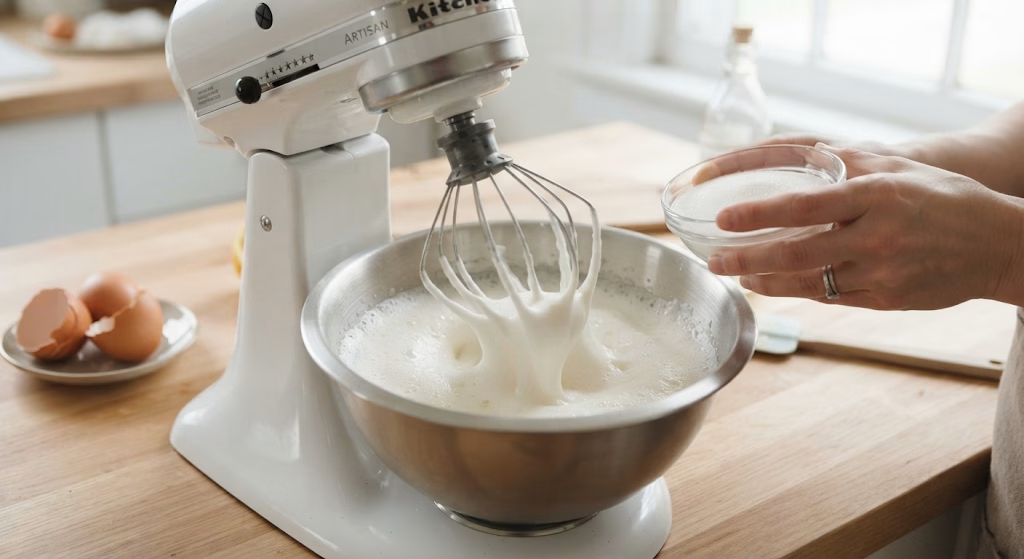
I beat the egg whites and cream of tartar on medium speed until the mixture turns frothy and pale. This usually takes me about two minutes with a stand mixer. Once soft peaks start to form, I know it’s time to slowly start adding in the sugar.
Step 3: Add Sugar Gradually
I add the sugar just a spoonful at a time while the mixer keeps running, because dumping it in too fast can deflate all that air I just whipped in. I keep going until the meringue turns glossy and holds a firm peak when I lift the whisk. At this stage, I fold in the vanilla and salt.
Step 4: Pipe the Ghost Shapes
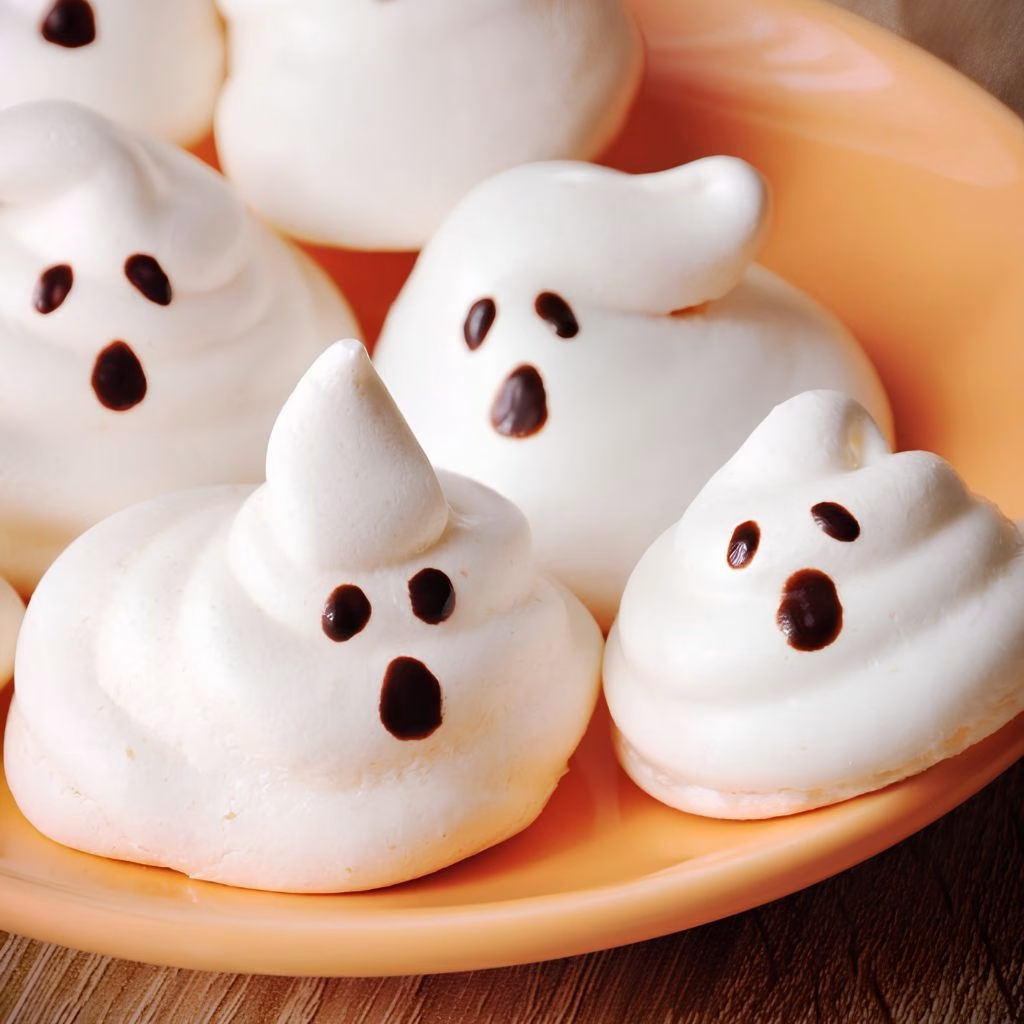
I spoon the meringue into a piping bag fitted with a large round tip, then pipe tall, swirled peaks straight onto my lined baking sheet. I like to hold the bag steady and let each ghost build height before lifting away quickly to form that classic pointed head.
Step 5: Bake Low and Slow
I bake mine at a low oven temperature, around 200-225°F, for about an hour, then turn the oven off completely and let the ghosts sit inside with the door slightly open. This slow cooling step is what keeps them from cracking and gives them that perfect crisp shell.
Step 6: Add the Faces
Once my ghosts are fully cooled, I melt a small amount of black candy melts and use a toothpick to dot on tiny eyes and a mouth. I let the faces set for a few minutes before serving or storing them.
Additional Tips for Making This Recipe Better
I’ve made these ghost meringues more times than I can count, and these are the little tricks that genuinely made a difference for me.
- I always weigh my egg whites and sugar instead of eyeballing it, since meringue is unforgiving with inaccurate measurements.
- I like aging my egg whites in the fridge for a day before using them, which I’ve found gives me a more stable meringue.
- I rub a pinch of the sugar-egg mixture between my fingers to check it’s fully dissolved before I stop mixing.
- I never open the oven door while the meringues are baking, since a sudden temperature drop can crack the shells.
- I keep a small bowl of warm water nearby to dip my piping tip in if the meringue starts sticking mid-piping.
Common Mistakes to Avoid
I’ve made just about every meringue mistake there is, so let me save you the trouble.
- I once used a bowl with leftover oil residue and my egg whites just never whipped up properly, so I always double-check my bowl is spotless now.
- I added my sugar too quickly the first time I made these, and my meringue deflated right in front of me.
- I tried rushing the bake by raising the oven temperature, and my ghosts turned golden brown instead of staying white.
- I skipped the slow cooling step once and ended up with cracked, weepy meringues, so now I never skip it.
- I made these on a rainy, humid day and they turned out sticky instead of crisp, since moisture is meringue’s biggest enemy.
How to Serve Ghost Meringue Cookies
I love arranging these on a black or dark orange platter so the white ghosts really pop against the background. A light dusting of edible glitter or a scattering of candy pumpkins around the plate makes the whole display feel festive without much extra work.
If you’re setting up a full spooky dessert table, I usually pair mine with a batch of easy Halloween candy bark since both are simple, no-fuss treats that travel well to parties. I also love tucking a few ghosts into clear treat bags tied with orange ribbon for trick-or-treaters or lunchbox surprises.
Variations
These ghost meringue cookies are easy to switch up depending on what you’re craving or who you’re feeding.
- Chocolate ghosts – swirl in a spoonful of cocoa powder for a marbled, chocolatey twist
- Sugar-free version – swap granulated sugar for a 1:1 sugar substitute made for baking
- Colored ghosts – add a drop of gel food coloring for pastel Halloween shades instead of classic white
- Flavor swaps – try almond or peppermint extract instead of vanilla for a different flavor profile
- Meringue pumpkins – pipe rounded shapes and tint them orange for meringue ghosts and pumpkins on the same tray
- Mini monsters – pipe smaller, irregular blobs and add extra candy eyes for a meringue monsters recipe twist
Nutritional Information
Here’s a rough estimate per meringue ghost, based on a batch of about 20 cookies.
- Calories: around 35-40 kcal
- Protein: about 1g
- Carbohydrates: around 8-9g
- Fat: less than 1g
Make Ahead and Storage
I often make these a few days ahead since meringue actually holds up really well once it’s fully dried out. Once completely cooled, I store mine in an airtight container at room temperature, where they’ll stay crisp for up to two weeks as long as they’re kept away from humidity.
If I want to freeze a batch, I layer the meringues between sheets of parchment paper in a freezer-safe container, and they’ll keep well for up to a month. I just let them thaw at room temperature for about 15 minutes before serving, and there’s no reheating needed since they’re meant to be eaten cool and crisp.
Why You’ll Love This Recipe?
I keep coming back to this recipe every Halloween season, and here’s exactly why it’s earned a permanent spot on my baking list.
- Only five ingredients – I love that I don’t need a special grocery run to whip these up; it’s mostly pantry basics I already have.
- Naturally gluten-free – since it’s just egg whites and sugar, this is an easy treat I can serve to guests with dietary restrictions.
- Fun for kids to help with – piping the ghost shapes and adding candy eyes is genuinely one of my kids’ favorite parts of the process.
- Make-ahead friendly – I can bake these days in advance, which takes so much pressure off party prep.
- Endlessly customizable – from meringue ghosts uk-style pastel shades to chocolate swirls, I can switch up the look every year.
FAQs
Can I make ghost meringues without cream of tartar?
Yes, I’ve substituted a few drops of lemon juice or white vinegar when I’ve run out, and it works nearly as well to stabilize the egg whites.
Why did my meringues turn out chewy instead of crisp?
I’ve found this usually happens when they’re underbaked or pulled out of the oven before the slow cooling stage is complete.
Can I pipe these ahead of time and bake later?
I don’t recommend it, since piped raw meringue can start to deflate if it sits too long before going into the oven.
How do I stop my ghost meringues from cracking?
I always let mine cool slowly inside the turned-off oven with the door cracked open, which has solved this problem for me every time.
Are these the same as the meringue ghosts sold at Tesco?
They’re similar in shape and style to meringue ghosts tesco shoppers might recognize, but mine are homemade with just five simple ingredients and no preservatives.

Ghost Meringue Cookies Recipe
Ingredients
Method
- I always start by wiping my mixing bowl with a splash of lemon juice or white vinegar to remove any hidden grease. Even a tiny bit of fat can stop egg whites from whipping properly, so this step matters more than people think. I also make sure my egg whites are at room temperature, since cold whites take much longer to build volume.
- I beat the egg whites and cream of tartar on medium speed until the mixture turns frothy and pale. This usually takes me about two minutes with a stand mixer. Once soft peaks start to form, I know it’s time to slowly start adding in the sugar.
- I add the sugar just a spoonful at a time while the mixer keeps running, because dumping it in too fast can deflate all that air I just whipped in. I keep going until the meringue turns glossy and holds a firm peak when I lift the whisk. At this stage, I fold in the vanilla and salt.
- I spoon the meringue into a piping bag fitted with a large round tip, then pipe tall, swirled peaks straight onto my lined baking sheet. I like to hold the bag steady and let each ghost build height before lifting away quickly to form that classic pointed head.
- I bake mine at a low oven temperature, around 200-225°F, for about an hour, then turn the oven off completely and let the ghosts sit inside with the door slightly open. This slow cooling step is what keeps them from cracking and gives them that perfect crisp shell.
- Once my ghosts are fully cooled, I melt a small amount of black candy melts and use a toothpick to dot on tiny eyes and a mouth. I let the faces set for a few minutes before serving or storing them.
Notes
- I always weigh my egg whites and sugar instead of eyeballing it, since meringue is unforgiving with inaccurate measurements.
- I like aging my egg whites in the fridge for a day before using them, which I’ve found gives me a more stable meringue.
- I rub a pinch of the sugar-egg mixture between my fingers to check it’s fully dissolved before I stop mixing.
- I never open the oven door while the meringues are baking, since a sudden temperature drop can crack the shells.
- I keep a small bowl of warm water nearby to dip my piping tip in if the meringue starts sticking mid-piping.