I still remember the first time I needed a fancy dessert with almost no time on the clock I had guests arriving in twenty minutes and nothing planned. I dug through my fridge, found a carton of heavy cream and a tub of cocoa powder, and decided to wing it.
What came out of my mixing bowl was so light, so chocolatey, and so ridiculously easy that it’s been my go-to dessert ever since. I never use eggs, I never mess with gelatin, and I never spend more than five minutes on it. If you love chocolate and hate fuss, this one’s for you.
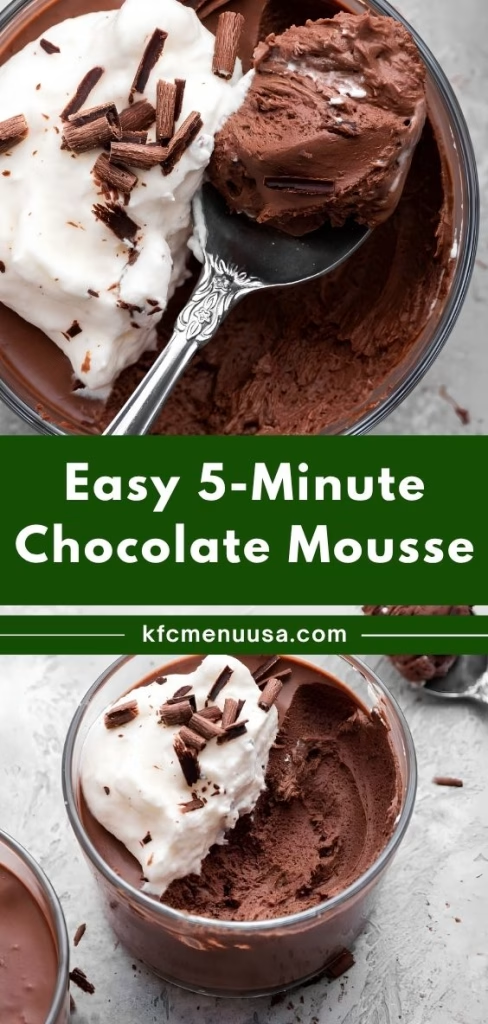
Cooking Time
- Prep Time: 5 minutes
- Cooking Time: 0 minutes (no cooking required)
- Total Time: 5 minutes
Ingredients
- 1 1/2 cups heavy whipping cream – must be cold and full-fat so it whips into stiff, fluffy peaks
- 1/4 cup unsweetened cocoa powder – sifted first so the mousse stays smooth with no gritty flecks
- 1/2 cup powdered sugar – use less for a darker, more bittersweet chocolate flavor
- 1/4 teaspoon almond or vanilla extract (optional) – adds a subtle background note without overpowering the chocolate
Note: This recipe makes about 2 1/2 cups of mousse, enough to serve 4–6 people in small cups or ramekins.
Equipment You Need
- Chilled glass or metal mixing bowl – keeps the cream cold so it whips up faster and fluffier
- Electric hand mixer – saves your arm and whips the cream to stiff peaks in minutes
- Fine mesh sieve – used to sift the cocoa powder so it blends in smoothly
- Piping bag or ziplock bag with the corner snipped – gives you neat, bakery-style servings
- Rubber spatula – handy for folding and scraping down the sides without deflating the mixture
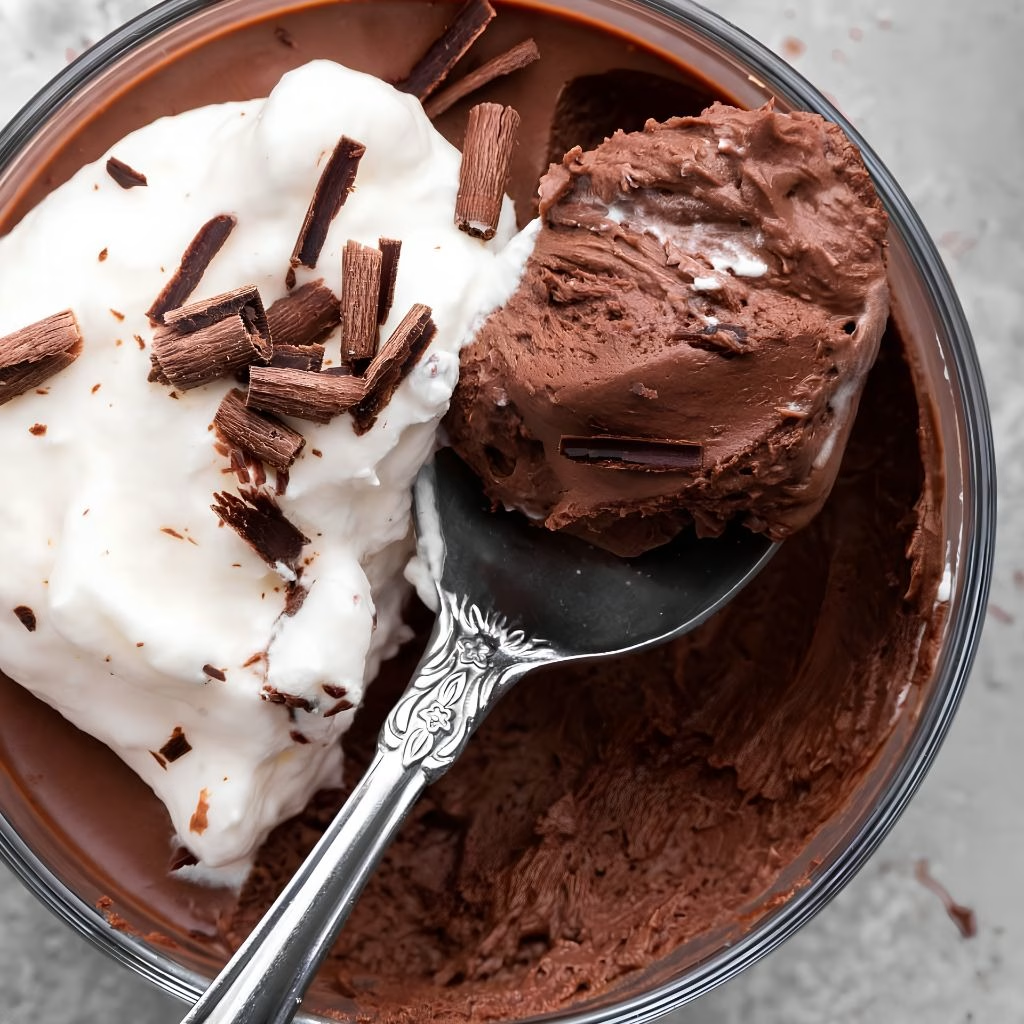
How to Make an Easy 5-Minute Chocolate Mousse Recipe?
This recipe comes together in one bowl with nothing more than a hand mixer. I promise you don’t need any special baking skills to pull this off. Here’s exactly how I do it every single time.
Chill Your Bowl First
Before you even open the cream carton, pop your mixing bowl in the freezer for about 15–20 minutes. I know it feels like an extra step, but a cold bowl keeps the cream from warming up while you whip it. Warmer cream takes longer to whip and won’t hold its shape as well once it’s done.
Whip the Cream
Pour the cold heavy cream into your chilled bowl and start whipping on medium-high speed. Keep going until the cream looks frothy and just starts to thicken, almost like a loose pancake batter. This usually takes me about a minute with an electric hand mixer, so don’t walk away from the bowl.
Sift In the Cocoa and Sugar
Sift the cocoa powder and powdered sugar directly over the whipped cream. I like to give it a gentle stir with a spatula first so the mixer doesn’t blast powder everywhere. Once it’s roughly combined, switch the mixer back on until soft peaks start forming.
Add Your Flavoring
If you’re using almond or vanilla extract, this is the moment to add it. Pour it in once soft peaks have formed, then keep whipping until the mousse holds firm, stiff peaks. This is the texture you’re aiming for thick enough to hold its shape on a spoon.
Watch the Texture Closely
Stop the mixer the second you see stiff peaks form, because chocolate mousse can go from perfect to grainy in seconds. I always finish the last few strokes by hand with a spatula so I don’t accidentally overwhip it into chocolate butter.
Pipe and Chill
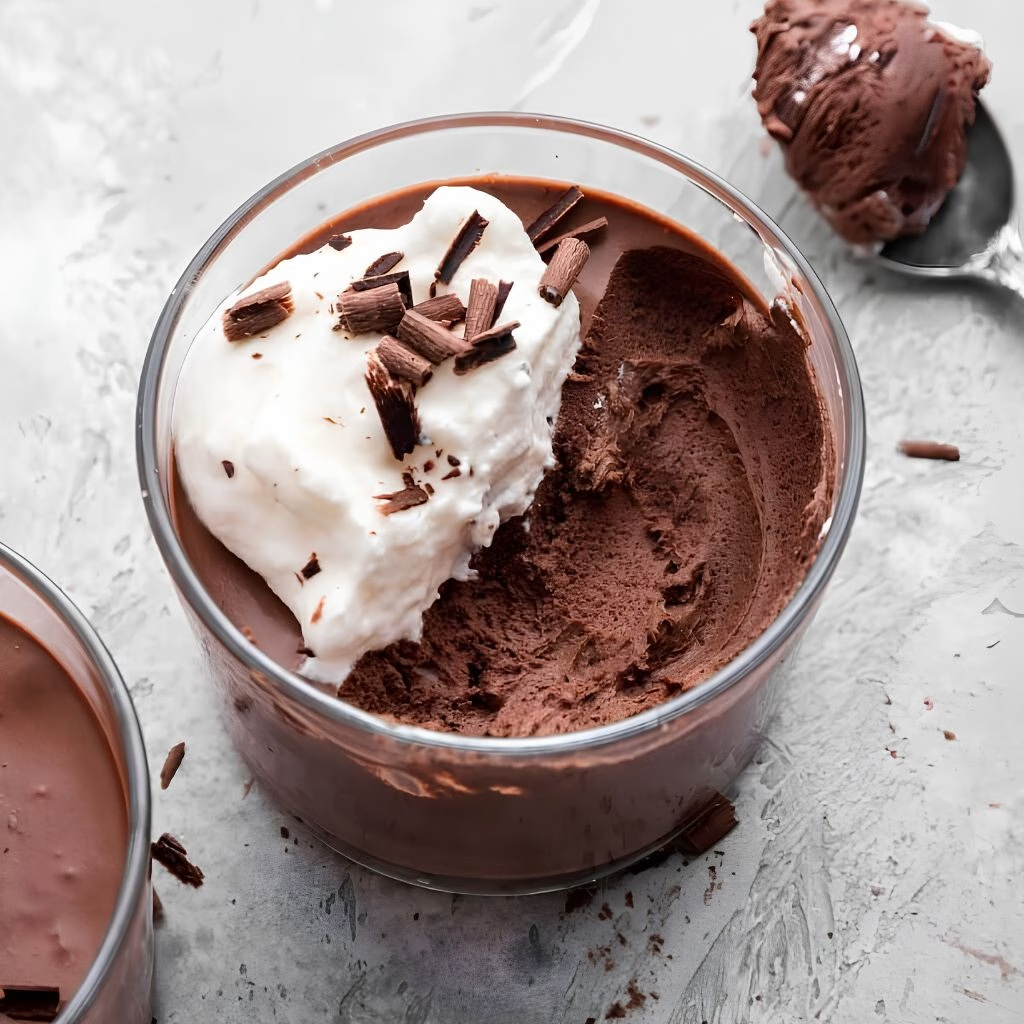
Spoon the mousse into a piping bag or a ziplock bag with the tip cut off, then pipe it into small serving cups or glasses. You can serve it right away for a soft-set mousse, or chill it in the fridge for 20–30 minutes if you prefer a firmer texture.
Additional Tips for Making This Recipe Better
After making this more times than I can count, I’ve picked up a few tricks that make a real difference.
- I always use cold cream straight from the fridge room-temperature cream just won’t whip properly.
- I sift my cocoa powder every single time; skipping it once left tiny dark specks throughout my mousse.
- I taste as I go and adjust the sugar slightly if I’m using a darker, more bitter cocoa powder.
- I stop mixing the moment I see stiff peaks, since a few extra seconds can turn it grainy.
- I chill my bowl and beaters in the freezer for faster, fluffier results, especially in warmer weather.
Common Mistakes to Avoid
- I once used cream that wasn’t cold enough, and it took forever to whip and never got as fluffy as usual.
- I forgot to sift the cocoa powder one time, and I ended up picking out little chocolate clumps.
- I got distracted and overwhipped the mixture, which turned my mousse into something closer to chocolate butter.
- I added too much sugar without tasting first, which made the mousse cloyingly sweet instead of rich.
- I skipped chilling the finished mousse before a party, and it lost its shape by the time guests dug in.
How to Serve Easy 5-Minute Chocolate Mousse Recipe
I love serving this mousse in small glass cups or mason jars so you can see the light, airy layers. A dollop of fresh whipped cream on top, a few chocolate shavings, and a couple of raspberries or strawberries make it look like it came from a bakery.
For a dinner party, I’ll sometimes add a mint leaf or a light dusting of cocoa powder right before serving for that extra restaurant-style touch. You can also enjoy other easy comfort-food recipes alongside your dessert, such as Cheesy Mushroom Ravioli Casserole Recipe.
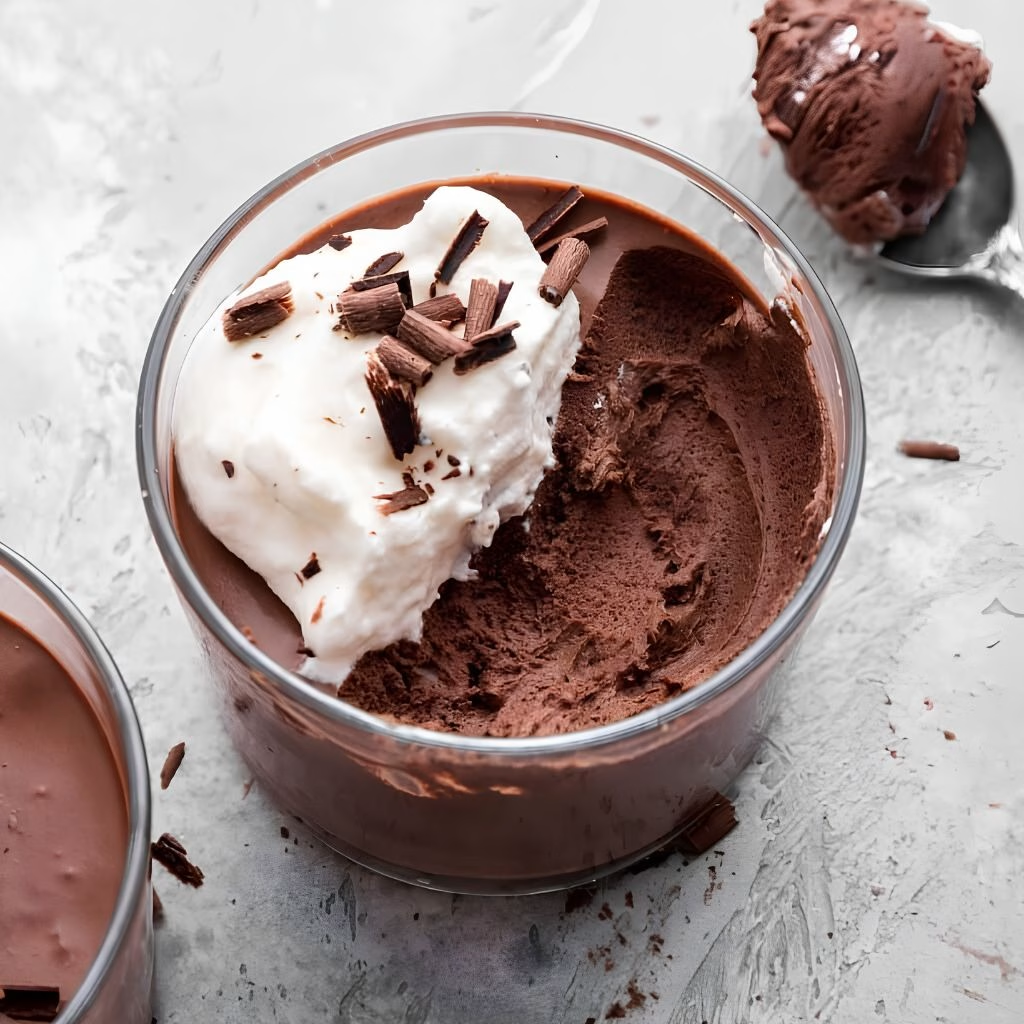
Variations
- Swap the almond extract for orange or peppermint extract for a completely different flavor twist.
- Use a powdered sugar substitute for a lower-sugar or diabetic-friendly version.
- Fold in mini chocolate chips or crushed cookies for extra texture.
- Try a dairy-free version using chilled full-fat coconut cream instead of heavy whipping cream.
- Stir in a spoonful of instant espresso powder along with the cocoa for a mocha-style mousse.
- Add a small amount of bloomed gelatin if you need the mousse to hold its shape longer in warm weather.
For another easy casserole option to serve as part of a larger meal, you can also enjoy Crockpot Pierogi Casserole Recipe With Kielbasa.
Nutritional Information
Here’s a rough idea of what’s in each serving of this rich chocolate mousse, based on six servings from the recipe.
- Calories: approximately 220–450 per serving depending on portion size
- Protein: around 3–4 grams per serving
- Carbohydrates: roughly 15–31 grams per serving
- Fat: about 17–34 grams per serving
Make Ahead and Storage
You can make this mousse a day ahead of time and keep it covered in the fridge. Just know it may lose a little air overnight, so I usually give it a quick rewhip with a spatula before serving to bring back that fluffy texture.
Stored in an airtight container or covered cups, this mousse stays fresh in the refrigerator for up to two days. I don’t recommend freezing it, since the texture tends to separate and turn watery once thawed.
Why You’ll Love This Recipe
This mousse has earned a permanent spot in my dessert rotation, and I think it’ll earn one in yours too.
- It’s incredibly fast. From start to finish, I’m done in five minutes flat, which makes it perfect for last-minute guests or sudden chocolate cravings.
- It only needs a handful of ingredients. No eggs, no gelatin, and no melting chocolate on the stove — just cream, cocoa, and sugar.
- It’s endlessly customizable. I can make it darker, sweeter, dairy-free, or flavored however I like depending on my mood.
- It looks impressive with almost no effort. Piped into little cups with a few garnishes, it looks like a bakery dessert even though it took minutes to make.
- It’s a crowd-pleaser. I’ve served this to picky eaters and chocolate snobs alike, and it’s never once been left unfinished.
FAQs
Is this the same as a 3 ingredient chocolate mousse?
Yes, at its core this is a 3 ingredient chocolate mousse made from heavy cream, cocoa powder, and powdered sugar. The extract is optional and only adds a light background flavor.
Do you have a quick chocolate mousse recipe that skips eggs entirely?
This is exactly that: a quick chocolate mousse recipe with zero eggs, zero gelatin, and no stovetop melting involved.
Can I make easy chocolate mousse without eggs or cream?
You can skip the eggs entirely with this method. If you also need to skip dairy cream, chilled full-fat coconut cream works well as a substitute.
How does this compare to a traditional chocolate mousse recipe?
A traditional chocolate mousse recipe usually involves whipped egg whites, melted chocolate, and more steps. This version trades that complexity for speed while keeping a similarly light, airy texture.
Is this considered one of the best chocolate mousse recipes for beginners?
I’d say yes it’s beginner-friendly because there’s no tempering chocolate or separating eggs, just whipping cream with cocoa and sugar until it holds its shape.
Can I turn this into a 4 ingredient chocolate mousse?
Absolutely, just add the optional almond or vanilla extract to the three base ingredients, and you’ve got a simple 4 ingredient chocolate mousse.
Does this work as a 3 ingredient chocolate mousse with cocoa powder specifically?
Yes, cocoa powder is the exact ingredient used here instead of melted chocolate bars, which is what keeps this version so quick and mess-free.

Easy 5-Minute Chocolate Mousse Recipe
Ingredients
Method
- Before you even open the cream carton, pop your mixing bowl in the freezer for about 15–20 minutes. I know it feels like an extra step, but a cold bowl keeps the cream from warming up while you whip it. Warmer cream takes longer to whip and won’t hold its shape as well once it’s done.
- Pour the cold heavy cream into your chilled bowl and start whipping on medium-high speed. Keep going until the cream looks frothy and just starts to thicken, almost like a loose pancake batter. This usually takes me about a minute with an electric hand mixer, so don’t walk away from the bowl.
- Sift the cocoa powder and powdered sugar directly over the whipped cream. I like to give it a gentle stir with a spatula first so the mixer doesn’t blast powder everywhere. Once it’s roughly combined, switch the mixer back on until soft peaks start forming.
- If you’re using almond or vanilla extract, this is the moment to add it. Pour it in once soft peaks have formed, then keep whipping until the mousse holds firm, stiff peaks. This is the texture you’re aiming for thick enough to hold its shape on a spoon.
- Stop the mixer the second you see stiff peaks form, because chocolate mousse can go from perfect to grainy in seconds. I always finish the last few strokes by hand with a spatula so I don’t accidentally overwhip it into chocolate butter.
- Spoon the mousse into a piping bag or a ziplock bag with the tip cut off, then pipe it into small serving cups or glasses. You can serve it right away for a soft-set mousse, or chill it in the fridge for 20–30 minutes if you prefer a firmer texture.
Notes
- I always use cold cream straight from the fridge room-temperature cream just won’t whip properly.
- I sift my cocoa powder every single time; skipping it once left tiny dark specks throughout my mousse.
- I taste as I go and adjust the sugar slightly if I’m using a darker, more bitter cocoa powder.
- I stop mixing the moment I see stiff peaks, since a few extra seconds can turn it grainy.
- I chill my bowl and beaters in the freezer for faster, fluffier results, especially in warmer weather.