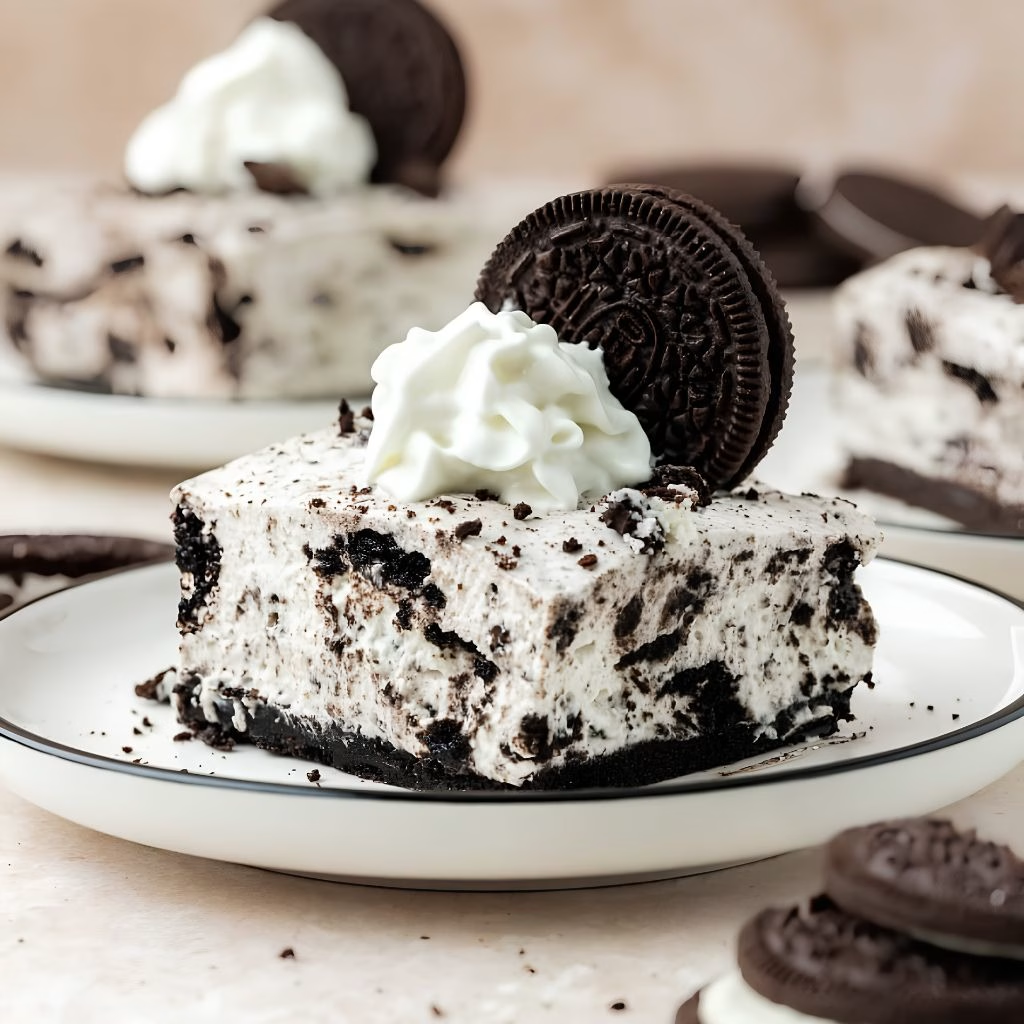
I still remember the first time I pulled a pan of these bars out of the fridge and watched them disappear before the plates even hit the table. I’ve made this dessert more times than I can count now, for birthdays, potlucks, and lazy Sunday afternoons when I just needed a cookies-and-cream fix.
What I love most is that there’s no oven involved, no fussy baking science, just a crunchy Oreo crust and a cloud-like cream cheese filling. If you’ve been searching for a dessert that looks impressive but takes almost no effort, this No-Bake Oreo Cheesecake Bars Recipe I keep coming back to.
When I’m planning a spread with both sweet and savory options, I also like having a comforting Crack Chicken Chili Recipe on the menu for guests who want something hearty alongside dessert.
Cooking Time
- Prep Time: 20 minutes
- Chill Time: 1 hour
- Total Time: 1 hour 20 minutes
Ingredients
- 44 Oreo cookies, divided (one family-size pack works perfectly)
- 5 tablespoons unsalted butter, melted — this binds the crust so it holds together when sliced
- 16 ounces cream cheese, softened to room temperature — cold cream cheese leaves lumps, so let it sit out first
- ⅓ cup powdered sugar, lightly measured — don’t pack it or the filling turns overly sweet
- 1 cup heavy cream — go for cold, full-fat cream for the fluffiest whip
- 2 tablespoons powdered sugar (for the whipped cream)
- ½ teaspoon vanilla extract — a small splash rounds out the flavor nicely
Note: This recipe serves about 16 bars, perfect for a family gathering or a small party.
Equipment You Need
- Food processor — quickly turns Oreos into fine crumbs for the crust
- 8×8 or 9×9 baking pan — the smaller the pan, the thicker your bars will be
- Hand mixer or stand mixer — whips the cream and beats the cream cheese smooth
- Mixing bowls — one metal bowl chilled in the freezer works best for whipping cream
- Rubber spatula — for gently folding the filling without deflating it
- Measuring cups and spoons — for accurate ingredient portions

How to Make No-Bake Oreo Cheesecake Bars Recipe?
I promise this looks more complicated on paper than it actually is. Once you break it down, it’s really just crushing cookies, whipping a filling, and waiting for the fridge to do its job. Here’s exactly how I put mine together every single time.
Chill Your Mixing Bowl First
Before I touch a single ingredient, I pop a metal mixing bowl into the freezer. This little step makes a big difference because a cold bowl helps heavy cream whip up faster and hold its shape longer. It only takes fifteen minutes, and I use that time to prep everything else.
Make the Oreo Crust
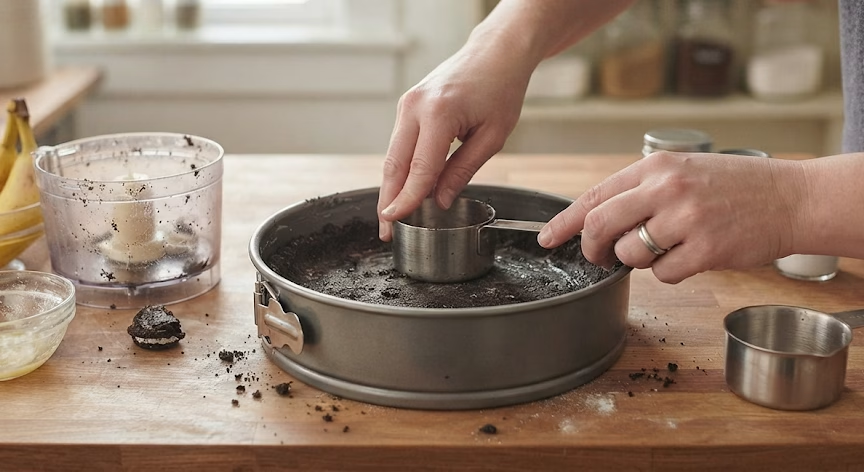
I toss 28 whole Oreos into my food processor and pulse until they turn into a coarse crumb. Then I drizzle in the melted butter while it’s still running, until the mixture looks like wet sand. I press this firmly into my baking pan using the bottom of a measuring cup, then chill it in the fridge while I work on the filling.
Whip the Cream Cheese
In a large bowl, I beat the softened cream cheese with the powdered sugar for a couple of minutes until it’s smooth, pale, and fluffy. This step matters because lumpy cream cheese will show up in every bite, so I make sure it’s fully softened before I start.
Whip the Cream
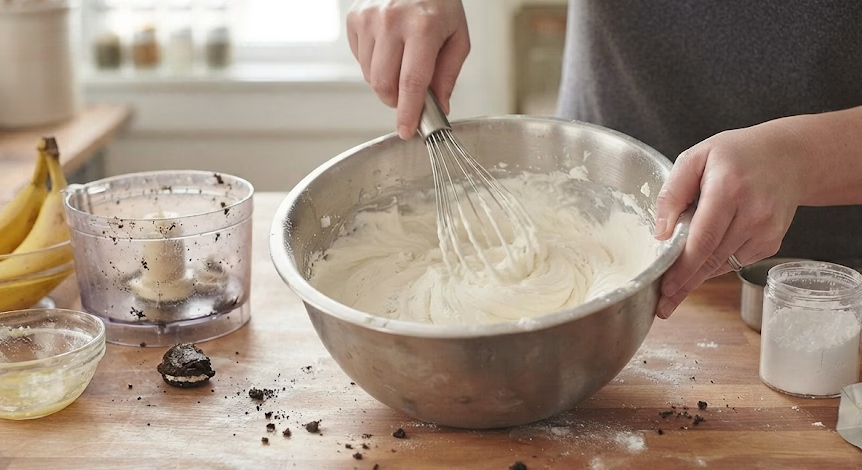
Using my chilled bowl, I add the heavy cream, vanilla, and remaining powdered sugar, then beat it on medium-high until firm peaks form. I watch it closely here, since overbeaten cream turns grainy and can even start separating into butter.
Fold Everything Together
I gently fold the whipped cream into the cream cheese mixture using a spatula, working in broad strokes so I don’t knock out all that air. Then I crush about 8 more Oreos and fold those in too, keeping some chunky texture rather than turning them to dust.
Assemble and Chill
I spread the filling evenly over my chilled crust, smoothing the top with my spatula. Then the pan goes into the fridge for at least an hour, uncovered or loosely covered, so the filling can firm up enough to slice cleanly.
Top and Slice
Right before serving, I crush the last 8 Oreos and scatter them generously over the top. I’ve learned that adding them too early makes them go soft, so I always wait until just before the bars hit the table.
Additional Tips for Making This Recipe Better
I’ve made these bars enough times to have picked up a few tricks along the way, and these are the ones that actually move the needle for me.
- I always use full-fat cream cheese and heavy cream — the low-fat versions never set up as firmly for me.
- I let my cream cheese sit out for a good hour before starting, since rushing this step almost guarantees lumps.
- I like pressing my crust with the flat bottom of a measuring cup instead of my fingers, since it packs it tighter.
- I taste my filling before folding in the Oreos, and if I want it sweeter, I add a touch more powdered sugar right then.
- I always chill mine for a bit longer than an hour if I have the time, because the bars slice so much cleaner when they’re extra firm.
Common Mistakes to Avoid
I’ve made just about every mistake possible with this recipe, so let me save you the trouble.
- I once used cold cream cheese straight from the fridge, and I ended up with a lumpy filling I couldn’t smooth out no matter how long I mixed it.
- I overwhipped my cream one time trying to rush things, and it turned grainy instead of fluffy, so now I stop as soon as firm peaks form.
- I’ve pressed the crust too loosely before, and my bars fell apart when I tried to cut them, so now I really pack it down.
- I topped the bars with crushed Oreos way too early once, and they turned soggy by the time we served them the next day.
- I’ve cut into the bars before they were fully chilled, and the filling just oozed everywhere, so patience really does pay off here.
How to Serve No-Bake Oreo Cheesecake Bars?
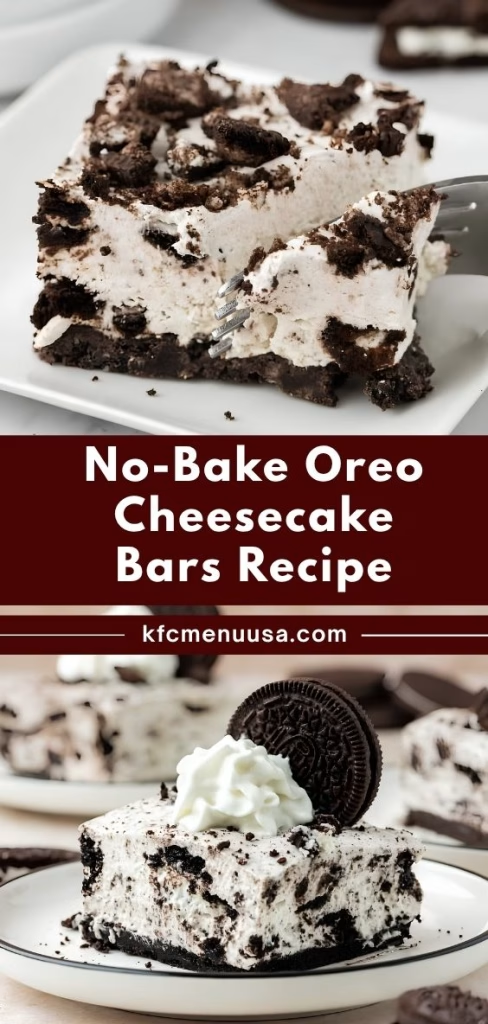
I like cutting these into neat squares with a sharp knife I’ve wiped clean between cuts, which keeps the edges looking crisp instead of smeared. For a party, I’ll arrange them on a white platter with a few whole Oreos tucked between the bars for a bit of visual contrast. A light dusting of extra Oreo crumbs or a drizzle of melted chocolate on top always makes them look a little more special.
If I’m serving a crowd, I’ll add a small scoop of whipped cream on the side of each plate, since the extra creaminess pairs so well with the crunchy topping. I also enjoy serving other fruit-based desserts alongside these bars, such as the Hibiscus Orange Poached Pears Recipe, when I want a little variety on the dessert table.
Variations
- I’ve swapped in gluten-free Oreos before, and they worked just as well for anyone avoiding gluten.
- For a lighter version, I’ve used reduced-fat cream cheese, though the texture turns out slightly softer.
- I’ve stirred a tablespoon of peanut butter into the filling for a fun peanut butter-Oreo twist.
- I’ve used golden Oreos instead of the classic chocolate ones for a completely different flavor profile.
- I’ve drizzled melted white or dark chocolate over the top for an extra layer of indulgence.
- For individual portions, I’ve pressed the crust and filling into cupcake liners instead of a pan.
Nutritional Information
Here’s roughly what you can expect per bar, based on a batch cut into 16 pieces.
- Calories: about 279 kcal
- Protein: about 7g
- Carbohydrates: about 30g
- Fat: about 16g
Make Ahead and Storage
I make these bars a day or two in advance all the time, especially for parties. I just hold off on adding the crushed Oreo topping until right before I’m ready to serve, so the crumbs stay crunchy instead of turning soft in the fridge.
For storage, I keep mine covered or in an airtight container in the fridge, where they stay fresh for up to 3 days. I always keep them chilled until serving, since the filling can soften quickly if it sits out in a warm room.
I don’t recommend freezing this recipe, since cream cheese tends to turn grainy once it thaws, which can affect the texture of the whole bar.
Why You’ll Love This Recipe?
This dessert has earned a permanent spot in my recipe rotation, and here’s why I think it deserves one in yours too.
- No oven required: I can make this on a hot day without heating up my kitchen at all, which makes it a summer favorite for me.
- Simple ingredients: Everything I need comes from just a handful of pantry and fridge staples I usually already have on hand.
- Make-ahead friendly: I can prep this a day or two before an event, which takes so much pressure off my party planning.
- Crowd-pleasing flavor: Between the crunchy crust, creamy filling, and cookie topping, this hits every texture I want in a dessert.
- Easy to customize: I’ve swapped ingredients around so many times that it never feels like the same dessert twice.
FAQs
Can I make Oreo bars without baking them at all?
Yes, this entire recipe skips the oven completely. The crust firms up in the fridge, and the filling sets from chilling rather than heat.
Can I make a 3-ingredient version of no-bake Oreo cheesecake?
A simplified version using just Oreos, cream cheese, and whipped topping is possible, though I find adding butter and a touch of sugar gives better texture and flavor.
How is this different from a regular no-bake cheesecake bar recipe?
The main difference is the Oreo crust and crushed cookies mixed into the filling, which add extra crunch and chocolate flavor compared to a plain graham cracker version.
Is this a simple Oreo cheesecake recipe for beginners?
Yes, it’s one of the easiest cheesecake-style desserts I make, since there’s no water bath, no baking, and just basic mixing and folding involved.
Can I use Philadelphia cream cheese for this no-bake Oreo cheesecake?
Absolutely, I use Philadelphia brand most often since it’s reliably smooth and holds its shape well once chilled.
Can I make a healthier version of this no-bake Oreo cheesecake?
You can lighten it up with reduced-fat cream cheese and less sugar, though I find the texture turns out a bit softer than the original.
Can I make mini Philadelphia no-bake Oreo cheesecakes?
Yes, I’ve pressed the crust and filling into cupcake liners or a mini muffin pan for individual, no-bake portions using Philadelphia cream cheese.
How far in advance can I make these cheesecake bars?
I usually make them one to two days ahead, keeping the topping off until right before serving so it stays crisp.

No-Bake Oreo Cheesecake Bars Recipe
Ingredients
Method
- Before I touch a single ingredient, I pop a metal mixing bowl into the freezer. This little step makes a big difference because a cold bowl helps heavy cream whip up faster and hold its shape longer. It only takes fifteen minutes, and I use that time to prep everything else.
- I toss 28 whole Oreos into my food processor and pulse until they turn into a coarse crumb. Then I drizzle in the melted butter while it’s still running, until the mixture looks like wet sand. I press this firmly into my baking pan using the bottom of a measuring cup, then chill it in the fridge while I work on the filling.
- In a large bowl, I beat the softened cream cheese with the powdered sugar for a couple of minutes until it’s smooth, pale, and fluffy. This step matters because lumpy cream cheese will show up in every bite, so I make sure it’s fully softened before I start.
- Using my chilled bowl, I add the heavy cream, vanilla, and remaining powdered sugar, then beat it on medium-high until firm peaks form. I watch it closely here, since overbeaten cream turns grainy and can even start separating into butter.
- I gently fold the whipped cream into the cream cheese mixture using a spatula, working in broad strokes so I don’t knock out all that air. Then I crush about 8 more Oreos and fold those in too, keeping some chunky texture rather than turning them to dust.
- I spread the filling evenly over my chilled crust, smoothing the top with my spatula. Then the pan goes into the fridge for at least an hour, uncovered or loosely covered, so the filling can firm up enough to slice cleanly.
- Right before serving, I crush the last 8 Oreos and scatter them generously over the top. I’ve learned that adding them too early makes them go soft, so I always wait until just before the bars hit the table.
Notes
- I always use full-fat cream cheese and heavy cream the low-fat versions never set up as firmly for me.
- I let my cream cheese sit out for a good hour before starting, since rushing this step almost guarantees lumps.
- I like pressing my crust with the flat bottom of a measuring cup instead of my fingers, since it packs it tighter.
- I taste my filling before folding in the Oreos, and if I want it sweeter, I add a touch more powdered sugar right then.
- I always chill mine for a bit longer than an hour if I have the time, because the bars slice so much cleaner when they’re extra firm.