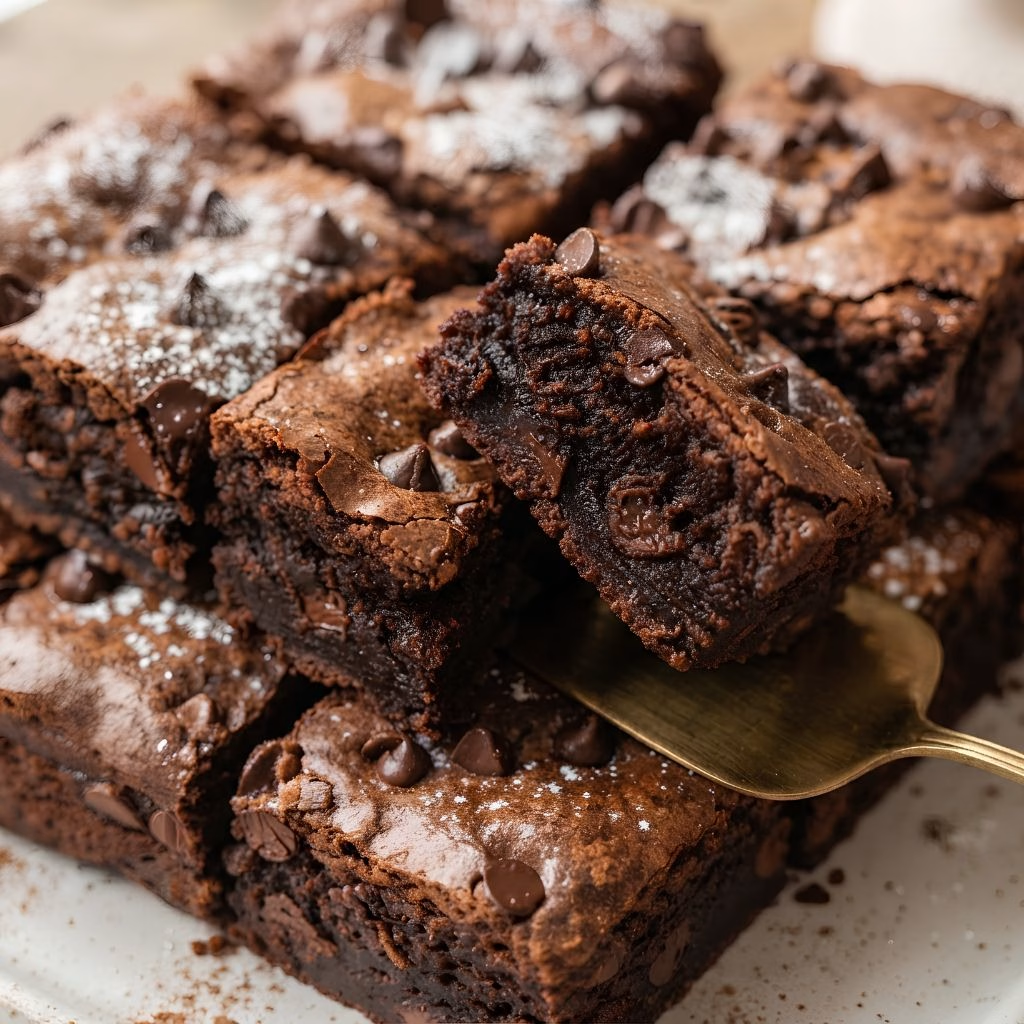
I make a batch of this Easy Pumpkin Brownie Recipe every single time the weather turns cooler, and honestly, they’ve become my go-to fall dessert. I love that I can throw everything into one bowl, pop it in the oven, and have warm, fudgy squares ready before my coffee even gets cold.
What sold me on this recipe is how the pumpkin keeps the brownies unbelievably moist without making them taste like pumpkin pie. If you’ve been searching for the best pumpkin brownie recipe that’s actually foolproof, I think this one is it. Let me walk you through exactly how I make it at home.
Cooking Time
- Prep Time: 10 minutes
- Cooking Time: 30 minutes
- Total Time: 40-45 minutes (plus 15-20 minutes cooling time)
Ingredients
- 1 cup canned pumpkin puree – use pure pumpkin, not pumpkin pie filling, or your brownies will turn out too sweet and runny
- 1/2 cup all-purpose flour – gives the brownies just enough structure without making them cakey
- 1/2 cup unsweetened cocoa powder – go for a good quality one since it’s the main flavor driver here
- 3/4 cup granulated sugar – balances the earthiness of the pumpkin and cocoa
- 1/3 cup vegetable oil or melted coconut oil – keeps the brownies rich and fudgy instead of dry
- 1 teaspoon baking powder – helps the batter rise just slightly for that perfect brownie texture
- 1/2 teaspoon salt – rounds out the sweetness and makes the chocolate flavor pop
- 1 teaspoon vanilla extract – adds warmth and depth to every bite
- 1/2 teaspoon ground cinnamon (optional) – gives a cozy, spiced note that pairs beautifully with pumpkin
- 1/2 cup chocolate chips – I always add a handful extra on top before baking for a bakery-style finish
Note: this recipe serves 9 people (one 8×8-inch pan, cut into squares).
Equipment You Need
- Mixing bowl – for combining the wet and dry ingredients
- Whisk or spatula – to mix the batter smoothly without overworking it
- 8×8-inch baking pan – the ideal size for thick, fudgy squares
- Parchment paper – makes lifting and slicing the brownies so much easier
- Measuring cups and spoons – for accurate ingredient amounts
- Toothpick or skewer – to check if the brownies are baked through
- Cooling rack – helps the brownies set properly before slicing
How to Make an Easy Pumpkin Brownie Recipe?
This recipe genuinely comes together in one bowl, so there’s barely any cleanup involved. I usually have the batter mixed before my oven even finishes preheating. Here’s exactly how I do it, step by step.
Preheat the Oven and Prep Your Pan
I always start by preheating my oven to 350°F so it’s fully heated by the time my batter is ready. I line my 8×8-inch pan with parchment paper, leaving a little overhang on the sides. This little trick makes lifting the brownies out later so much easier and mess-free.
Mix the Wet Ingredients
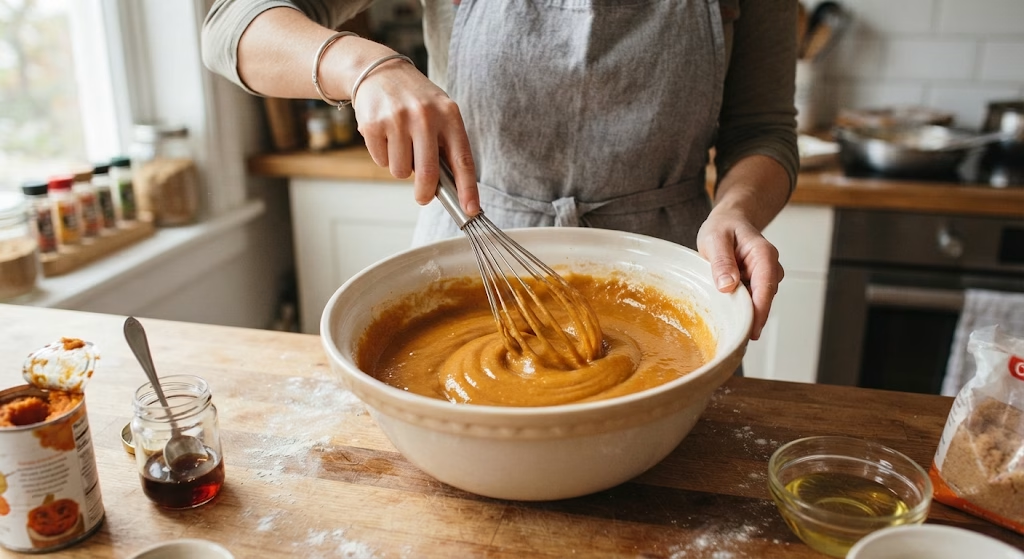
In a large bowl, I whisk together the pumpkin puree, oil, sugar, and vanilla extract until the mixture looks smooth and glossy. I make sure there are no lumps of pumpkin left behind. This forms the moist base that keeps the whole batch fudgy.
Whisk in the Dry Ingredients
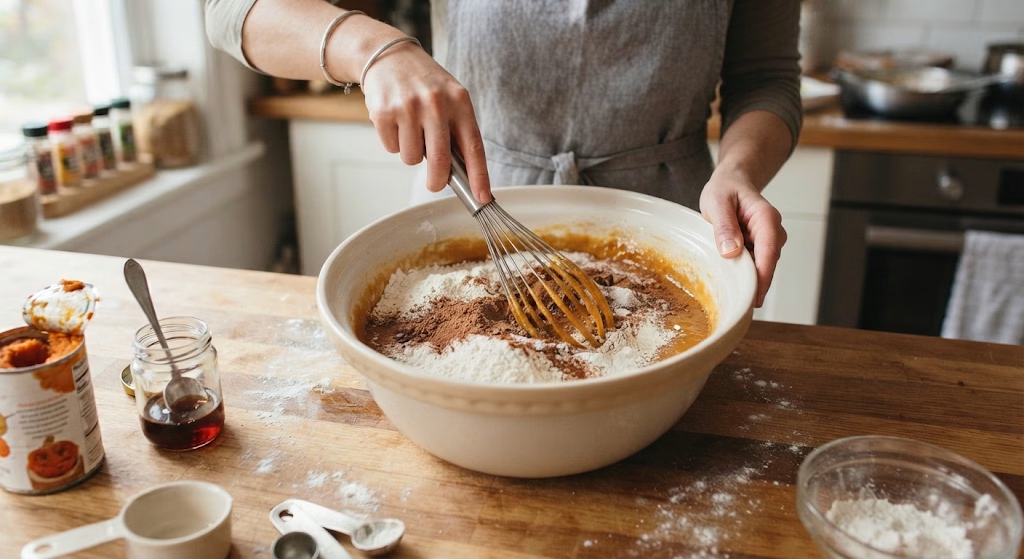
Next, I add the flour, cocoa powder, baking powder, salt, and cinnamon directly into the same bowl. I whisk gently until just combined, being careful not to overmix. Overmixing at this stage is what makes brownies turn out tough instead of tender.
Fold in the Chocolate Chips
I fold in most of the chocolate chips with a spatula, saving a small handful to sprinkle on top later. This gives every bite little pockets of melty chocolate, which honestly makes the whole recipe feel extra indulgent.
Pour and Spread the Batter
I pour the thick batter into my prepared pan and spread it evenly using my spatula, pushing it right into the corners. I sprinkle the reserved chocolate chips over the top so they get slightly toasted and shiny as they bake.
Bake the Brownies
I bake mine for 28-30 minutes, checking at the 25-minute mark with a toothpick inserted in the center. I’m looking for a few moist crumbs, not a completely clean toothpick, since that’s the sign of a fudgy texture rather than a dry one.
Cool Completely Before Slicing
This is the step I always want to skip, but never do. I let the brownies cool in the pan for at least 15-20 minutes before lifting them out and slicing into squares. Cutting too early causes the center to fall apart.
Additional Tips for Making This Recipe Better
I’ve made this pumpkin brownie recipe more times than I can count, and here’s what I’ve learned along the way to make it even better.
- I always use canned pumpkin puree instead of fresh, since it gives me consistent moisture every single time.
- I let my brownies cool fully before cutting, even though I want to dig in immediately, because they firm up beautifully once cooled.
- I sift my cocoa powder before mixing it in, which helps me avoid any stubborn lumps in the batter.
- I like adding a pinch of espresso powder to my batter since it deepens the chocolate flavor without tasting like coffee.
- I never skip lining my pan with parchment paper, because it saves me from wrestling with stuck brownies later.
Common Mistakes to Avoid
I’ve made a few of these mistakes myself while perfecting this recipe, so I want to help you skip the trial and error.
- I once used pumpkin pie filling instead of plain puree, and my brownies turned out way too sweet and mushy, so I always double-check the can label now.
- I overbaked a batch once thinking they weren’t done, and they turned out dry instead of fudgy, so now I pull them out with a few moist crumbs still on the toothpick.
- I tried cutting into a warm pan once and ended up with a crumbly mess, so I always wait until they’ve cooled properly.
- I overmixed my batter early on, which gave me a denser, tougher brownie instead of a soft one, so I mix just until combined now.
- I forgot to grease or line my pan one time, and half my brownies stayed stuck to the bottom, which I never want to repeat.
How to Serve an Easy Pumpkin Brownie Recipe?
I love serving these brownies slightly warm with a scoop of vanilla ice cream melting right on top. For a fall-inspired presentation, I dust the squares with a light sprinkle of powdered sugar and cinnamon, which makes them look bakery-ready. A drizzle of caramel or melted chocolate across the top also adds a nice glossy finish for guests.
If you’re setting up a dessert table, I like arranging the squares on a wooden board alongside a few pieces of my chocolate chip cookies recipe so people have a mix of textures to choose from. A hot cup of coffee or chai on the side rounds out the whole cozy experience.

Variations
- Vegan pumpkin brownies: swap the vanilla for a plant-based extract and use dairy-free chocolate chips.
- Sugar-free version: replace granulated sugar with a 1:1 monk fruit or erythritol blend.
- Gluten-free option: use a 1:1 gluten-free flour blend in place of all-purpose flour.
- 3 ingredient pumpkin brownies: blend just pumpkin puree, cocoa powder, and nut butter for a stripped-down version.
- 2 ingredient pumpkin brownies: mix pumpkin puree with a boxed brownie mix for an ultra-quick shortcut.
- 4 ingredient pumpkin brownies: add pumpkin, brownie mix, an egg, and chocolate chips for extra richness.
- Pumpkin brownie cookies: scoop the same batter onto a baking sheet and bake for 10-12 minutes for individual cookies.
- Nutty twist: fold in chopped walnuts or pecans for added crunch.
Nutritional Information
Here’s a rough breakdown per brownie square, based on a batch of 9, so you can plan your treat accordingly.
- Calories: approximately 180 kcal
- Protein: 3g
- Carbohydrates: 27g
- Fat: 7g
Make Ahead and Storage
I often make this batter a day ahead and store it covered in the fridge, then bake it fresh whenever I’m ready to serve. Once baked, I keep leftover brownies in an airtight container at room temperature for up to 2 days.
If I want them to last longer, I store them in the fridge in a sealed container for up to a week, which actually makes them taste even fudgier. For longer storage, I wrap individual squares tightly and freeze them for up to 3 months, then thaw at room temperature or warm them in the microwave for about 15 seconds before eating.
Why You’ll Love This Recipe?
I keep coming back to this pumpkin brownie recipe every fall, and here’s exactly why I think you’ll love it too.
- It’s incredibly easy to make: everything comes together in one bowl with basic pantry staples, so there’s no complicated technique involved.
- It’s naturally moist and fudgy: the pumpkin puree does all the heavy lifting, so I never worry about dry, crumbly brownies.
- It’s easy to customize: whether I want it vegan, gluten-free, or extra chocolatey, this base recipe adapts without any fuss.
- It’s a sneaky way to eat vegetables: I love that this counts as a dessert with a bit of pumpkin goodness tucked inside.
- It freezes beautifully: I always keep a few squares stashed away for when a chocolate craving hits unexpectedly.
FAQs
Can I use fresh pumpkin instead of canned?
Yes, but I recommend draining fresh pumpkin puree well first, since canned pumpkin has a more consistent, thicker texture that works better here.
Can I make this recipe vegan?
Absolutely, I just swap the eggs for a flax egg if my base recipe calls for one, and use dairy-free chocolate chips throughout.
How do I know my brownies are done baking?
I always look for a toothpick that comes out with a few moist crumbs attached, not completely clean, since that means they’ll stay fudgy as they cool.
Can I double this recipe?
Yes, I simply use a 9×13-inch pan and add about 5-10 extra minutes to the baking time when I double the batch.
Why did my brownies turn out cakey instead of fudgy?
This usually happens if I overmix the batter or overbake it, so I mix just until combined and pull the pan out slightly early.
If pumpkin desserts are becoming a fall staple in your kitchen, you might also enjoy browsing my pumpkin pie recipe for another cozy, crowd-pleasing option.

Easy Pumpkin Brownie Recipe
Ingredients
Method
- I always start by preheating my oven to 350°F so it’s fully heated by the time my batter is ready. I line my 8×8-inch pan with parchment paper, leaving a little overhang on the sides. This little trick makes lifting the brownies out later so much easier and mess-free.
- In a large bowl, I whisk together the pumpkin puree, oil, sugar, and vanilla extract until the mixture looks smooth and glossy. I make sure there are no lumps of pumpkin left behind. This forms the moist base that keeps the whole batch fudgy.
- Next, I add the flour, cocoa powder, baking powder, salt, and cinnamon directly into the same bowl. I whisk gently until just combined, being careful not to overmix. Overmixing at this stage is what makes brownies turn out tough instead of tender.
- I fold in most of the chocolate chips with a spatula, saving a small handful to sprinkle on top later. This gives every bite little pockets of melty chocolate, which honestly makes the whole recipe feel extra indulgent.
- I pour the thick batter into my prepared pan and spread it evenly using my spatula, pushing it right into the corners. I sprinkle the reserved chocolate chips over the top so they get slightly toasted and shiny as they bake.
- I bake mine for 28-30 minutes, checking at the 25-minute mark with a toothpick inserted in the center. I’m looking for a few moist crumbs, not a completely clean toothpick, since that’s the sign of a fudgy texture rather than a dry one.
- This is the step I always want to skip, but never do. I let the brownies cool in the pan for at least 15-20 minutes before lifting them out and slicing into squares. Cutting too early causes the center to fall apart.
Notes
- I always use canned pumpkin puree instead of fresh, since it gives me consistent moisture every single time.
- I let my brownies cool fully before cutting, even though I want to dig in immediately, because they firm up beautifully once cooled.
- I sift my cocoa powder before mixing it in, which helps me avoid any stubborn lumps in the batter.
- I like adding a pinch of espresso powder to my batter since it deepens the chocolate flavor without tasting like coffee.
- I never skip lining my pan with parchment paper, because it saves me from wrestling with stuck brownies later.