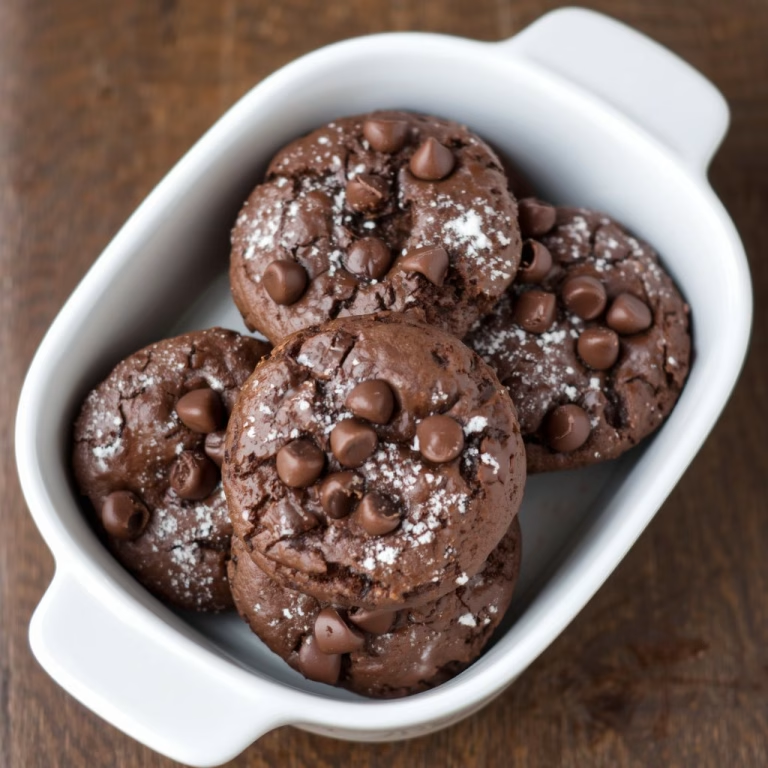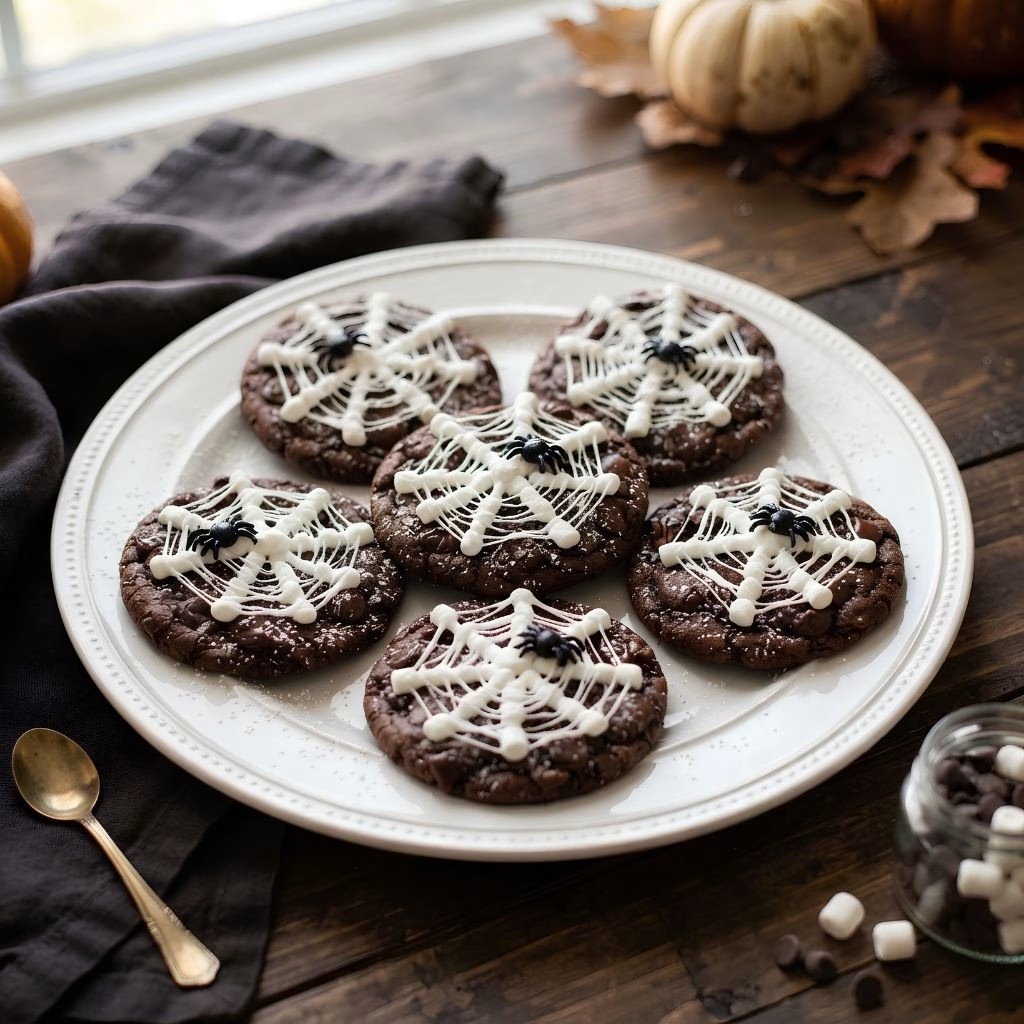
I made this Easy Spider Web Cookies Recipe for the first time a couple of Octobers ago, and they’ve been on repeat in my kitchen every fall since. I love that there’s no fussy piping or royal icing involved, just melted marshmallows stretched into creepy little strands.
My kids get so excited pulling the webs apart with me that it’s turned into our own little Halloween tradition. If you want a chocolate cookie that looks impressive but takes almost no special skill, this one’s for you.
Cooking Time
- Prep Time: 30 minutes
- Cooking Time: 12 minutes
- Total Time: 42 minutes
Ingredients
- 1 cup unsalted butter, room temperature — softened butter creams smoothly and gives the cookies their chewy texture
- ½ cup granulated sugar — adds sweetness and helps the edges crisp up slightly
- 1 ½ cups brown sugar, packed — keeps the cookies soft and moist for days after baking
- 2 eggs — bind the dough together and add richness
- 2 teaspoons vanilla extract — rounds out the chocolate flavor nicely
- 2 ½ cups all-purpose flour — spoon it into the cup and level it off instead of scooping directly
- ½ cup unsweetened cocoa powder — gives these cookies their deep, double chocolate flavor
- 1 teaspoon baking soda — helps the cookies rise just enough without spreading too thin
- ¾ teaspoon kosher salt — balances the sweetness and deepens the chocolate taste
- 2 cups semi-sweet or milk chocolate chips — use whichever you already have on hand, both work great
- 10 oz bag mini marshmallows — these melt down into the sticky spider web strands on top
Note: this recipe serves 22, making about 22 bakery-sized cookies in total.
Equipment You Need
- Stand or hand mixer — makes creaming the butter and sugars quick and effortless
- Large mixing bowl — for combining your dry ingredients before adding them to the dough
- Baking sheet — holds the cookies while they bake in the oven
- Parchment paper or silicone mat — keeps cookies from sticking and makes cleanup easy
- Large cookie scoop (about 2 oz) — portions out evenly sized cookie dough balls
- Microwave-safe bowl — for melting the marshmallows into a stretchy web-ready texture
- Cooling rack — lets the baked cookies cool evenly before you add the webs
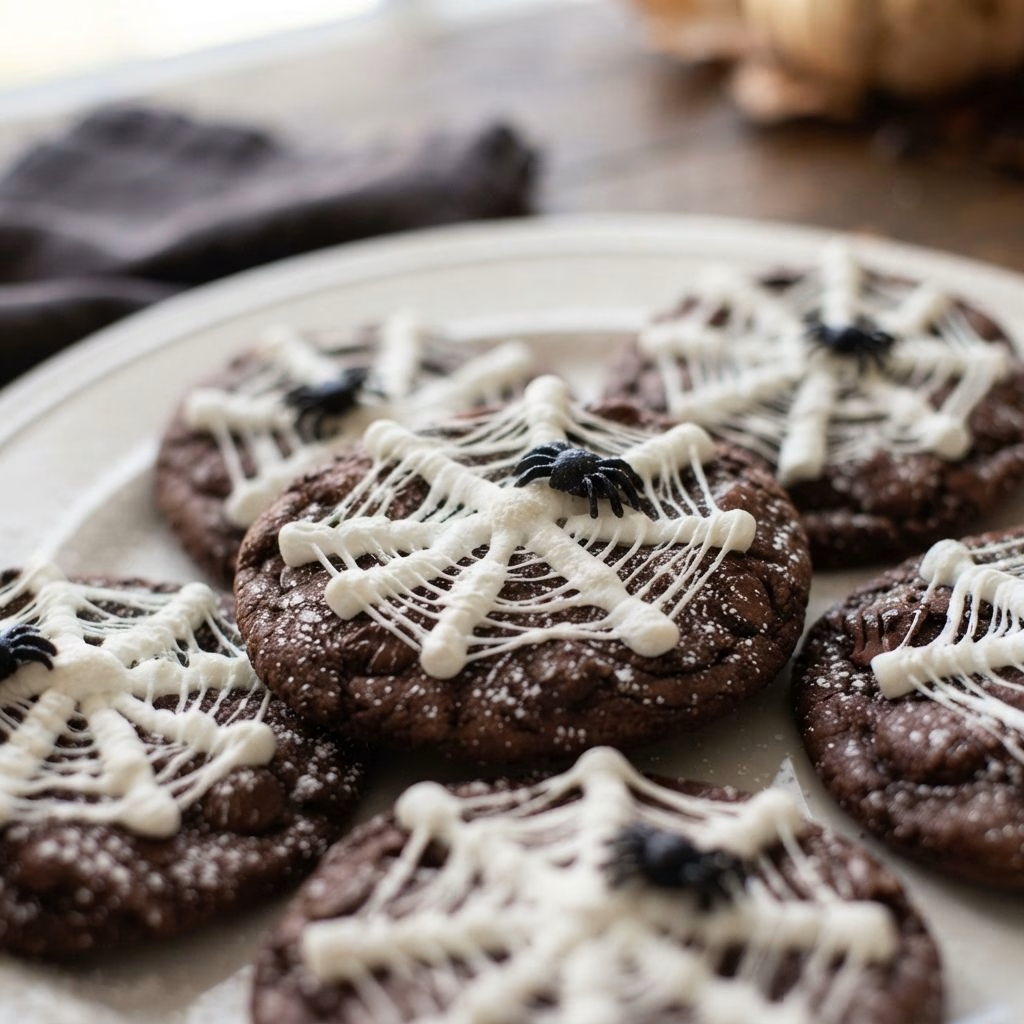
How to Make Spider Web Cookies Recipe?
This recipe comes together in two simple stages: baking a batch of soft double chocolate cookies, then decorating them with a melted marshmallow spider web. Neither step takes any special baking skill, which is exactly why I keep coming back to it every Halloween season.
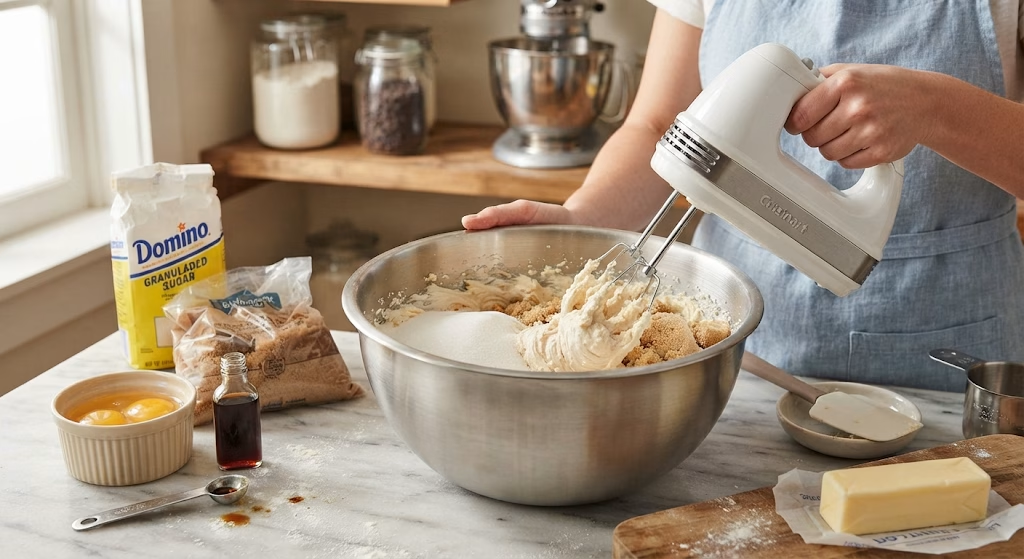
Cream the Butter and Sugars
Start by beating your softened butter, brown sugar, and granulated sugar together for about two minutes until the mixture looks light and creamy. Add in your eggs and vanilla extract, mixing until everything is fully combined. This step builds the base structure for your cookie dough.
Mix In the Dry Ingredients
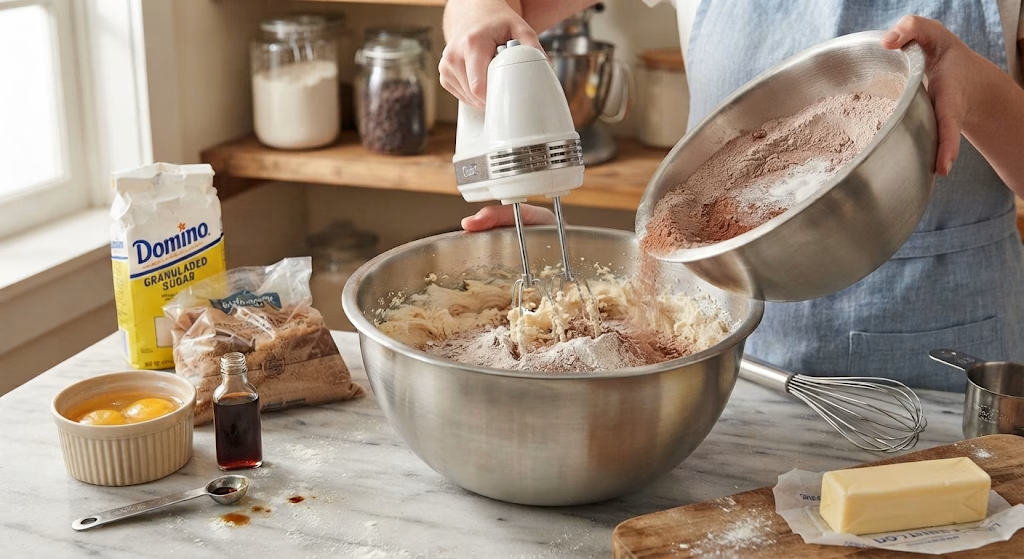
In a separate bowl, whisk together the flour, cocoa powder, baking soda, and salt. Slowly add this dry mixture into your butter mixture, stirring on low speed just until the flour disappears. Overmixing at this stage can make your cookies tough instead of soft.
Fold In the Chocolate Chips
Once your dough comes together, gently stir in the chocolate chips by hand or on the lowest mixer setting. You want them evenly distributed throughout the dough without breaking the mixture down further.
Scoop and Bake
Using a large cookie scoop, portion the dough into balls and place only six at a time on your prepared baking sheet, since these cookies spread quite a bit. Bake at 350°F for about 12 minutes, pulling them out while the centers still look a touch underdone.
Melt the Marshmallows
While your cookies cool, place the mini marshmallows into a microwave-safe bowl and heat for 45 seconds. Stir, then continue microwaving in 15-second bursts until the marshmallows turn smooth and fully melted.
Create the Spider Webs
Let the melted marshmallow cool just enough to touch safely. Pinch a small amount between two fingers and gently pull apart to form thin strands, then drape them over each cooled cookie to create your web design.
Additional Tips for Making This Recipe Better
I’ve baked these more times than I can count now, and here’s what genuinely makes a difference for me.
- I always measure my flour with a spoon instead of scooping directly from the bag, since scooping packs in too much and dries out the dough.
- I underbake mine slightly on purpose, pulling them out when the centers still look a little soft for the chewiest texture once they cool.
- I test the marshmallow temperature on the back of my hand before touching it directly, since it holds heat longer than it looks.
- I keep a small bowl of water nearby to dip my fingers in if the marshmallow starts sticking too much while I’m pulling strands.
- I like baking these a day ahead and adding the webs right before serving so they look their freshest.
Common Mistakes to Avoid
- I overcrowded my baking sheet once and ended up with cookies that fused together, so now I only bake six large cookies per tray.
- I overmixed my dough after adding the flour, and the cookies came out dense instead of soft and chewy.
- I let the marshmallow cool too long before pulling the webs, and it hardened into clumps instead of thin strands.
- I skipped underbaking and left mine in too long, which made the cookies crumbly instead of gooey in the middle.
- I stacked my finished cookies without any parchment between layers, and the sticky webs glued them all together.
How to Serve Spider Web Cookies?
I like arranging these on a black or dark-colored platter so the white marshmallow webs really stand out against the background. A few plastic spider rings tucked between the cookies adds a fun, spooky touch for a Halloween party table.
They’re great served slightly warm with a glass of milk, or packaged individually in cellophane bags for trick-or-treaters and classroom treats. If you’re building out a whole spooky dessert table, these cookies look fantastic sitting right alongside something like a spooky spider web cake for a matching Halloween theme.
Variations
- Swap the marshmallow web for a melted white chocolate drizzle if you want a firmer, less sticky finish
- Try this as spider web cookies marshmallow bars by pressing the dough into a pan instead of individual cookies
- Add a handful of crushed Oreos into the dough for extra crunch and texture
- Use dark chocolate chips instead of semi-sweet for a more intense, bittersweet flavor
- Turn these into a fun spider web recipe minecraft theme by using square cookie cutters and green food coloring accents for a gamer-themed party
- Add a pinch of espresso powder to the dry ingredients to deepen the chocolate flavor even further
Nutritional Information
Here’s a rough breakdown per cookie, though the exact numbers will shift slightly based on the brands you use.
- Calories: 338 kcal
- Protein: 4 g
- Carbohydrates: 48 g
- Fat: 15 g
Make Ahead and Storage
You can bake the cookies a day or two in advance and add the marshmallow webs closer to serving time so they look freshly made.
Store finished cookies in an airtight container in a single layer, separated by parchment or wax paper, and they’ll stay fresh on the counter for 4 to 5 days.
For longer storage, freeze the unbaked cookie dough balls on a tray for a few hours, then transfer them to a freezer bag for up to three months, adding one to two extra minutes to the baking time when baking from frozen.
Why You’ll Love This Recipe?
This has become one of my go-to Halloween bakes, and here’s why I think you’ll feel the same.
- It’s genuinely easy: There’s no chilling required and no complicated piping skills needed, just a classic cookie dough and a simple marshmallow web.
- It’s a fun activity to share: Pulling the marshmallow strands is honestly half the fun, and kids especially love getting their hands into the process.
- It looks impressive with little effort: These cookies look like they came from a bakery, but the technique behind the spooky design is surprisingly simple.
- It’s easy to customize: From chocolate spider web cookies to fun spins like a spider web recipe minecraft theme, this base recipe adapts to whatever party you’re planning.
- It stores and travels well: These hold up nicely for days, making them perfect for parties, lunchboxes, or gifting to neighbors.
FAQs
Can I make these into single serve cookie recipes instead of a full batch?
Yes, you can easily scoop and bake just a few cookies at a time and freeze the rest of the dough for later, which works well if you’re craving a healthy single serve cookie recipe portion instead of the whole batch.
Why did my marshmallow web harden too fast?
This usually means the marshmallow cooled for too long before you started pulling strands, so just pop it back in the microwave for a few seconds to loosen it up again.
Can I use royal icing instead of marshmallows for the web?
Yes, a simple powdered sugar glaze or royal icing piped in a spiral works as a less sticky alternative to the melted marshmallow method.
Do these taste similar to double chocolate chip cookies with espresso powder?
They’re close, and adding a bit of espresso powder to the dry ingredients gives you that same deep, double chocolate chocolate chip cookies with espresso powder flavor boost.
Can I freeze the fully decorated cookies with the webs already on?
It’s better to freeze the dough or plain baked cookies first, since the sticky marshmallow webs don’t hold up well to freezing and thawing.
For more Halloween treats to round out your dessert table, these cookies pair beautifully with something spookier and creepier, like a no-bake strawberry cheesecake brain recipe for a truly memorable spread.

Easy Spider Web Cookies Recipe
Ingredients
Method
- Start by beating your softened butter, brown sugar, and granulated sugar together for about two minutes until the mixture looks light and creamy. Add in your eggs and vanilla extract, mixing until everything is fully combined. This step builds the base structure for your cookie dough.
- In a separate bowl, whisk together the flour, cocoa powder, baking soda, and salt. Slowly add this dry mixture into your butter mixture, stirring on low speed just until the flour disappears. Overmixing at this stage can make your cookies tough instead of soft.
- Once your dough comes together, gently stir in the chocolate chips by hand or on the lowest mixer setting. You want them evenly distributed throughout the dough without breaking the mixture down further.
- Using a large cookie scoop, portion the dough into balls and place only six at a time on your prepared baking sheet, since these cookies spread quite a bit. Bake at 350°F for about 12 minutes, pulling them out while the centers still look a touch underdone.
- While your cookies cool, place the mini marshmallows into a microwave-safe bowl and heat for 45 seconds. Stir, then continue microwaving in 15-second bursts until the marshmallows turn smooth and fully melted.
- Let the melted marshmallow cool just enough to touch safely. Pinch a small amount between two fingers and gently pull apart to form thin strands, then drape them over each cooled cookie to create your web design.
Notes
- I always measure my flour with a spoon instead of scooping directly from the bag, since scooping packs in too much and dries out the dough.
- I underbake mine slightly on purpose, pulling them out when the centers still look a little soft for the chewiest texture once they cool.
- I test the marshmallow temperature on the back of my hand before touching it directly, since it holds heat longer than it looks.
- I keep a small bowl of water nearby to dip my fingers in if the marshmallow starts sticking too much while I’m pulling strands.
- I like baking these a day ahead and adding the webs right before serving so they look their freshest.