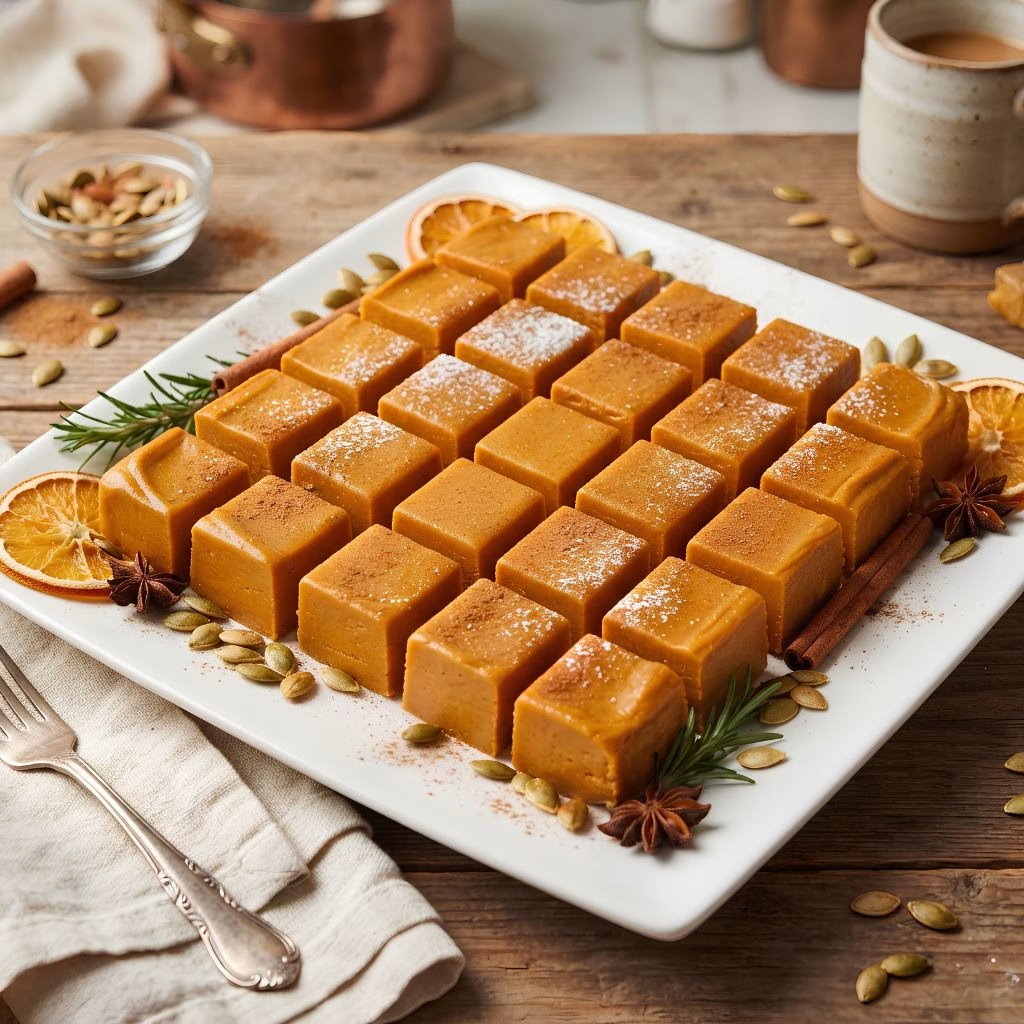
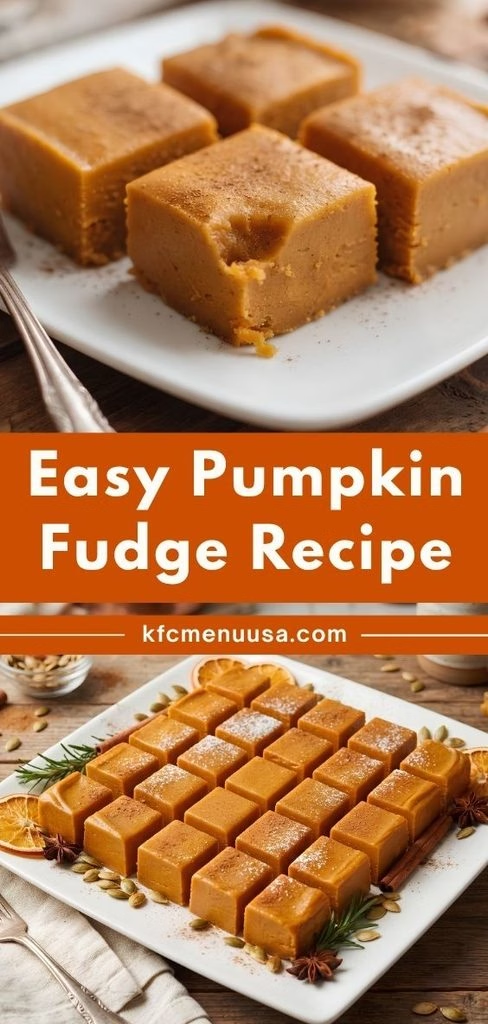
I started making this Easy Pumpkin Fudge Recipe a few autumns ago when I wanted something pumpkin-flavored that wasn’t another pie or loaf of bread, and it’s been on repeat in my kitchen every fall since. I love that there’s no candy thermometer involved and no standing over a hot stove worrying about scorching sugar.
It genuinely comes together in one pot with just a handful of ingredients I usually already have on hand. Once it sets in the fridge, I cut it into little squares and it disappears within a day at my house. If you want an easy pumpkin fudge recipe that actually works every single time, this is the one I keep coming back to.
Cooking Time
- Prep Time: 10 minutes
- Cooking Time: 5 minutes
- Total Time: 3 hours 15 minutes (includes chilling)
Ingredients
- 2 cups white chocolate chips — melts into that classic fudge base, so use a good quality brand for the smoothest texture
- ½ cup sweetened condensed milk — the key binder here, just make sure it’s not the full 14-ounce can or the fudge won’t set right
- ½ cup pure pumpkin puree — go for plain canned pumpkin, not pumpkin pie filling, which already has added sugar and spices
- 1 ½ teaspoons pumpkin pie spice — brings in that warm, cozy fall flavor without needing a whole spice rack
- ½ teaspoon vanilla extract — rounds out the sweetness and makes the pumpkin flavor taste a little richer
- ⅛ teaspoon salt — balances out all that sweetness so the fudge doesn’t taste one-note
Note: this recipe serves 16, cut into small squares from one 8×8 pan.
Equipment You Need
- 8×8-inch baking pan — gives your fudge the perfect thickness once it’s set
- Aluminum foil or parchment paper — lines the pan so the fudge lifts out cleanly
- Medium saucepan — for melting your ingredients together on the stovetop
- Rubber spatula — helps you stir constantly without scratching your pan
- Measuring cups and spoons — keeps your ratios accurate for a proper set
- Sharp knife — for cutting your finished fudge into neat squares
How to Make an Easy Pumpkin Fudge Recipe?
This whole process happens in one pot, and it’s honestly one of the fastest desserts I make all season. There’s no candy thermometer and no fussy technique, just melting, mixing, and chilling. Here’s exactly how I do it every time.
Prep the Pan
Before you start any melting, line your 8×8 pan with foil or parchment paper, leaving a bit of overhang on the sides. This little step makes lifting the finished fudge out so much easier later, and it saves you from scraping a sticky pan.
Stir the Condensed Milk
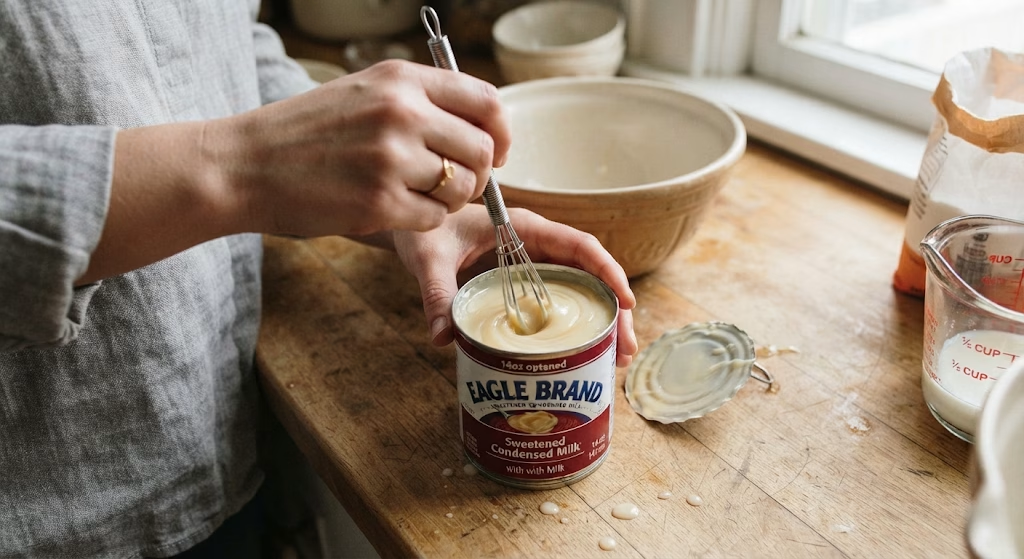
Open your can of sweetened condensed milk and give it a really good stir before measuring out your ½ cup. Some brands separate a bit inside the can, and stirring first helps your fudge set properly later on.
Melt the Chocolate Base
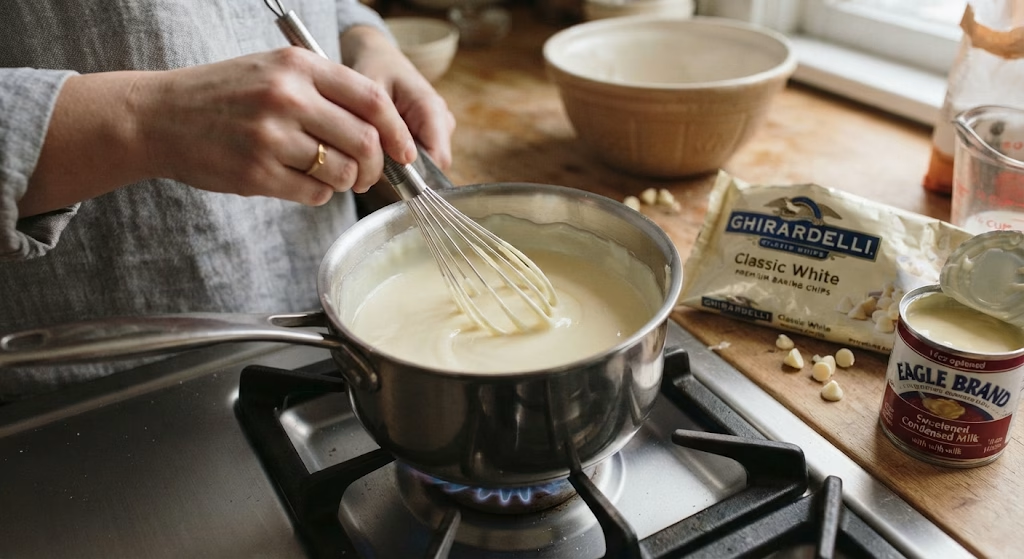
In a saucepan over low heat, combine your white chocolate chips and sweetened condensed milk. Stir often so nothing scorches on the bottom, and keep going until the mixture turns completely smooth and glossy.
Mix in the Pumpkin and Spices
Once your chocolate base is smooth, remove it from the heat and stir in the pumpkin puree, pumpkin pie spice, vanilla, and salt. Keep stirring until everything is fully combined and you get a consistent orange color throughout.
Chill Until Set
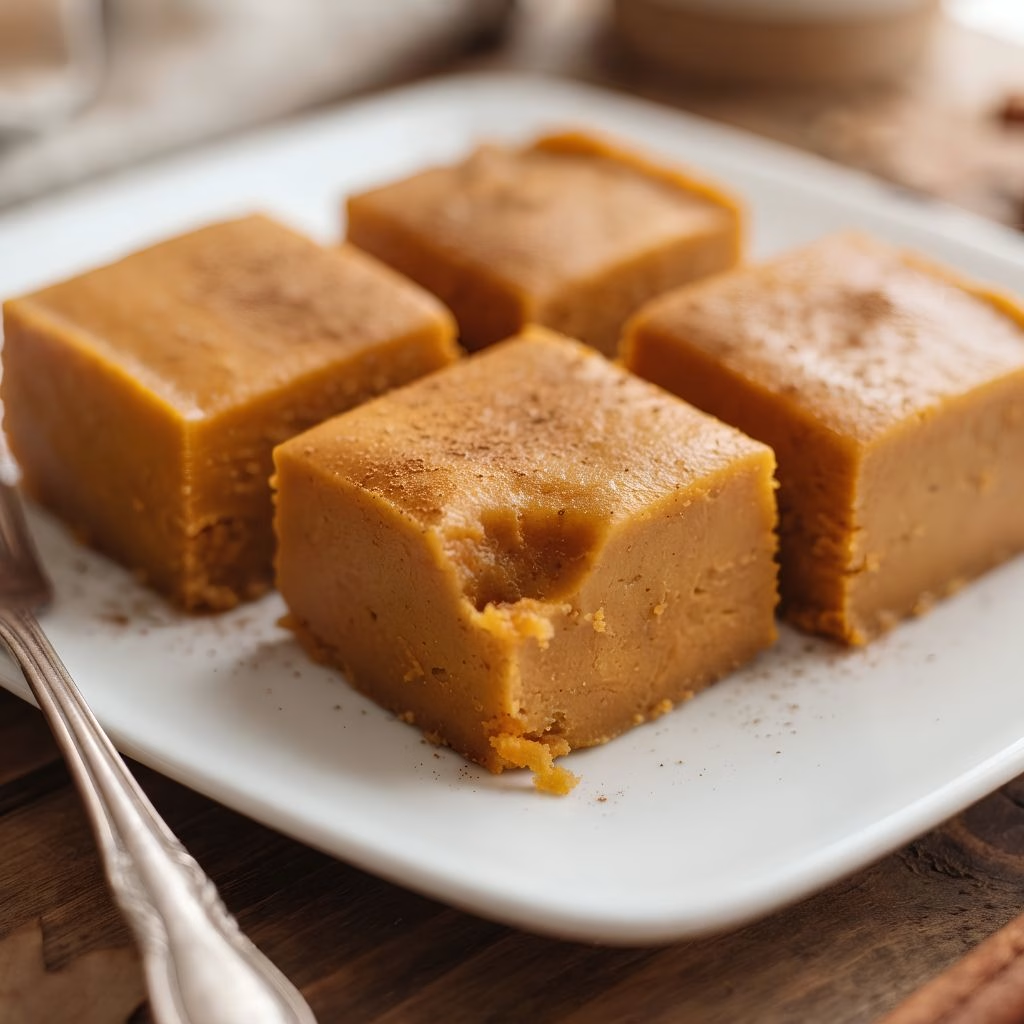
Pour the mixture into your prepared pan and smooth the top with your spatula. Refrigerate for at least 3 hours, or until the fudge feels firm to the touch and holds its shape when you press it lightly.
Slice and Serve
Once fully set, lift the fudge out using the foil overhang and place it on a cutting board. Slice into small squares with a sharp knife, wiping the blade clean between cuts for the neatest edges.
Additional Tips for Making This Recipe Better
I’ve made this more times than I can count now, so here’s what I’ve learned along the way.
- I always double-check my can of condensed milk versus evaporated milk, since grabbing the wrong one is such an easy mistake to make.
- I use a lower heat setting than I think I need, because rushing this step is what makes fudge grainy instead of smooth.
- I like to chop my white chocolate chips slightly before melting so they blend more evenly into the pumpkin mixture.
- I always taste my pumpkin pie spice blend before adding it, since some store-bought blends are stronger than others.
- I let mine chill overnight whenever I have the time, since it sets even firmer and slices more cleanly the next day.
Common Mistakes to Avoid
- I once grabbed evaporated milk instead of sweetened condensed milk, and my fudge never set properly, so now I always read the label twice.
- I rushed the melting step over high heat one time, and the chocolate seized up into a grainy mess instead of staying smooth.
- I used pumpkin pie filling by mistake instead of plain puree, and the fudge turned out way too sweet and spiced.
- I skipped lining my pan once, thinking I could just wash it after, and half my fudge stuck to the bottom.
- I cut into mine too early because I was impatient, and the squares came out messy instead of holding their shape.
How to Serve Easy Pumpkin Fudge?
I like arranging my squares on a small platter lined with parchment paper for a rustic, homemade look that still feels a little special. A light dusting of extra pumpkin pie spice or cinnamon on top adds a nice pop of color and scent right before serving.
These are great for a fall dessert table, packed into a gift box for neighbors, or set out alongside a warm drink on a cool evening. If you’re already building out a fall dessert spread, these little squares pair really nicely next to something gooier like a warm pumpkin lava cake for guests who want two textures on the table.
Variations
- Skip the white chocolate entirely and try a pumpkin fudge recipe without white chocolate using butterscotch or cinnamon chips instead
- Turn this into a pumpkin chocolate fudge recipe by swirling in melted semi-sweet chocolate right before it sets
- Fold in chopped pecans or walnuts for some crunch and a more old fashioned pumpkin fudge recipe feel
- Use a sugar-free sweetened condensed milk alternative if you’re watching your sugar intake
- Add a swirl of cream cheese on top for a pumpkin pie fudge recipe twist that tastes like a mini cheesecake
- For an even simpler version, aim for a 3 ingredient pumpkin fudge using just the chocolate, condensed milk, and pumpkin, skipping the extra spices
Nutritional Information
Here’s a rough breakdown per square, though your exact numbers will vary depending on the brands you use.
- Calories: 140 kcal
- Protein: 1 g
- Carbohydrates: 18 g
- Fat: 7 g
Make Ahead and Storage
You can make this fudge up to three days ahead of time and simply keep it chilled in the pan until you’re ready to slice and serve it.
Store cut squares in an airtight container in the refrigerator, where they’ll stay fresh and firm for up to two weeks.
For longer storage, freeze the squares in a sealed freezer bag with parchment between layers for up to two months, and let them thaw in the fridge before serving.
Why You’ll Love This Recipe?
This pumpkin fudge has become one of my most requested treats every fall, and here’s why I think you’ll feel the same.
- It’s incredibly easy: With just one pot and a handful of ingredients, this comes together faster than almost any other fall dessert I make.
- It’s a genuine crowd pleaser: Even people who claim they don’t love pumpkin flavors always end up going back for seconds.
- It travels and stores well: These squares hold their shape beautifully, which makes them perfect for gifting or bringing to a party.
- It’s easy to customize: Whether you want a 5-ingredient pumpkin fudge or something dressed up with nuts and chocolate, the base recipe adapts easily.
- It skips the candy thermometer: Unlike traditional fudge, this no-fail method means you don’t need any special equipment to get it right.
FAQs
Can I make a 2 ingredient pumpkin fudge version of this?
You really need at least the chocolate and condensed milk to get that fudge texture, so a true 2-ingredient version would mean skipping the pumpkin and spices entirely, which changes the flavor completely.
Why didn’t my pumpkin fudge set properly?
This almost always means evaporated milk was used instead of sweetened condensed milk, so double-check your can before you start melting.
Can I use fresh pumpkin instead of canned puree?
Yes, as long as it’s well-drained and smooth, though canned puree gives you a more consistent texture and moisture level every time.
How do I know when my best pumpkin fudge recipe is fully set?
Press the center lightly with your finger, and if it feels firm and springs back rather than sticking to your finger, it’s ready to slice.
Can I skip the white chocolate chips and still call it fudge?
You can swap them for another melting chip like butterscotch or cinnamon, but the white chocolate is what gives this version its classic smooth, fudge-like texture.
If you’re planning a whole pumpkin-themed dessert table this season, these squares also look lovely sitting next to a batch of pumpkin cream puffs for guests who want something lighter alongside the fudge

Easy Pumpkin Fudge Recipe
Ingredients
Method
- Before you start any melting, line your 8×8 pan with foil or parchment paper, leaving a bit of overhang on the sides. This little step makes lifting the finished fudge out so much easier later, and it saves you from scraping a sticky pan.
- Open your can of sweetened condensed milk and give it a really good stir before measuring out your ½ cup. Some brands separate a bit inside the can, and stirring first helps your fudge set properly later on.
- In a saucepan over low heat, combine your white chocolate chips and sweetened condensed milk. Stir often so nothing scorches on the bottom, and keep going until the mixture turns completely smooth and glossy.
- Once your chocolate base is smooth, remove it from the heat and stir in the pumpkin puree, pumpkin pie spice, vanilla, and salt. Keep stirring until everything is fully combined and you get a consistent orange color throughout.
- Pour the mixture into your prepared pan and smooth the top with your spatula. Refrigerate for at least 3 hours, or until the fudge feels firm to the touch and holds its shape when you press it lightly.
- Once fully set, lift the fudge out using the foil overhang and place it on a cutting board. Slice into small squares with a sharp knife, wiping the blade clean between cuts for the neatest edges.
Notes
- I always double-check my can of condensed milk versus evaporated milk, since grabbing the wrong one is such an easy mistake to make.
- I use a lower heat setting than I think I need, because rushing this step is what makes fudge grainy instead of smooth.
- I like to chop my white chocolate chips slightly before melting so they blend more evenly into the pumpkin mixture.
- I always taste my pumpkin pie spice blend before adding it, since some store-bought blends are stronger than others.
- I let mine chill overnight whenever I have the time, since it sets even firmer and slices more cleanly the next day