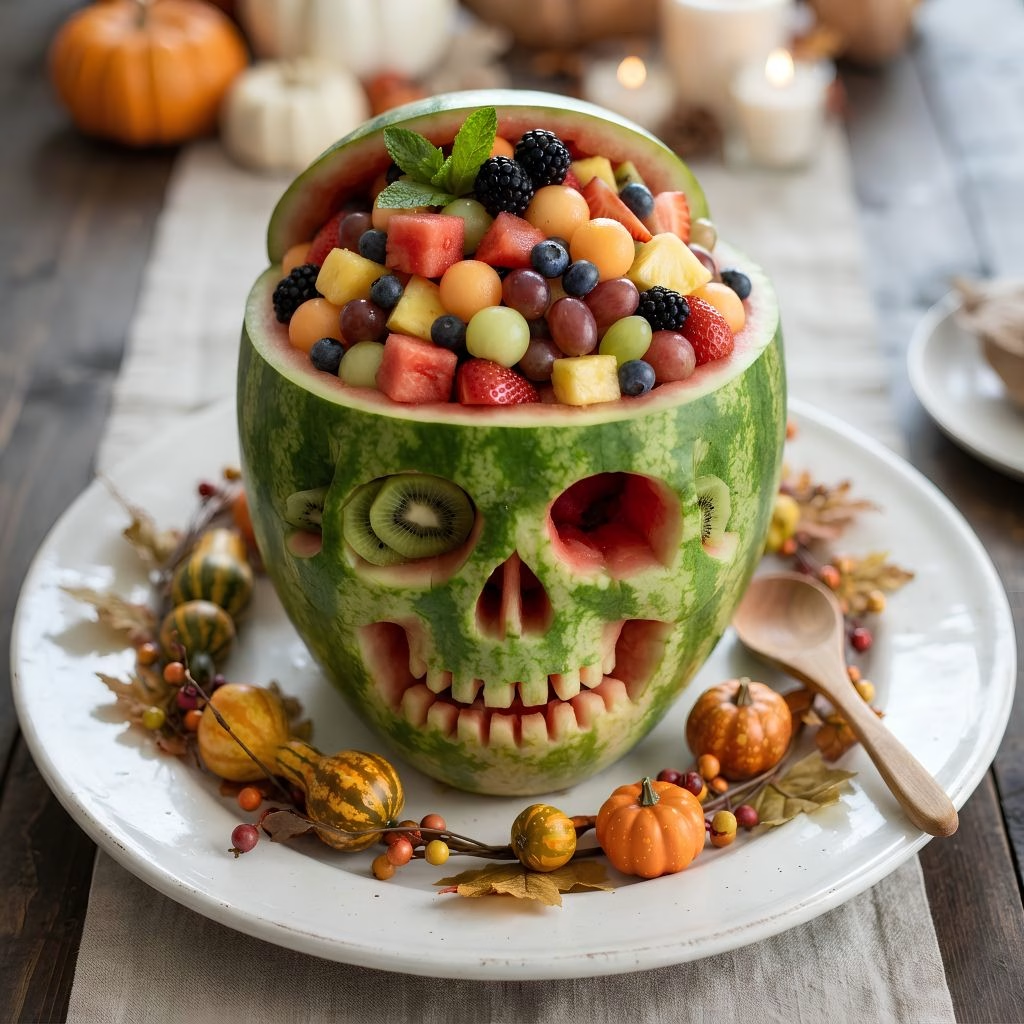
I first made this Halloween Skull Fruit Bowl Recipe when I needed a healthy option next to all the candy on my dessert table, and it stole the show. I hollowed out a watermelon, shaped it into a grinning skull, and piled it high with every colorful fruit I had in my fridge.
My kids loved scooping out the “eyeballs” before anyone else even got close. If you want one of those halloween fruit bowl ideas that actually gets eaten instead of left untouched, this one works every single time. It looks spooky, tastes fresh, and takes less effort than most baked Halloween treats.

Cooking Time
- Prep Time: 35 minutes
- Cooking Time: 0 minutes (no cooking required)
- Total Time: 35 minutes
Ingredients
- 1 large seedless watermelon (10-12 lbs) – this becomes your skull bowl, so pick one with a flat bottom so it sits steady
- 2 cups green grapes, halved – I like using these for texture since they hold their shape after chilling
- 2 cups red grapes, halved – adds a nice color contrast against the green
- 1 cup fresh blueberries – don’t rinse them until right before serving or they go soft fast
- 2 cups cantaloupe, cubed or balled – a melon baller makes this look much more polished
- 2 cups honeydew melon, cubed or balled – pairs well with the cantaloupe for a two-tone look
- 1 cup strawberries, hulled and sliced – pick firm, bright red ones for the cleanest slices
- 1 cup pineapple chunks – fresh pineapple holds up better than canned for this bowl
- 1 cup blackberries – I toss these in last since they bruise easily
- 2 kiwis, peeled and sliced into rounds – great for the “eye socket” garnish
- 1 lime, juiced – tossing the fruit in lime juice keeps the colors bright and fresh
- 1 small bunch mint leaves, for garnish – skip dried mint here, fresh makes a real difference
Note: This recipe serves 10-12 people as a party platter.
Equipment You Need
- Large chef’s knife – for cutting the top off the watermelon and trimming the skull shape
- Serrated knife – makes cleaner cuts through the thicker watermelon rind
- Melon baller – for scooping smooth, round melon balls
- Large spoon or ice cream scoop – to hollow out the watermelon flesh
- Marker or skewer – to trace the skull face before you start cutting
- Large mixing bowl – for tossing the fruit with lime juice before filling the bowl
- Paper towels – to dry the inside of the watermelon so the fruit doesn’t get watery
How to Make Halloween Skull Fruit Bowl Recipe?
This halloween skull bowl comes together in two parts: carving the watermelon shell and mixing the fruit filling. Neither step is complicated, but a little patience during the carving makes the final skull face look sharp. Here’s exactly how I put mine together from start to finish.
Step 1: Prep the Watermelon
I start by washing the watermelon well and patting it dry, then slicing a flat base off the bottom so it won’t roll around on the table. I lay it on its side and use a marker to sketch a rough skull face across the middle third, including two large oval eyes and a jagged, triangle-toothed mouth.
Step 2: Cut Off the Top
Using my chef’s knife, I slice off the top third of the watermelon above the sketched face, keeping the cut as level as possible. I save this piece because it gives me extra fruit to scoop and use later in the bowl, so nothing goes to waste.
Step 3: Hollow Out the Shell
With a large spoon, I scoop out all the pink flesh from inside the watermelon, leaving about half an inch of red flesh against the rind for sturdiness. I cube up whatever flesh is still usable and toss it straight into my fruit mixing bowl.
Step 4: Carve the Skull Face
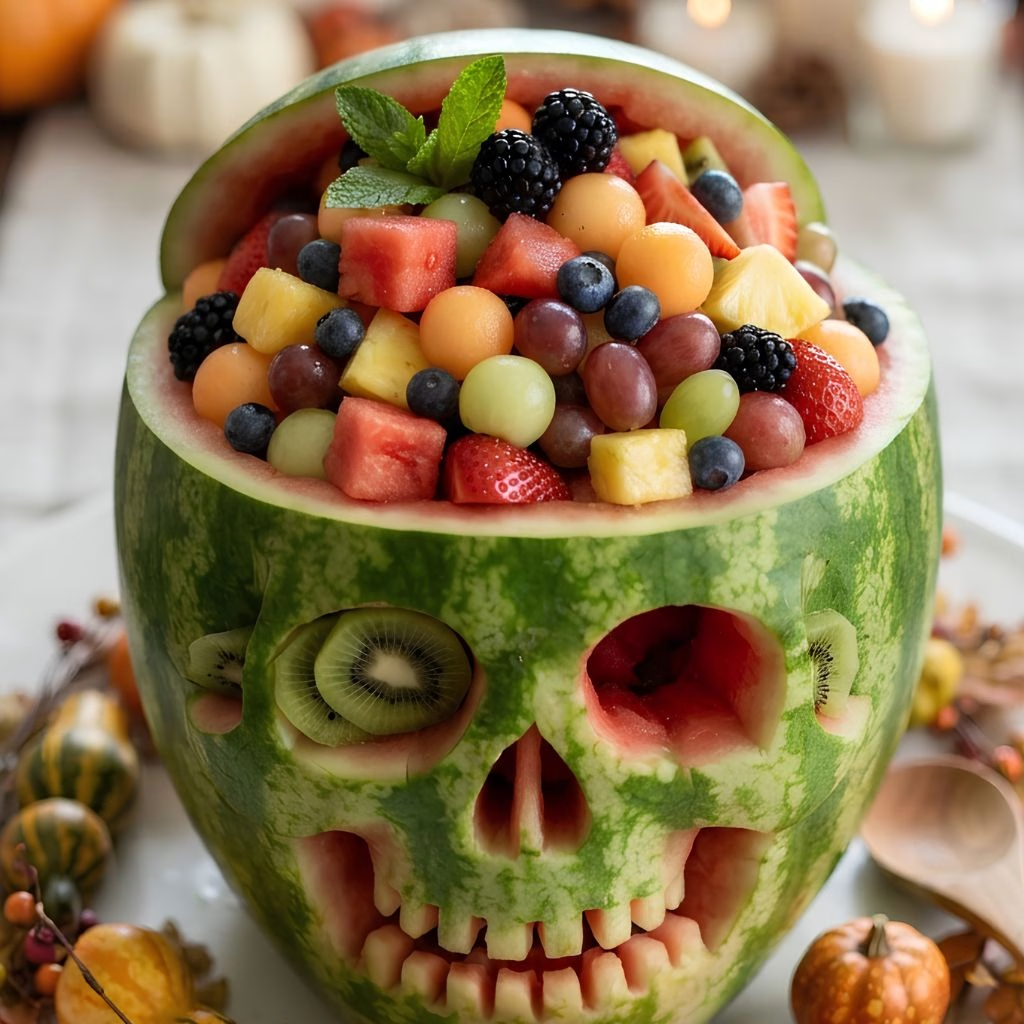
Following my marker lines, I carefully cut through the rind to create the eye sockets, nose hole, and zig-zag mouth, removing the cut-out pieces of rind as I go. I take this part slowly since clean lines make the skull look far more convincing once it’s filled.
Step 5: Dry and Steady the Bowl
I wipe the inside of the shell dry with paper towels so the melted ice or condensation doesn’t water down my fruit later. If the watermelon wobbles at all, I trim a touch more off the base until it sits flat.
Step 6: Mix the Fruit Filling
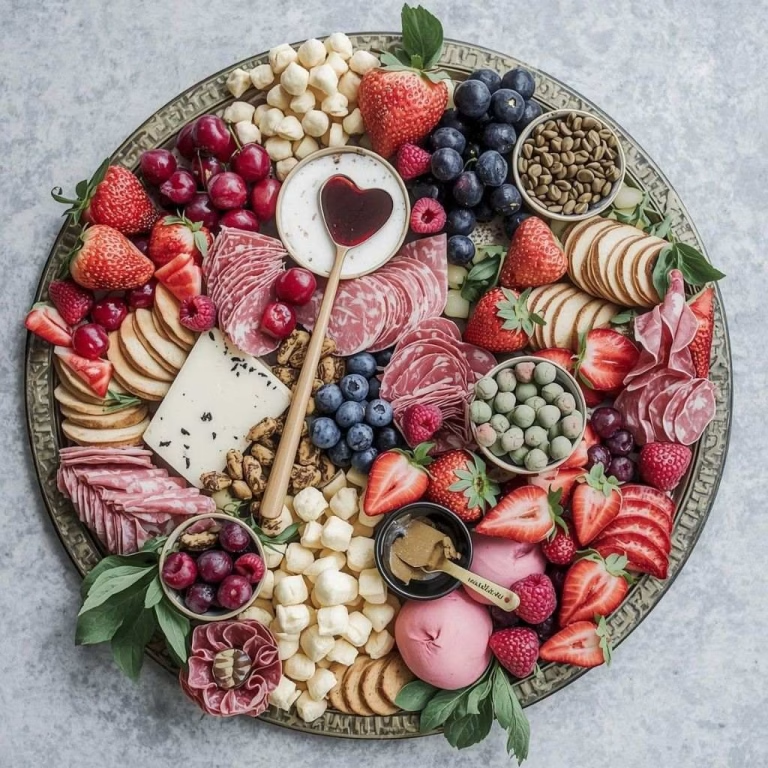
In my large bowl, I combine the grapes, blueberries, cantaloupe, honeydew, strawberries, pineapple, blackberries, and reserved watermelon cubes, then squeeze fresh lime juice over everything and toss gently so every piece gets coated.
Step 7: Fill the Skull Bowl
I spoon the fruit mixture into the hollowed-out watermelon skull, piling it slightly above the rim so it looks generous and full. I tuck kiwi rounds near the eye sockets and scatter a few mint leaves on top for a pop of green.
Step 8: Chill Before Serving
I pop the finished bowl in the fridge for at least 20 minutes before the party starts so the fruit is cold and crisp when guests dig in. Serving it chilled keeps the whole display looking fresh for hours.
Additional Tips for Making This Recipe Better
I’ve made this skull fruit bowl enough times now to know a few small tricks that genuinely make a difference.
- I always buy my watermelon a day ahead so it has time to chill in the fridge, since cold fruit just tastes better and holds its shape longer on the table
- I toss every fruit piece in lime or lemon juice, not just the bananas or apples, because it keeps even the melon looking bright for hours
- I cut my skull face with a thin paring knife for the fine details and only switch to the chef’s knife for the big initial cuts
- I keep a few paper towels inside the hollowed shell while I prep the fruit so it doesn’t sit in watery juice before filling
- I set the bowl on a large tray or cutting board before carving, since watermelon juice spreads fast and gets messy
Common Mistakes to Avoid
- I once rushed the face carving and ended up with uneven eye sockets, so now I always sketch the design first and double-check it before cutting
- I learned not to scoop the rind too thin, because a thin wall cracks easily once the bowl is full of heavy fruit
- I used to add the berries too early, and they turned mushy by serving time, so now I fold them in right before guests arrive
- I skipped drying the inside of the shell once, and the fruit sat in watery juice within an hour, so I always pat it dry now
- I tried using an overripe watermelon once and the shell was too soft to carve cleanly, so I always pick a firm one at the store
How to Serve Halloween Skull Fruit Bowl
I like setting this skull bowl right in the center of my dessert table so it’s the first thing guests notice when they walk in. Surrounding it with smaller bowls of extra berries or dip gives people options without crowding the main display.
A few plastic spiders or a spooky runner underneath adds to the theme without taking attention away from the fruit itself. For an easy grab-and-go option at a bigger halloween party, I sometimes set out small cups and spoons right next to the bowl.
If you’re building out a bigger spread of halloween skull food ideas, this bowl pairs really well with other fresh, no-bake options nearby, like the skull watermelon carving recipe that uses a similar carving technique for a slightly different look.
Variations
- Dairy-free option: this recipe is already dairy-free as written, so it works for most guests without any changes
- Low-sugar version: swap the pineapple and grapes for more berries and melon, which naturally lowers the overall sugar content
- Tropical twist: add mango chunks and shredded coconut for a brighter, tropical flavor profile
- Boozy adult version: toss the fruit lightly in a splash of coconut rum or vodka about an hour before serving
- Candy-topped version: scatter a few candy eyeballs or black licorice “spiders” on top right before serving for extra spook factor
- Yogurt-dip pairing: serve a small bowl of vanilla yogurt dip alongside for dipping, which kids especially love
Nutritional Information
Here’s a rough breakdown per one-cup serving of the fruit mixture, not counting the watermelon shell itself.
- Calories: 70-85 per serving
- Protein: 1 gram
- Carbohydrates: 18-20 grams
- Fat: 0.3 grams
Make Ahead and Storage
You can wash, chop, and refrigerate all the fruit (except berries) up to a day ahead in a sealed container, which saves a lot of time on party day.
Carve the watermelon skull itself no more than a few hours before serving, since the cut rind starts to dry out and discolor if it sits too long.
Store leftover fruit mixture in an airtight container in the fridge for up to 2 days, though the texture is best within the first 24 hours.
This recipe isn’t freezer-friendly, since fresh fruit turns mushy and watery once thawed, so I’d skip freezing it altogether.
Why You’ll Love This Recipe
This halloween skull bowl checks a lot of boxes for anyone hosting a party this season.
- It’s a healthy standout on a table full of candy, giving guests a refreshing option that still fits the spooky theme
- It comes together with no oven and no cooking, which frees up kitchen time for everything else on your menu
- It’s easy to customize with whatever fruit you already have on hand or whatever is in season
- It feeds a crowd, since one watermelon bowl comfortably serves 10 to 12 people at a party
- It doubles as a centerpiece and a dessert, so it saves table space and still looks impressive
FAQs
Can I make this skull fruit bowl ahead of time?
You can prep the fruit a day ahead, but I’d carve the watermelon shell itself no more than a few hours before your party so it doesn’t dry out.
What fruits work best for this halloween fruit bowl?
Firm fruits like melon, grapes, pineapple, and kiwi hold up best, while softer berries should go in right before serving.
Do I need carving tools to make the skull shape?
A sharp paring knife and a regular chef’s knife are really all you need, though a melon baller helps the finished bowl look more polished.
Can I use a bowl instead of carving a watermelon?
Yes, if carving feels like too much, a plastic or ceramic skull-shaped bowl works just as well for the same fruit mixture, and it’s a quick swap if you’re short on time.
How long does the fruit stay fresh in the watermelon bowl?
The fruit stays fresh and crisp for about 4 to 6 hours at room temperature, so I usually fill it close to when guests actually arrive.
If you’re planning a wider Halloween dessert table this year, this skull bowl sits nicely alongside other fresh, crowd-pleasing spreads like the halloween fruit centerpiece recipe, which uses a similar mix of fruit for a slightly different presentation.

Halloween Skull Fruit Bowl Recipe
Ingredients
Method
- I start by washing the watermelon well and patting it dry, then slicing a flat base off the bottom so it won’t roll around on the table. I lay it on its side and use a marker to sketch a rough skull face across the middle third, including two large oval eyes and a jagged, triangle-toothed mouth.
- Using my chef’s knife, I slice off the top third of the watermelon above the sketched face, keeping the cut as level as possible. I save this piece because it gives me extra fruit to scoop and use later in the bowl, so nothing goes to waste.
- With a large spoon, I scoop out all the pink flesh from inside the watermelon, leaving about half an inch of red flesh against the rind for sturdiness. I cube up whatever flesh is still usable and toss it straight into my fruit mixing bowl.
- Following my marker lines, I carefully cut through the rind to create the eye sockets, nose hole, and zig-zag mouth, removing the cut-out pieces of rind as I go. I take this part slowly since clean lines make the skull look far more convincing once it’s filled.
- I wipe the inside of the shell dry with paper towels so the melted ice or condensation doesn’t water down my fruit later. If the watermelon wobbles at all, I trim a touch more off the base until it sits flat.
- In my large bowl, I combine the grapes, blueberries, cantaloupe, honeydew, strawberries, pineapple, blackberries, and reserved watermelon cubes, then squeeze fresh lime juice over everything and toss gently so every piece gets coated.
- I spoon the fruit mixture into the hollowed-out watermelon skull, piling it slightly above the rim so it looks generous and full. I tuck kiwi rounds near the eye sockets and scatter a few mint leaves on top for a pop of green.
- I pop the finished bowl in the fridge for at least 20 minutes before the party starts so the fruit is cold and crisp when guests dig in. Serving it chilled keeps the whole display looking fresh for hours.
Notes
- I always buy my watermelon a day ahead so it has time to chill in the fridge, since cold fruit just tastes better and holds its shape longer on the table
- I toss every fruit piece in lime or lemon juice, not just the bananas or apples, because it keeps even the melon looking bright for hours
- I cut my skull face with a thin paring knife for the fine details and only switch to the chef’s knife for the big initial cuts
- I keep a few paper towels inside the hollowed shell while I prep the fruit so it doesn’t sit in watery juice before filling
- I set the bowl on a large tray or cutting board before carving, since watermelon juice spreads fast and gets messy