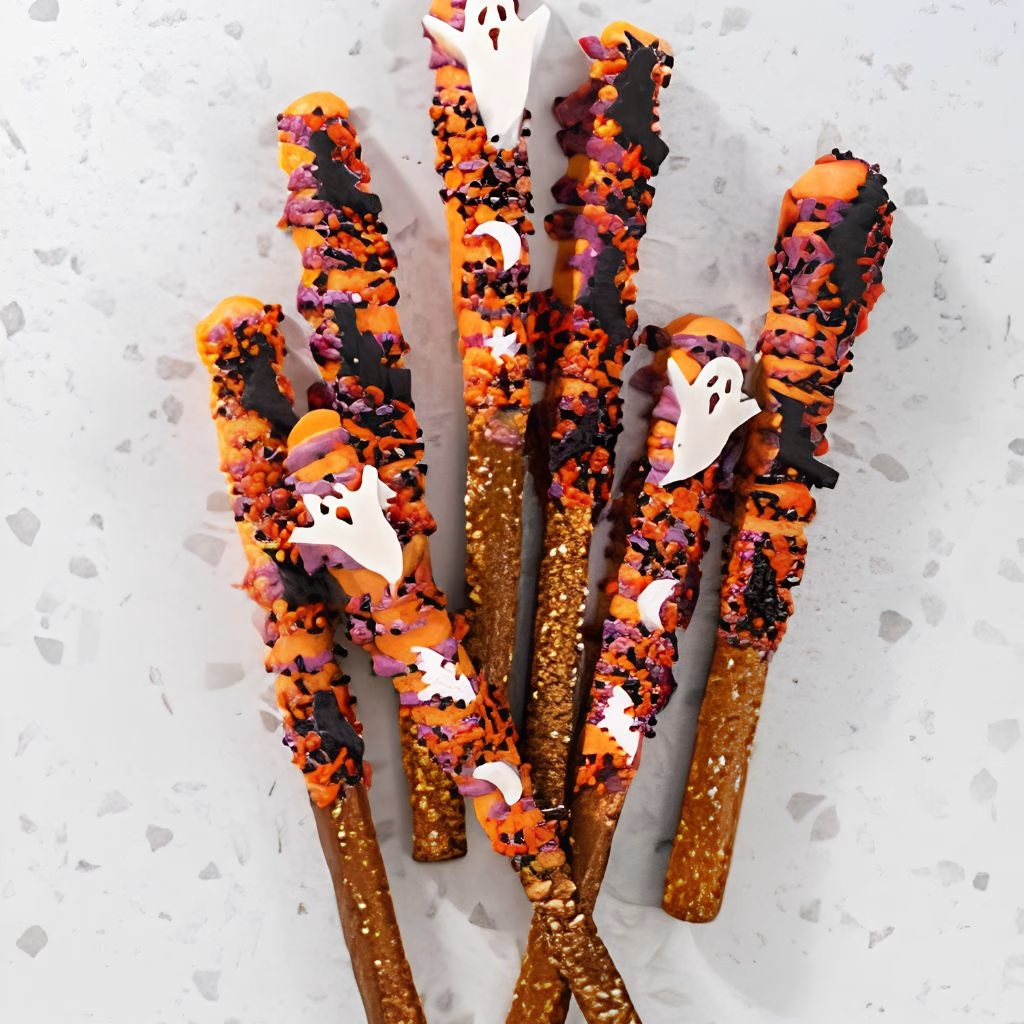
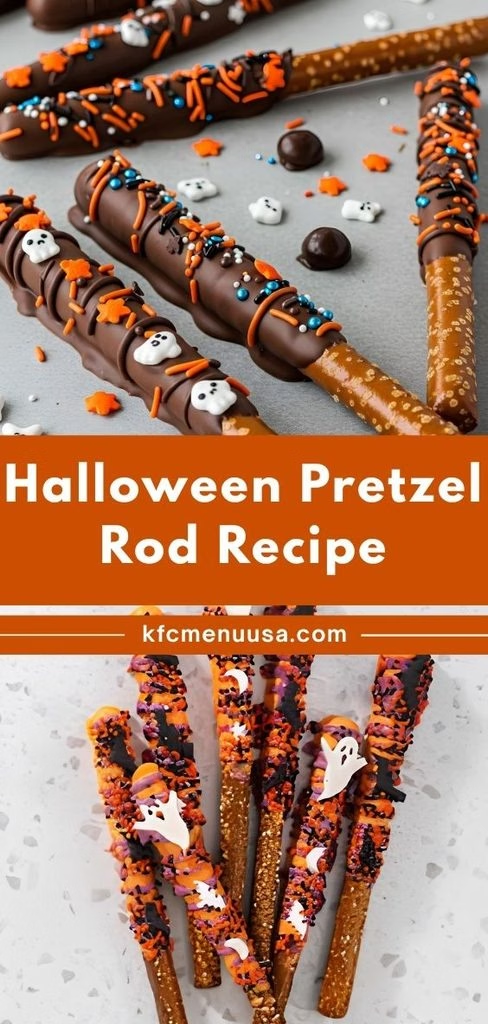
I make this Halloween Pretzel Rods Recipe every single October, and I honestly look forward to it more than most of the actual holiday prep. There’s something so satisfying about turning three simple ingredients into a whole tray of spooky, colorful treats in under an hour.
My kids beg to help dip and sprinkle every time, which makes this one of the easiest ways I’ve found to get them into the kitchen. If you’re after Halloween pretzel ideas that don’t require any baking skills at all, I promise this one will become a yearly tradition for you too.
Cooking Time
- Prep Time: 15 minutes
- Cooking Time: 0 minutes (no-bake, just melting)
- Total Time: 30 minutes (includes setting time)
Ingredients
- 20 pretzel rods — go for the sturdy, thicker kind so they hold up to dipping without snapping
- 12 ounces white melting wafers or candy melts — melt smoother than regular chocolate chips, which is key for a clean coat
- ½ cup Halloween-themed sprinkles — orange, black, and purple work best for that classic spooky look
- 2 ounces orange or black candy melts (optional) — for drizzling extra details like stripes or webs
- Candy eyes (optional) — a quick way to turn plain dipped rods into cute little ghosts
Note: this recipe serves 10, making about 20 pretzel rods in total.
Equipment You Need
- Microwave-safe bowl or tall mug — for melting your candy coating evenly
- Rubber spatula — helps stir the melted coating until smooth
- Baking sheet lined with parchment or wax paper — gives dipped rods a place to set without sticking
- Small piping bag or zip-top bag with the corner snipped — for drizzling thin decorative lines
- Spoon — useful for spreading coating evenly if you’re not fully dipping the rod
How to Make Halloween Pretzel Rods Recipe?
This recipe comes together in just a handful of simple steps, and there’s really no way to mess it up too badly. I like to set up my whole station before I start melting anything, since the coating firms up fast once it hits the pretzels. Here’s exactly how I make mine.
Melt the Candy Coating
Add your white melting wafers to a microwave-safe bowl or a tall, narrow mug. Microwave in 20-second bursts, stirring well between each one, until the mixture is completely smooth. Using a tall mug actually makes the next step much easier.
Dip the Pretzel Rods
Hold each pretzel rod by one end and dip it into the melted coating, going about three-quarters of the way up. Gently twist and lift the rod so any extra coating drips back into the bowl before you set it down.
Decorate While Wet
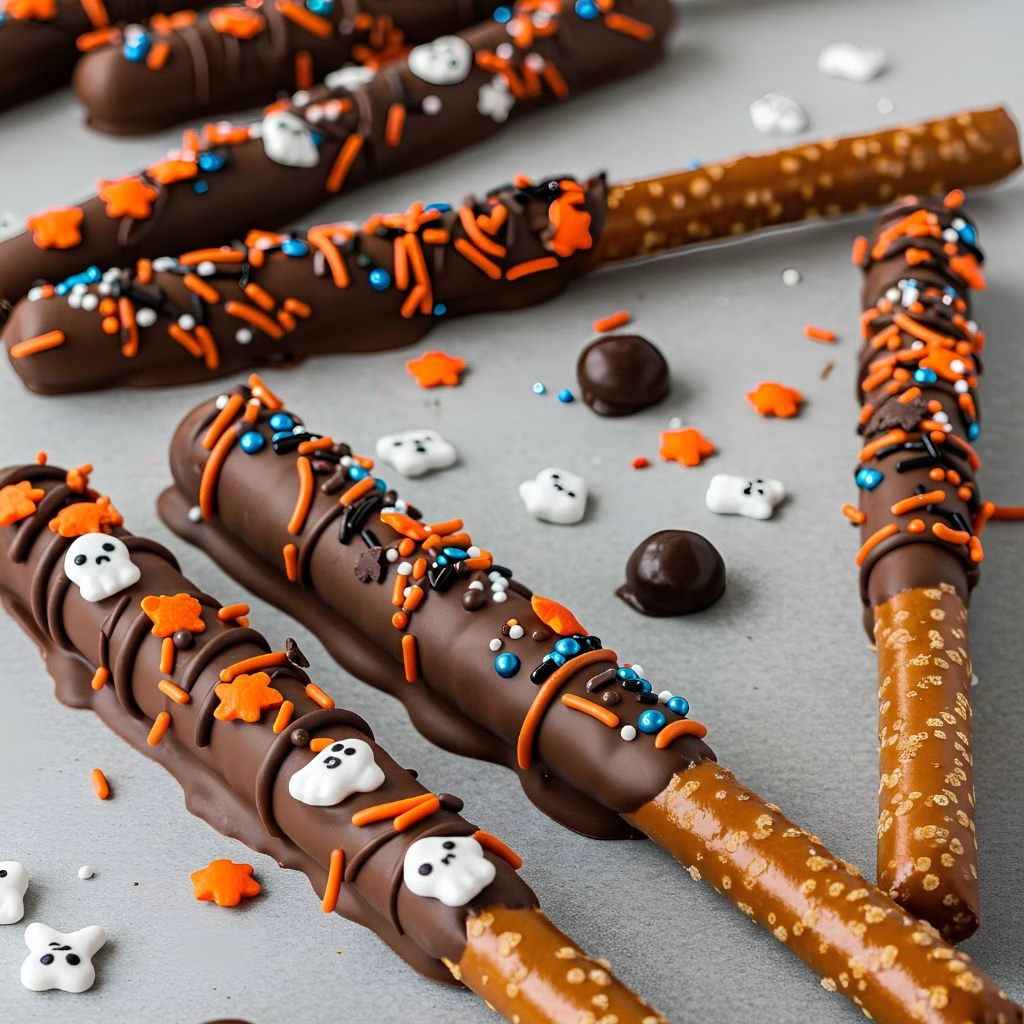
Working quickly while the coating is still soft, sprinkle your Halloween sprinkles over the dipped section, or press on candy eyes for a ghost look. This is the step where you can really let creativity take over.
Let Them Set
Lay each finished rod flat on your prepared baking sheet and let the coating firm up at room temperature for about 15 minutes. If you’re short on time, popping the tray in the fridge for 5 to 10 minutes speeds this up nicely.
Add Final Touches
Once fully set, melt a small amount of orange or black candy melts and drizzle thin lines over the rods using a piping bag for extra detail. Let that final layer set for a few minutes before serving or packaging.
Additional Tips for Making This Recipe Better
I’ve made these more times than I can count, and here’s what’s actually made a difference for me.
- I always use a tall mug instead of a wide bowl for melting, since it makes dipping so much easier and cleaner.
- I keep my sprinkles in small separate bowls before I start, so I’m not fumbling with jars while holding a dripping pretzel.
- I work with only a few pretzels at a time, because the coating sets faster than you’d expect.
- I like adding a teaspoon of coconut oil to my melted coating if it feels too thick, it thins things out without changing the flavor.
- I always make a couple extra rods, since one or two usually break while I’m dipping and I want a full batch to show off.
Common Mistakes to Avoid
- I once microwaved my coating too long without stirring, and it seized up into a clumpy mess I had to toss out.
- I tried dipping pretzels straight from the pantry without checking for cracks, and a few snapped clean in half mid-dip.
- I sprinkled toppings on too late once the coating had already started to firm up, and nothing stuck properly.
- I overcrowded my baking sheet the first time I made these, and several rods stuck together while setting.
- I stored mine in a warm spot near the oven, and the coating went soft and lost its shine within a day.
How to Serve Halloween Pretzel Rods?
I love standing these upright in a tall glass or a decorated jar for a fun centerpiece look on a dessert table. They also look great laid out on a platter lined with black or orange parchment paper for extra Halloween flair.
For parties, I’ll wrap each one individually in a small cellophane bag and tie it with a ribbon, which makes for adorable chocolate covered pretzel rods individually wrapped as party favors or trick-or-treat handouts. A sprinkle of extra Halloween sprinkles scattered around the serving tray adds a nice festive touch too.
Variations
- Use dark or milk chocolate instead of white for a richer, less sweet coating
- Try dipped pretzel rods recipe almond bark instead of candy melts for an easier, more forgiving coating that sets up fast
- Make classic ghost pretzels recipe rods by keeping them all white with simple black dot faces
- Swap sprinkles for crushed Oreos or mini candy corn pieces for extra crunch
- Go sugar-free by using a sugar-free chocolate coating and skipping the sprinkles for a lighter version
- Add crushed peppermint or a pinch of cinnamon to the coating for a subtle flavor twist
Nutritional Information
Here’s a rough estimate per pretzel rod, though this will vary depending on the brand of coating and toppings you use.
- Calories: 90 kcal
- Protein: 1 g
- Carbohydrates: 14 g
- Fat: 4 g
Make Ahead and Storage
You can make these pretzel rods up to a week ahead of your party, which makes them a great stress-free option for busy Halloween planning.
Store finished rods in an airtight container at room temperature, layering wax paper between them so the coating doesn’t stick together.
These don’t need refrigeration or reheating, but if your kitchen runs warm, keeping them in a cool, dry spot helps the coating stay firm and glossy for the full week.
Why You’ll Love This Recipe?
This has become one of my most-requested treats every fall, and here’s why I think it deserves a spot on your list too.
- It’s incredibly quick: With no oven and just a few minutes of melting and dipping, this comes together faster than almost any other Halloween treat I make.
- It’s endlessly customizable: From simple ghost designs to detailed drizzled patterns, this easy chocolate covered pretzels sticks recipe adapts to whatever look you’re going for.
- It’s perfect for group activities: Kids and adults alike can get hands-on with dipping and decorating, making it a great party activity as much as a snack.
- It travels and packages beautifully: These hold up well individually wrapped, which makes them ideal for classroom treats, gifts, or trick-or-treat bags.
- It satisfies both cravings at once: The sweet-and-salty combo makes these pretzel rod halloween treats disappear fast at every gathering I’ve brought them to.
FAQs
How to make chocolate covered pretzel rods without a flat side?
Rest each dipped rod on a piece of parchment while it sets rather than laying it flat on the tray immediately, and rotate it slightly halfway through so the coating firms evenly all around.
Can I use regular chocolate chips instead of candy melts?
You can, but candy melts are formulated to set smoother and glossier, so chocolate chips may leave a slightly duller finish once hardened.
Why is my melted coating too thick to dip smoothly?
This usually means it needs more heat or a touch of oil, so add a teaspoon of coconut oil or vegetable oil and stir until it loosens up.
Can I make these pretzel sticks with chocolate recipe dairy-free?
Yes, simply choose a dairy-free chocolate or candy melt option, which are widely available and work exactly the same way in this recipe.
How far in advance can I prepare these for a party?
You can make them up to a week ahead and store them at room temperature in a sealed container without any loss in quality.
If you’re planning a whole spooky spread this year, these pretzel rods pair beautifully with something like Halloween witch finger breadsticks on the same dessert table, and for a fun savory addition alongside your sweets, mummy hot dog crescent rolls round out the whole Halloween party spread nicely.

Halloween Pretzel Rods Recipe
Ingredients
Method
- Add your white melting wafers to a microwave-safe bowl or a tall, narrow mug. Microwave in 20-second bursts, stirring well between each one, until the mixture is completely smooth. Using a tall mug actually makes the next step much easier.
- Hold each pretzel rod by one end and dip it into the melted coating, going about three-quarters of the way up. Gently twist and lift the rod so any extra coating drips back into the bowl before you set it down.
- Working quickly while the coating is still soft, sprinkle your Halloween sprinkles over the dipped section, or press on candy eyes for a ghost look. This is the step where you can really let creativity take over.
- Lay each finished rod flat on your prepared baking sheet and let the coating firm up at room temperature for about 15 minutes. If you’re short on time, popping the tray in the fridge for 5 to 10 minutes speeds this up nicely.
- Once fully set, melt a small amount of orange or black candy melts and drizzle thin lines over the rods using a piping bag for extra detail. Let that final layer set for a few minutes before serving or packaging.
Notes
- I always use a tall mug instead of a wide bowl for melting, since it makes dipping so much easier and cleaner.
- I keep my sprinkles in small separate bowls before I start, so I’m not fumbling with jars while holding a dripping pretzel.
- I work with only a few pretzels at a time, because the coating sets faster than you’d expect.
- I like adding a teaspoon of coconut oil to my melted coating if it feels too thick, it thins things out without changing the flavor.
- I always make a couple extra rods, since one or two usually break while I’m dipping and I want a full batch to show off.