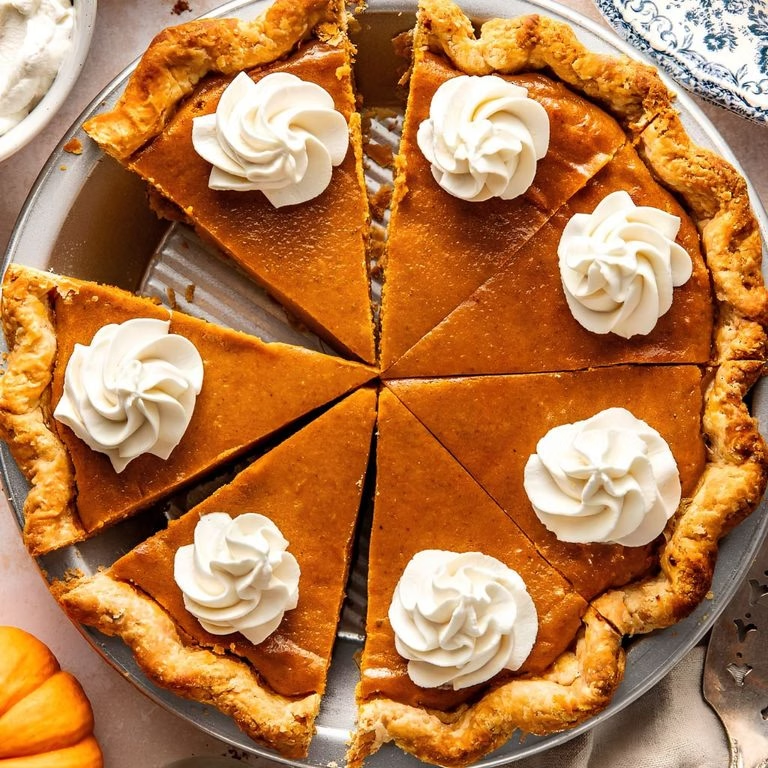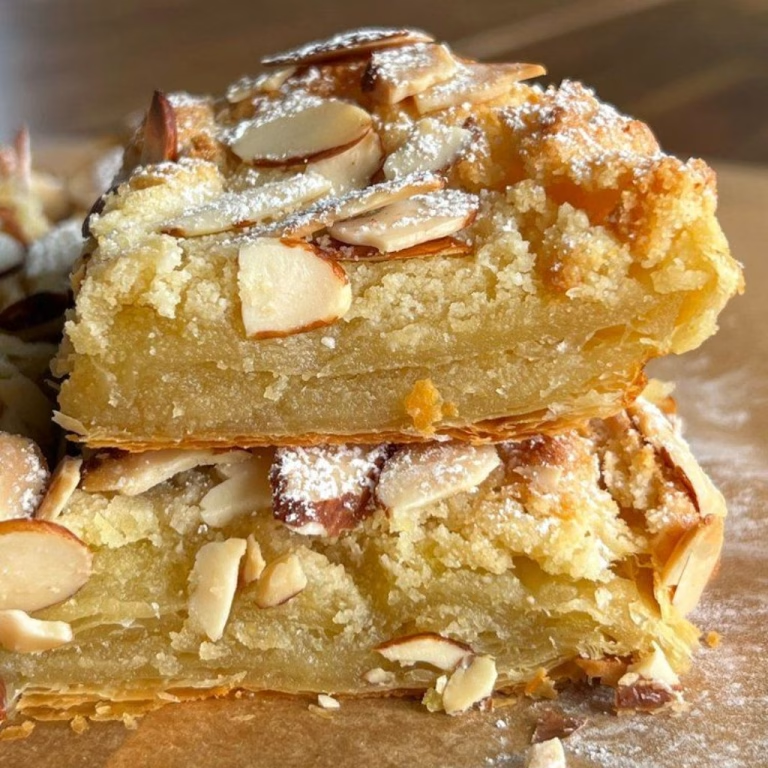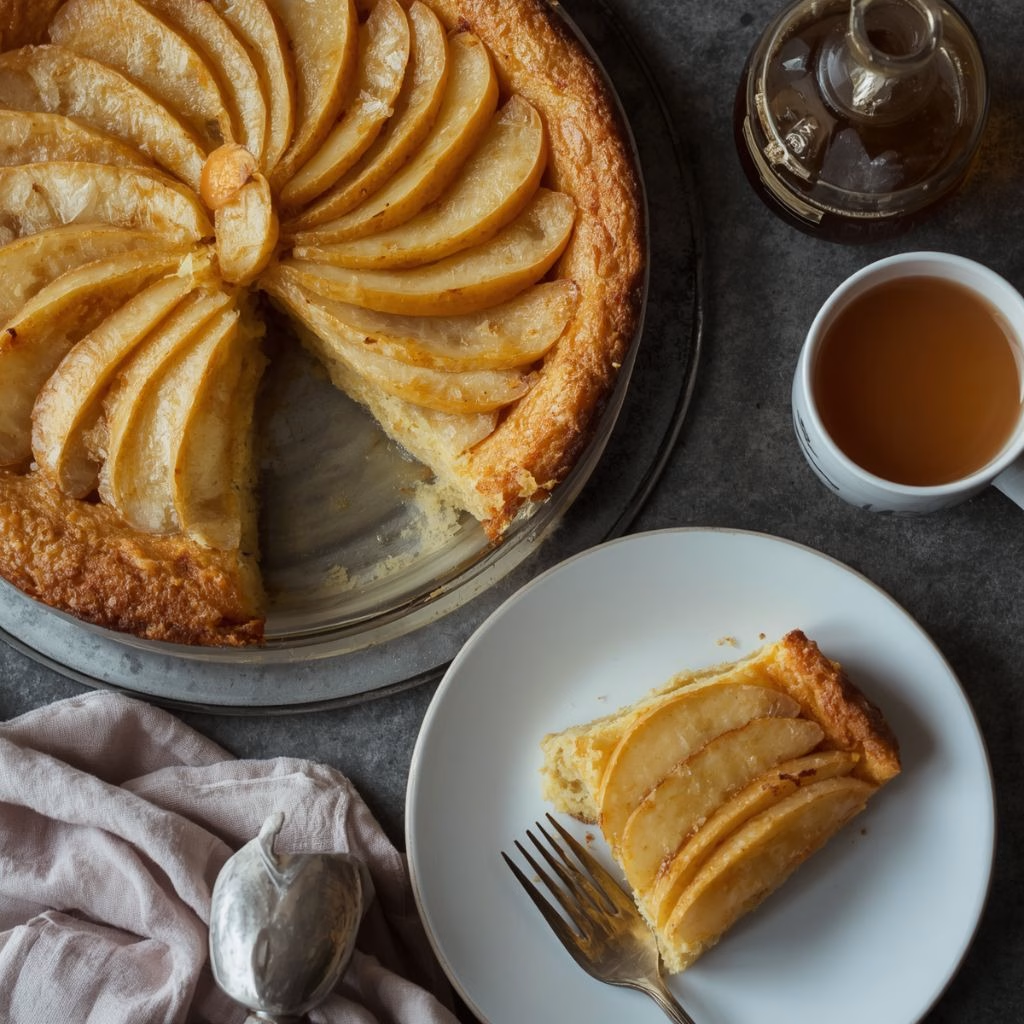
I made this Creamy Pear and Vanilla Custard Recipe on a lazy Sunday afternoon when I had a few ripe pears sitting on my counter that needed using up. I wasn’t expecting much, but the second it came out of the oven, my whole kitchen smelled like warm vanilla and baked fruit.
The custard sets into this soft, silky layer that hugs every pear slice, and honestly, it tastes far fancier than the five minutes of prep it actually takes. If you love simple desserts that still feel special, this one is going straight into your regular rotation. For a savory meal option, you can also enjoy an Air Fryer Salmon Brussels Sprouts Recipe before finishing with this cozy dessert.
Cooking Time
- Prep Time: 15 minutes
- Cooking Time: 45 minutes
- Total Time: 1 hour (plus optional chilling time)
Ingredients for Creamy Pear and Vanilla Custard
- 4 ripe pears, peeled, cored and sliced – pick pears that are firm but fragrant so they hold their shape in the oven
- 3 large eggs – these give the custard its rich, silky structure
- 1 cup whole milk – keeps the custard creamy without making it heavy
- 1/2 cup heavy cream – adds that extra silky, rich texture
- 2/3 cup granulated sugar – balances the natural tartness of the pears
- 1/3 cup all-purpose flour – helps the custard set as it bakes instead of staying runny
- 4 tablespoons unsalted butter, melted – adds richness and helps the top turn a light golden color
- 1 1/2 teaspoons pure vanilla extract – skip the imitation stuff, real vanilla makes a noticeable difference here
- 1/4 teaspoon salt – rounds out the sweetness so the custard doesn’t taste flat
- 1/2 teaspoon ground cinnamon, optional – adds a warm, cozy note if you like a little spice
- Powdered sugar, for dusting – a simple finishing touch right before serving
Note: this recipe makes enough to serve 8.
Equipment You Need
- 9-inch pie dish or round baking pan – holds the pears and custard while it bakes
- Blender or large mixing bowl with a whisk – blends the custard mixture until smooth
- Vegetable peeler – makes quick work of peeling the pears
- Paring knife and cutting board – for slicing the pears evenly
- Measuring cups and spoons – keeps your ingredient amounts accurate
- Fine mesh sieve – gives you an even dusting of powdered sugar at the end
- Wire cooling rack – lets the custard cool gradually and set properly
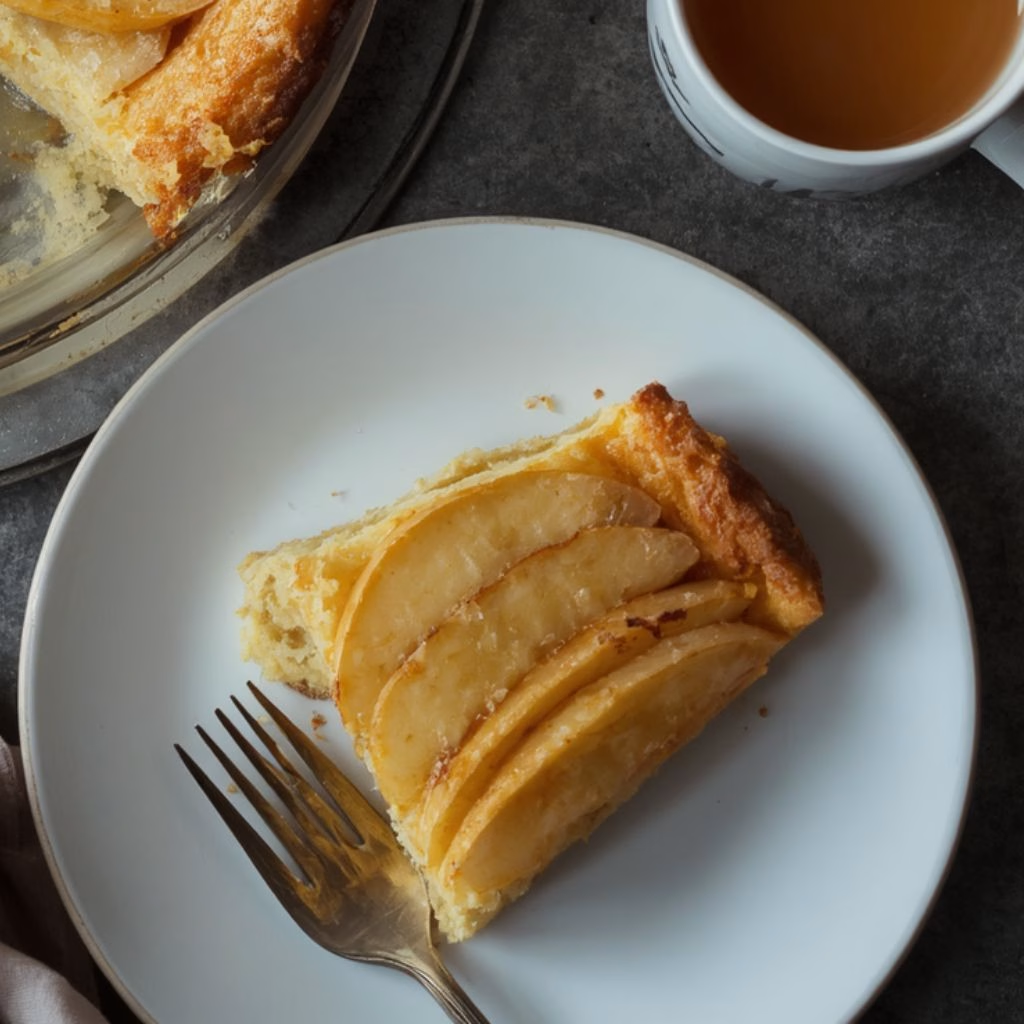
How to Make Creamy Pear and Vanilla Custard Recipe?
This custard comes together in just a handful of steps, and most of them take only a few minutes each. You don’t need any special baking skills, just a blender or a whisk and a bit of patience while it bakes. Here’s exactly how I put mine together.
Prepare the Pears
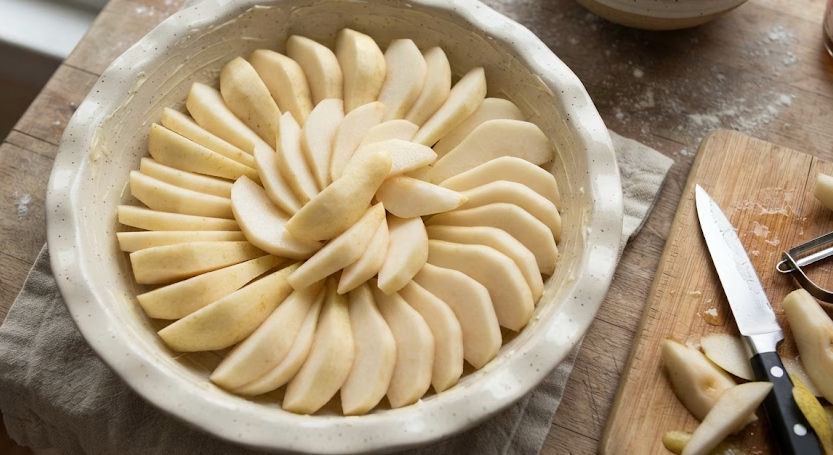
Peel each pear with a vegetable peeler, then cut them in half and scoop out the core with a spoon or melon baller. Slice each half into thin wedges, about a quarter inch thick, so they cook evenly and soften at the same rate as the custard sets. Arrange the slices in your greased pie dish in a single layer, slightly overlapping if needed.
Make the Custard Batter
Add the eggs, milk, heavy cream, sugar, flour, melted butter, vanilla, salt and cinnamon (if using) into a blender or large bowl. Blend or whisk everything together until the mixture is completely smooth with no lumps of flour remaining. This should only take about a minute in a blender, or a couple of minutes of steady whisking by hand.
Assemble the Dish
Pour the custard mixture slowly and evenly over the arranged pear slices in the baking dish. Give the pan a gentle shake so the batter settles into all the gaps between the pears. This step is quick, but pouring slowly helps keep the pears from shifting out of place.
Bake to Golden Perfection
Place the dish in a preheated 350 degree Fahrenheit oven and bake for 40 to 45 minutes. You’re looking for a golden top that is firm to the touch with just a slight jiggle in the center when you gently shake the pan. If the top browns too quickly, loosely tent it with foil for the last ten minutes.
Cool and Chill
Let the custard cool on a wire rack for about 15 to 20 minutes before slicing. It can be served warm, at room temperature, or chilled, depending on your preference. Dust generously with powdered sugar using a fine mesh sieve right before you plan to serve it.
Additional Tips for Making This Recipe Better
I’ve made this custard more times than I can count, and these small adjustments have made the biggest difference for me.
- I always use pears that are ripe but still a little firm, since overripe pears turn mushy and release too much liquid into the custard.
- I let my eggs and milk come to room temperature before blending, which helps the custard bake up smoother and more evenly.
- I never skip the resting time after baking, since the custard continues to set as it cools and slices much cleaner once it’s rested.
- I sometimes brush the pear slices lightly with lemon juice before arranging them, which keeps them from browning while I prep everything else.
- I check my custard a few minutes before the timer goes off, since ovens vary and I’d rather catch it early than let it overbake.
Common Mistakes to Avoid
- I once used pears that were too ripe, and the custard turned out watery instead of creamy, so now I stick to firm, just-ripe fruit.
- I’ve overbaked this in the past trying to get a fully firm center, but the custard actually finishes setting as it cools, so a slight jiggle is exactly what you want.
- I used to slice my pears unevenly, which meant some pieces were mushy while others stayed hard, so now I try to keep every slice about the same thickness.
- I skipped greasing the pan once and regretted it immediately, since the custard stuck stubbornly to the edges when I tried to serve it.
- I’ve rushed the cooling step before, and the custard fell apart when I sliced it, so I always give it at least 15 minutes to rest first.
How to Serve Creamy Pear and Vanilla Custard?
I like to serve this custard slightly warm with a generous dusting of powdered sugar right on top, which melts just a little and looks beautiful against the golden custard. A dollop of freshly whipped cream or a small scoop of vanilla ice cream on the side turns it into a proper dessert for guests.
For a cozy fall touch, I’ll sometimes sprinkle a pinch of cinnamon or nutmeg over each slice right before it goes to the table, along with a few thin pear slices fanned out for a nicer presentation.
Variations
- Swap the pears for apples or a mix of both if that’s what you have on hand.
- Use almond extract instead of vanilla for a slightly nuttier flavor profile.
- Make it dairy-free by using full-fat coconut milk in place of the whole milk and heavy cream.
- Add a tablespoon of bourbon or dark rum to the custard mixture for a grown-up twist.
- Sprinkle sliced almonds or chopped pecans over the top before baking for extra crunch.
- Use a sugar substitute in place of granulated sugar if you’re keeping this lower in sugar.
Nutritional Information
Here’s a rough breakdown per serving, based on eight servings from this recipe.
- Calories: approximately 210 per serving
- Protein: about 5 grams per serving
- Carbohydrates: around 27 grams per serving
- Fat: roughly 9 grams per serving
Make Ahead and Storage
You can prep the pears and the custard mixture separately up to a day ahead, storing them in the fridge in separate covered containers until you’re ready to bake. Once baked, this custard keeps well in the refrigerator for up to 4 days when covered tightly with plastic wrap or stored in an airtight container.
To freeze, cool the custard completely, then wrap it tightly and freeze for up to 2 months, though the texture softens slightly once thawed. Reheat individual slices in the microwave for about 20 to 30 seconds, or enjoy it straight from the fridge since it tastes just as good cold.
Why You’ll Love This Recipe
This custard has earned a permanent spot in my dessert rotation, and here’s why I think you’ll feel the same way.
- It comes together with pantry staples and a handful of pears, so there’s no special shopping trip required.
- The blender method means minimal cleanup and no fussy mixing steps, which makes it perfect for a weeknight dessert.
- It works warm, at room temperature, or chilled, so you can serve it however fits your schedule best.
- It’s easy to customize with spices, extracts, or different fruit, so you can make it your own every time.
- It looks impressive with almost no effort, which makes it a great choice when you want something special for guests.
If you’re planning a full meal before serving dessert, Roasted Veggie and Hummus Wraps Recipe makes a simple savory option.
FAQs
What’s the difference between this and a pear custard pie?
A pear custard pie is essentially the same idea, just sometimes baked with a crust underneath. This crustless version keeps things simple and lets the pears and custard be the star.
Can I make a pear custard tart with a French-style crust instead?
Yes, you can pour this same custard mixture into a pre-baked French tart shell instead of baking it crustless. Just reduce the bake time slightly since the custard layer will be thinner.
What kind of fruit works best for baked pear custard?
Firm, ripe pears like Bartlett, Anjou or Bosc work best since they hold their shape while baking. Avoid very soft or overripe pears, as they tend to break down too much.
Can I use canned pears for this custard pie instead of fresh?
Yes, canned pears work in a pinch, just drain them well and pat them dry before arranging them in the dish. Fresh pears do give a slightly firmer texture, though.
How is this different from old fashioned pear custard pie recipes?
Old fashioned versions often use a pastry crust and are baked a bit longer for a firmer set. This recipe skips the crust for a simpler, quicker version with the same creamy result.
Can I turn this into pear custard bars instead?
Yes, you can press a cookie or shortbread crust into a square pan, add a thinner layer of custard, and top with diced pears for a bar version. Just bake at a slightly lower temperature and check for doneness a few minutes early.

Creamy Pear and Vanilla Custard Recipe
Ingredients
Method
- Peel each pear with a vegetable peeler, then cut them in half and scoop out the core with a spoon or melon baller. Slice each half into thin wedges, about a quarter inch thick, so they cook evenly and soften at the same rate as the custard sets. Arrange the slices in your greased pie dish in a single layer, slightly overlapping if needed.
- Add the eggs, milk, heavy cream, sugar, flour, melted butter, vanilla, salt and cinnamon (if using) into a blender or large bowl. Blend or whisk everything together until the mixture is completely smooth with no lumps of flour remaining. This should only take about a minute in a blender, or a couple of minutes of steady whisking by hand.
- Pour the custard mixture slowly and evenly over the arranged pear slices in the baking dish. Give the pan a gentle shake so the batter settles into all the gaps between the pears. This step is quick, but pouring slowly helps keep the pears from shifting out of place.
- Place the dish in a preheated 350 degree Fahrenheit oven and bake for 40 to 45 minutes. You’re looking for a golden top that is firm to the touch with just a slight jiggle in the center when you gently shake the pan. If the top browns too quickly, loosely tent it with foil for the last ten minutes.
- Let the custard cool on a wire rack for about 15 to 20 minutes before slicing. It can be served warm, at room temperature, or chilled, depending on your preference. Dust generously with powdered sugar using a fine mesh sieve right before you plan to serve it.
Notes
- I always use pears that are ripe but still a little firm, since overripe pears turn mushy and release too much liquid into the custard.
- I let my eggs and milk come to room temperature before blending, which helps the custard bake up smoother and more evenly.
- I never skip the resting time after baking, since the custard continues to set as it cools and slices much cleaner once it’s rested.
- I sometimes brush the pear slices lightly with lemon juice before arranging them, which keeps them from browning while I prep everything else.
- I check my custard a few minutes before the timer goes off, since ovens vary and I’d rather catch it early than let it overbake.