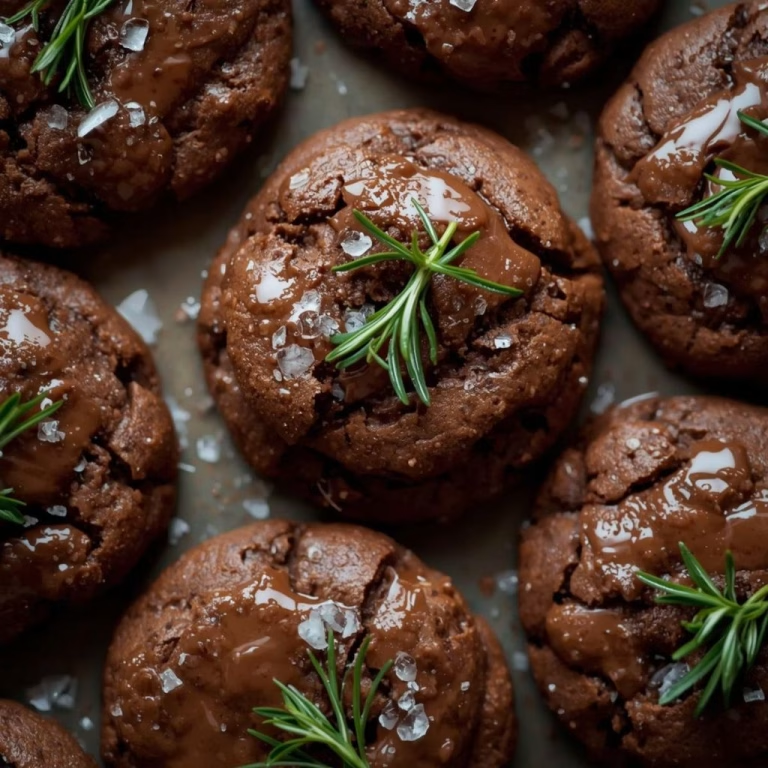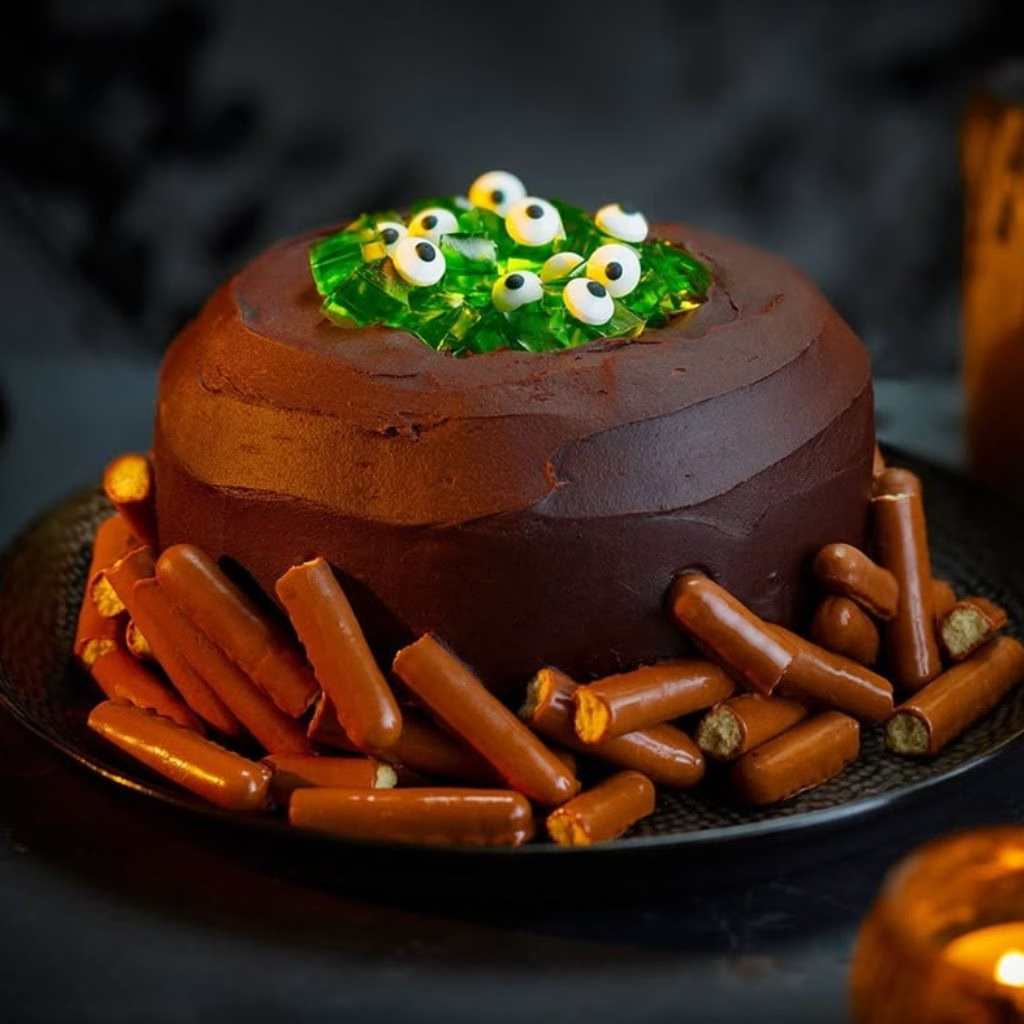
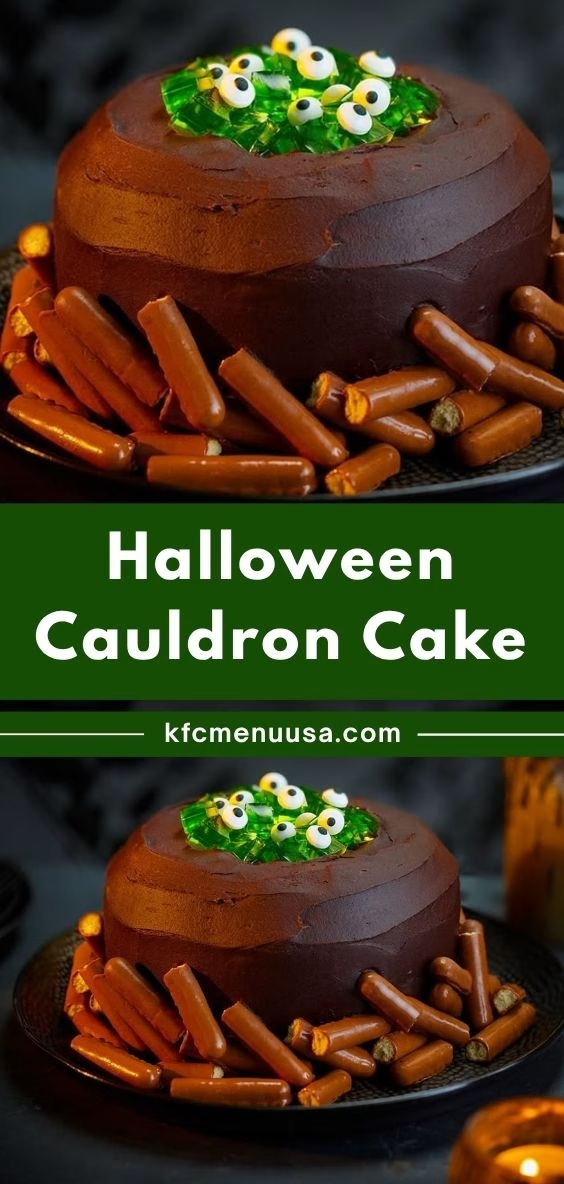
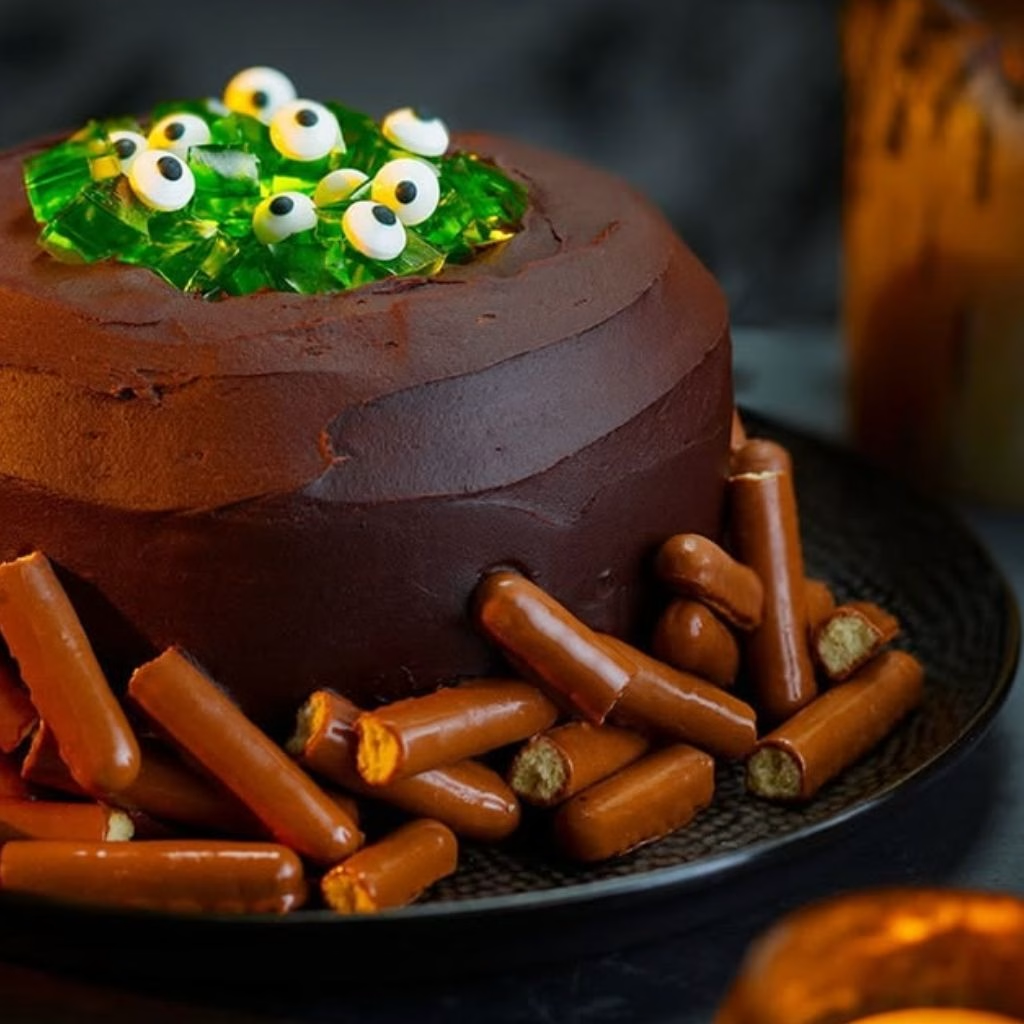
The first time I made this Halloween Cauldron Cake recipe, I honestly just wanted an excuse to buy those little silicone cauldron molds sitting in the Halloween aisle. I ended up with something way better than a cute prop: a rich, fudgy, chocolate chip cake that tastes like a warm brownie with a crackly top.
I make a batch every October, and it’s become one of those recipes my family asks for the second the leaves start turning. It comes together in one bowl with almost zero cleanup, which is exactly what I want during a busy Halloween week. If you’re a fan of the harry potter cauldron cake recipe from Honeydukes, this homemade version brings that same bubbling-cauldron charm right into your own kitchen.
Cooking Time
- Prep Time: 10 minutes
- Cook Time: 50 minutes
- Total Time: 1 hour
Ingredients For Cauldron Cake
- ¼ cup oat flour – this gives the cake its structure while keeping things gluten-free friendly
- ¼ cup unsweetened cocoa powder – go for a good quality one, it’s where most of the chocolate flavor comes from
- ¼ cup granular sweetener – coconut sugar or monk fruit both work great if you want a lower-glycemic option
- ¼ teaspoon salt – balances the sweetness and makes the chocolate taste deeper
- 1 teaspoon baking powder – use a fresh tin, old baking powder won’t give you that nice rise
- ⅓ cup dark chocolate chips, plus extra for topping – toss them in flour first so they don’t sink to the bottom
- 2 tablespoons oil – a light, neutral oil keeps the crumb soft without adding its own flavor
- ⅓ cup milk – any milk works except coconut milk, unless you actually want a coconut undertone
- 1 teaspoon vanilla extract (optional) – I skip it most times, but it adds a nice warm note if you have it on hand
Note: This recipe makes 3 to 4 mini cauldron cakes, so it’s perfect for a small family treat or a Halloween movie night for a few people.
Equipment You Need
- Silicone cauldron mold – gives the cakes their signature bubbling-cauldron shape
- Medium mixing bowl – for combining all your batter ingredients in one place
- Whisk or spoon – to mix everything smoothly without overworking the batter
- Baking sheet – keeps your silicone molds steady and easy to move in and out of the oven
- Toothpick – the easiest way to check if your cauldron cakes are fully baked
How to Make a Cauldron Cake Recipe?
This part is genuinely so quick that I’d compare it to whipping up a mug cake. You just stir everything together in one bowl, spoon the batter into your molds, and let the oven do the rest. No layers, no fuss, no fancy piping skills required.
Preheat and Prep
Set your oven to 400°F and place your silicone cauldrons on a baking sheet so they’re easy to move later. While the oven heats, measure out all your ingredients so nothing gets forgotten mid-mix.
Mix the Dry Ingredients
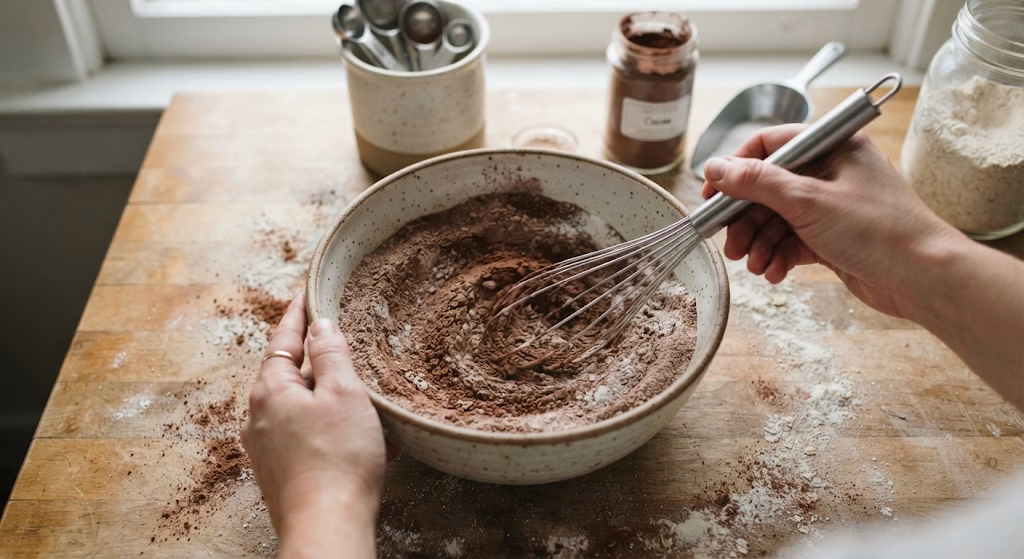
In a medium bowl, add the oat flour, cocoa powder, sweetener, salt, and baking powder. Stir everything together until it’s evenly combined and there are no lumps of cocoa hiding at the bottom.
Fold in the Chocolate Chips
Add your chocolate chips into the dry mixture and stir well so they get coated in flour. This little trick keeps them from all sinking straight to the bottom of the cake while it bakes.

Add the Wet Ingredients
Pour in the oil and milk, along with the vanilla extract if you’re using it. Whisk or stir until the batter looks smooth, thick, and glossy, with no dry streaks left behind.
Fill the Cauldrons
Spoon the batter evenly into your silicone cauldron molds, filling each one about three-quarters full. This leaves enough room for the cake to rise without overflowing.
Bake and Cool
Bake for 50 to 60 minutes, checking with a toothpick near the end — it should come out clean unless you hit a melted chocolate chip. Let the cakes cool for a few minutes before serving warm with a spoon.
Additional Tips For Making This Recipe Better
I’ve made this cauldron cake recipe more times than I can count, and here’s what actually makes a difference in my kitchen:
- I always coat my chocolate chips in the dry flour mix first, since it genuinely stops them from clumping at the bottom.
- I set a timer for 45 minutes instead of trusting the full bake time, because ovens vary and I’d rather check early.
- I grease my silicone molds lightly even though they’re non-stick, just for extra insurance on release day.
- I let my cakes rest for a good 5 minutes before digging in, since they firm up just enough to hold their shape.
- I keep a spare batch of dry ingredients pre-mixed in a jar during October so I can bake this on a whim.
Common Mistakes To Avoid
- I once rushed my baking powder and grabbed an old tin my cakes barely rose, so now I always check the date first.
- I overfilled my molds the first time I made this, and the batter spilled over, so I stick to filling them three-quarters full.
- I pulled my cakes out too early once and got a gooey center that wasn’t quite done, so I always double-check with a toothpick.
- I used coconut milk without realizing it would change the flavor, so I only reach for it if I actually want that taste.
- I skipped coating my chocolate chips in flour once, and they all sank to the bottom, so I never skip that step now.
How To Serve Cauldron Cake?
I love serving these straight from the mold with a small spoon, letting everyone dig into their own little cauldron. For a more dramatic Halloween table, I’ll add a drizzle of melted white chocolate to look like bubbling potion, or a scoop of vanilla ice cream melting over the warm cake.
A few extra chocolate chips or a dusting of cocoa powder on top gives it that final touch of spooky flair. If you’re setting up a whole dessert spread, these cauldron cakes pair beautifully with something like this Halloween Chocolate Pretzel Spider Web Recipe, since both bring that fun, homemade Halloween energy to the table.
Variations
- Swap the dark chocolate chips for white chocolate chips to change up the cauldron cake flavor entirely
- Use almond milk or oat milk for a dairy-free version that still tastes rich and chocolatey
- Add a splash of espresso powder to deepen the chocolate flavor without making it taste like coffee
- Try a sugar-free sweetener blend if you’re watching your sugar intake but still want a treat
- Top with orange-tinted white chocolate drizzle for a classic Halloween color contrast
- Turn the batter into cauldron cupcakes by using a regular muffin tin lined with black or orange liners instead of silicone molds
Nutritional Information
Here’s a quick look at what you’re getting in each cauldron cake, based on the standard batch size:
- Calories: 331 kcal
- Protein: 5g
- Carbohydrates: 41g
- Fat: 18g
Make Ahead and Storage
You can mix the dry ingredients up to two days ahead and store them in an airtight container at room temperature, then just add the wet ingredients when you’re ready to bake.
Once baked, these cauldron cakes keep well in the fridge for up to 4 days when stored in a sealed container. I like to reheat mine in the microwave for about 15 seconds to bring back that soft, gooey texture.
For longer storage, you can freeze the baked cakes for up to a month. Just thaw them overnight in the fridge and warm them slightly before serving so they taste freshly baked again.
Why You’ll Love This Recipe
This cauldron cake recipe has earned a permanent spot in my Halloween baking rotation, and here’s why I think you’ll feel the same way:
- It’s incredibly quick to make – the batter takes about 5 minutes to whip up, so it’s perfect for last-minute Halloween cravings or unexpected guests.
- It’s naturally flexible – you can make it gluten-free, dairy-free, or sugar-free with a few simple ingredient swaps without losing any flavor.
- It looks impressive with zero decorating skill – the cauldron mold does all the visual work, so you don’t need to be great at cake decorating.
- It tastes like a rich, fudgy brownie – the combination of cocoa powder and melted chocolate chips gives it a dense, chocolatey bite every time.
- It’s a fun way to relive the magic – if you grew up dreaming about cauldron cakes Honeydukes sells in the Wizarding World, this lets you recreate that experience at home.
Since it’s such a simple base recipe, it also works wonderfully alongside other Halloween party snacks. I usually set it out next to something crunchy and shareable, like this Halloween Puppy Chow Recipe, so guests have both a warm treat and a grab-and-go snack to choose from.
FAQs
Can I make this Harry Potter cauldron cake recipe without a cauldron mold?
Yes, you can use a regular muffin tin or small ramekins instead, though you’ll lose that signature cauldron shape and legs.
What’s the best cauldron cake mold to use?
A silicone cauldron mold with little feet and a handle detail works best, since it pops out easily and gives that authentic Honeydukes look.
Can I turn this into mini cauldron cakes for a party?
Absolutely, just use smaller silicone molds or a mini muffin tin and reduce the bake time by about 15 to 20 minutes.
What can I serve with cauldron cake creamer or coffee?
A warm cauldron cake pairs really nicely with a spiced or chocolate-flavored coffee creamer, since it echoes the same rich, chocolatey notes.
Can I double this recipe for a bigger Halloween gathering?
Yes, this recipe doubles easily just make sure you have enough cauldron molds or bake in batches so nothing overflows.