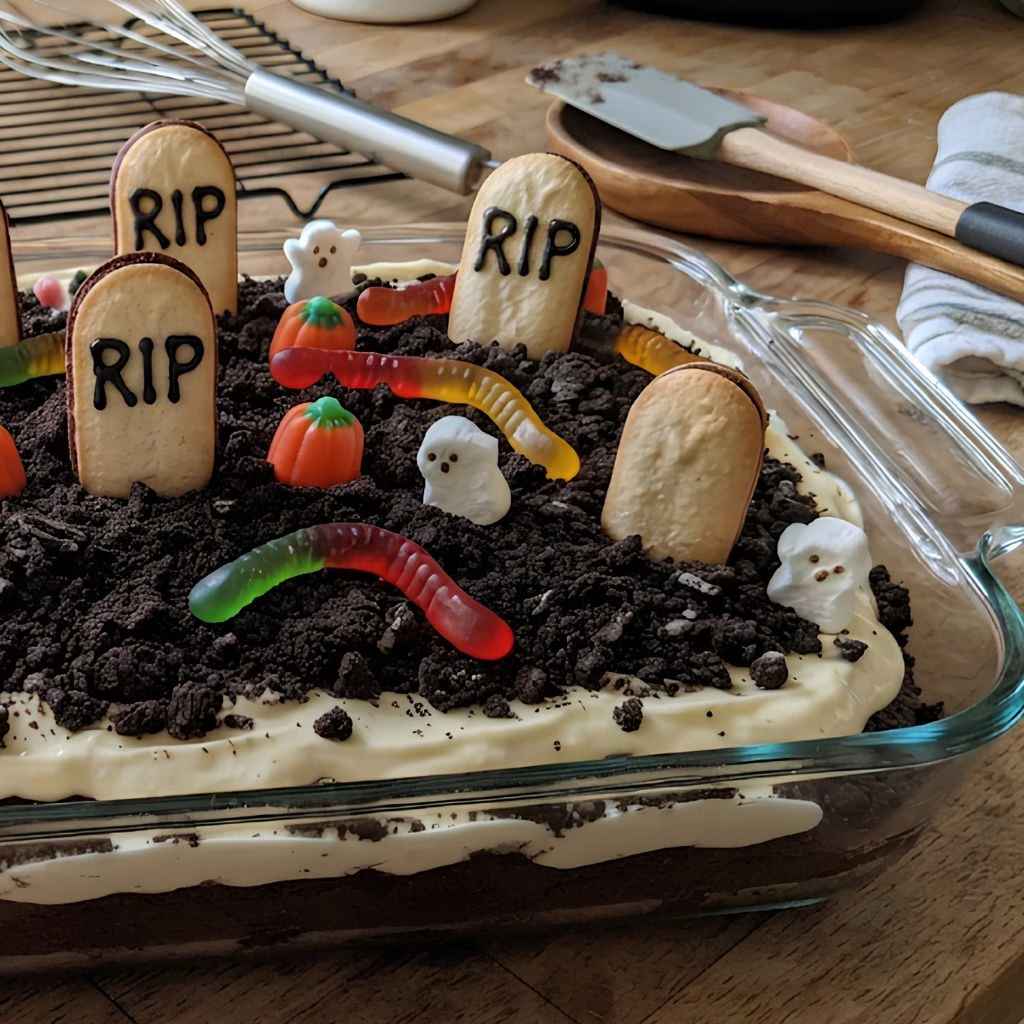
I still remember the first time I made this Halloween Dirt Cake Recipe for a school party, and I honestly couldn’t believe how fast it disappeared. I love how it looks like a real spooky graveyard but takes almost no real effort to pull off.
Every time I make it, I get asked for the recipe before the party even ends. It’s rich, chocolatey, and just the right amount of silly with all the gummy worms and tombstones on top. If you want a dessert that wows a crowd without keeping you in the kitchen all day, I promise this one is it.

Cooking Time
- Prep Time: 25 minutes
- Cooking Time: 30 minutes (plus cooling time)
- Total Time: About 3 hours (including chilling)
Ingredients
- Chocolate cake mix (1 box, plus the eggs, oil, and water it calls for) – this is your graveyard “ground,” so pick a rich, dark chocolate mix for the best flavor
- Instant chocolate pudding mix (2 small boxes) – make sure it says instant, not cook-and-serve, or it won’t set properly
- Cold milk (3 cups) – whole milk gives the pudding a creamier, richer texture than skim
- Cool Whip or whipped topping (1 tub, thawed) – let it sit out fully before using or it’ll clump instead of blending smoothly
- Oreo cookies (1 package, about 36 cookies) – crush these fine for realistic “dirt,” and save a few whole ones for garnish
- Milano or similar rectangular cookies (6-8) – these become your tombstones, so pick ones with a flat, sturdy shape
- Gummy worms (1 bag) – these are non-negotiable for the graveyard look, so don’t skip them
- Candy pumpkins and Halloween sprinkles (as needed) – scatter these on top for extra color and fun texture
- Black gel icing or melted chocolate (for writing) – use this to write “RIP” or spooky designs on your tombstone cookies
- Marshmallow ghost candies (optional, a handful) – these add a cute, spooky pop on top of the dirt
Note: This recipe serves 12 to 15 people, depending on portion size.
Equipment You’ll Need
- 9×13-inch baking dish – bakes the cake and doubles as your serving dish
- Large mixing bowl – for whisking the pudding and combining ingredients
- Whisk – helps the pudding thicken smoothly without lumps
- Food processor or a sturdy zip-top bag with a rolling pin – for crushing the Oreos into fine crumbs
- Rubber spatula – for folding in the Cool Whip and spreading layers evenly
- Toothpicks – handy for writing letters on the tombstone cookies with melted chocolate
How to Make Halloween Dirt Cake Recipe?
This recipe comes together in layers, so once you have everything prepped, the actual assembly moves pretty quickly. I like to bake the cake first thing so it has plenty of time to cool before I start layering. From there, it’s really just mixing, spreading, and decorating.
Bake the Chocolate Cake
Start by mixing your chocolate cake batter according to the directions on the box, then pour it into your greased 9×13 dish. Bake it as directed, then set it aside to cool completely on a wire rack. I never skip this cooling step, because a warm cake will melt your pudding layer into a soupy mess.

Whisk Together the Pudding Layer
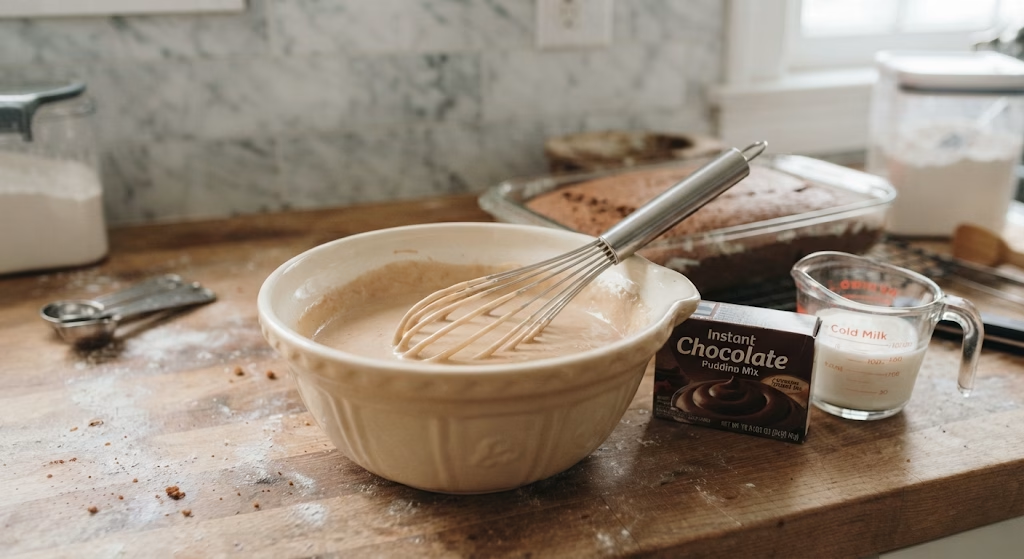
While the cake cools, whisk your instant pudding mix with the cold milk in a large bowl until it starts to thicken, which usually takes about two minutes. Let it rest in the fridge for five minutes so it firms up a bit more before you use it. This gives you a creamy, scoopable layer instead of a runny one.
Fold in the Whipped Topping
Once the pudding has set, gently fold in your thawed Cool Whip using a rubber spatula. Go slowly here so you don’t deflate all that fluffy air you need for a light texture. The mixture should look pale, creamy, and completely smooth when you’re done.
Layer the Pudding Over the Cooled Cake
Spread the pudding mixture evenly across the top of your cooled cake, right in the same 9×13 dish. Use an offset spatula or the back of a spoon to smooth it into an even layer. This layer is what holds everything together, so take your time getting it level.
Add the Crushed Oreo “Dirt”
Crush your Oreos into fine crumbs using a food processor, or place them in a bag and crush them with a rolling pin. Sprinkle the crumbs generously over the pudding layer until it’s fully covered like real dirt. I like to press them down slightly so they stick to the pudding underneath.
Decorate Your Graveyard Scene
Now comes the fun part, so let the kids help if you have any around. Write “RIP” on your Milano cookies with melted chocolate or black gel icing, then stand them up in the dirt like tombstones. Scatter gummy worms, candy pumpkins, and ghost marshmallows around the cake for the full graveyard effect.
Chill Before Serving
Cover the cake and refrigerate it for at least two hours before serving so everything sets properly. This chilling time also lets the flavors meld together nicely. Once it’s cold and firm, it’s ready to scoop and serve to your very lucky guests.
Additional Tips for Making This Recipe Better
I’ve made this cake more times than I can count, and here’s what I’ve learned along the way.
- I always use two different chocolate pudding flavors, like regular and fudge, because it gives the “dirt” more depth of flavor.
- I let my Cool Whip thaw in the fridge overnight instead of on the counter, since it blends in much smoother that way.
- I crush my Oreos in batches so I get a mix of fine crumbs and slightly larger chunks for a more realistic dirt texture.
- I decorate right before serving instead of the night before, because the gummy worms can get a little sticky and lose their shape if left too long.
- I always make extra Oreo crumbs, because guests love an extra sprinkle on their own slice.
Common Mistakes to Avoid
I’ve made a few of these mistakes myself, so I’m sharing them here to save you the trouble.
- I once used cook-and-serve pudding by accident, and it never set right, so I always double-check the box says “instant” now.
- I tried layering the pudding onto a warm cake once, and it turned into a melty mess, so I let my cake cool fully every single time.
- I skipped chilling the cake one year because I was in a rush, and it fell apart when I tried to serve it.
- I used frozen, unthawed Cool Whip once, and it left lumpy streaks throughout my pudding layer instead of blending smoothly.
- I crushed my Oreos too early and they went slightly soft, so now I crush them right before I need to use them.
How to Serve Halloween Dirt Cake?
I love serving this cake straight from the baking dish so the graveyard scene stays intact for everyone to see before it gets scooped. Scoop it into small clear cups for a cute individual portion, which also looks great lined up on a dessert table. Add a few extra gummy worms poking out of each cup for that fun surprise factor.
If you’re hosting alongside other spooky treats, this cake pairs really well with a batch of witch finger pretzels for a full dessert spread that keeps the theme going all night.

Variations
This recipe is easy to switch up depending on what you’re craving or who you’re feeding.
- Swap the chocolate cake mix for a vanilla or spice cake if you want a lighter graveyard base.
- Use dairy-free pudding, milk, and whipped topping to make this dessert friendly for dairy-sensitive guests.
- Try a sugar-free instant pudding and light whipped topping for a lower-sugar version of this treat.
- Add crushed peanut butter cups or mini chocolate chips between the layers for extra richness.
- Turn it into individual dirt cups by layering everything in small clear cups instead of one big dish, which makes for an especially fun Thanksgiving dirt cake twist too when you swap the decorations for fall colors.
Nutritional Information
Here’s a rough estimate per serving, based on 12 servings from the full recipe.
- Calories: About 320 per serving
- Protein: Around 4 grams per serving
- Carbohydrates: Approximately 45 grams per serving
- Fat: Roughly 14 grams per serving
Make Ahead and Storage
You can bake the cake and prepare the pudding layer up to a day in advance, then keep it covered in the fridge before you add the crumbs and decorations. This is a great way to get ahead of a busy party day without sacrificing freshness.
Once it’s fully assembled and decorated, this dirt cake keeps well in the fridge for up to four days when covered tightly with foil, plastic wrap, or a lid. I don’t recommend freezing it once it’s decorated, since the pudding and Cool Whip layers don’t thaw back to their original creamy texture.
Why You’ll Love This Recipe?
This Halloween dirt cake has earned a permanent spot on my party menu, and here’s why I think you’ll love it just as much.
- It’s incredibly easy to make, since most of the work is just mixing, layering, and letting the fridge do the rest.
- It’s endlessly customizable, so you can turn it into a Halloween oreo dirt cake, a chocolate dirt cake recipe with extra fudge, or even a Halloween mud pie style dessert with different toppings.
- It feeds a crowd without much effort, making it perfect for classroom parties, potlucks, or family get-togethers.
- Kids genuinely love decorating it, which makes this a great hands-on activity for the whole family.
- It travels well in its baking dish, so it’s easy to bring to any Halloween gathering without a lot of fuss. If you’re planning a bigger spread, you might also love pairing it with a batch of Halloween puppy chow for a table full of no-bake spooky treats.
FAQs
Can I make this a Halloween dirt trifle instead of a sheet cake?
Yes, you can absolutely layer the same ingredients in a trifle dish or individual glasses for a Halloween dirt trifle presentation instead of a flat cake.
Do I have to use Oreos for the dirt layer?
Oreos give the most realistic “dirt” look and flavor, but you can substitute any chocolate sandwich cookie or even chocolate graham crackers in a pinch.
Can I turn this into a Halloween graveyard cake with a different shape?
Yes, you can bake the cake in a round or oval pan instead of a 9×13 dish for a different graveyard cake presentation, just adjust your bake time slightly.
How far in advance can I decorate this cake?
I recommend decorating no more than a few hours before serving, since gummy worms and candy toppings can get sticky or lose their shape if they sit too long.
Can I make this recipe without an oven?
Yes, you can use a store-bought chocolate cake or brownies as your base if you want to skip baking entirely and keep this a true no-bake treat.