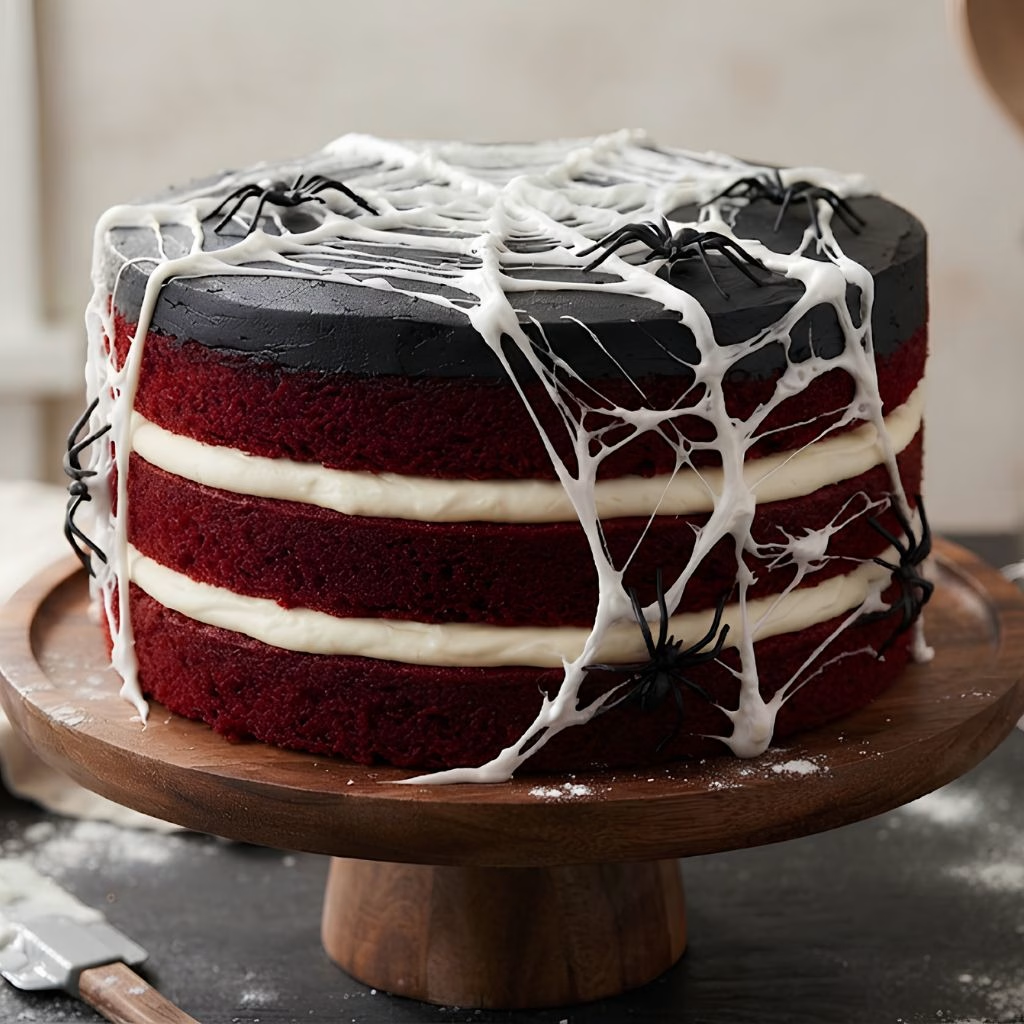
I made this Spooky Spider Web Cake Recipe for the first time last Halloween, and I honestly couldn’t believe how easy it was to pull off something this dramatic. I’m not someone who loves horror movies or anything genuinely creepy, but when it comes to a cake, I’ll go all out every time.
This red velvet layer cake, wrapped in a stretchy marshmallow spider web and finished with a couple of plastic spiders, stole the whole party. If you want a dessert that looks terrifying but tastes like a dream, I promise this one is worth your afternoon.
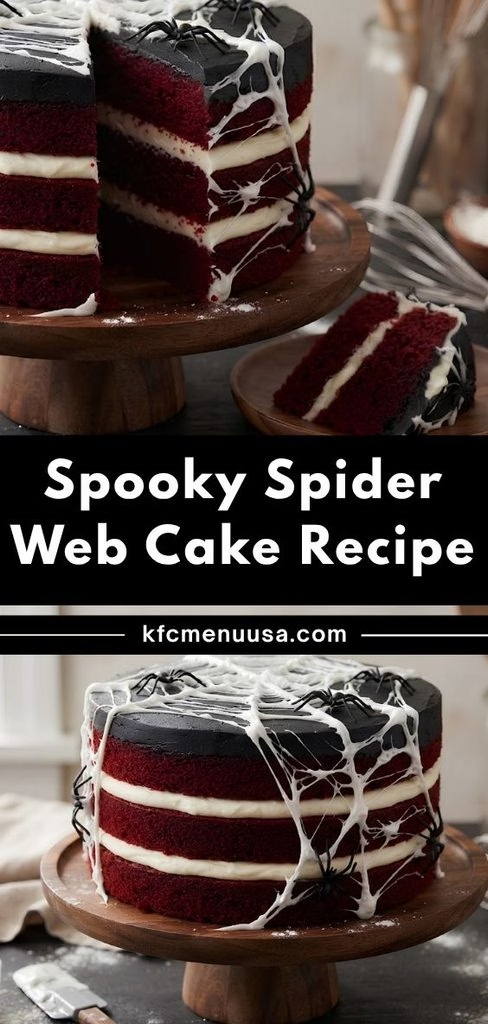
Cooking Time
- Prep Time: 40 minutes
- Cooking Time: 30 minutes
- Total Time: 1 hour 30 minutes (plus cooling and chilling time)
Ingredients
Here’s everything I used to build my three-layer red velvet spider web cake, from the sponge to the sticky marshmallow web on top.
- 340g unsalted butter, softened – softened butter creams smoothly and gives the sponge an even, fluffy texture
- 340g caster sugar – fine caster sugar dissolves faster than granulated for a lighter crumb
- 6 large eggs, room temperature – cold eggs can curdle the batter, so let them sit out first
- 3 tbsp cocoa powder – use a good quality unsweetened cocoa for the classic red velvet flavour
- 2 tsp red gel food colouring – gel gives a deep true red without watering down the batter
- 1 tsp vanilla extract – adds warmth and rounds out the cocoa flavour
- 300ml buttermilk – buttermilk keeps the sponge tender and adds a gentle tang
- 1 tbsp white vinegar – reacts with the baking soda to keep the crumb soft and light
- 400g plain flour – sift it first so the batter stays lump-free
- 1 tsp baking powder – helps the layers rise evenly in the oven
- 1 tsp bicarbonate of soda – works with the vinegar for extra lift
- 1/2 tsp salt – balances the sweetness across the whole cake
- 500g unsalted butter, softened (for buttercream) – the base for both the white and black frosting
- 1kg icing sugar, sifted – sifting stops lumps from showing up in your smooth finish
- 4-6 tbsp whole milk – adjust slowly until you reach a spreadable consistency
- Black gel food colouring – gel colouring won’t thin your buttercream like liquid dye does
- 200g mini marshmallows – mini ones melt faster and more evenly than large marshmallows
- 1 tsp vegetable oil (optional) – lightly oiling your fingers helps stop the marshmallow sticking
Note: serves 12-14 people
Equipment You Need
- Three 20cm/8-inch round cake tins – for baking even, stackable sponge layers
- Stand mixer or electric hand mixer – makes creaming butter and sugar quick and consistent
- Parchment paper – lines the tins so the sponges release cleanly
- Offset spatula – spreads buttercream smoothly between and around the layers
- Cake turntable – makes frosting the sides so much easier to get neat
- Microwave-safe bowl – for melting the marshmallows for the web
- Food-safe disposable gloves – protects your hands while pulling hot, sticky marshmallow
- Wire cooling rack – lets the sponges cool fully before you frost them
- Cake scraper – helps you get those clean, straight buttercream sides

How to Make Spooky Spider Web Cake Recipe?
This cake comes together in three parts: the red velvet sponge, the two-tone buttercream, and the marshmallow web on top. None of it is difficult, it just needs a little patience while things cool and set properly.
Prepare the Cake Batter
Preheat your oven to 180C (160C fan) and line your three tins with parchment paper. Beat the butter and sugar together until pale and fluffy, then add the eggs one at a time, mixing well after each. Stir in the cocoa powder, red gel colouring, and vanilla extract until fully combined and vibrant.

Combine the Wet and Dry Ingredients
Mix the buttermilk and vinegar together in a jug and set it aside for a minute. In a separate bowl, whisk together the flour, baking powder, bicarbonate of soda, and salt. Add the dry ingredients and the buttermilk mixture to the batter alternately, mixing gently between each addition.
Bake the Sponges
Divide the batter evenly between your three prepared tins and smooth the tops with a spatula. Bake for 25-30 minutes, or until a skewer inserted into the centre comes out clean. Leave the cakes in their tins for ten minutes before turning them out onto a wire rack.
Make the Buttercream
While the sponges cool completely, beat the butter until smooth, then gradually add the icing sugar with a splash of milk until you reach a soft, pipeable consistency. Split the buttercream into two bowls, leaving one white and colouring the other black using your gel colouring a little at a time.

Layer and Frost the Cake
Once your sponges are completely cool, level the tops if needed and stack them with a generous layer of white buttercream between each. Crumb coat the whole cake first, chill it for 20 minutes, then apply a smooth final layer using your offset spatula and scraper.
Create the Marshmallow Web
Melt the mini marshmallows in short 20-second bursts in the microwave until smooth and stretchy. Let the mixture cool for a moment so it’s safe to touch, then pinch small amounts between your fingers and pull them into long, thin strands. Drape these strands over the top and down the sides of the chilled cake in different directions until it looks properly web-like.
Add the Finishing Spiders
Once your web is in place, sit a few plastic or candy spiders on top and around the base of the cake for that final spooky touch. Let the cake rest for a few minutes so the marshmallow firms up slightly before you slice and serve it.
Additional Tips for Making This Recipe Better
I’ve made this cake more than once now, and these are the little things that genuinely made a difference for me.
- I chill my crumb-coated cake before the final layer of buttercream, and it makes the finish so much smoother.
- I keep a small bowl of warm water nearby to dip my offset spatula in while frosting, it glides so much easier.
- I work with the marshmallow while it’s still warm, because once it cools down it snaps instead of stretching.
- I wear gloves when pulling the marshmallow strands, because my bare fingers got stuck to everything otherwise.
- I make my buttercream a shade darker than I think I need, since black buttercream always looks lighter once it’s spread out.
Common Mistakes to Avoid
I learned a few of these the hard way, so hopefully this saves you the trouble.
- I once frosted my cake while it was still slightly warm, and the buttercream melted right off, so I always wait until it’s fully cool now.
- I didn’t sift my icing sugar the first time and ended up with lumpy buttercream, so I sift it every single time now.
- I tried stretching cold, hardened marshmallow once and it just tore apart, so I reheat it in short bursts whenever it stiffens up.
- I overfilled my cake tins early on and the layers overflowed in the oven, so I now divide the batter evenly using a kitchen scale.
- I added the black food colouring too quickly and ended up with a strange grey tone, so I now add it gradually until it turns properly black.
How to Serve Spooky Spider Web Cake?
This cake is dramatic enough to be the centrepiece of any Halloween table, so I like to keep the presentation simple and let the web do the talking.
I set mine on a plain black or dark grey cake stand so the red velvet layers and white web really pop when it’s sliced. A few extra candy spiders scattered around the base, or some fake cobwebs stretched across the table, finish off the spooky look without any extra effort.
If you’re hosting a wider Halloween spread, this pairs beautifully next to lighter, playful treats like a batch of ghost meringue cookies for guests who want something smaller alongside their slice.
Variations
I’ve swapped a few things around depending on who I’m baking for, and this cake is pretty forgiving.
- Swap the buttermilk for a dairy-free alternative mixed with a splash of vinegar, and use a plant-based butter for the sponge and frosting.
- Use vegan marshmallows instead of regular ones if you want the whole cake to be plant-based.
- Add orange gel colouring to a portion of the buttercream for a pumpkin-toned web instead of black and white.
- Fold a handful of chocolate chips into the batter for extra richness in every slice.
- Replace the marshmallow web with piped icing swirls and a toothpick-dragged pattern if you’d rather skip the melting step.
- Turn this into cupcakes by dividing the batter into a lined muffin tin and reducing the bake time to around 18-20 minutes.
Nutritional Information
Here’s a rough idea of what one slice of this cake looks like, based on 12 servings.
- Calories: approximately 520 kcal per slice
- Protein: approximately 5g per slice
- Carbohydrates: approximately 68g per slice
- Fat: approximately 26g per slice
Make Ahead and Storage
I often bake the sponges a day ahead, wrap them tightly in cling film once fully cooled, and leave them at room temperature overnight before frosting the next day.
The frosted, undecorated cake keeps well in the fridge for up to 4 days in an airtight container, though I always let it sit out for 20-30 minutes before serving so the buttercream softens back up.
I don’t recommend freezing the cake once the marshmallow web is on, as it goes sticky and loses its shape when thawed, but the plain sponges freeze beautifully for up to 2 months wrapped well in cling film and foil.
Why You’ll Love This Recipe?
This cake has become one of my go-to Halloween bakes for a good reason, and here’s why I think you’ll love it too.
- It looks incredibly impressive for the amount of effort it actually takes, so you get a real showstopper without a stressful baking day.
- The marshmallow web is genuinely fun to make, and it’s a great activity to get kids involved in without them near an oven or sharp tools.
- You can easily scale it up or down for cupcakes or a smaller two-layer cake depending on your party size.
- The flavour combination of red velvet and buttercream is a crowd favourite well beyond Halloween, so it never feels one-note.
- It’s endlessly customisable, whether you want it dairy-free, a different colour palette, or a totally different web technique.
If you’re planning a bigger Halloween spread, this cake sits really well next to a batch of Halloween pretzel witch brooms for guests who like a little savoury-sweet crunch on the side.
FAQs
Can I use a boxed red velvet cake mix instead of making it from scratch?
Yes, you can absolutely use a boxed mix if you’re short on time, though the from-scratch sponge does have a richer, more tender texture.
Why did my marshmallow web harden too quickly?
Marshmallow cools fast once it’s out of the microwave, so work quickly and reheat it for a few seconds whenever it starts to stiffen.
Can I make the spider web with icing instead of marshmallows?
Definitely, pipe concentric circles of icing on top and drag a toothpick outward from the centre to create a similar web effect.
How far in advance can I decorate the cake with the marshmallow web?
I’d recommend adding the web no more than a few hours before serving, since it can soften and slide if left too long at room temperature.
Is this cake very sweet?
It has a good balance overall, since the tangy buttermilk in the sponge helps cut through the sweetness of the buttercream and marshmallow.