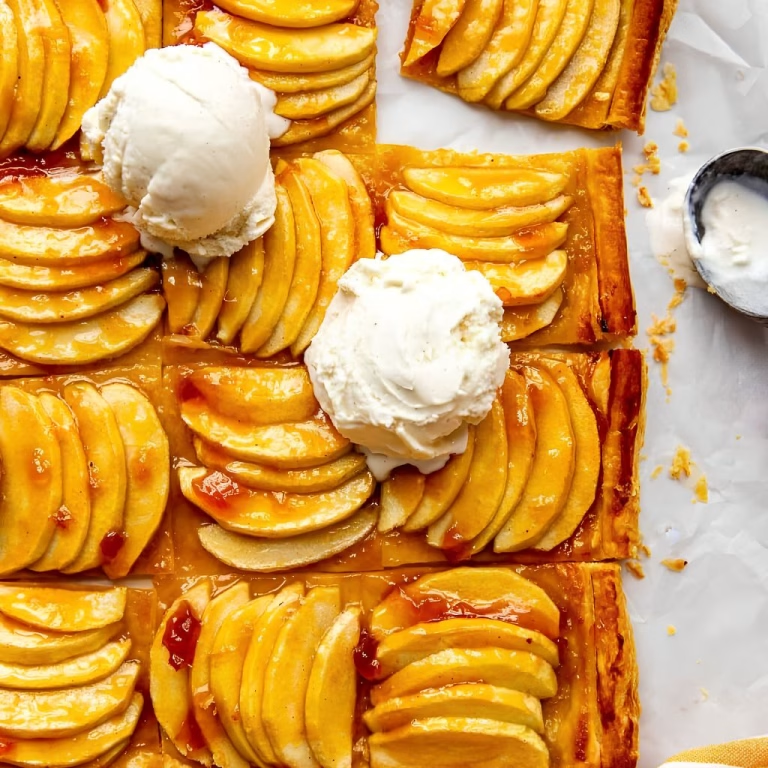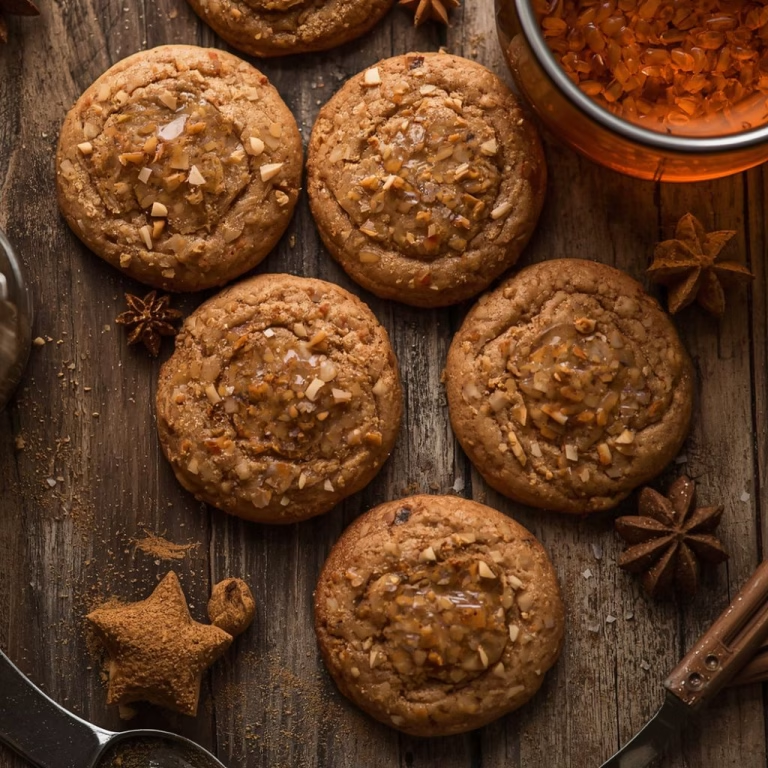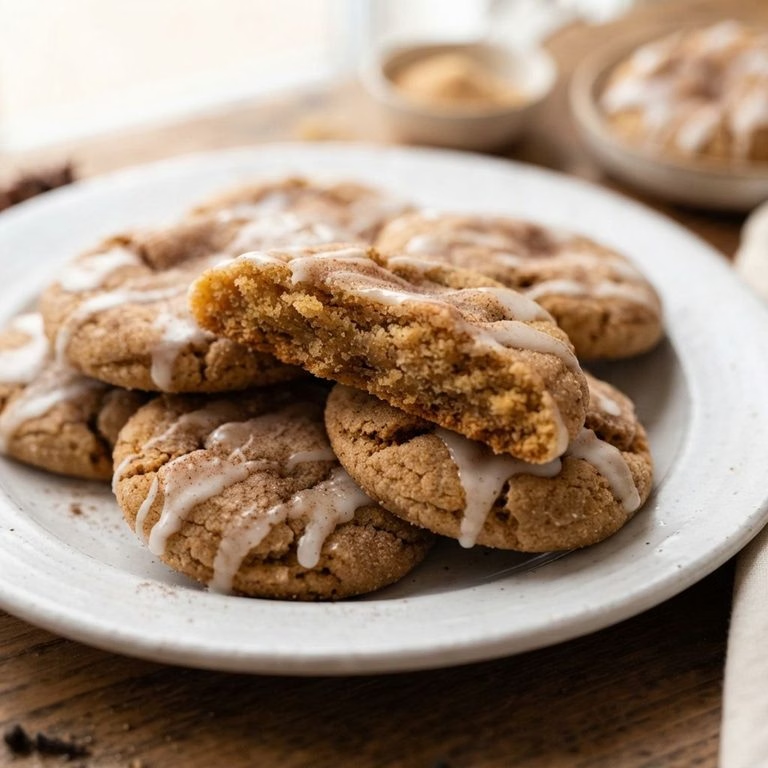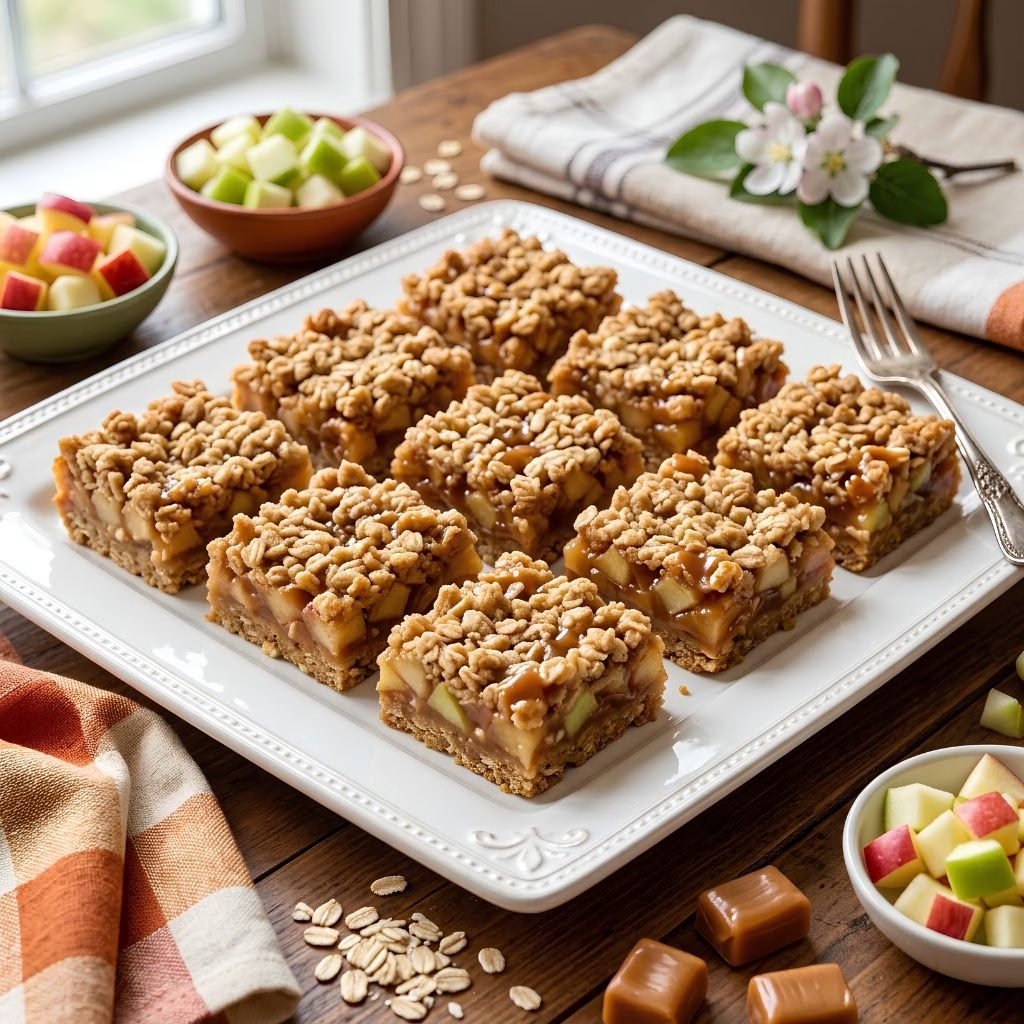
I still remember the first time I pulled a pan of this Candy Apple Bar Recipe out of the oven my whole kitchen smelled like a county fair. I’ve made this old-fashioned apple squares recipe more times than I can count, and it never fails to disappear within a day.
If you love the flavor of a classic candy apple bar but want something easier to slice and share, this one’s for you. I’m walking you through every step I use, plus the little tricks that make this version better than the one I started with.
Cooking Time
- Prep Time: 20 minutes
- Cooking Time: 40 minutes
- Total Time: 1 hour (plus cooling time)
Ingredients for Caramel Apple Bars
- 3/4 cup shortening, plus extra for greasing the pan — this keeps the crust tender instead of tough
- 1 cup light brown sugar, firmly packed — gives the base that deep, caramel-like sweetness
- 1 large egg — binds the crust together so it holds its shape when sliced
- 1 1/2 cups all-purpose flour — the backbone of the crust; spoon and level it instead of scooping
- 1/2 teaspoon salt — balances all the sweetness in the bars
- 1/2 teaspoon baking soda — gives the crust just a little lift without making it cakey
- 1 3/4 cups quick oats, uncooked — adds that classic chewy, old-fashioned texture
- 3 to 4 Granny Smith or Golden Delicious apples, peeled and chopped — tart apples hold their shape best during baking
- 2 tablespoons all-purpose flour (for the filling) — soaks up extra apple juice so the bars don’t turn soggy
- 1 teaspoon lemon juice — keeps the apples bright and stops them from browning
- 1 bag (14 oz) soft caramel candies, unwrapped — the gooey, melty layer that makes this bar irresistible
Note: This recipe makes about 24 bars, perfect for a potluck, bake sale, or sharing with the whole family.
Equipment You Need
- 13×9×2-inch baking pan — the right size for an even layer of crust and topping
- Electric mixer — makes creaming the shortening and sugar quick and smooth
- Microwave-safe bowl — for melting the caramel candies without scorching them
- Mixing bowls (large and small) — one for the crust, one for tossing the apples
- Measuring cups and spoons — for accuracy, especially with the leavening agents
- Butter knife — handy for loosening the caramel from the pan edges after baking
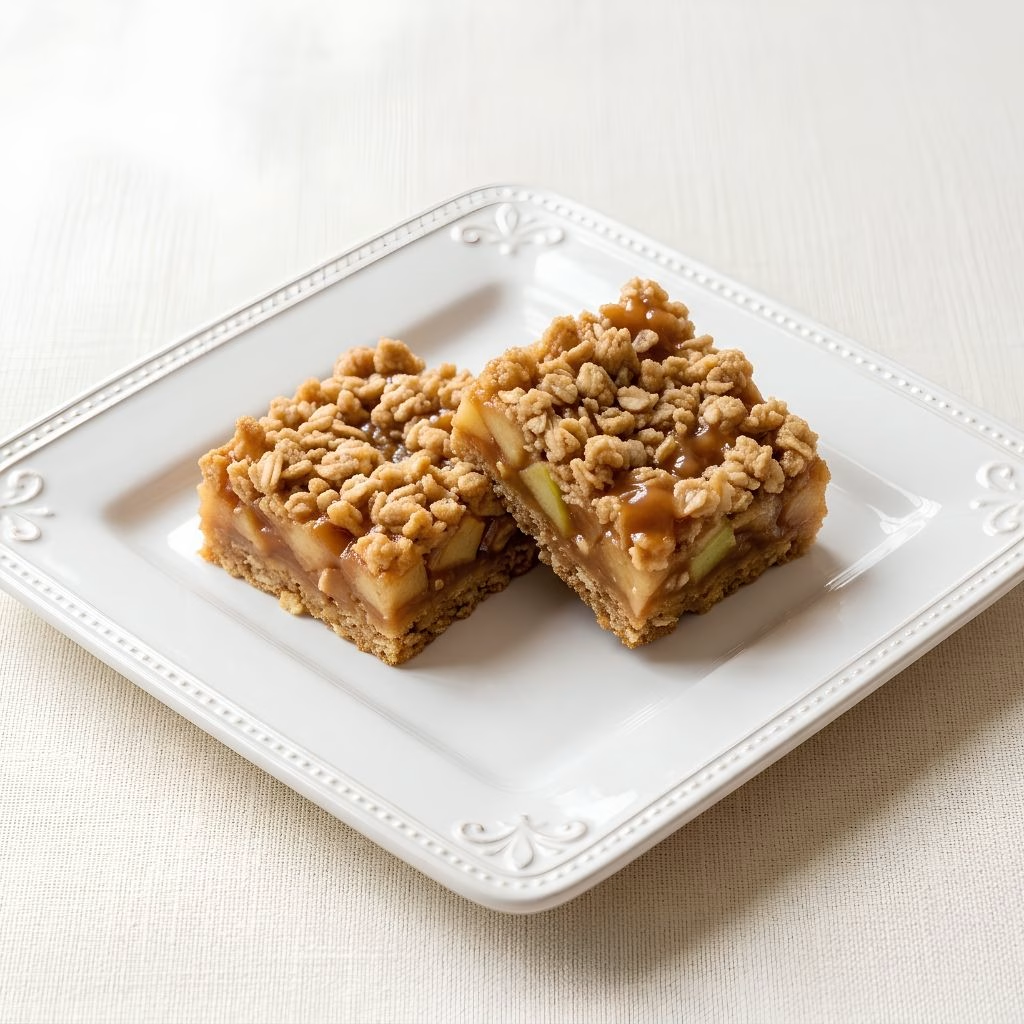
How to Make Caramel Apple Bars Recipe?
I promise this recipe looks more complicated on paper than it actually is in your kitchen. Once you’ve got your ingredients prepped, it really comes down to layering and baking. Here’s exactly how I put mine together every single time.
Prep the Pan and Oven
Start by heating your oven to 350°F so it’s fully ready when your crust is. Grease your 13×9×2-inch baking pan generously with shortening, making sure to coat the corners. This step keeps the finished bars from sticking and tearing when you go to cut them later.
Make the Crust Base
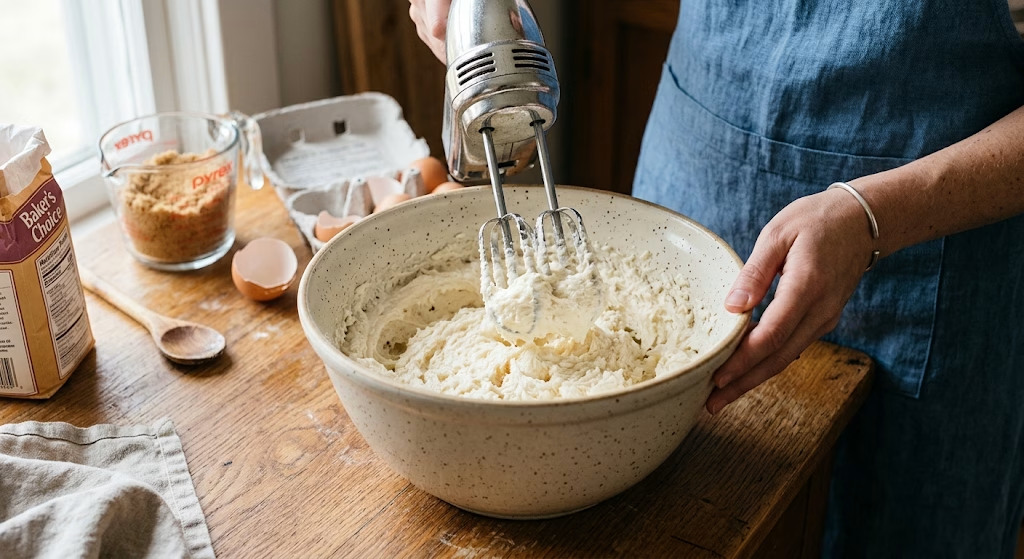
In a large bowl, beat the shortening and brown sugar together until the mixture turns light and fluffy. Add the egg and beat again until it’s fully blended in. This creamed base is what gives the crust its soft, cookie-like texture once baked.
Mix in the Dry Ingredients
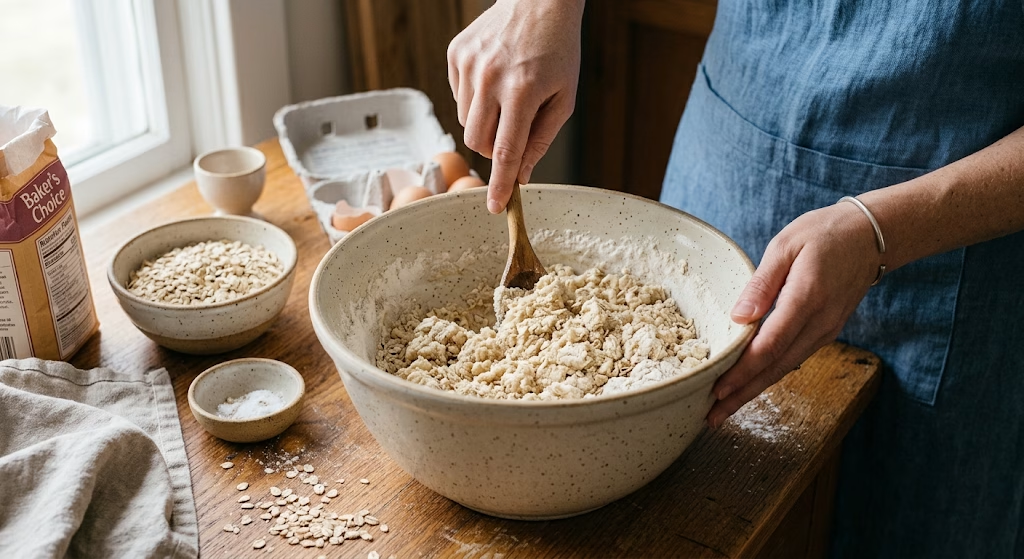
Stir together the flour, salt, and baking soda in a separate bowl, then add it gradually to your creamed mixture. Fold in the quick oats last, mixing just until everything is evenly combined and slightly crumbly.
Press and Pre-Bake the Crust
Set aside about 1 1/4 cups of the oat mixture for your topping later. Press the rest firmly into your prepared pan to form an even bottom layer. Bake this base alone for 10 minutes so it firms up before the apples go on.
Prepare the Apple Filling
While the crust bakes, toss your chopped apples with the 2 tablespoons of flour and the lemon juice in a bowl. This coating helps the apples release less liquid, so your bars stay firm instead of watery. Spread the apple mixture evenly over the warm, partially baked crust.
Melt and Drizzle the Caramel
Place your unwrapped caramel candies in a microwave-safe bowl and heat in 1-minute bursts, stirring between each, until smooth and pourable. Drizzle the melted caramel evenly over the apple layer, letting it settle into every gap. Sprinkle your reserved oat topping over the caramel, pressing it down lightly.
Bake, Cool, and Slice
Bake the assembled bars for 30 to 40 minutes, until the apples are tender and the top is golden brown just don’t overbake, or the caramel can turn too hard. Run a knife along the pan edges while it’s still warm to loosen the caramel. Let the bars cool completely before slicing into neat 1 1/2-inch squares.
Additional Tips for Making This Recipe Better
I’ve made enough batches of this to pick up a few tricks that genuinely make a difference. Here’s what I always keep in mind now.
- I always use tart apples like Granny Smith because they hold their shape and don’t turn mushy under the caramel.
- I chop my apples small and uniform so every bar gets an even bite of fruit.
- I let the crust pre-bake the full 10 minutes. Skipping this step left me with a soggy bottom once.
- I never rush the cooling step; cutting warm bars makes the caramel ooze out and the slices fall apart.
- I line my pan with parchment paper now, which makes lifting the whole slab out for slicing so much easier.
Common Mistakes to Avoid
Over the years I’ve made just about every mistake possible with this recipe, so let me save you the trouble.
- I once overbaked mine trying to get extra-golden topping, and the caramel turned chewy and tough instead of gooey.
- I skipped the lemon juice on the apples one time, and the filling turned brown and dull looking by the time it baked.
- I didn’t press the crust firmly enough into the pan once, and it crumbled apart when I tried to slice the bars.
- I used cold caramels straight from the fridge without fully melting them, which left hard little lumps in the filling.
- I cut the bars too soon after baking, and the caramel layer slid right off the crust.
How to Serve Caramel Apple Bars?
I love serving these bars slightly warm with a scoop of vanilla ice cream melting over the top. The contrast with the gooey caramel is incredible. For a cozier presentation, stack a few squares on a rustic wooden board and dust them lightly with cinnamon or a drizzle of extra caramel sauce.
They also pair beautifully with a warm mug of apple cider if you’re putting together a full fall dessert spread, similar to how I like serving my apple pie bars at family gatherings. A sprinkle of chopped nuts or a touch of flaky sea salt on top gives them a nice bakery-style finish, too.
Variations
This recipe is easy to adjust depending on what you’re craving or what you have on hand.
- Swap the shortening for softened butter for a richer, more old-fashioned apple squares flavor.
- Use a sugar-free caramel sauce if you’re watching sugar intake, though the texture will be slightly softer.
- Add a handful of chopped pecans or walnuts to the apple layer for extra crunch and nuttiness.
- Try a dairy-free caramel candy option to make the whole bar completely dairy-free.
- Mix in a pinch of nutmeg or allspice along with the cinnamon notes already in the apples for a spiced twist.
- Turn this into caramel apple crisp bars by adding extra oats to the topping for a thicker crumble layer.
Nutritional Information
Here’s a general idea of what you’re getting per bar, based on a batch cut into 24 pieces.
- Calories: approximately 183 kcal
- Protein: approximately 3 g
- Carbohydrates: approximately 29 g
- Fat: approximately 6 g
Make Ahead and Storage
Make Ahead: You can prepare the crust and apple filling a day in advance and store them separately in the fridge. Just bring the crust to room temperature before pressing it into the pan so it’s easier to work with.
Storage: Once fully cooled, store the bars in an airtight container at room temperature for up to 2 days, or in the fridge for up to 5 days. The caramel stays softer at room temperature, so I like to let refrigerated bars sit out for about 15 minutes before serving.
Freezing: These bars freeze really well for up to 2 months when wrapped tightly in plastic wrap and foil. Thaw them overnight in the fridge, then let them come to room temperature before enjoying so the caramel softens back up properly.
Why You’ll Love This Recipe?
This caramel apple bar recipe has earned a permanent spot in my fall baking rotation, and I think it’ll do the same for you.
- It’s incredibly easy to make, with simple pantry ingredients and no fancy equipment required, which makes it perfect for beginner bakers.
- It’s endlessly versatile, since you can swap apples, nuts, or caramel types without losing that classic nostalgic flavor.
- It works for any occasion, from potlucks to lunchboxes to holiday dessert tables, much like a good caramel apple crisp does in my house.
- It offers that nostalgic caramel apple taste in bar form, so you get all the flavor without the sticky stick-and-dip mess.
- It stores and travels well, making it one of the few desserts I can actually prep ahead of a busy week.
FAQs
Can I use a different type of apple for this recipe?
Yes, though I recommend sticking with firmer, tart apples like Granny Smith or Golden Delicious so the filling doesn’t turn mushy during baking.
Can I make these caramel apple bars gluten-free?
You can swap in a 1:1 gluten-free flour blend and certified gluten-free oats, and the texture should stay very close to the original.
Why did my caramel layer turn hard instead of gooey?
This usually happens from overbaking, so pull the bars out as soon as the top turns golden brown and the apples feel tender.
How long do these bars actually stay fresh?
They stay fresh for about 2 days at room temperature or up to 5 days in the fridge when stored in an airtight container.
Can I use caramel sauce instead of caramel candies?
Yes, a thick caramel sauce works as a substitute, though candies tend to set up firmer, which makes slicing the bars a bit cleaner.

Candy Apple Bar Recipe
Ingredients
Method
- Start by heating your oven to 350°F so it’s fully ready when your crust is. Grease your 13×9×2-inch baking pan generously with shortening, making sure to coat the corners. This step keeps the finished bars from sticking and tearing when you go to cut them later.
- In a large bowl, beat the shortening and brown sugar together until the mixture turns light and fluffy. Add the egg and beat again until it’s fully blended in. This creamed base is what gives the crust its soft, cookie-like texture once baked.
- Stir together the flour, salt, and baking soda in a separate bowl, then add it gradually to your creamed mixture. Fold in the quick oats last, mixing just until everything is evenly combined and slightly crumbly.
- Set aside about 1 1/4 cups of the oat mixture for your topping later. Press the rest firmly into your prepared pan to form an even bottom layer. Bake this base alone for 10 minutes so it firms up before the apples go on.
- While the crust bakes, toss your chopped apples with the 2 tablespoons of flour and the lemon juice in a bowl. This coating helps the apples release less liquid, so your bars stay firm instead of watery. Spread the apple mixture evenly over the warm, partially baked crust.
- Place your unwrapped caramel candies in a microwave-safe bowl and heat in 1-minute bursts, stirring between each, until smooth and pourable. Drizzle the melted caramel evenly over the apple layer, letting it settle into every gap. Sprinkle your reserved oat topping over the caramel, pressing it down lightly.
- Bake the assembled bars for 30 to 40 minutes, until the apples are tender and the top is golden brown — just don’t overbake, or the caramel can turn too hard. Run a knife along the pan edges while it’s still warm to loosen the caramel. Let the bars cool completely before slicing into neat 1 1/2-inch squares.
Notes
- I always use tart apples like Granny Smith because they hold their shape and don’t turn mushy under the caramel.
- I chop my apples small and uniform so every bar gets an even bite of fruit.
- I let the crust pre-bake the full 10 minutes. Skipping this step left me with a soggy bottom once.
- I never rush the cooling step; cutting warm bars makes the caramel ooze out and the slices fall apart.
- I line my pan with parchment paper now, which makes lifting the whole slab out for slicing so much easier