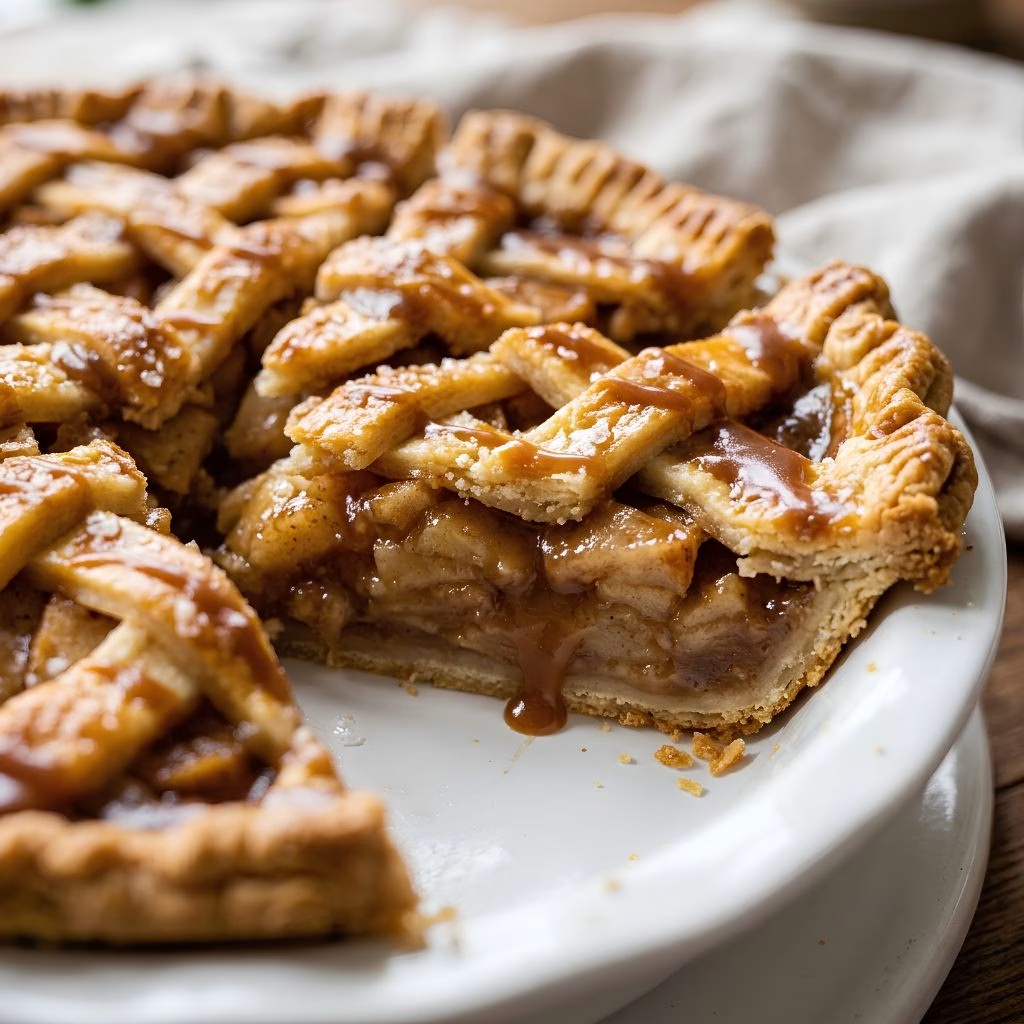
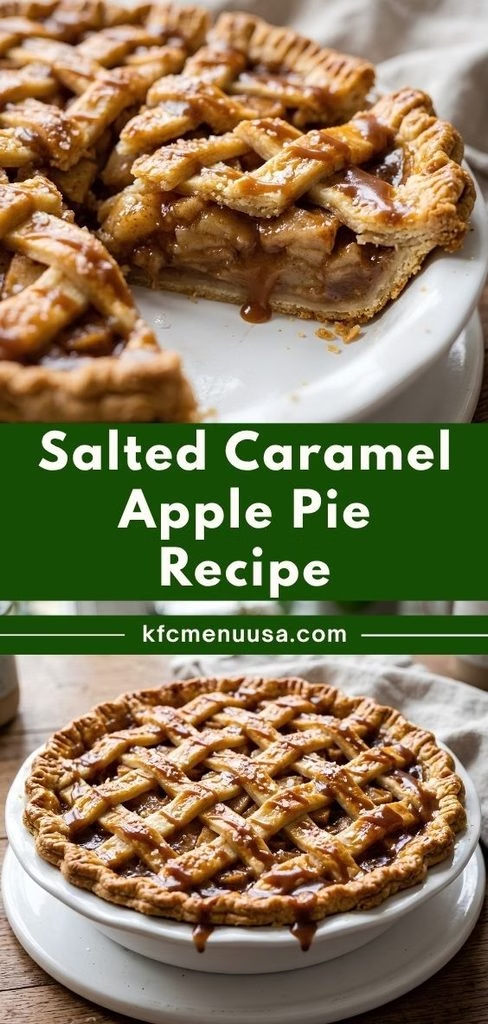
I still remember the first time I drizzled warm salted caramel over a bubbling apple pie fresh out of my oven. The smell alone had my whole kitchen smelling like a bakery. I’ve made classic apple pie more times than I can count, but once I added salted caramel into the mix, there was no going back for me.
This Salted Caramel Apple Pie Recipe takes everything cozy about a traditional apple pie and dials it up with gooey caramel pockets and a hit of flaky sea salt. I promise you, once you try this version, it’ll become your new fall favorite too.
Cooking Time
- Prep Time: 45 minutes
- Cooking Time: 55 minutes
- Total Time: 1 hour 40 minutes (plus cooling time)
Ingredients
- 8 large Granny Smith apples, peeled and thinly sliced — their tartness balances the sweet caramel beautifully
- 3 tablespoons fresh lemon juice — keeps the apple slices from browning while you work
- ¼ cup all-purpose flour — thickens the juices so your filling isn’t runny
- ⅔ cup granulated sugar — adds classic apple pie sweetness without overpowering the caramel
- 2½ teaspoons ground cinnamon — the warm spice that makes this pie taste like fall
- ¼ teaspoon ground nutmeg — a small amount rounds out the spice flavor nicely
- 2 pie crusts (homemade or store-bought), chilled — use a buttery, flaky crust for best results
- 1 large egg, beaten — brushed on top for that golden, glossy finish
- 1 cup salted caramel sauce, divided — go homemade if you have time, it tastes far richer
- ¾ cup heavy cream — essential if you’re making your own caramel sauce from scratch
- ¾ cup light brown sugar — gives homemade caramel its deep, molasses-y flavor
- 2 tablespoons honey — adds a smooth, rounded sweetness to the caramel
- 3 tablespoons unsalted butter — makes the caramel glossy and silky
- Flaky sea salt, for garnish — don’t skip this, it’s what makes the flavor pop
Note: This recipe makes one 9-inch pie and serves 8 people.
Equipment You Need
- 9-inch pie dish — holds the crust and filling while baking
- Large mixing bowl — for tossing the apple slices with sugar and spices
- Rolling pin — rolls out your pie dough evenly
- Pastry brush — spreads the egg wash smoothly over the crust
- Small saucepan — needed for cooking the homemade caramel sauce
- Aluminum foil or a pie shield — protects the crust edges from over-browning
- Cooling rack — lets the pie cool evenly before slicing
How to Make Salted Caramel Apple Pie Recipe?
Making this pie isn’t complicated, it just takes a little patience while the apples macerate and the pie bakes low and slow. I like breaking it into clear stages so nothing feels rushed. Here’s exactly how I put mine together from start to finish.
Prepare the Pie Crust
I always start with my dough since it needs time to chill. Roll out one disc and fit it into your pie dish, letting the extra dough hang over the edges. Pop the lined dish into the fridge while you prep the filling. A cold crust bakes up flakier every single time.
Mix the Apple Filling
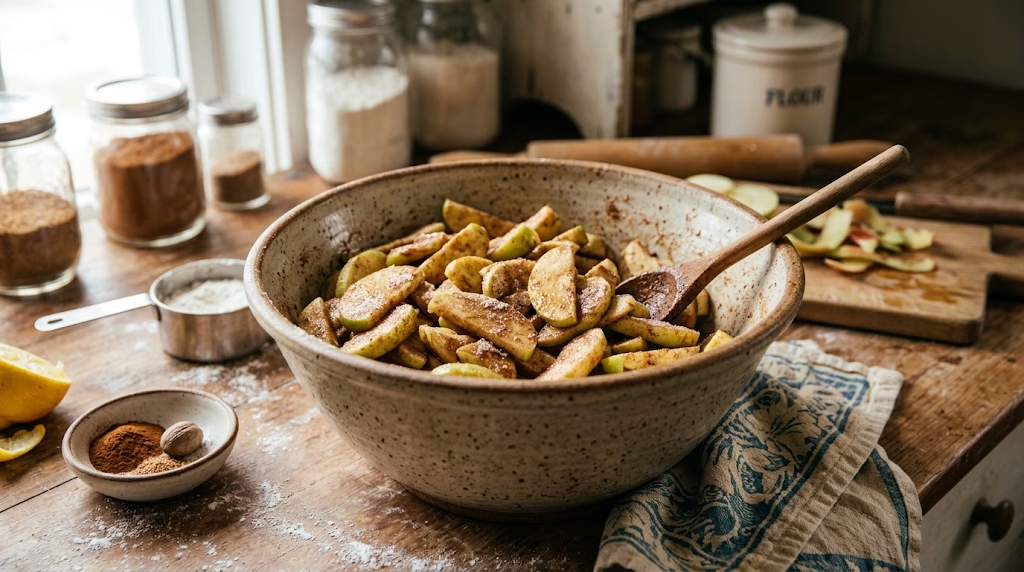
In a large bowl, I toss the sliced apples with lemon juice first to stop browning. Then I add the flour, sugar, cinnamon, and nutmeg, tossing everything until every slice is coated. Let this mixture sit for about 10 minutes so the apples release some juice.
Assemble the Pie
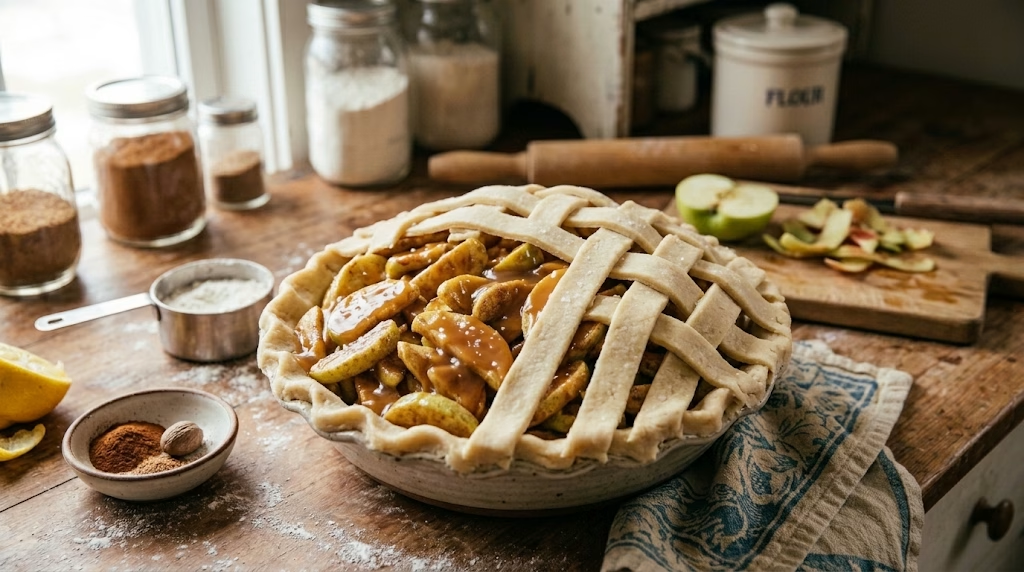
Pour the apple mixture into your chilled crust, mounding it slightly in the center. Drizzle about half a cup of your salted caramel sauce evenly over the apples. Top with the second crust, either as a full sheet with vented slits or a lattice design I personally love how the lattice shows off the caramel underneath.
Crimp and Egg Wash
Trim any excess dough hanging over the edges, then crimp the crust using your fingers or a fork to seal everything in. Brush the entire top generously with the beaten egg for that bakery-style shine. This step also helps the crust turn a deep golden color.
Bake the Pie
Bake at 400°F for 20 minutes, then reduce the heat to 375°F and continue baking for another 35 to 40 minutes. Keep an eye on the edges and tent them with foil if they’re browning too quickly. The pie is done once the filling is bubbling through the vents.
Cool and Drizzle
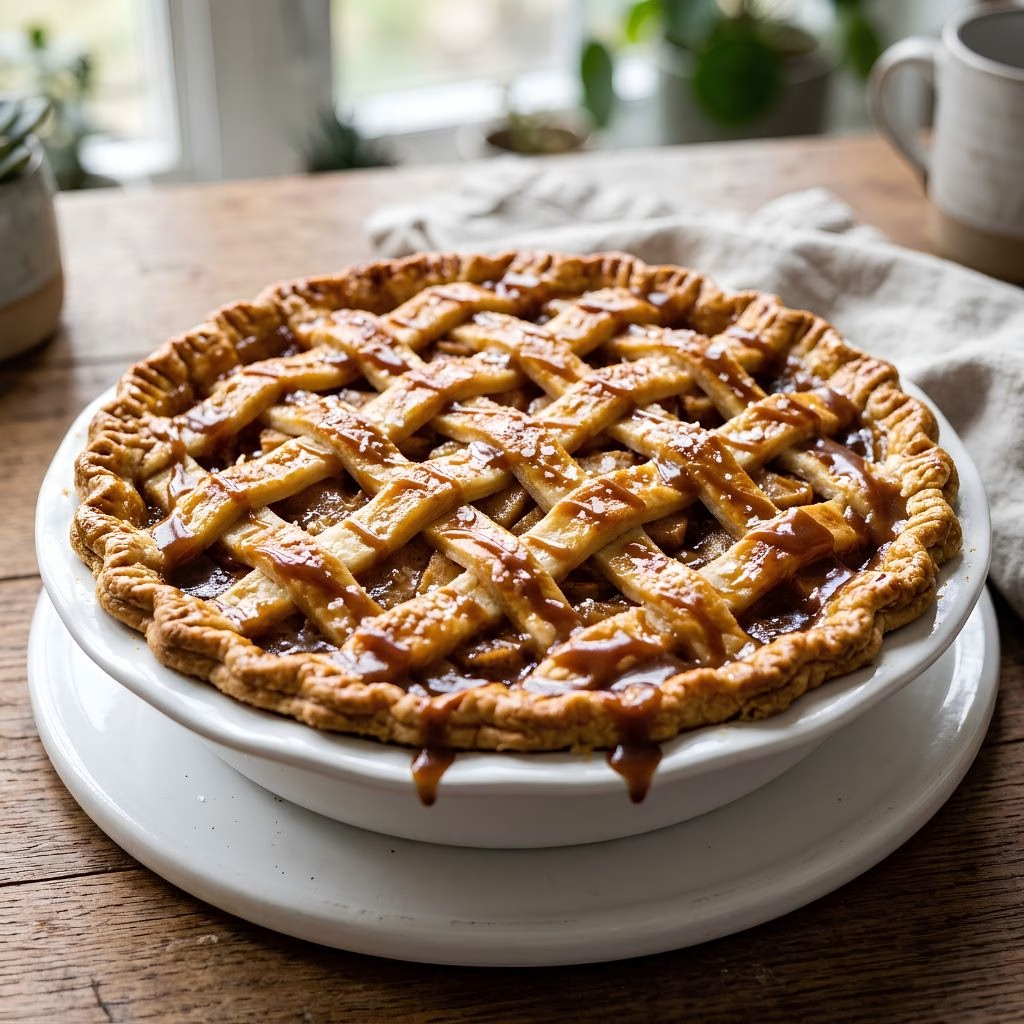
Let the pie cool on a rack for at least 2 hours before slicing. I know it’s tempting to cut in early, but this helps the filling set properly. Once cooled, drizzle the remaining salted caramel over the top and finish with a sprinkle of flaky sea salt.
Additional Tips for Making This Recipe Better
Over the many times I’ve baked this pie, I’ve picked up a few tricks that make a real difference in the final result.
- I always chill my dough for at least 30 minutes before rolling it out, it makes the crust so much easier to work with.
- I like mixing two apple varieties, usually Granny Smith with Honeycrisp, for a more complex flavor and texture.
- I never skip letting the apples rest after tossing them in sugar, it keeps my pie from turning watery.
- I warm my caramel sauce slightly before drizzling so it spreads evenly instead of clumping.
- I place my pie dish on a baking sheet before it goes in the oven, it catches any caramel that bubbles over and saves me a messy cleanup.
Common Mistakes to Avoid
I’ve made my fair share of pie mishaps, so here’s what I’d tell myself if I were starting out.
- I used to skip chilling my crust and ended up with a tough, shrunken edge, so now I never skip that step.
- I once overfilled my pie with caramel and it leaked everywhere in the oven, so I stick to measured amounts now.
- I learned the hard way that slicing a pie too soon makes the filling run, so I force myself to wait the full cooling time.
- I used to forget the vent slits on my top crust, which trapped steam and made the crust soggy underneath.
- I once used apples that were too thin and they turned to mush, so I keep my slices about a quarter-inch thick now.
How to Serve Salted Caramel Apple Pie
I love serving each slice slightly warm with a scoop of vanilla ice cream melting right into the caramel. A light dusting of cinnamon on top adds a nice finishing touch for presentation.
If I’m hosting, I’ll plate it on a rustic wooden board with extra caramel drizzled in a swirl around the slice. For an elegant look, I add a few thin apple slices fanned out beside the pie along with a sprinkle of sea salt flakes right before serving.
Variations
- Swap the apples for pears if you want a softer, sweeter filling with the same caramel pairing.
- Use a dairy-free butter and coconut cream for a dairy-free version of the caramel sauce.
- Try a sugar-free brown sugar substitute if you’re cutting back on refined sugar.
- Add chopped pecans or walnuts into the filling for a bit of crunch.
- Mix in a tablespoon of bourbon into the caramel sauce for a deeper, boozy flavor note.
- Use a streusel or crumb topping instead of a lattice crust for a different texture.
Nutritional Information
Here’s a general breakdown per slice, based on 8 servings from one pie.
- Calories: approximately 640 kcal
- Protein: approximately 5g
- Carbohydrates: approximately 85g
- Fat: approximately 30g
Make Ahead and Storage
You can make the salted caramel sauce up to a month in advance and keep it refrigerated in a sealed jar, just warm it slightly before using. The baked pie stores well at room temperature for a day, or in the fridge for up to 4 days when covered tightly. To reheat, warm individual slices in the oven at 300°F for about 10 minutes so the crust stays crisp instead of going soft in the microwave. If you want to freeze it, wrap the fully cooled, baked pie tightly in plastic and foil, and it’ll keep well in the freezer for up to 3 months.
Why You’ll Love This Recipe
This pie checks every box for me, whether I’m baking for a holiday table or just craving something cozy on a weekend.
- It’s easier than it looks, the steps are simple enough for a beginner baker to follow with confidence.
- It’s endlessly versatile, since you can swap in different apples, toppings, or caramel flavors to suit what you have on hand.
- It works for dietary swaps, with dairy-free and lower-sugar options that don’t compromise much on taste.
- The flavor is unbeatable, that mix of tart apples, warm spice, and salty-sweet caramel is hard to top.
- It’s a total crowd-pleaser, I’ve never brought this to a gathering without someone asking for the recipe.
FAQs
Can I use a different apple variety for this recipe?
Yes, you can use Honeycrisp, Braeburn, or Pink Lady apples if you prefer a sweeter filling instead of tart.
Can I make the caramel sauce ahead of time?
Absolutely, homemade salted caramel keeps in the fridge for about a month, so making it a day or two early works great.
Why is my pie filling runny?
This usually happens if the apples weren’t tossed with enough flour or if the pie was sliced before it fully cooled.
Can I freeze this pie before baking it?
Yes, you can assemble the pie, wrap it tightly, and freeze it unbaked for up to 3 months, then bake it straight from frozen with extra time added.
Do I have to make my own salted caramel sauce?
Not at all, a good quality store-bought salted caramel sauce works perfectly fine if you’re short on time.
If you enjoyed this twist on a classic, you might also like trying an apple crumble pie recipe for a streusel-topped take on the same cozy apple flavors, or these caramel apple turnovers if you’re craving the same gooey caramel-apple combo in a smaller, handheld treat.