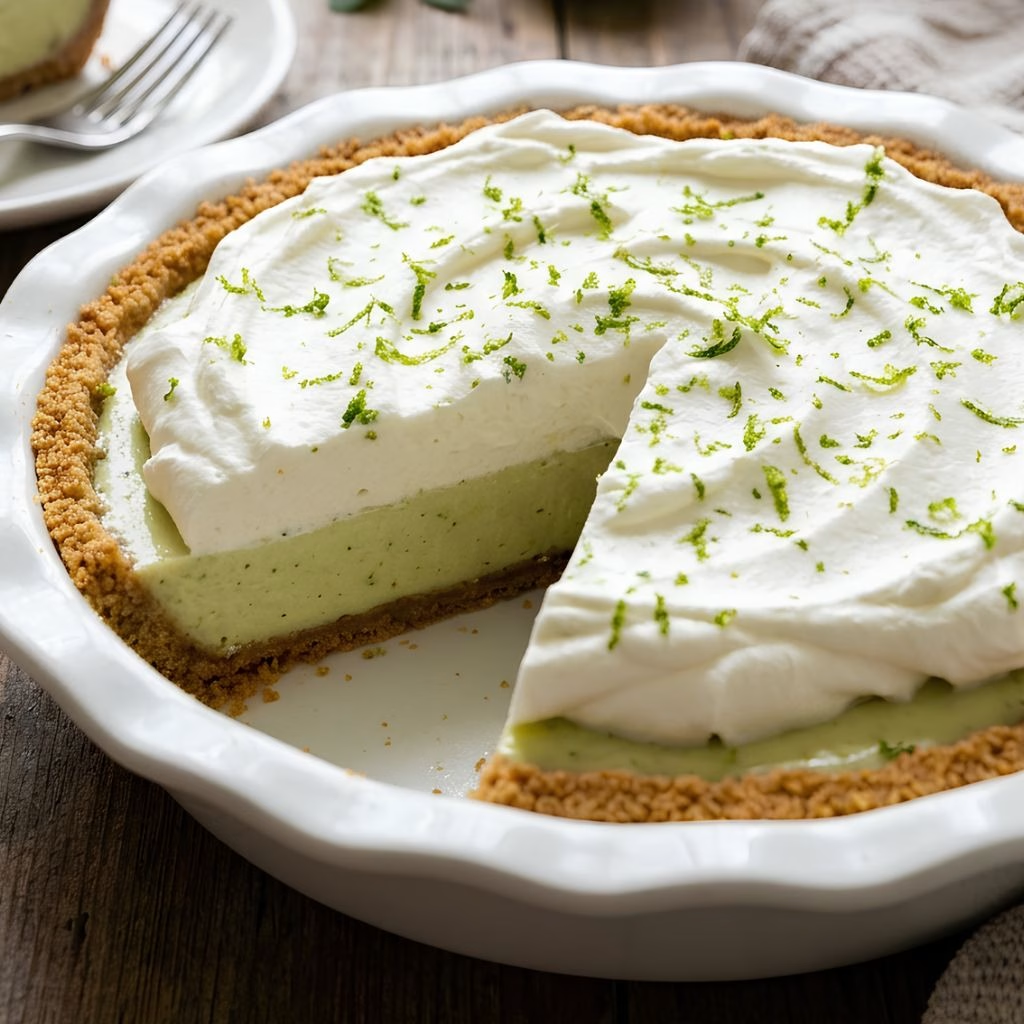
I still remember the first time I made this Easy Key Lime Pie Recipe for a backyard dinner with friends. It disappeared before I even got a slice. I love it because it comes together with just a handful of ingredients and no fancy skills required. There’s something about that sweet-tart lime filling against a crumbly graham crust that makes me crave it every summer.
I’ve tweaked this recipe enough times now that I can practically make it with my eyes closed, and I’m excited to walk you through exactly how I do it. Whether you’re a key lime pie newbie or you’ve burned a few crusts in the past, I promise this version is nearly foolproof.
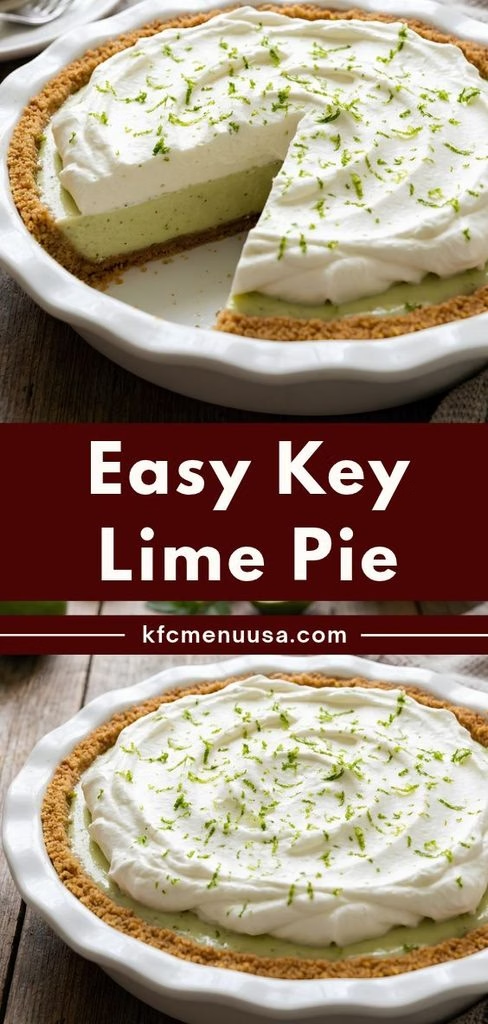
Cooking Time
- Prep Time: 15 minutes
- Cooking Time: 15 minutes
- Total Time: 3 hours 30 minutes (includes chilling)
Ingredients
- 5 egg yolks — these give the filling its rich, custardy texture, so don’t toss the whites, save them for meringue another day
- 1 (14-ounce) can sweetened condensed milk — this is what thickens the filling without needing gelatin or cornstarch
- 1/2 cup key lime juice — fresh-squeezed is best, but good-quality bottled key lime juice works in a pinch
- 1 tablespoon lime zest (optional) — adds an extra punch of citrus aroma and a prettier green fleck throughout
- 1 (9-inch) prepared graham cracker crust — a huge time-saver, though a homemade one tastes even better if you have 10 extra minutes
- Whipped cream or whipped topping, for garnish — balances the tartness with a touch of creamy sweetness
Note: Serves 8
Equipment You Need
- Mixing bowl — for combining the egg yolks, condensed milk, and lime juice
- Whisk or hand mixer — to blend the filling until smooth and slightly thickened
- Rubber spatula — for scraping every bit of filling into the crust
- Measuring cups and spoons — to keep your ratios accurate
- 9-inch pie plate — holds your crust and filling if you’re not using a store-bought shell
- Citrus juicer or reamer — makes squeezing key limes faster and less messy
- Oven — to set the filling and lightly bake the crust
- Wire cooling rack — helps the pie cool evenly before it goes into the fridge
How to Make an Easy Key Lime Pie Recipe?
This easy key lime pie recipe comes together in two quick stages: mixing the filling and letting the oven do the rest. I like to have everything measured out before I start so the process feels almost effortless. Here’s exactly how I make it every single time.
Preheat Your Oven
I always start by preheating my oven to 375°F so it’s fully ready the moment my filling is mixed. A properly heated oven helps the eggs set evenly instead of cooking unevenly around the edges. While it heats up, I set my graham cracker crust on the counter so it’s not fridge-cold when the filling goes in.
Whisk the Egg Yolks
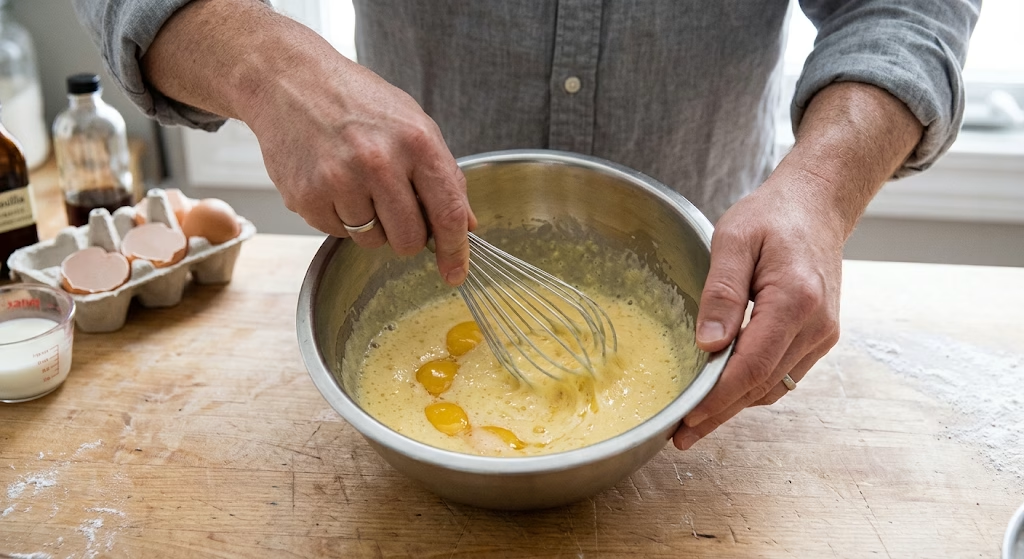
In a mixing bowl, I beat the five egg yolks until they turn a little pale and slightly thickened. This step only takes about a minute with a whisk or hand mixer. Getting the yolks well-beaten first helps the filling blend smoother once the other ingredients join in.
Add the Condensed Milk and Lime Juice
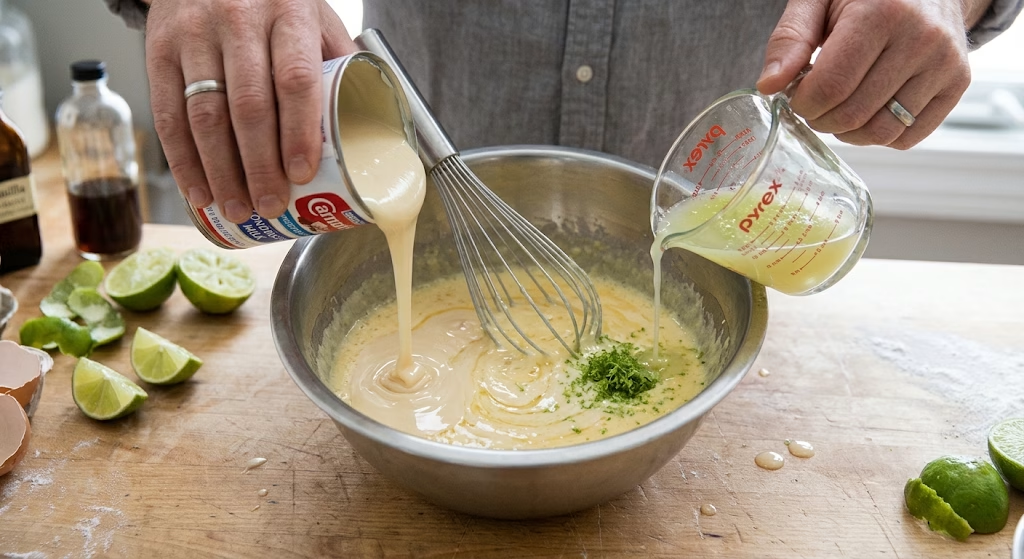
Next, I pour in the sweetened condensed milk and key lime juice, whisking everything together until it’s completely smooth. The mixture will thicken slightly as the acid from the lime juice reacts with the condensed milk. If I’m using zest, this is when I stir it in for extra flavor.
Pour the Filling Into the Crust
I pour the lime filling straight into my prepared graham cracker crust, using a spatula to scrape the bowl clean. I give the pie plate a gentle shake to help the filling settle into an even layer. This little step prevents any lopsided slices later.
Bake the Pie
I slide the pie into my preheated oven and bake it for about 15 minutes, just until the center looks mostly set with a slight jiggle. Overbaking can make the filling rubbery, so I keep a close eye on it after the 12-minute mark. The edges should look just barely set when I pull it out.
Cool and Chill
Once it’s out of the oven, I let the pie cool on a wire rack for about 30 minutes before transferring it to the fridge. It needs at least 2 to 3 hours of chilling to fully set into clean, sliceable pieces. I know it’s ready when the center feels firm, not wobbly, to a light touch.
Garnish and Serve
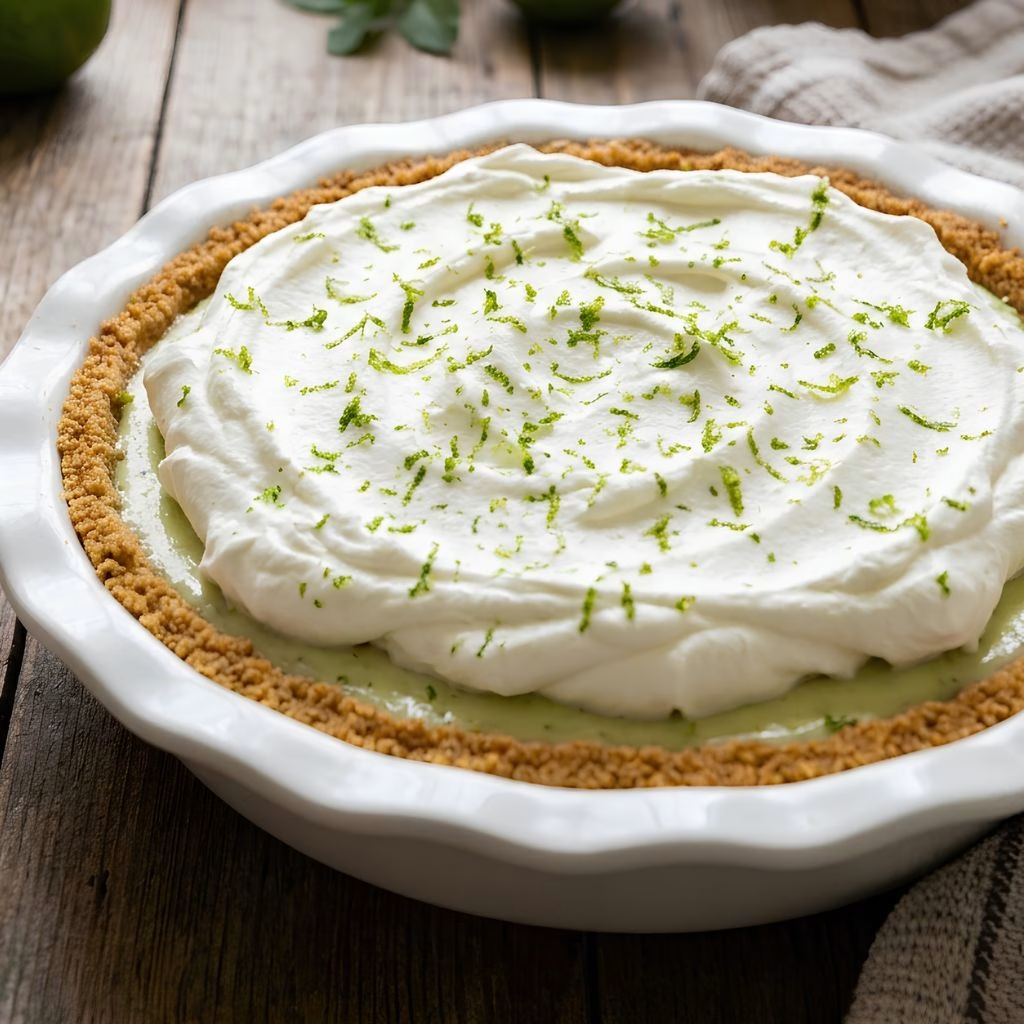
Right before serving, I top my pie with a layer of whipped cream or whipped topping. A few lime slices or a little extra zest on top make it look bakery-worthy. Then it’s just a matter of slicing and watching it vanish.
Additional Tips for Making This Recipe Better
I’ve made this pie more times than I can count, and these are the little things that genuinely make a difference for me.
- I always use room-temperature egg yolks since they blend into the condensed milk much more smoothly than cold ones.
- I never skip the brief bake; it sets the eggs safely and gives the filling a firmer, sliceable texture.
- I like adding a pinch of lime zest right into the filling, not just on top, for a deeper citrus flavor in every bite.
- I chill my pie for the full three hours, even when I’m tempted to rush it, because a half-set pie never slices cleanly.
- I keep my whipped cream separate until serving time so the pie doesn’t get soggy while it’s chilling.
Common Mistakes to Avoid
Here are a few slip-ups I’ve personally made (and fixed) while perfecting this recipe.
- I once used bottled regular lime juice instead of key lime juice, and the flavor was noticeably flatter and less fragrant.
- I overbaked the pie once thinking longer meant safer, but it turned the filling slightly rubbery instead of silky.
- I tried slicing it straight out of the oven once, and it completely fell apart. Full chilling time really is non-negotiable.
- I forgot to zest my limes before juicing them, which meant no zest at all since a juiced lime is useless for zesting.
- I used a cold crust straight from the fridge once, and the bottom turned a bit soggy from the temperature difference with the filling.
How to Serve Easy Key Lime Pie?
I love serving this pie chilled, straight from the fridge, with a generous swirl of whipped cream on each slice. A few thin lime wheels or curls of zest on top instantly make it look like it came from a bakery case.
For dinner parties, I sometimes serve individual slices on small plates with a mint leaf tucked beside the whipped cream for a pop of color. It also pairs beautifully with a cup of coffee or iced tea on a warm afternoon.
Variations
- Swap the egg yolks and skip baking for a 3 ingredient no bake key lime pie using just condensed milk, key lime juice, and whipped topping folded together.
- Use a reduced-fat condensed milk and light whipped topping for a lighter version of this easy key lime pie recipe.
- Stir in a few tablespoons of Greek yogurt for an easy key lime pie recipe with yogurt that adds a slight tang and creaminess.
- Try a chocolate cookie crust instead of graham cracker for a richer, more decadent base.
- Add a tablespoon of coconut cream to the filling for a tropical twist on the classic flavor.
- For an easy key lime pie recipe with no eggs version, replace the yolks with an extra 1/4 cup of sour cream for a similarly creamy texture.
Nutritional Information
Here’s a rough idea of what you’ll find in one slice of this pie (based on 8 servings).
- Calories: 320 per slice
- Protein: 6g per slice
- Carbohydrates: 45g per slice
- Fat: 13g per slice
Make Ahead and Storage
You can make this pie up to a day in advance since it actually tastes better once the flavors have had time to settle in the fridge. Store it covered loosely with plastic wrap or foil, and it will stay fresh in the refrigerator for 3 to 4 days. For longer storage, freeze the pie (without whipped topping) for up to 1 month, then thaw it overnight in the fridge before serving.
Why You’ll Love This Recipe?
This easy key lime pie recipe has earned a permanent spot in my dessert rotation, and here’s why I think you’ll love it too.
- It’s incredibly simple: With just a handful of pantry staples, I can have this pie mixed and in the oven in under 15 minutes.
- It’s naturally make-ahead friendly: Since it needs to chill anyway, it’s one less thing to worry about on the day of a party or gathering.
- It’s easy to customize: From a no-bake version to a yogurt-based filling, this base recipe adapts to whatever I’m craving.
- It balances sweet and tart perfectly: The condensed milk mellows the tang of the key lime juice into something irresistibly balanced.
- It always impresses: Despite how little effort it takes, this pie consistently gets asked about at every gathering I bring it to.
FAQs
Can I use regular limes instead of key limes?
Yes, regular limes will work, though the flavor will be slightly less floral and intense than true key lime juice.
Why is my key lime pie filling runny?
It likely needs more time in the oven or more chilling time in the fridge, since both steps help the filling fully set.
Can I make this a 3 ingredient key lime pie?
Yes, simply combine sweetened condensed milk, key lime juice, and whipped topping, then chill without baking for a simple no-bake version.
How long does key lime pie last in the fridge?
It stays fresh for 3 to 4 days when covered and refrigerated, though it’s best enjoyed within the first two days.
Can I freeze key lime pie?
Yes, you can freeze it without the whipped topping for up to a month, then thaw it in the refrigerator before adding fresh toppings and serving.
If you enjoyed this pie, you might also love this no-bake lemon cheesecake recipe for another cool, citrusy dessert that needs zero oven time. And if graham cracker crusts are your thing, don’t miss this classic lemon bars recipe for another easy, tangy treat to add to your rotation.

Easy Key Lime Pie Recipe
Ingredients
Method
- I always start by preheating my oven to 375°F so it’s fully ready the moment my filling is mixed. A properly heated oven helps the eggs set evenly instead of cooking unevenly around the edges. While it heats up, I set my graham cracker crust on the counter so it’s not fridge-cold when the filling goes in.
- In a mixing bowl, I beat the five egg yolks until they turn a little pale and slightly thickened. This step only takes about a minute with a whisk or hand mixer. Getting the yolks well-beaten first helps the filling blend smoother once the other ingredients join in.
- Next, I pour in the sweetened condensed milk and key lime juice, whisking everything together until it’s completely smooth. The mixture will thicken slightly as the acid from the lime juice reacts with the condensed milk. If I’m using zest, this is when I stir it in for extra flavor.
- I pour the lime filling straight into my prepared graham cracker crust, using a spatula to scrape the bowl clean. I give the pie plate a gentle shake to help the filling settle into an even layer. This little step prevents any lopsided slices later.
- I slide the pie into my preheated oven and bake it for about 15 minutes, just until the center looks mostly set with a slight jiggle. Overbaking can make the filling rubbery, so I keep a close eye on it after the 12-minute mark. The edges should look just barely set when I pull it out.
- Once it’s out of the oven, I let the pie cool on a wire rack for about 30 minutes before transferring it to the fridge. It needs at least 2 to 3 hours of chilling to fully set into clean, sliceable pieces. I know it’s ready when the center feels firm, not wobbly, to a light touch.
- Right before serving, I top my pie with a layer of whipped cream or whipped topping. A few lime slices or a little extra zest on top make it look bakery-worthy. Then it’s just a matter of slicing and watching it vanish.
Notes
- I always use room-temperature egg yolks since they blend into the condensed milk much more smoothly than cold ones.
- I never skip the brief bake; it sets the eggs safely and gives the filling a firmer, sliceable texture.
- I like adding a pinch of lime zest right into the filling, not just on top, for a deeper citrus flavor in every bite.
- I chill my pie for the full three hours, even when I’m tempted to rush it, because a half-set pie never slices cleanly.
- I keep my whipped cream separate until serving time so the pie doesn’t get soggy while it’s chilling.