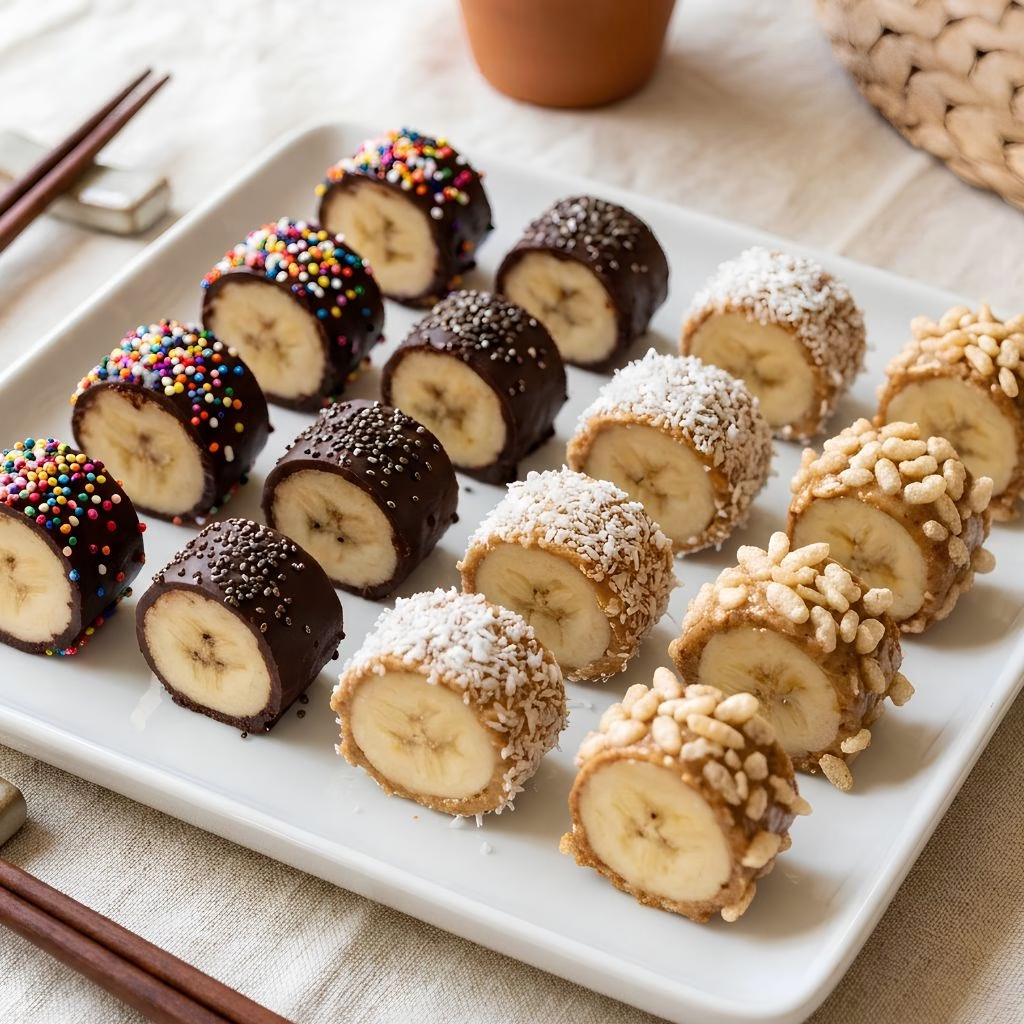
I first made this Banana Sushi Recipe on a rainy afternoon when my kids were bored and I needed something quick, mess-friendly, and genuinely fun to make together.
I love that it needs no oven, no stove, and barely any skill, just a banana, a few toppings, and a knife. Every time I make it, someone in my house asks for the “chocolate one” and someone else wants the “crunchy one,” so I usually end up making a batch of each.
This simple banana sushi recipe has become our go-to after-school snack because it looks playful, tastes like a treat, and sneaks in real fruit. If you have ever typed “banana sushi roll near me” into Google, I promise this homemade version beats anything you’d find out there.
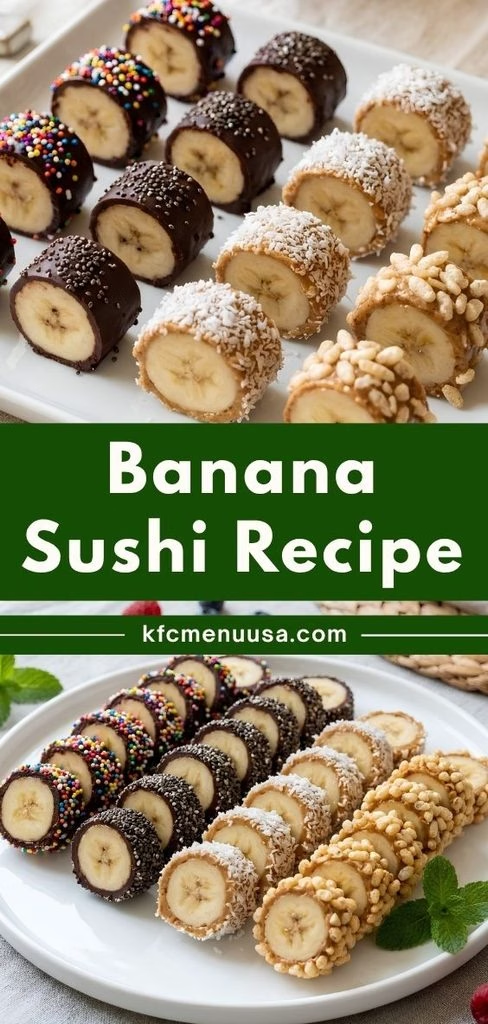
Cooking Time
- Prep Time: 10 minutes
- Cooking Time: 0 minutes (no cooking required, just melting toppings)
- Total Time: 15-20 minutes, including a short chill in the fridge
Ingredients
- 4 ripe bananas – pick ones that are firm with no soft spots, they hold their shape better when sliced
- 2 squares dark chocolate – melts smoothly and gives that classic banana dessert sushi coating
- 1 tablespoon sprinkles – adds color and crunch, kids love this topping the most
- 0.5 tablespoon chia seeds – a simple way to add a little texture and nutrition
- 3 tablespoons nut butter (peanut or almond) – use a natural, drippy one so it spreads easily
- 1.5 tablespoons shredded coconut – go for unsweetened if you want a less sugary bite
- 3 tablespoons rice krispies – gives a satisfying crunch without any baking
- Note: this recipe makes enough for 4-6 servings, depending on how small you slice each roll
Equipment You Need
- Cutting board – gives you a clean, stable surface to work on
- Sharp knife – for peeling and slicing the bananas into neat sushi-style rounds
- Microwave-safe bowl – for melting the dark chocolate in seconds
- Small plates or trays – one for each topping so coating stays easy and mess-free
- Fridge or freezer – to set the chocolate coating before slicing
How to Make a Banana Sushi Recipe?
I promise this is one of the easiest “recipes” I’ve ever put together, more assembly than actual cooking. You just prep the bananas, dress them up with toppings, let them firm up, then slice and serve. Here’s exactly how I do it at home.
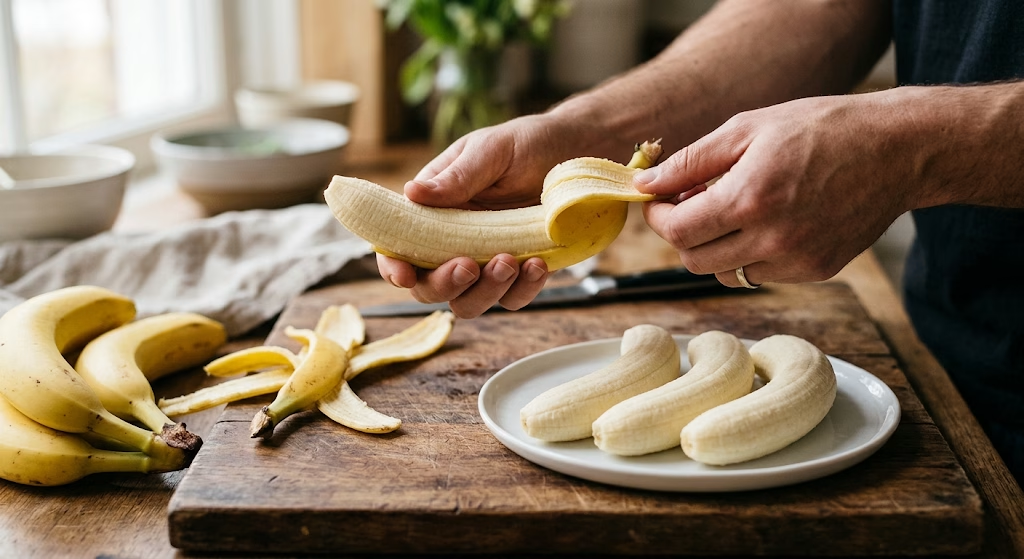
Peel and Prep the Bananas
I start by peeling each banana carefully so it stays whole and smooth. I place them on a flat plate or board, giving each one space so the toppings don’t smear into each other. If a banana looks a little too ripe or soft, I set it aside for banana bread instead, since firmer fruit slices much cleaner here.
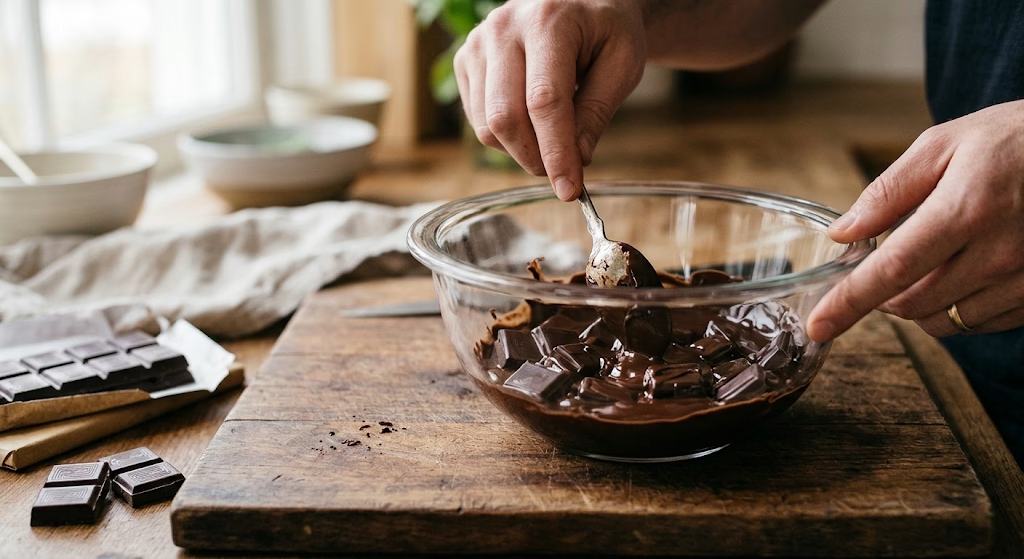
Melt the Chocolate
Next, I break the dark chocolate squares into a microwave-safe bowl and heat it in short 15-second bursts, stirring between each one. I never rush this step because chocolate burns quickly if left too long. Once it’s smooth and glossy, I let it cool for a minute before pouring.
Coat the Chocolate Bananas
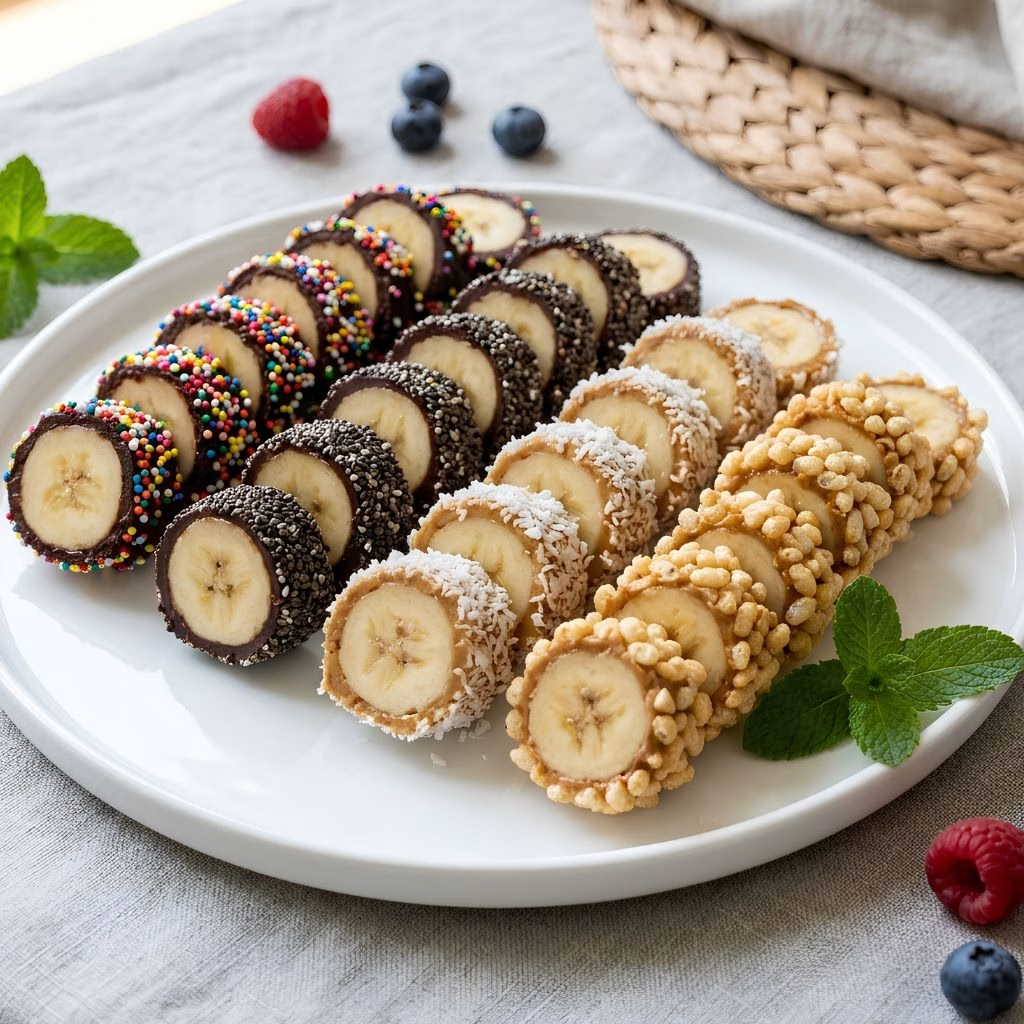
I pour the melted chocolate evenly over two of the bananas, turning them gently so every side gets covered. While the chocolate is still wet, I sprinkle one banana with the colorful sprinkles and the other with chia seeds. This is the step my kids fight over the most.
Coat the Nut Butter Bananas
For the remaining two bananas, I spread the nut butter generously using the back of a spoon until it’s fully covering each one. Then I roll one banana in shredded coconut and the other in rice krispies, pressing gently so the coating sticks well. This version always reminds me of simple banana sushi recipe videos I’ve seen online, just made at home.
Chill Until Set
I place all four bananas on a lined tray and pop them into the fridge for about 10 minutes. If I’m short on time, the freezer works in half that time. This step matters because a firm coating slices so much more cleanly than a soft, melty one.
Slice and Serve
Once everything feels set, I slice each banana into bite-sized rounds, just like sushi pieces. I arrange them on a plate, sometimes with chopsticks on the side for fun, and serve immediately so the texture stays perfect.
Additional Tips for Making This Recipe Better
I’ve made this enough times to pick up a few tricks that genuinely make a difference.
- I always use bananas that are ripe but still firm, because overripe ones turn mushy the moment I try to slice them.
- I dip my knife in warm water before slicing through the chocolate coating, it stops the chocolate from cracking.
- I lay down parchment paper on my tray before chilling, which makes cleanup so much easier.
- I prep all my toppings on separate plates before I even peel the bananas, so the whole process moves faster.
- I like adding a pinch of cinnamon to the nut butter, it gives the flavor a little extra warmth.
Common Mistakes to Avoid
I’ve messed this recipe up more than once, so here’s what I’ve learned to watch out for.
- I used to melt the chocolate too long in one go, and it seized up instead of staying smooth, so now I always do short bursts.
- I once skipped chilling the bananas and ended up with a sticky, sliding mess when I tried to cut them.
- I’ve over-stuffed the toppings before, which made the coating fall off in chunks instead of sticking evenly.
- I tried using bananas that were too ripe once, and they practically fell apart under the knife.
- I forgot to slice with a clean, sharp knife one time, and it dragged the toppings instead of cutting through them neatly.
How to Serve Banana Sushi?
I like arranging the sliced pieces on a long rectangular plate or a wooden board, almost like an actual sushi platter, since it makes the presentation feel special for something this simple. A light dusting of extra coconut or a drizzle of melted chocolate over the top always makes the plate look more finished.
I’ll sometimes set out a small bowl of yogurt or berry sauce on the side for dipping, which pairs nicely if you’re also making something like a fruit dip recipe for the same snack table. Chopsticks on the side are optional, but they make this banana sushi recipe for kids feel like a genuine activity rather than just a snack.
Variations
Part of why I keep coming back to this recipe is how easy it is to switch up based on what’s in my kitchen.
- Swap dark chocolate for white chocolate or a dairy-free chocolate bar if you’re avoiding dairy
- Use a sugar-free nut butter and unsweetened coconut for a lower-sugar version
- Roll the banana sushi roll in crushed granola or chopped nuts instead of rice krispies for extra crunch
- Try banana sushi with bread by wrapping a thin slice of soft bread or a tortilla around the banana before slicing, similar to how I make a banana and peanut butter wrap recipe
- Add a drizzle of honey or maple syrup for a touch more sweetness
- While the name “japanese banana sushi” is playful rather than traditional, you can lean into the theme with a side of sweetened rice for a fun presentation
Nutritional Information
Here’s a general idea of what one serving of this banana sushi looks like, though the exact numbers will shift slightly depending on your toppings.
- Calories: approximately 150-180 per serving
- Protein: around 3-4 grams per serving
- Carbohydrates: roughly 22-26 grams per serving
- Fat: about 6-8 grams per serving
Make Ahead and Storage
I don’t recommend making the fully sliced version too far ahead, since the banana itself starts to brown and soften after a few hours at room temperature.
You can prep the toppings and melt the chocolate up to a day in advance, storing the chocolate in a sealed container and reheating it gently before use.
Once sliced, leftovers keep in an airtight container in the fridge for up to a day, though the texture is best enjoyed fresh. I don’t recommend freezing the sliced pieces, as the banana turns mushy once thawed, but whole uncut toppped bananas can be frozen for about a week for a frozen treat instead.
Why You’ll Love This Recipe?
This banana sushi recipe has earned a permanent spot in my snack rotation for a few solid reasons.
- It comes together in minutes with zero cooking, which makes it perfect for busy afternoons or last-minute guests.
- It’s endlessly customizable, so I can make a chocolate version for one kid and a crunchy coconut version for another without any extra effort.
- It works as one of the easier healthy banana snacks for kids, since it’s built on real fruit rather than processed sugar.
- It fits dietary swaps easily, whether that means going dairy-free, reducing added sugar, or adding protein with a nut butter coating.
- It turns a basic banana into something that feels like a fun activity, not just a quick snack.
FAQs
Can I make banana sushi ahead of time?
I’d only prep the toppings ahead and assemble the bananas shortly before serving, since cut banana browns and softens quickly once exposed to air.
What can I use instead of nut butter?
I’ve swapped in sunflower seed butter or even softened cream cheese when I needed a nut-free option, and both worked well.
Is this recipe safe for school lunches?
I’d pack it in an insulated container with an ice pack, since the toppings can soften if left out too long in a warm bag.
Can I use frozen bananas for this recipe?
I don’t recommend it, frozen and thawed bananas turn too soft and watery to hold the coating or slice cleanly.
How do I stop the banana from browning before serving?
I brush a little lemon juice over any exposed banana flesh, which slows down browning if I’m not serving the sushi immediately.

Banana Sushi Recipe
Ingredients
Method
- I start by peeling each banana carefully so it stays whole and smooth. I place them on a flat plate or board, giving each one space so the toppings don’t smear into each other. If a banana looks a little too ripe or soft, I set it aside for banana bread instead, since firmer fruit slices much cleaner here.
- Next, I break the dark chocolate squares into a microwave-safe bowl and heat it in short 15-second bursts, stirring between each one. I never rush this step because chocolate burns quickly if left too long. Once it’s smooth and glossy, I let it cool for a minute before pouring.
- I pour the melted chocolate evenly over two of the bananas, turning them gently so every side gets covered. While the chocolate is still wet, I sprinkle one banana with the colorful sprinkles and the other with chia seeds. This is the step my kids fight over the most.
- For the remaining two bananas, I spread the nut butter generously using the back of a spoon until it’s fully covering each one. Then I roll one banana in shredded coconut and the other in rice krispies, pressing gently so the coating sticks well. This version always reminds me of simple banana sushi recipe videos I’ve seen online, just made at home.
- I place all four bananas on a lined tray and pop them into the fridge for about 10 minutes. If I’m short on time, the freezer works in half that time. This step matters because a firm coating slices so much more cleanly than a soft, melty one.
- Once everything feels set, I slice each banana into bite-sized rounds, just like sushi pieces. I arrange them on a plate, sometimes with chopsticks on the side for fun, and serve immediately so the texture stays perfect.
Notes
- I always use bananas that are ripe but still firm, because overripe ones turn mushy the moment I try to slice them.
- I dip my knife in warm water before slicing through the chocolate coating, it stops the chocolate from cracking.
- I lay down parchment paper on my tray before chilling, which makes cleanup so much easier.
- I prep all my toppings on separate plates before I even peel the bananas, so the whole process moves faster.
- I like adding a pinch of cinnamon to the nut butter, it gives the flavor a little extra warmth