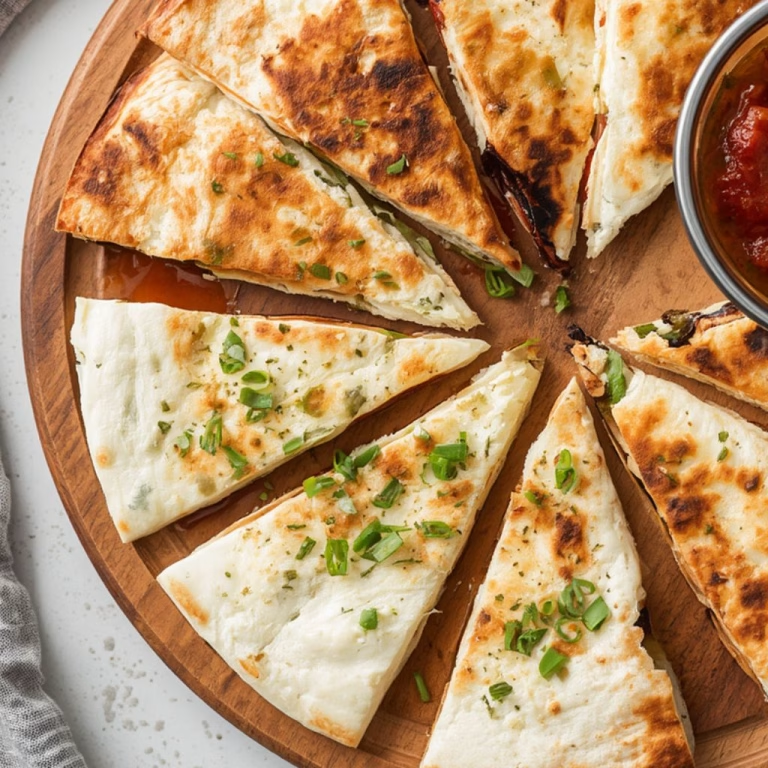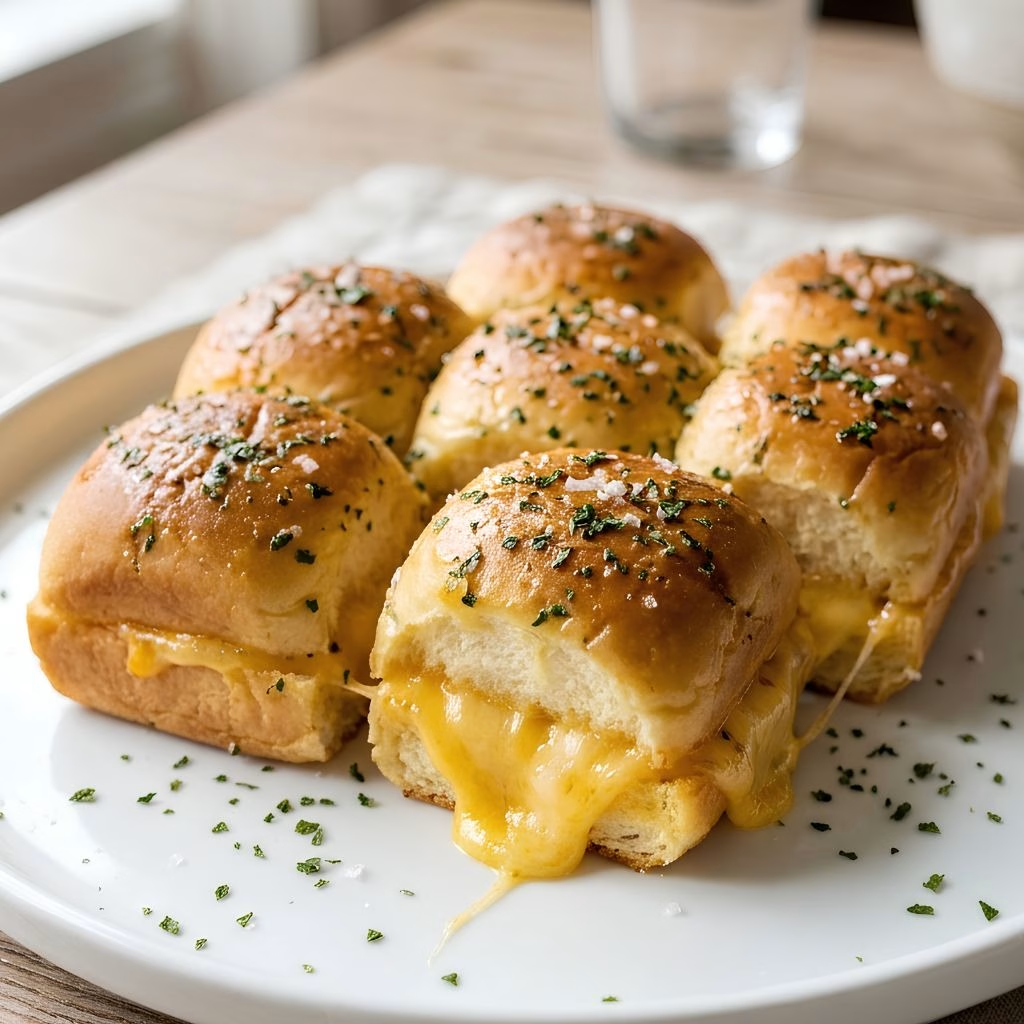
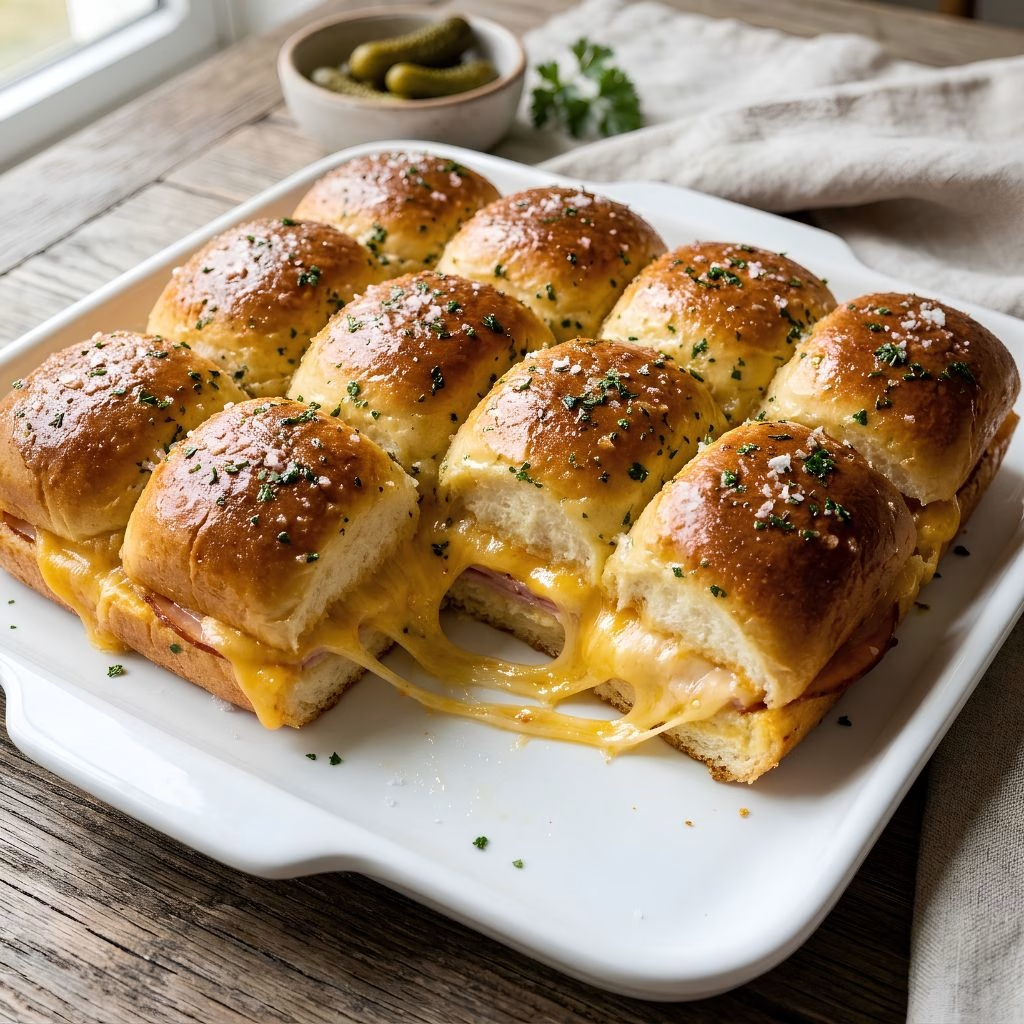
I still remember the first time I made a batch of these for soup night. I was tired of standing over a skillet flipping sandwiches one at a time, so I decided to bake a whole tray at once instead. The moment I pulled them out, golden and buttery with cheese oozing from the edges, I knew I’d never go back to the old way.
These little guys come together with just a handful of pantry staples, and I love that one batch feeds a crowd without me breaking a sweat. If you’ve got a pot of tomato soup simmering and want the easiest dunkers on the planet, I promise you’re going to want to bookmark this Mini Grilled Cheese Recipe.
Cooking Time
- Prep Time: 10 minutes
- Cook Time: 12–15 minutes
- Total Time: 25 minutes
Ingredients
- 1 package Hawaiian sweet rolls (12-count) – soft, slightly sweet rolls are what make these mini sandwiches so irresistible
- 5 tablespoons salted butter, melted – brushing this over the rolls is what gives them that golden, crispy top
- 12 slices sharp cheddar cheese – grate or slice it fresh for the best melt instead of using pre-shredded bags
- 1 teaspoon garlic powder – stirred into the butter, it adds a savory punch without overpowering the cheese
- 1 teaspoon dried parsley – mostly for color, but it also adds a mild herby note to every bite
- ½ teaspoon onion powder – rounds out the butter topping with a little extra depth of flavor
- Pinch of flaky sea salt – a light sprinkle on top balances the sweetness of the rolls
Note: This recipe makes about 12 mini grilled cheese sandwiches, enough to serve 4–6 people as a snack or light meal.
Equipment You Need
- Baking sheet – holds all the rolls together so they bake evenly in one go
- Parchment paper or foil – keeps the melted butter and cheese from sticking to the pan
- Serrated knife – makes slicing the connected rolls in half much neater
- Pastry brush – helps spread the butter mixture evenly over every roll
- Mixing bowl – for combining the butter with the garlic powder and seasonings
- Oven mitts – because that tray comes out hot and bubbly
How to Make a Mini Grilled Cheese Recipe?
I promise this is one of the most forgiving recipes I’ve ever made there’s no flipping, no babysitting a hot skillet, and barely any cleanup. You basically slice, butter, stack, and bake, and the oven does the rest. Here’s exactly how I put mine together every single time.
Step 1: Prep the Rolls
Without separating the individual rolls, slice the entire sheet of Hawaiian rolls in half horizontally so you have one large top layer and one large bottom layer. Set the bottom half, cut-side up, directly onto your lined baking sheet. Keeping the rolls connected is what makes this recipe so fast and foolproof.
Step 2: Layer the Cheese
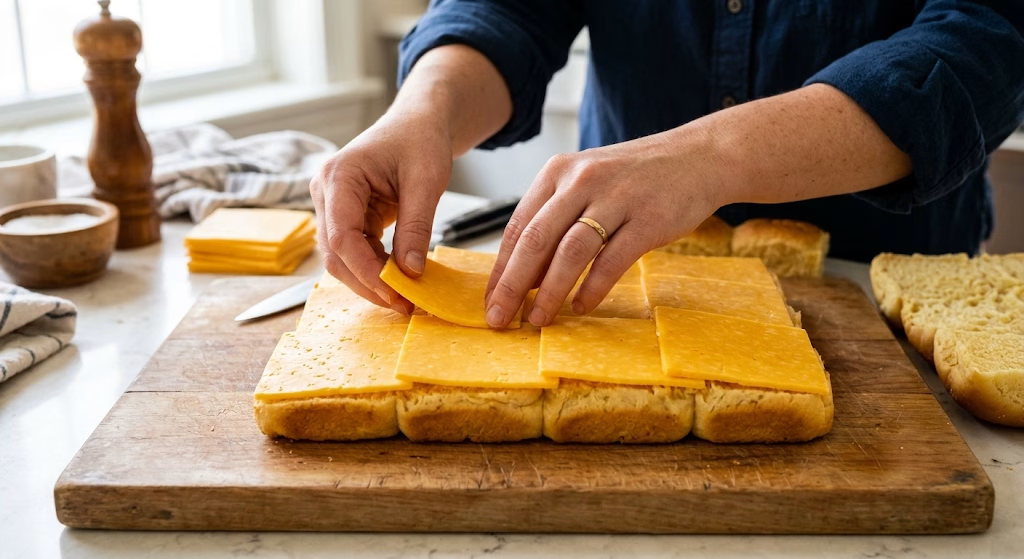
Lay all 12 slices of sharp cheddar cheese evenly across the bottom half of the rolls so every single section gets full coverage. I like to slightly overlap the slices so there are no gaps once it melts. This is the step that turns simple rolls into an actual grilled cheese.
Step 3: Make the Garlic Butter
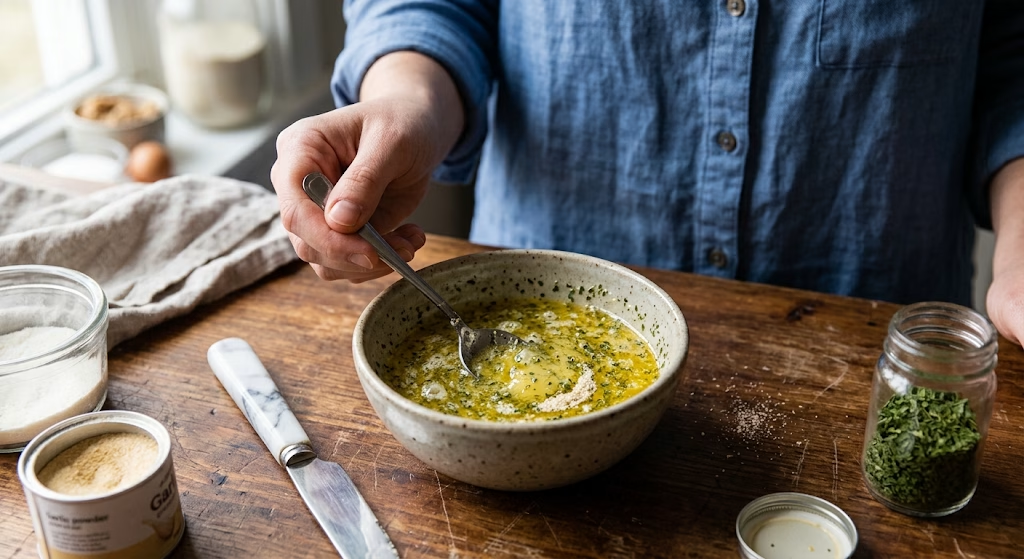
In a small bowl, stir together the melted butter, garlic powder, onion powder, and dried parsley until fully combined. This fragrant butter is what gives the tops their golden color and that irresistible savory aroma while baking. I always make a little extra because it disappears fast.
Step 4: Assemble the Sandwich
Place the top half of the rolls back over the cheese layer, cut-side down, so you’ve got one giant connected sandwich. Using your pastry brush, generously coat the top of the rolls with the garlic butter mixture, making sure to get every corner. Sprinkle a small pinch of flaky sea salt over the top.
Step 5: Bake Until Golden
Cover the tray loosely with foil and bake at 350°F for about 10 minutes, then uncover and bake for another 3–5 minutes until the tops are golden and the cheese is fully melted. The foil keeps the rolls soft while letting the cheese melt through before the tops get too dark.
Step 6: Slice and Serve
Let the tray rest for 2–3 minutes before using a serrated knife to slice along the natural seams of the rolls into individual mini sandwiches. Serving them warm is key, since the cheese is at its gooiest right out of the oven. Arrange them on a platter and watch them disappear.
Additional Tips for Making This Recipe Better
After making this more times than I can count, I’ve picked up a few tricks that take it from good to genuinely crave-worthy.
- I always grate my own cheddar straight off the block because pre-shredded cheese has anti-caking agents that keep it from melting as smoothly.
- I let my butter cool slightly before mixing in the seasonings so it doesn’t separate or turn greasy on top of the rolls.
- I never skip the foil in the first part of baking. It keeps my rolls from drying out while the cheese gets fully melted underneath.
- I like to brush a second light layer of butter halfway through baking for an extra glossy, flavorful top.
- I always slice with a serrated knife instead of a regular one, since it glides through the soft rolls without squishing them.
Common Mistakes to Avoid
I’ve made nearly every one of these mistakes myself, so trust me when I say they’re worth avoiding.
- I once used cold, hard butter straight from the fridge, and it tore the tops of my rolls instead of spreading smoothly always melt it first.
- I tried pre-shredded cheese once to save time, and the melt was patchy and a little gritty compared to fresh-sliced or fresh-grated cheddar.
- I’ve overbaked a batch before by leaving the foil off the whole time, which dried out the rolls before the cheese even finished melting.
- I didn’t let mine rest before slicing one time, and the cheese oozed everywhere instead of staying neatly inside each sandwich.
- I separated the rolls before baking once, thinking it would be easier, but they dried out faster and lost that soft, pull-apart texture.
How to Serve Mini Grilled Cheese
These little sandwiches are endlessly versatile, and I love dressing them up depending on the occasion.
For a cozy night in, I set the whole platter next to a bowl of warm tomato soup so everyone can dip to their heart’s content. If you want another comforting pairing, I often serve these alongside this Chicken Noodle Soup recipe for a heartier, soup-and-sandwich combo that fills everyone up.
For parties, I arrange them on a wooden board with little toothpicks and a small bowl of marinara or ranch for dipping, which makes them feel more like a fun appetizer spread. A light dusting of extra parsley or a few cracks of black pepper right before serving also makes the platter look that much more inviting.
Variations
I love how easily this base recipe can be switched up depending on what I’m craving or who I’m feeding.
- Swap the sweet rolls for slider buns or a thinly sliced baguette if you want a slightly less sweet, more bread-forward bite.
- Use pretzel bites or pretzel buns instead of dinner rolls for a chewy, salty twist on the classic, similar in spirit to this Pretzel Bites recipe I make often for parties.
- Try a dairy-free cheese alternative and vegan butter if you need this to be fully plant-based.
- Add a thin layer of fig jam or honey under the cheese for a sweet-and-savory flavor boost.
- Mix in crumbled cooked bacon or thinly sliced ham between the cheese layers for a heartier, protein-packed version.
- Swap sharp cheddar for a blend of mozzarella and provolone if you prefer a milder, stretchier melt.
Nutritional Information
Here’s a general breakdown per mini sandwich, though exact values will vary based on the cheese and rolls you use.
- Calories: approximately 140 kcal
- Protein: approximately 5g
- Carbohydrates: approximately 12g
- Fat: approximately 8g
Make Ahead and Storage
Make Ahead: You can assemble the rolls, cheese, and butter topping up to a day in advance, then cover and refrigerate the unbaked tray until you’re ready to bake it fresh.
Storage: Leftovers keep well in an airtight container in the fridge for up to 3 days. I like to let them cool completely before storing so they don’t get soggy from trapped steam.
Freezing and Reheating: These freeze nicely for up to 1 month if wrapped tightly in foil, and I usually reheat them straight from frozen in a 325°F oven for about 10–12 minutes until warmed through and the cheese is melty again.
Why You’ll Love This Recipe?
Every time I make these, I’m reminded why they’ve become a permanent fixture in my recipe rotation.
- It’s incredibly easy: There’s no individual flipping or babysitting a stovetop, since the oven does all the heavy lifting for you in one tray.
- It feeds a crowd fast: One batch makes a dozen mini sandwiches, which is perfect for game day, a kids’ party, or a casual soup night with friends.
- It’s endlessly customizable: From the bread to the cheese to the add-ins, I can tweak this recipe to match whatever I’m in the mood for.
- It’s great for dipping: The small size makes these sandwiches perfect for pairing with soups, sauces, or dips without feeling messy to eat.
- It reheats beautifully: Unlike a lot of sandwiches, these hold up well in the fridge or freezer and taste just as good the second time around.
FAQs
Can I use regular bread instead of Hawaiian rolls?
Yes, you can use slider buns, a sliced baguette, or even thick sandwich bread cut into smaller pieces, though the texture and sweetness will be slightly different.
What’s the best cheese for mini grilled cheese sandwiches?
Sharp cheddar is my go-to for its bold flavor and smooth melt, but a mix of mozzarella, provolone, or Gruyère also works beautifully.
Can I make these ahead of time for a party?
Absolutely assemble the tray the night before, keep it covered in the fridge, and pop it in the oven right before your guests arrive.
How do I keep the rolls from drying out in the oven?
Covering the tray loosely with foil for the first part of baking traps in moisture, which keeps the rolls soft while the cheese fully melts.
Can I make this recipe without an oven?
Yes, you can cook individual sandwiches in a skillet over medium-low heat, flipping once, until both sides are golden and the cheese is melted, similar to a classic grilled cheese.

Mini Grilled Cheese Recipe
Ingredients
Method
- Without separating the individual rolls, slice the entire sheet of Hawaiian rolls in half horizontally so you have one large top layer and one large bottom layer. Set the bottom half, cut-side up, directly onto your lined baking sheet. Keeping the rolls connected is what makes this recipe so fast and foolproof.
- Lay all 12 slices of sharp cheddar cheese evenly across the bottom half of the rolls so every single section gets full coverage. I like to slightly overlap the slices so there are no gaps once it melts. This is the step that turns simple rolls into an actual grilled cheese.
- In a small bowl, stir together the melted butter, garlic powder, onion powder, and dried parsley until fully combined. This fragrant butter is what gives the tops their golden color and that irresistible savory aroma while baking. I always make a little extra because it disappears fast.
- Place the top half of the rolls back over the cheese layer, cut-side down, so you’ve got one giant connected sandwich. Using your pastry brush, generously coat the top of the rolls with the garlic butter mixture, making sure to get every corner. Sprinkle a small pinch of flaky sea salt over the top.
- Cover the tray loosely with foil and bake at 350°F for about 10 minutes, then uncover and bake for another 3–5 minutes until the tops are golden and the cheese is fully melted. The foil keeps the rolls soft while letting the cheese melt through before the tops get too dark.
- Let the tray rest for 2–3 minutes before using a serrated knife to slice along the natural seams of the rolls into individual mini sandwiches. Serving them warm is key, since the cheese is at its gooiest right out of the oven. Arrange them on a platter and watch them disappear.
Notes
- I always grate my own cheddar straight off the block because pre-shredded cheese has anti-caking agents that keep it from melting as smoothly.
- I let my butter cool slightly before mixing in the seasonings so it doesn’t separate or turn greasy on top of the rolls.
- I never skip the foil in the first part of baking. It keeps my rolls from drying out while the cheese gets fully melted underneath.
- I like to brush a second light layer of butter halfway through baking for an extra glossy, flavorful top.
- I always slice with a serrated knife instead of a regular one, since it glides through the soft rolls without squishing them.