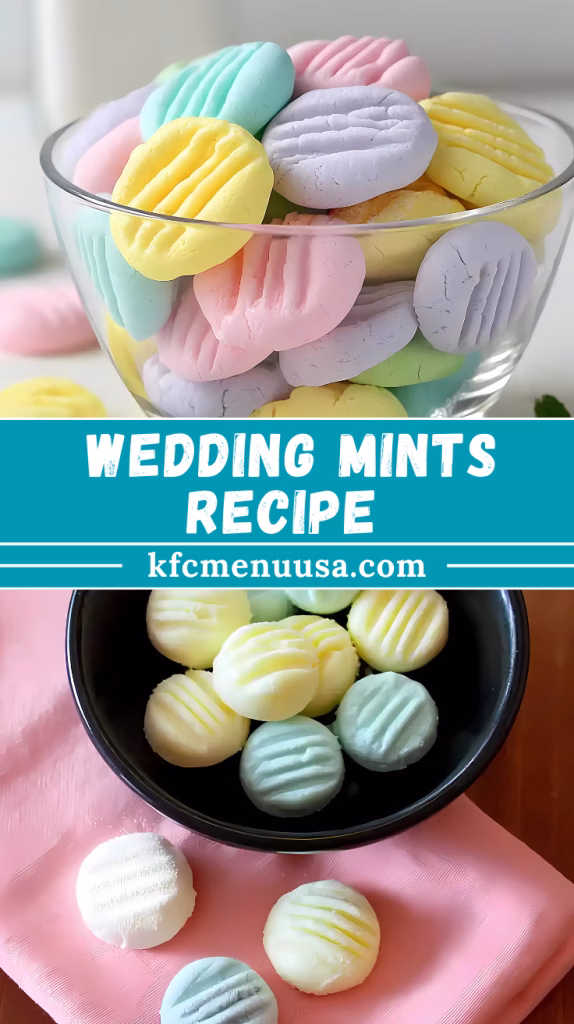
Wedding Mints Recipe – Sweet Treats for Every Occasion
I just made these wedding mints, and honestly, I’m in love with how simple yet elegant they turned out. They melt in your mouth with the perfect creamy texture and a refreshing peppermint kick.
I love that they’re not only for weddings but also perfect for baby showers, holidays, or just when I want something sweet with my tea.
Making them felt effortless, and the best part is—you can customize them with fun colors and shapes. Trust me, once you try this recipe, you’ll want to keep a batch in the fridge all the time!
Ingredients You’ll Need
Here’s everything I used to make these mints, along with a few helpful tips:
- Cream cheese (softened) – 4 oz (reduced-fat also works for a lighter version)
- Powdered sugar – 4 cups (freshly sifted for a smooth, lump-free texture)
- Peppermint extract – ½ tsp (a few drops more if you love stronger mint flavor)
- Food coloring – optional (pastel shades look especially pretty for events)
- Granulated sugar – for rolling and coating the mints
Note: Makes around 40–50 small mints (depending on size)
Variations
You can get creative with these mints! Here are some fun options I tried:
- Use almond, vanilla, or lemon extract instead of peppermint for different flavors.
- Swap artificial coloring with natural options like beet powder (pink), spirulina (green), or turmeric (yellow)
- Roll them in coconut flakes instead of sugar for a tropical twist.
- Shape them into flowers or hearts using themed molds for special occasions.

Cooking Time
- Prep Time: 30 minutes
- Chill Time: 2 hours
- Total Time: 2.5 hours
Equipment You’ll Need
Here are the tools I used and why they helped:
- Mixing bowls – for combining and separating colored dough.
- Stand or hand mixer – to beat cream cheese and sugar smoothly.
- Rubber spatula – for scraping the sides of the bowl.
- Measuring cups/spoons – to keep ingredients accurate.
- Rolling pin – if you prefer flattening before shaping.
- Fork – to press and add decorative lines.
- Parchment paper – prevents sticking while chilling.
- Candy molds or cookie cutters – for fun shapes.
How to Make Wedding Mints?
This recipe is super simple, but giving the dough time to set is the secret to success. Here’s how I made mine:
Step 1: Prepare the Cream Cheese Mixture
I started by beating softened cream cheese until it was smooth and creamy. Then, I gradually added powdered sugar one cup at a time until it turned into a thick, dough-like mixture. It should feel soft but not too sticky.
Step 2: Add Flavor and Color
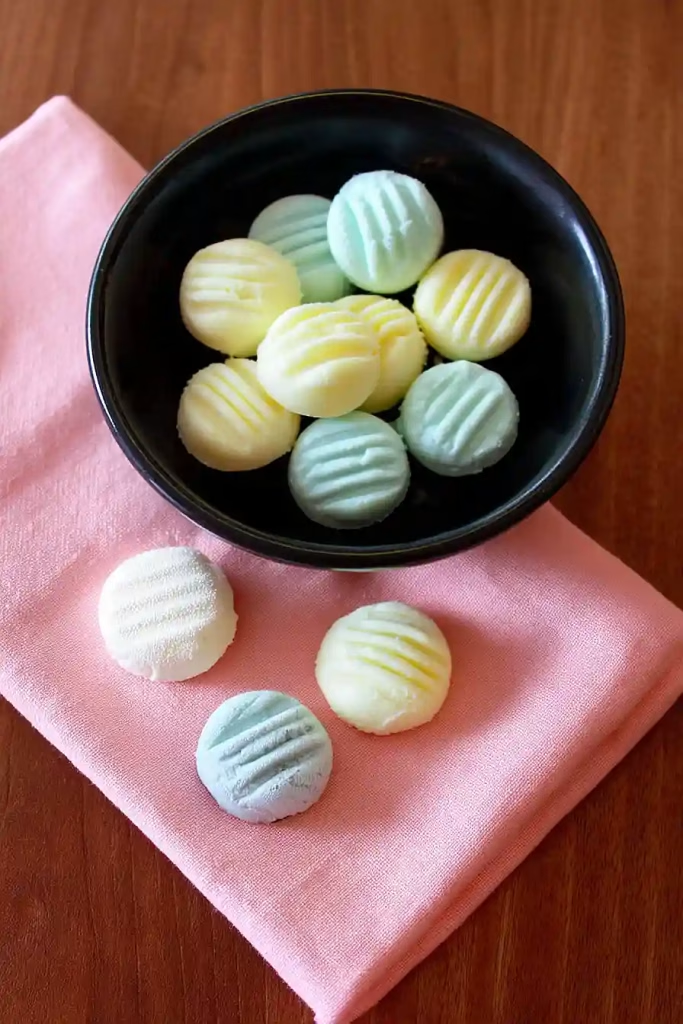
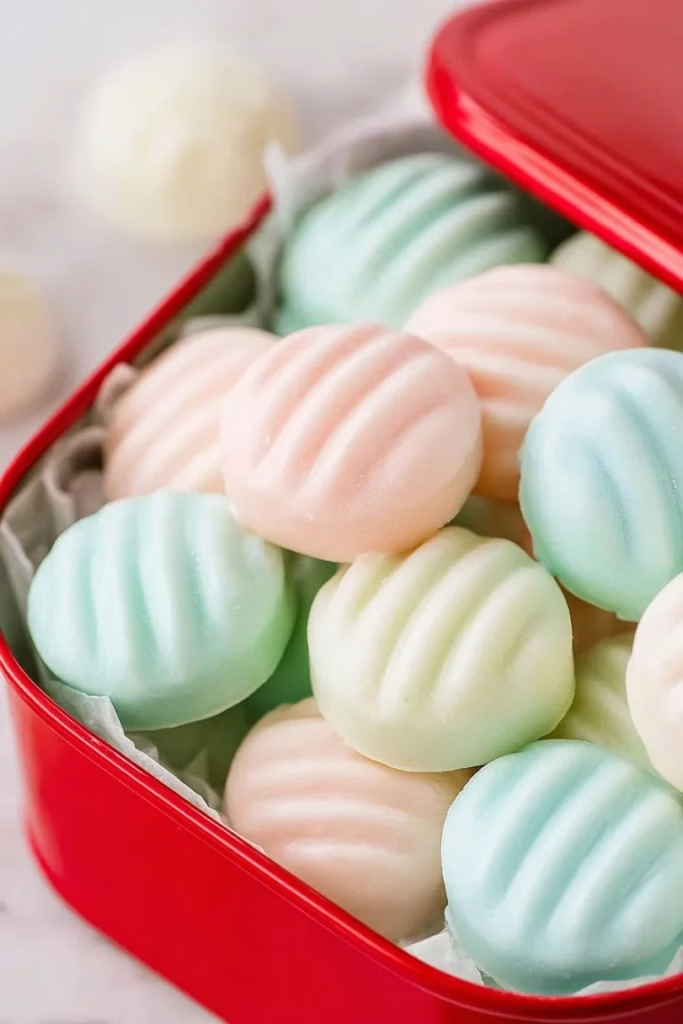
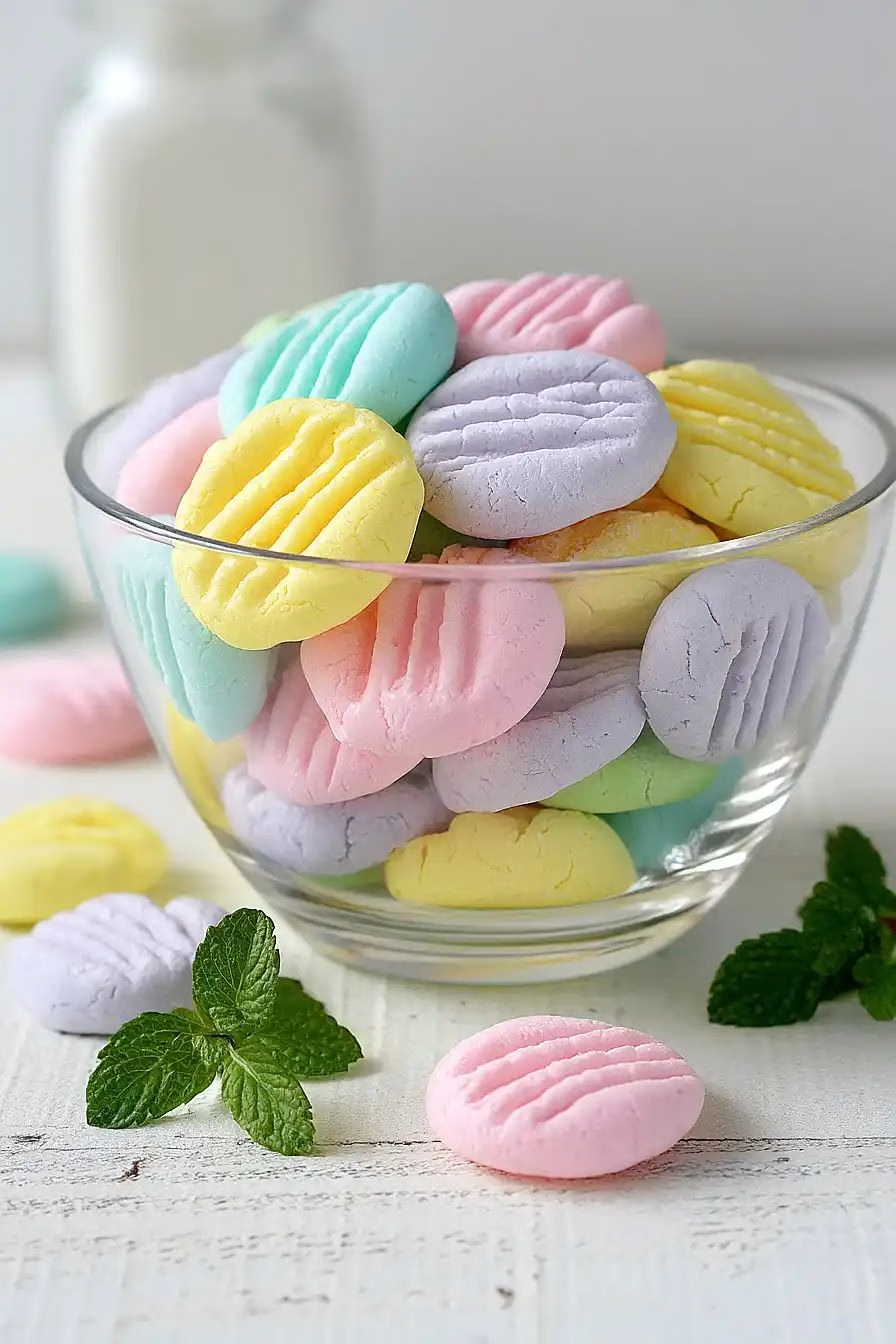
Next, I stirred in the peppermint extract. Since I wanted a pastel look, I divided the dough into batches and added a drop of food coloring to each one. Mixing the colors in evenly gave the mints a pretty, soft shade.
Step 3: Shape the Mints
I rolled small portions (about 1 teaspoon each) into balls, then coated them in granulated sugar. For variety, I used a fork to press some down with a crisscross design and shaped others in small molds.
Step 4: Chill to Set
Once all the mints were shaped, I placed them on a parchment-lined tray and refrigerated them for at least 2 hours. This step made them firm and perfect for serving.
Step 5: Serve and Enjoy
After chilling, I arranged the mints on a decorative platter. They looked so elegant that they could’ve easily come from a bakery!
Additional Tips for Making This Recipe Better
When I made these, a few tricks really helped me get perfect results:
- If the dough feels sticky, add a little more powdered sugar until it firms up.
- For stronger flavor, don’t be afraid to add an extra drop of peppermint.
- Chill the shaped mints fully; they taste better when set properly.
- If making for a party, prepare them a day ahead—they keep their shape beautifully.
- I love experimenting with shapes—flowers, stars, and hearts always get compliments.
How to Serve Wedding Mints?
These mints aren’t just delicious, they’re also beautiful when served right. I like arranging them on tiered trays with cookies and cupcakes for parties. You can wrap them individually in colored mini wrappers as favors, or sprinkle them with edible glitter for a magical touch. Matching the colors to your theme makes them blend seamlessly into the décor.
Nutritional Information
Here’s the approximate nutrition per 2 mints:
- Calories: 110
- Protein: 1g
- Carbohydrates: 20g
- Fat: 2g
Make Ahead and Storage
Refrigerating
I stored mine in an airtight container, with parchment between layers, and they stayed fresh for up to 2 weeks.
Freezing
They also freeze well! I kept some in a freezer bag for 3 months, and they tasted just as good after thawing overnight in the fridge.
Reheating
No reheating needed—just serve them chilled straight from the fridge!
Why You’ll Love This Recipe?
Here’s why I think these mints are an absolute winner:
- They’re super easy to make—even for beginners.
- Perfectly customizable with colors, flavors, and shapes.
- They store well, so you can prepare in advance.
- Great for weddings, parties, or just as a homemade sweet treat.
- That creamy, pepperminty melt-in-your-mouth texture is irresistible.
Wedding Mints Recipe
Ingredients
Method
- I started by beating softened cream cheese until it was smooth and creamy. Then, I gradually added powdered sugar one cup at a time until it turned into a thick, dough-like mixture. It should feel soft but not too sticky.
- Next, I stirred in the peppermint extract. Since I wanted a pastel look, I divided the dough into batches and added a drop of food coloring to each one. Mixing the colors in evenly gave the mints a pretty, soft shade.
- I rolled small portions (about 1 teaspoon each) into balls, then coated them in granulated sugar. For variety, I used a fork to press some down with a crisscross design and shaped others in small molds.
- Once all the mints were shaped, I placed them on a parchment-lined tray and refrigerated them for at least 2 hours. This step made them firm and perfect for serving.
- After chilling, I arranged the mints on a decorative platter. They looked so elegant that they could’ve easily come from a bakery!
Notes
- If the dough feels sticky, add a little more powdered sugar until it firms up.
- For stronger flavor, don’t be afraid to add an extra drop of peppermint.
- Chill the shaped mints fully; they taste better when set properly.
- If making for a party, prepare them a day ahead—they keep their shape beautifully.
- I love experimenting with shapes—flowers, stars, and hearts always get compliments.