When I first tried making an air fryer onion rings recipe, I wasn’t sure what to expect. I grew up eating the greasy, deep-fried kind from diners and fast-food spots, and I always assumed there was no way to recreate that crispy goodness at home—especially in an air fryer. But after a few tries, I realized that not only is it possible, it’s actually easier, cleaner, and surprisingly addictive.
One thing I quickly noticed is that air frying onion rings doesn’t just cut down on oil—it also keeps the coating light and crispy without that heavy, weighed-down feel.
That’s one of the biggest wins in my kitchen. I’m a big fan of comfort food, but I don’t always love the after-effects of deep-frying. So being able to enjoy that crunch without the grease is a total bonus.

Why Air Fryer Onion Rings Feel So Rewarding?
If you’re like me and love quick snacks or party bites, this recipe might become a favorite. The prep time is pretty minimal, and the air fryer does most of the heavy lifting. Plus, I don’t have to deal with hot oil splattering on my stove or that lingering fried smell in the house for hours. It’s a cleaner, faster way to get that golden brown coating we all love.
Also, one thing I learned the hard way: don’t rush the breading. A lot of people skip chilling the rings before cooking, but I find that a short trip to the freezer—just 10-15 minutes after breading—helps everything stick together better. It keeps the coating intact during air frying, which gives you that beautiful, even texture.
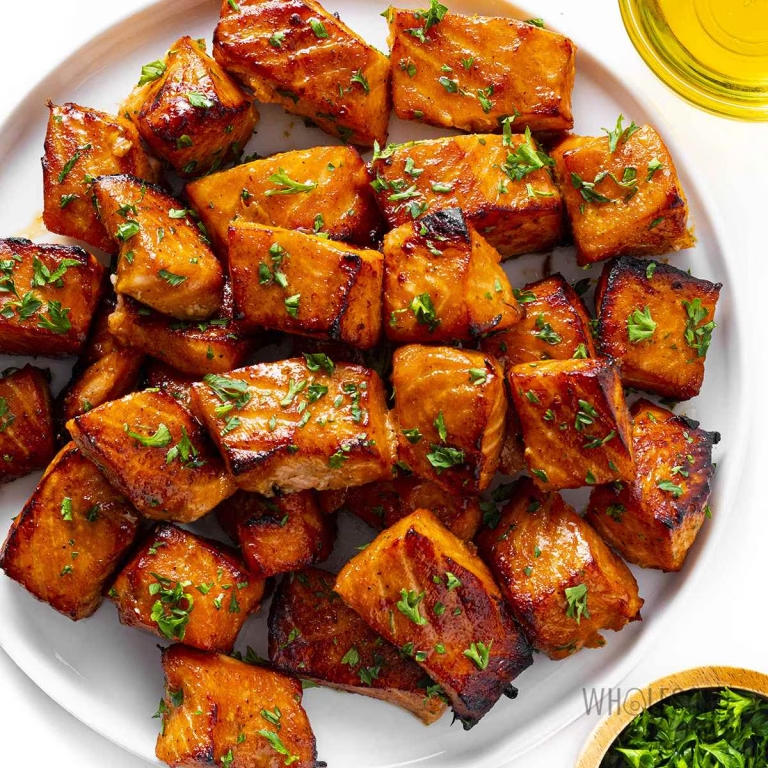
Just like when I prepare salmon in air fryer recipe versions, timing and spacing are everything. Whether it’s a protein or a crunchy snack, getting the airflow right makes all the difference.
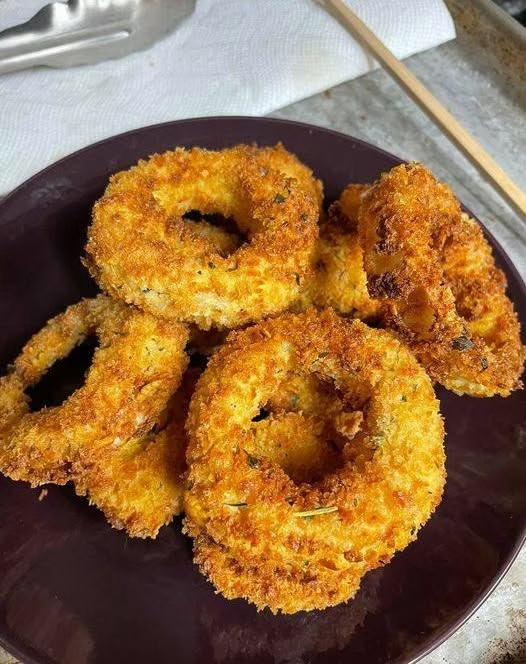
Getting That Crunch Just Right
Let’s talk about the crunch factor. That golden, satisfying crunch is everything when it comes to onion rings. I’ve found that using panko breadcrumbs instead of regular breadcrumbs makes a big difference. Panko gives you that extra crispiness that feels more like restaurant-style onion rings. I also like to season the breadcrumb mix a bit—adding paprika, garlic powder, or even some grated Parmesan takes the flavor to the next level.
A little cooking spray goes a long way, too. I use a light mist of olive oil spray right before I pop them into the air fryer. It really helps that coating turn golden without making the rings soggy. Just don’t drench them. A light spray on both sides is enough to encourage a beautiful crisp finish.
I follow the same spray technique when I make my favorite fried pickles recipe air fryer style—crispy coating depends on even oil mist and spacing!
Choosing the Right Onion Matters
This might sound like a small thing, but the type of onion you choose really impacts the flavor. I’ve tried sweet onions like Vidalia, and they’re fantastic—they give you that soft, mild sweetness inside the crispy shell. Yellow onions also work great if you want a slightly sharper flavor. What I avoid are red onions; they tend to get too soft in the air fryer and the flavor just isn’t as balanced.
When slicing, I aim for rings that are about 1/4 to 1/2 inch thick. Too thin, and they fall apart; too thick, and they don’t cook evenly. And always separate the rings before dipping them into flour and batter—that way, they’re fully coated and cook properly without clumping together.
How to Keep Onion Rings from Getting Soggy?
If your air fryer onion rings turn out a little soggy the first time, don’t worry—it’s a common issue, and super fixable. One tip I swear by is not overcrowding the basket. I’ve made that mistake when I’m in a hurry, piling too many rings on top of each other. But that just traps steam and kills the crisp.
Instead, I do smaller batches with a little space between each ring. It lets the hot air circulate evenly, which gives a better crunch. Also, flipping halfway through the cooking time really helps them brown on both sides. I usually set a timer for halfway and give them a quick flip with tongs or a fork.
This habit of spacing and flipping isn’t just for onion rings—I follow it when I make things like air fryer meatloaf recipe dinners too, especially when I want that nice crust on the outside without drying it out.
Storage and Reheating Tips
Now, let’s say you have leftovers—although in my house, that doesn’t happen too often. Still, if I make a bigger batch and end up saving some for later, I always make sure to store them right.
First off, let them cool completely before storing, or else condensation will ruin the texture. I usually put them in an airtight container lined with a paper towel to absorb any extra moisture. They’ll stay good in the fridge for 2–3 days.
For reheating, forget the microwave—it just makes them soggy. The best way I’ve found is to reheat them in the air fryer at around 350°F for 4–5 minutes. That brings the crisp right back. Sometimes, I give them another quick spritz of oil before reheating, especially if they seem a little dry.
I use this reheating method for a lot of air-fried dishes in my kitchen, from leftover onion rings to a quick round of fried pickles recipe air fryer style or even slices from a chilled Air Fryer Wings Recipe meal.
Perfect Pairings and Serving Ideas
One of the best things about onion rings is how versatile they are. I like to serve them as a side with burgers or sandwiches, but they’re also great on their own as a snack. If I’m hosting friends, I’ll make a dipping station with a few sauces—think spicy mayo, ranch, BBQ, or even a tangy sriracha aioli. People go nuts over it.
You can also get creative by adding onion rings to a dish. I’ve topped casseroles, tacos, and even mac and cheese with a few crispy rings for added crunch. It’s a fun twist that gets people talking—and eating more.

Make-Ahead Tips for Busy Days
If I know I have a busy week ahead, I like to prep a batch in advance. After coating the onion rings, I place them in a single layer on a baking sheet and freeze them for an hour or so.
Once they’re solid, I transfer them to a zip-top bag and store them in the freezer. That way, I can just grab a handful, pop them in the air fryer, and have hot, crispy onion rings ready in 10–12 minutes.
This method also works great for meal prep or if you want a quick side dish without having to bread onions every time.
Air Fryer Onion Rings Recipe
Ingredients
Method
- Start by slicing your yellow onion into ½‑inch rings, then separate them gently to avoid breakage. I whisk together the panko, garlic powder, onion powder, and salt in a bowl—this seasoned crust is key for flavor. In separate bowls, I set up the flour and beaten eggs. Then it’s a dip-flour, dip‑egg, coat‑with‑panko routine, pressing the breadcrumbs gently so they stick well. Letting them rest while you prep the batch helps the coating adhere better.
- Once all rings are coated and resting on a tray, I let them chill briefly—about 10–15 minutes—in the freezer or fridge. This short chill firm-ups the coating, so it doesn’t flake off when you place them in the air fryer basket. I learned this trick after a few rings fell apart mid-cook—it makes a huge difference in keeping them intact and evenly crisp.
- Preheat your air fryer to 370°F. Arrange the onion rings in a single layer, ensuring they don’t overlap—this allows the hot air to circulate evenly. Then, lightly drizzle or spray them with olive oil; this small bit of oil is what gives them that golden, restaurant‑style finish without making them greasy. I air fry for about 8–11 minutes, flipping halfway through to ensure both sides crisp up equally .
- Once they’re golden and crisp, transfer them straight to your serving plate and enjoy them while they’re hot. If you’re cooking multiple batches and want everything warm, toss them all back in the air fryer for a quick 1–2 minutes just to reheat . Serve with tartar sauce, or get creative with spicy mayo, ranch, or BBQ dip.