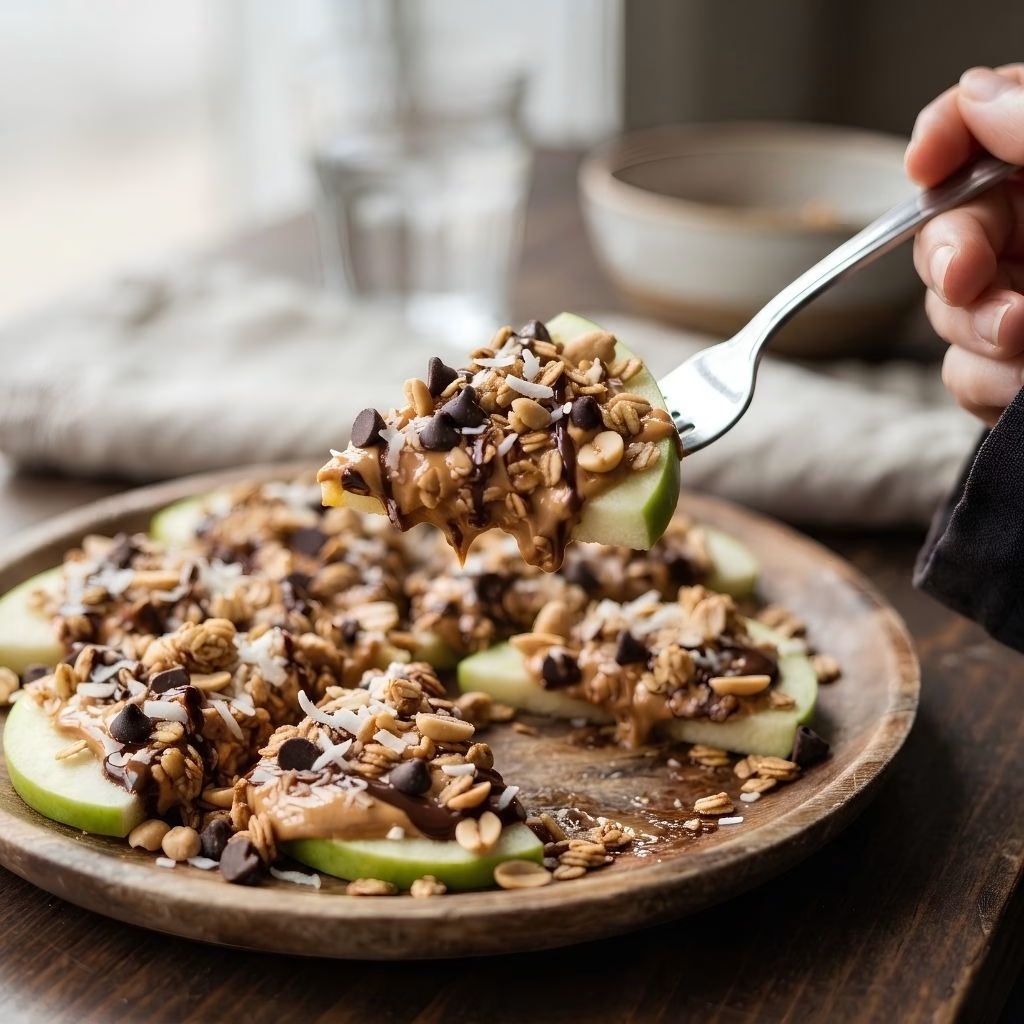
I started making Apple Nachos Recipe for Kids on afternoons when my kids were circling the pantry looking for something sweet, and I needed a snack that felt fun without turning into a sugar crash an hour later. I sliced up whatever apples I had, drizzled on some peanut butter, and scattered toppings over the top like I was building a real nacho platter.
My kids were hooked from the very first bite, and now they ask for this one by name. If you’re hunting for healthy apple snacks for school or just an easy after-school fix, I think this is going to become a regular in your kitchen too.
Cooking Time
- Prep Time: 10 minutes
- Cooking Time: 0 minutes (no-cook recipe)
- Total Time: 10 minutes
Ingredients
- 3 medium apples — pick a crisp variety like Honeycrisp or Fuji so the slices hold up under toppings
- 1 tablespoon lemon juice — keeps the sliced apples from browning while you build the plate
- ⅓ cup peanut butter — warm it slightly so it drizzles instead of clumping on top
- 2 tablespoons mini chocolate chips — mini ones scatter more evenly across the apples than regular chips
- ¼ cup granola — pick one without huge clusters so it doesn’t slide right off the slices
- 2 tablespoons shredded coconut — toast it lightly first if you want a nuttier, more fragrant crunch
- 1 tablespoon chopped peanuts or sunflower seeds — adds crunch and a bit of protein in every bite
Note: this recipe serves 4.
Equipment You Need
- Sharp paring knife — for slicing the apples thin and even
- Cutting board — gives you a stable surface for slicing
- Small microwave-safe bowl — for warming the peanut butter until pourable
- Large plate or platter — for arranging the apple slices in a single layer
- Spoon — for drizzling the peanut butter evenly over the top
How to Make Apple Nachos Recipe?
This one comes together faster than almost anything else I make for my kids, and there’s zero cooking involved. Once the apples are sliced, the whole thing is just layering and drizzling. Here’s exactly how I build mine every time.
Slice the Apples
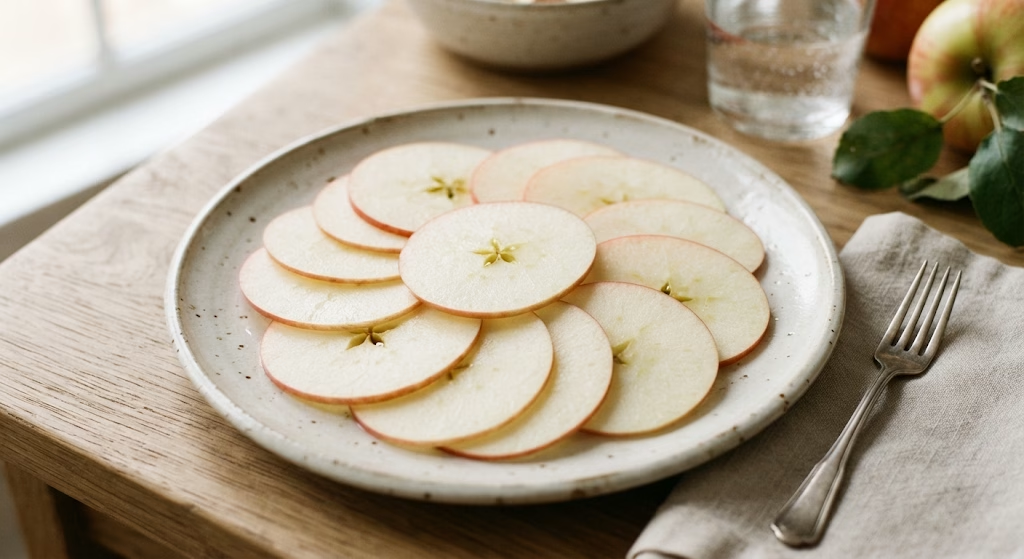
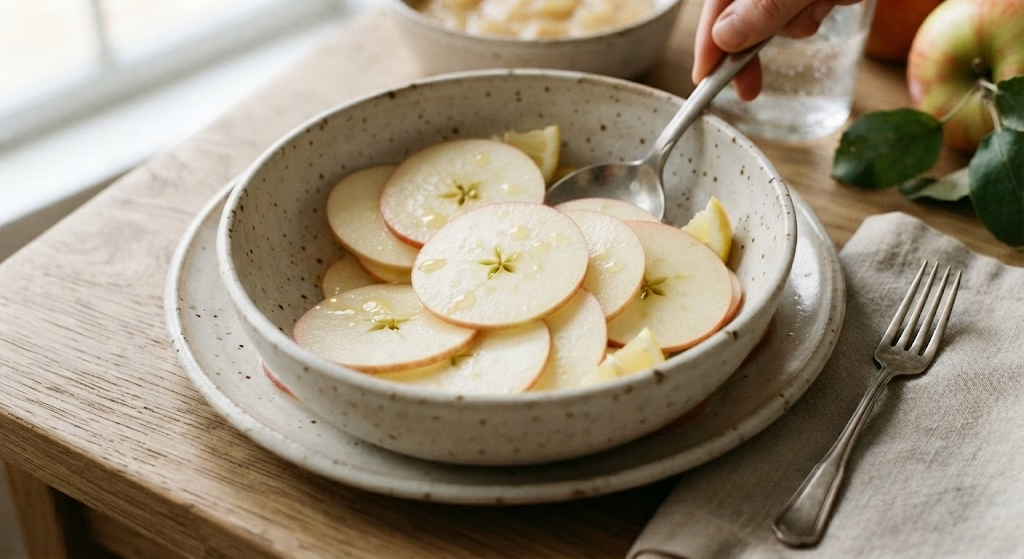
Wash and dry your apples, then cut them into quarters and remove the core from each piece. Slice the quarters into thin, even pieces about a quarter-inch thick so they layer nicely on the plate.
Toss With Lemon Juice
Place the apple slices in a bowl and drizzle the lemon juice over the top. Gently toss everything together so each slice gets a light coating, which keeps them looking fresh longer.
Arrange on a Platter
Spread the apple slices out in a single, slightly overlapping layer on your serving plate. Think of this step the same way you’d arrange chips for real nachos, spreading them wide instead of piling them up.
Warm and Drizzle the Peanut Butter
Microwave the peanut butter in a small bowl for about 20 seconds until it loosens up. Drizzle it back and forth across the apple slices using a spoon, covering as much surface area as you can.
Add the Toppings
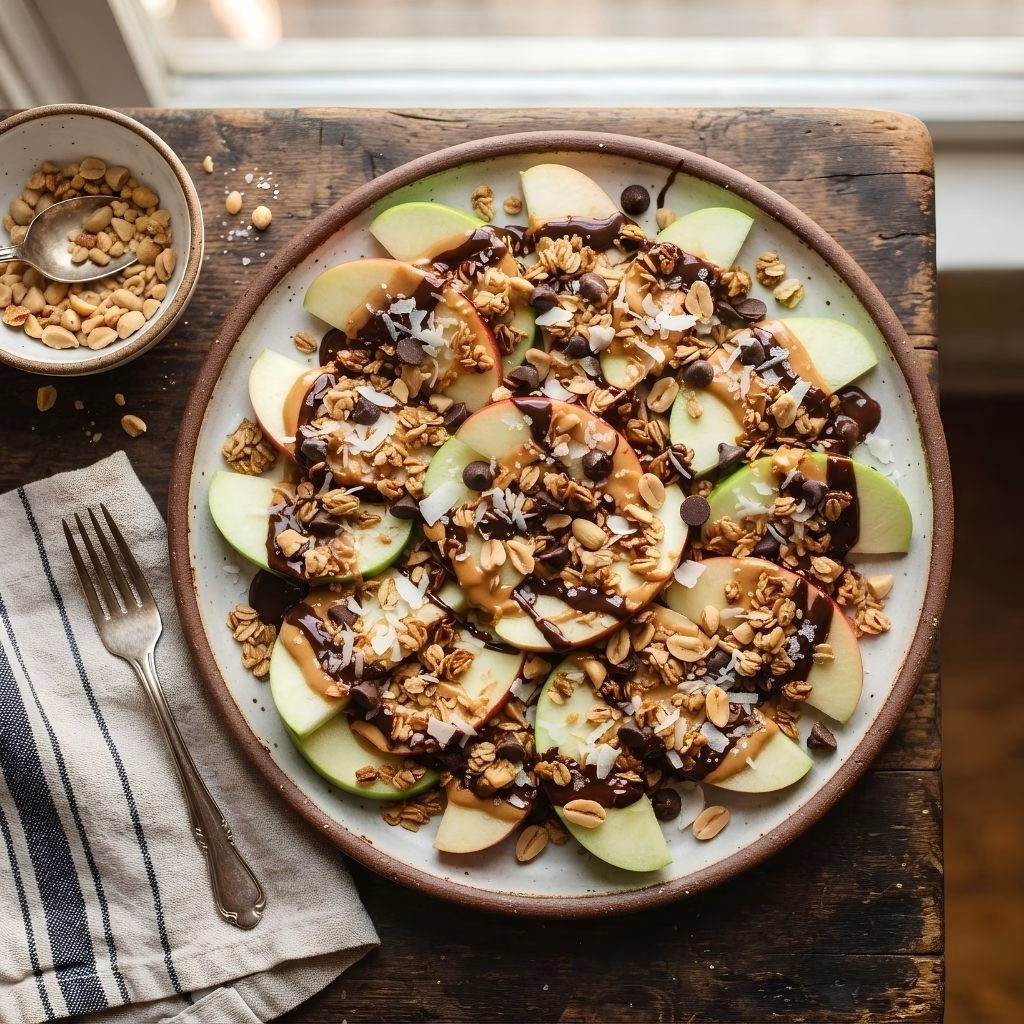
Sprinkle the chocolate chips, granola, coconut, and chopped peanuts evenly over the top. Serve the whole platter right away while the apples are still crisp and everything looks freshly assembled.
Additional Tips for Making This Recipe Better
I’ve made this more times than I can count now, and here’s what actually makes a difference for me.
- I always toss my apple slices in lemon juice first, since skipping it means brown, sad-looking apples within twenty minutes.
- I warm my peanut butter for just a few seconds, because room-temperature peanut butter sits in clumps instead of drizzling nicely.
- I like using two different colored apples, one red and one green, just to make the plate look more inviting to my kids.
- I keep my toppings in small bowls next to the platter so my kids can build their own version and feel involved in making it.
- I never prep this too far in advance, since apple nachos really are best enjoyed within the first fifteen minutes of assembling them.
Common Mistakes to Avoid
- I skipped the lemon juice once thinking it wouldn’t matter, and the apples turned brown before we even finished taking photos.
- I used cold peanut butter straight from the jar one time, and it sat in thick globs instead of spreading over the apples.
- I sliced my apples too thick once, and they ended up crunchy in a way that made them hard for my younger one to bite through.
- I piled all the apple slices on top of each other instead of spreading them out, so half the toppings never reached the bottom layer.
- I made the platter too early before a party, and by the time guests arrived, the apples had already gone soft and watery.
How to Serve Apple Nachos?
I like setting this out on a big wooden board so it really does look like a nacho platter when people walk by. A dusting of cinnamon over the top right before serving makes it smell incredible and adds a nice warm note to the whole plate. This works well as an after-school snack, a fun party appetizer, or even a lighter dessert after dinner.
If your family loves building their own plates, this pairs beautifully with a rotation of other quick, no-cook options like a simple fruit and cheese lunchbox spread on busy weekday afternoons.
Variations
- Swap the peanut butter for almond or sunflower seed butter to make this nut-allergy friendly, or keep it classic with apple nachos with peanut butter
- Turn it into an apple nachos bar by setting out several toppings in small bowls and letting everyone build their own plate
- Try apple nachos with granola as the main topping for extra crunch and fiber instead of loading up on sweeter add-ins
- Drizzle plain or vanilla yogurt over the apples for a lighter, tangier version, sometimes called apple nachos yogurt
- Add a sprinkle of cinnamon and a few crushed graham crackers for a version that tastes closer to apple pie nachos
- Skip the added sugar toppings entirely and stick with nuts, seeds, and unsweetened coconut for the healthiest possible plate
Nutritional Information
Here’s a rough breakdown per serving, though the exact numbers will shift a bit depending on your specific toppings.
- Calories: 220 kcal
- Protein: 6 g
- Carbohydrates: 24 g
- Fat: 12 g
Make Ahead and Storage
I don’t recommend fully assembling this ahead of time, since the apples brown and soften quickly once they’re sliced and topped.
You can prep the sliced apples up to a few hours ahead if you toss them well in lemon juice and store them covered in the fridge.
Leftover toppings like granola, coconut, and chocolate chips keep well in a sealed container at room temperature for whenever you’re ready to build another batch.
Why You’ll Love This Recipe?
This has become one of my most-requested snacks at home, and here’s why I think your family will feel the same.
- It comes together in minutes: There’s no cooking, no baking, and barely any real prep involved, just slicing and drizzling.
- It’s easy to customize: Whether your kids want more chocolate or you’re after a healthy energy balls-style plate, the toppings flex to fit anyone’s taste.
- It works for different diets: This is a naturally gluten-free, vegetarian recipe that’s simple to make dairy-free or nut-free with a quick swap.
- It gets kids involved in the kitchen: My kids love picking their own toppings, which makes them far more excited to actually eat their fruit.
- It’s a genuinely healthy apple nachos option: Compared to store-bought snacks loaded with added sugar, this puts real fruit and simple ingredients front and center.
FAQs
What are the best toppings for apple nachos?
Peanut butter, granola, mini chocolate chips, shredded coconut, and chopped nuts are my go-to toppings, though yogurt drizzle and dried fruit work nicely too.
Can I make this recipe ahead of time for a party?
You can slice the apples a few hours ahead if you toss them in lemon juice, but I recommend adding the toppings right before serving so everything stays fresh.
How do I keep the apples from turning brown?
A light toss in lemon juice right after slicing is the simplest fix, and it keeps the apples looking fresh for a couple of hours.
Is this recipe good for school lunches?
It can be, though it’s best packed with the toppings separate so the apples don’t get soggy before lunchtime.
Can I make this without peanut butter for allergies?
Yes, sunflower seed butter or a yogurt drizzle both work great as a nut-free swap without losing that creamy, satisfying element.
If you’re looking for more quick, kid-approved snack ideas to rotate through the week, this one fits right alongside an easy after-school snack that my own kids ask for on repeat.

Apple Nachos Recipe for Kids
Ingredients
Method
- Wash and dry your apples, then cut them into quarters and remove the core from each piece. Slice the quarters into thin, even pieces about a quarter-inch thick so they layer nicely on the plate.
- Place the apple slices in a bowl and drizzle the lemon juice over the top. Gently toss everything together so each slice gets a light coating, which keeps them looking fresh longer.
- Spread the apple slices out in a single, slightly overlapping layer on your serving plate. Think of this step the same way you’d arrange chips for real nachos, spreading them wide instead of piling them up.
- Microwave the peanut butter in a small bowl for about 20 seconds until it loosens up. Drizzle it back and forth across the apple slices using a spoon, covering as much surface area as you can.
- Sprinkle the chocolate chips, granola, coconut, and chopped peanuts evenly over the top. Serve the whole platter right away while the apples are still crisp and everything looks freshly assembled.
Notes
- I always toss my apple slices in lemon juice first, since skipping it means brown, sad-looking apples within twenty minutes.
- I warm my peanut butter for just a few seconds, because room-temperature peanut butter sits in clumps instead of drizzling nicely.
- I like using two different colored apples, one red and one green, just to make the plate look more inviting to my kids.
- I keep my toppings in small bowls next to the platter so my kids can build their own version and feel involved in making it.
- I never prep this too far in advance, since apple nachos really are best enjoyed within the first fifteen minutes of assembling them