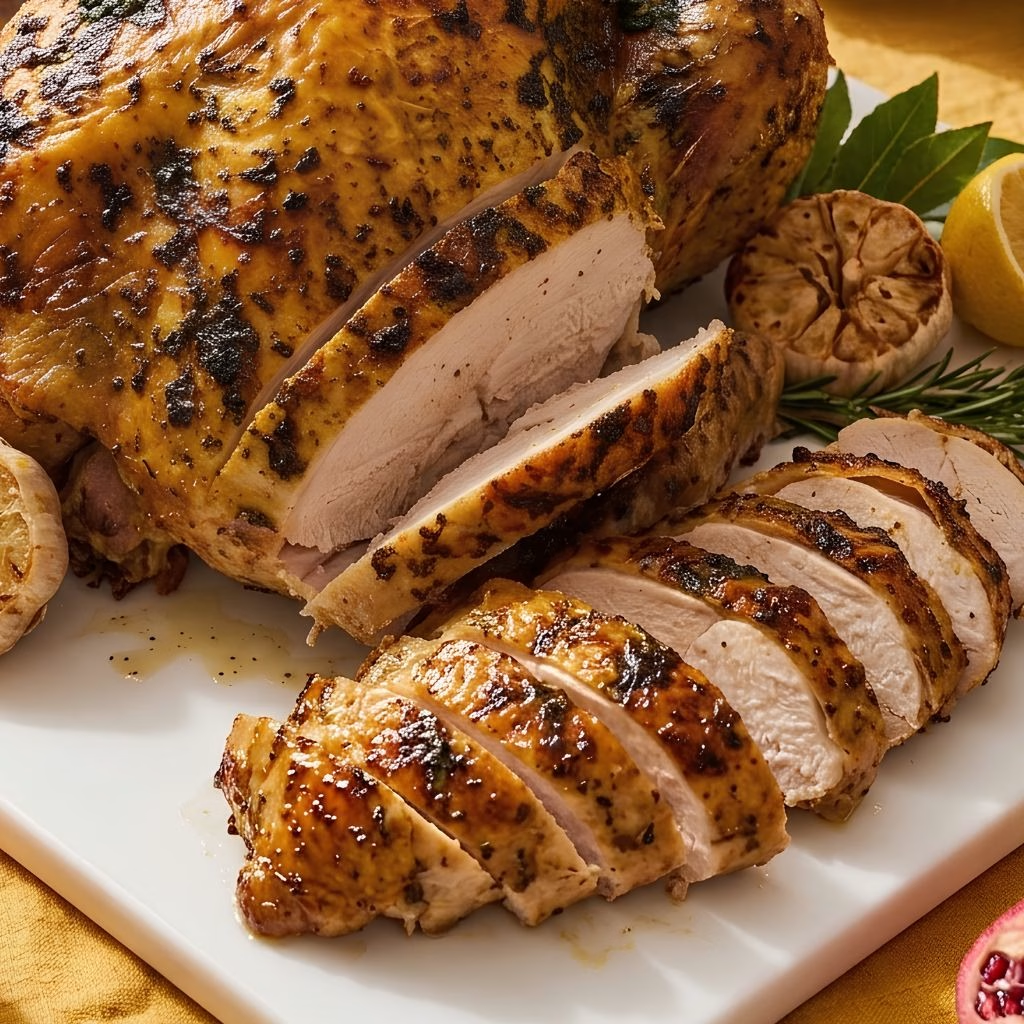
I still remember the first time I pulled a dry, sad turkey out of the oven and swore it would never happen again. That one disappointing holiday sent me down a rabbit hole of research, and bringing turned out to be the fix I needed.
Now I brine my turkey every single year, and I honestly can’t imagine skipping this step anymore. It’s such a simple process, but it makes such a massive difference in how juicy and well-seasoned the meat turns out.
If you’ve got a few spare minutes and a container big enough to hold a turkey, I promise you can pull this off too. If you’re also planning the rest of your spread, I usually pair this bird with a classic roast turkey cooking method once the brining is done, so the whole meal comes together smoothly.

Cooking Time
- Prep Time: 15 minutes
- Brining Time: 12–18 hours (inactive)
- Cooking Time: 3–3.5 hours (based on a 14-15 lb turkey)
- Total Time: About 16–19 hours including brining
Ingredients
- 2 gallons cold water – this is your brine base, and it needs to be cold so it doesn’t cook the turkey prematurely
- 1 ½ cups kosher salt – the real workhorse of the brine; it’s what pulls moisture and flavor deep into the meat
- 1 cup brown sugar – balances the saltiness and helps the skin turn a beautiful golden brown while roasting
- 2 oranges, quartered – adds a subtle citrusy brightness that cuts through the richness of the turkey
- 2 lemons, quartered – works alongside the oranges for a fresher, more layered flavor
- 1 large onion, quartered – brings a savory base note that rounds out the brine
- 6 cloves garlic, smashed – infuses the liquid with a warm, aromatic depth
- 2 tablespoons whole black peppercorns – adds a gentle, peppery backbone to the brine
- 4 bay leaves – contributes a subtle herbal note that builds over the brining time
- A handful of fresh rosemary, thyme, and sage – classic holiday herbs that make the kitchen smell incredible
- 1 whole turkey, 12-15 lbs, thawed – pick a fresh or fully thawed bird so the brine can do its job evenly
Note: This brine recipe is designed for one turkey weighing 12 to 15 pounds and serves roughly 10 to 12 people once roasted.
Equipment You Need
- Large stockpot – used to dissolve the salt and sugar into a concentrated brine base
- Brining bag or food-grade bucket – holds the turkey fully submerged in the brine
- Large cooler or extra fridge space – keeps the turkey at a safe temperature while it brines
- Measuring cups and spoons – ensures your salt-to-water ratio is accurate
- Meat thermometer – checks that your turkey reaches a safe internal temperature after roasting
- Paper towels – used to pat the turkey dry before it goes into the oven
How to Make an Easy Brined Turkey Recipe?
This part is honestly the easiest piece of the whole Thanksgiving puzzle. You’re basically making a big pot of flavored salt water, cooling it down, and letting the turkey hang out in it overnight. No fancy equipment or skills required here at all.
Step 1: Build the Brine Base
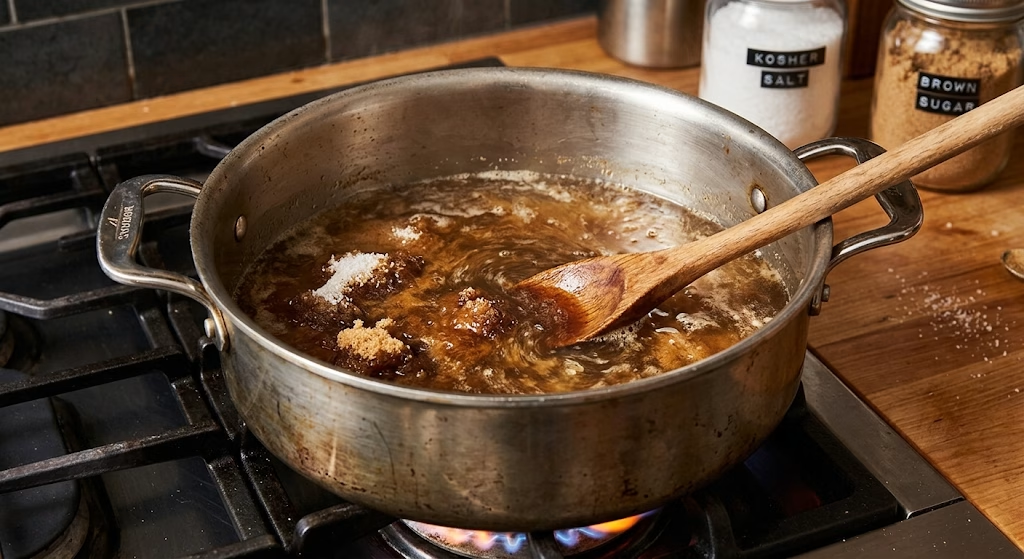
I start by adding about half the water to a large stockpot along with the salt and brown sugar. I heat it gently, stirring until everything dissolves completely, which usually takes about five minutes. This concentrated base is what carries all the flavor into the rest of the brine.
Step 2: Add the Aromatics
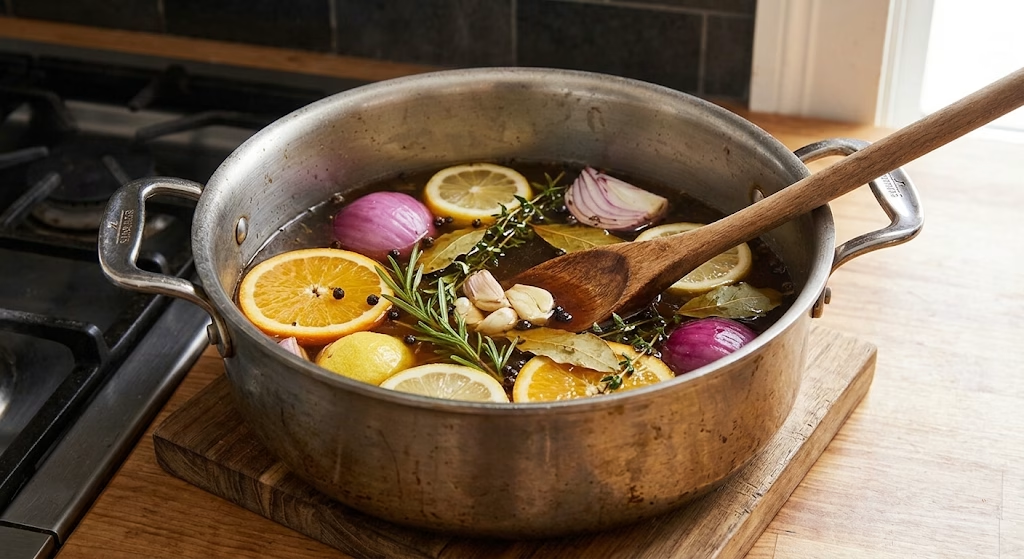
Once the salt and sugar have dissolved, I pull the pot off the heat and stir in the citrus, onion, garlic, peppercorns, bay leaves, and fresh herbs. I let everything steep together for a few minutes so the flavors start blending before the brine even touches the turkey.
Step 3: Cool the Brine Completely
This step matters more than people think. I pour the remaining cold water into the pot, which usually cools things down fast, but I always double-check with my hand or a thermometer. A warm brine can start cooking the turkey’s surface, so I never skip this part.
Step 4: Submerge the Turkey
I place my thawed turkey into a brining bag set inside a large cooler, then pour the cooled brine right over it, making sure the bird is completely covered. If it’s not fully submerged, I add a bit more cold water until it is.
Step 5: Refrigerate or Keep It Cold
I seal the bag and tuck the turkey into the fridge, or if I don’t have the space, I use a cooler packed with ice to keep everything at a safe temperature. I let it sit for 12 to 18 hours, turning it once if I remember.
Step 6: Rinse and Pat Dry
Once the brining time is up, I remove the turkey, discard the brine, and give the bird a good rinse under cold water. Then I pat it completely dry with paper towels, inside and out, which helps the skin crisp up beautifully later.
Step 7: Roast as Desired
From here, I season the outside lightly since the brine has already done most of the seasoning work, then roast it following my usual method. If you want a dependable approach, the herb butter roasted turkey technique works wonderfully after this brine.
Additional Tips for Making This Recipe Better
I’ve made plenty of mistakes over the years, so here’s what actually helps me every single time.
- I always use kosher salt instead of table salt because table salt is much saltier by volume and can throw off the whole brine
- I like adding a splash of apple cider instead of some of the water for a slightly deeper, sweeter flavor
- I never brine longer than 18 hours because the texture can start getting a bit mushy past that point
- I make sure my turkey is fully thawed before brining, since a partially frozen bird won’t absorb the brine evenly
- I set a reminder on my phone so I don’t forget to pull the turkey out in time to pat it dry and let it rest at room temperature briefly before roasting
Common Mistakes to Avoid
- I used to rush the cooling step and ended up with a lukewarm brine, which isn’t safe for raw poultry, so now I always wait until it’s fully cold
- I once used too little liquid and the top of the turkey never got properly brined, so now I always make sure it’s completely submerged
- I learned the hard way that skipping the pat-dry step leads to soggy, pale skin instead of that golden roasted look
- I made the mistake of using iodized table salt once and the brine turned out way too salty for my taste
- I’ve also over-brined a turkey before, and the texture turned a little spongy, so I stick strictly to my 12-18 hour window now
How to Serve Easy Brined Turkey
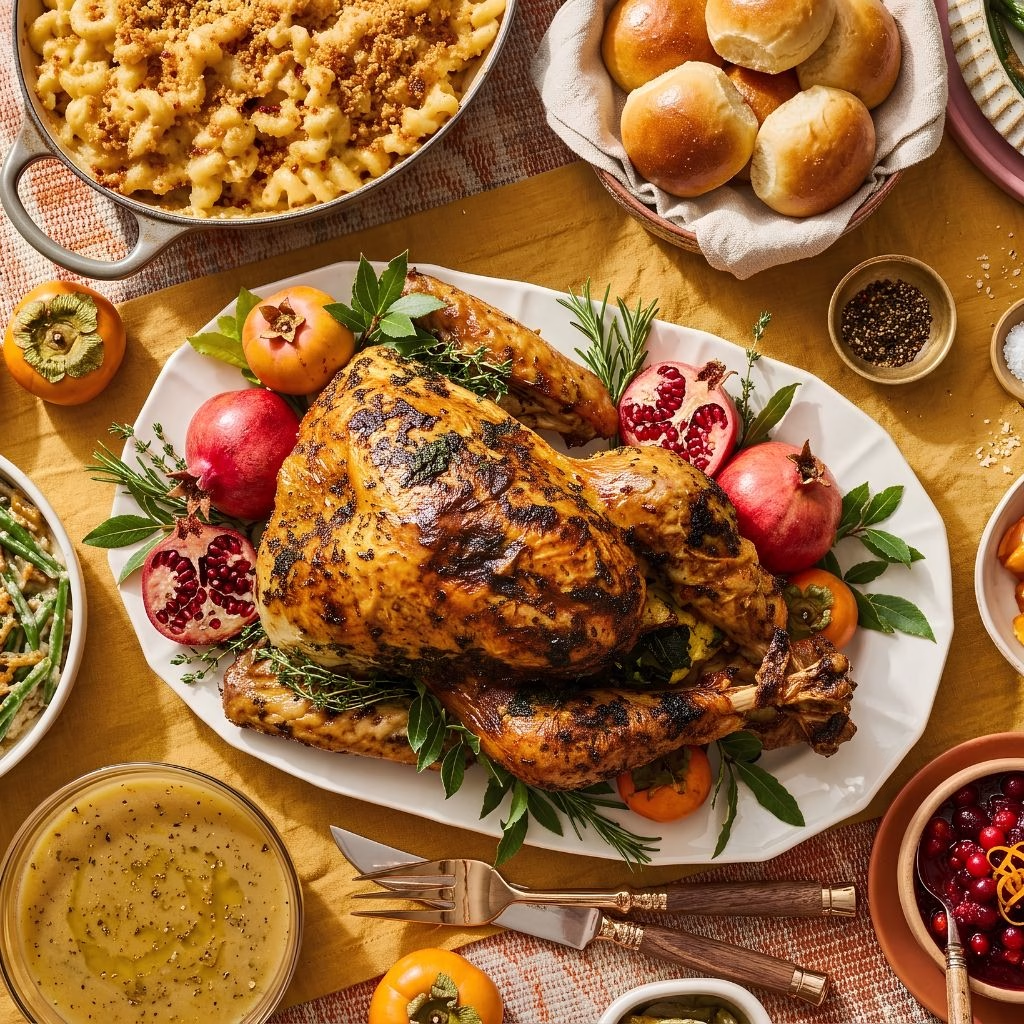
Once my turkey comes out of the oven, I like to let it rest under loose foil for at least 20-30 minutes before carving, which keeps all those juices locked in. I usually arrange the carved slices on a large wooden board or platter, then scatter fresh herb sprigs and a few orange slices around the edges for a festive, colorful presentation.
A drizzle of pan gravy right before serving always makes it look and taste even better, and I love setting it alongside warm dinner rolls and a big bowl of mashed potatoes so people can build their plates easily.
Variations
- Swap the water for half apple cider for a slightly sweeter, more autumnal flavor profile
- Use a dry brine method instead by rubbing the turkey with a salt and herb mixture if you’re short on fridge space
- Add a few tablespoons of maple syrup in place of brown sugar for a different kind of sweetness
- Try smoked paprika or chili flakes in the brine if you want a subtle smoky or spicy undertone
- Go dairy-free and sugar-free by skipping the brown sugar entirely and relying on citrus for balance
- Add whole cloves or a cinnamon stick for a warmer, more spiced holiday flavor
Nutritional Information
Here’s a rough breakdown per serving of roasted turkey prepared with this brine, keeping in mind most of the sodium stays in the discarded liquid rather than the meat itself.
- Calories: approximately 280 per serving
- Protein: approximately 38g per serving
- Carbohydrates: approximately 2g per serving
- Fat: approximately 12g per serving
Make Ahead and Storage
You can prepare the brine itself up to two days ahead of time and keep it refrigerated in a covered container until you’re ready to add the turkey. This saves you a bit of stress on the actual prep day.
Leftover roasted turkey keeps well in an airtight container in the fridge for up to four days, which makes it perfect for sandwiches or soups afterward.
For longer storage, I wrap individual portions tightly and freeze them for up to three months, then thaw overnight in the fridge before reheating gently in the oven with a splash of broth to keep things moist.
Why You’ll Love This Recipe
I keep coming back to this method every year because it genuinely solves the biggest turkey problem out there: dryness. Here’s why I think you’ll love it just as much as I do.
- It’s incredibly beginner-friendly, since you’re really just dissolving salt and sugar and letting time do the heavy lifting
- It guarantees a noticeably juicier turkey, even if you accidentally overcook it slightly on roasting day
- It’s endlessly customizable, so you can play with citrus, herbs, and spices to match your own holiday flavor preferences
- It works for multiple cooking methods, whether you’re roasting, smoking, or even deep-frying your turkey afterward
- It takes the pressure off seasoning day-of, since most of the flavor is already locked into the meat before it hits the oven
FAQs
Can I brine a frozen turkey?
No, you’ll want to fully thaw your turkey first so the brine can penetrate the meat evenly instead of just sitting on an icy surface.
Do I need to rinse the turkey after brining?
Yes, I always give mine a quick rinse under cold water to remove excess surface salt before patting it dry and roasting.
Can I reuse the brine for another batch?
I don’t recommend it, since the brine has been in contact with raw poultry and should be discarded after a single use for food safety.
What if I don’t have a big enough container?
A large, clean cooler works great as a brining vessel, and keeping it filled with ice alongside the bag helps maintain a safe temperature throughout.
Can I use this brine for a turkey breast instead of a whole bird?
Absolutely, just reduce the brining time to around 6-8 hours since a smaller cut absorbs the brine much faster than a whole turkey.

Brined Turkey Recipe
Ingredients
Method
- I start by adding about half the water to a large stockpot along with the salt and brown sugar. I heat it gently, stirring until everything dissolves completely, which usually takes about five minutes. This concentrated base is what carries all the flavor into the rest of the brine.
- Once the salt and sugar have dissolved, I pull the pot off the heat and stir in the citrus, onion, garlic, peppercorns, bay leaves, and fresh herbs. I let everything steep together for a few minutes so the flavors start blending before the brine even touches the turkey.
- This step matters more than people think. I pour the remaining cold water into the pot, which usually cools things down fast, but I always double-check with my hand or a thermometer. A warm brine can start cooking the turkey’s surface, so I never skip this part.
- I place my thawed turkey into a brining bag set inside a large cooler, then pour the cooled brine right over it, making sure the bird is completely covered. If it’s not fully submerged, I add a bit more cold water until it is.
- I seal the bag and tuck the turkey into the fridge, or if I don’t have the space, I use a cooler packed with ice to keep everything at a safe temperature. I let it sit for 12 to 18 hours, turning it once if I remember.
- Once the brining time is up, I remove the turkey, discard the brine, and give the bird a good rinse under cold water. Then I pat it completely dry with paper towels, inside and out, which helps the skin crisp up beautifully later.
- From here, I season the outside lightly since the brine has already done most of the seasoning work, then roast it following my usual method
Notes
- I always use kosher salt instead of table salt because table salt is much saltier by volume and can throw off the whole brine
- I like adding a splash of apple cider instead of some of the water for a slightly deeper, sweeter flavor
- I never brine longer than 18 hours because the texture can start getting a bit mushy past that point
- I make sure my turkey is fully thawed before brining, since a partially frozen bird won’t absorb the brine evenly
- I set a reminder on my phone so I don’t forget to pull the turkey out in time to pat it dry and let it rest at room temperature briefly before roasting