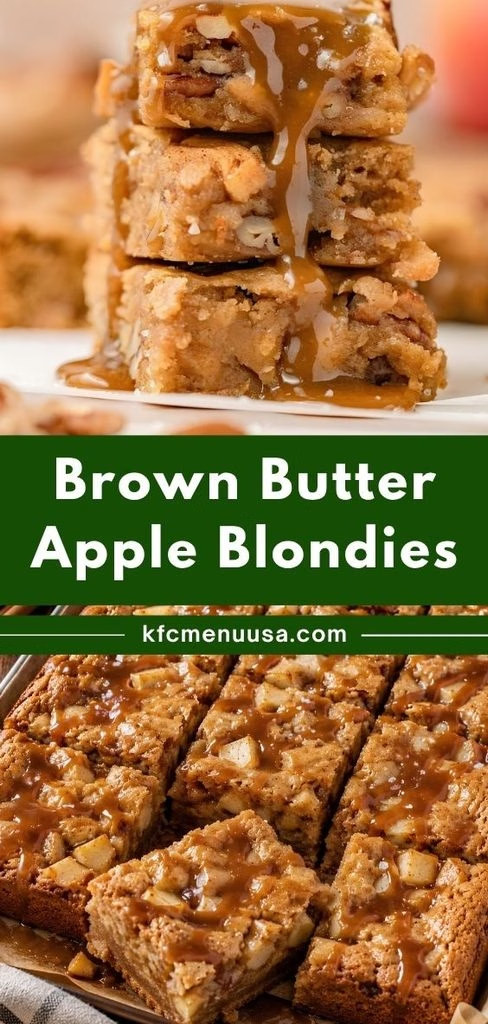
I still remember the first time I let butter go past melted and into golden-brown, nutty territory. For these blondies my kitchen smelled like a bakery within minutes. I folded in soft, cinnamon-kissed apple chunks and a generous scoop of brown sugar, and the batter alone had me sneaking tastes with a spoon.
These bars come out impossibly chewy in the middle with slightly crisp edges, and that brown butter icing on top seals the deal. If you’re an apple-dessert lover like me, this Brown Butter Apple Blondies Recipe is going straight into your regular rotation.
Cooking Time
- Prep Time: 25 minutes
- Cooking Time: 35 minutes
- Total Time: 1 hour (plus cooling time)
Ingredients
For the Apples
- 2 cups peeled, chopped apples (about 2 medium apples) – pick a firm, slightly tart variety so the pieces hold their shape while baking
- 2 tablespoons pure maple syrup or brown sugar – adds a gentle caramel sweetness as the apples soften
- 1/8 teaspoon ground cinnamon – just enough to warm up the apples without overpowering the blondies
For the Brown Butter
- 1 cup (2 sticks) unsalted butter, cut into pieces – use a light-colored pan so you can actually see the color change as it browns
- 1/4 cup unsalted butter (for the icing) – brown this separately or set aside a portion from the batch above
For the Blondie Batter
- 2 1/3 cups all-purpose flour, spooned and leveled – too much flour makes these bars dry, so measure gently
- 1 1/2 teaspoons baking powder – gives the bars just enough lift to stay soft, not cakey
- 1/2 teaspoon salt – balances all that brown sugar sweetness
- 1 teaspoon ground cinnamon – the backbone spice that ties the apples and batter together
- 1/4 teaspoon ground nutmeg – a small pinch rounds out the warm, fall flavor
- 1 2/3 cups packed light or dark brown sugar – dark brown sugar gives a deeper molasses note if you prefer that
- 2 large eggs, at room temperature – cold eggs can seize the warm brown butter, so let them sit out first
- 1 1/2 teaspoons pure vanilla extract – rounds out the nutty butter flavor
For the Brown Butter Icing
- 1 1/2 cups confectioners’ sugar – the base for a smooth, pourable glaze
- 2 tablespoons milk – thin the icing to your preferred drizzling consistency
- 1/4 teaspoon pure vanilla extract – a little extra warmth in the glaze
Note: This recipe serves 24 bars from a 9×13-inch pan.
Equipment You’ll Need
- 9×13-inch baking pan – bakes the blondies into thick, even bars
- Light-colored saucepan or skillet – makes it easy to spot when the butter turns golden brown
- Parchment paper – lines the pan so the bars lift out cleanly
- Large mixing bowl – for whisking together the wet and dry ingredients
- Whisk and rubber spatula – no electric mixer needed for this recipe
- Wire cooling rack – helps the bars cool evenly before icing
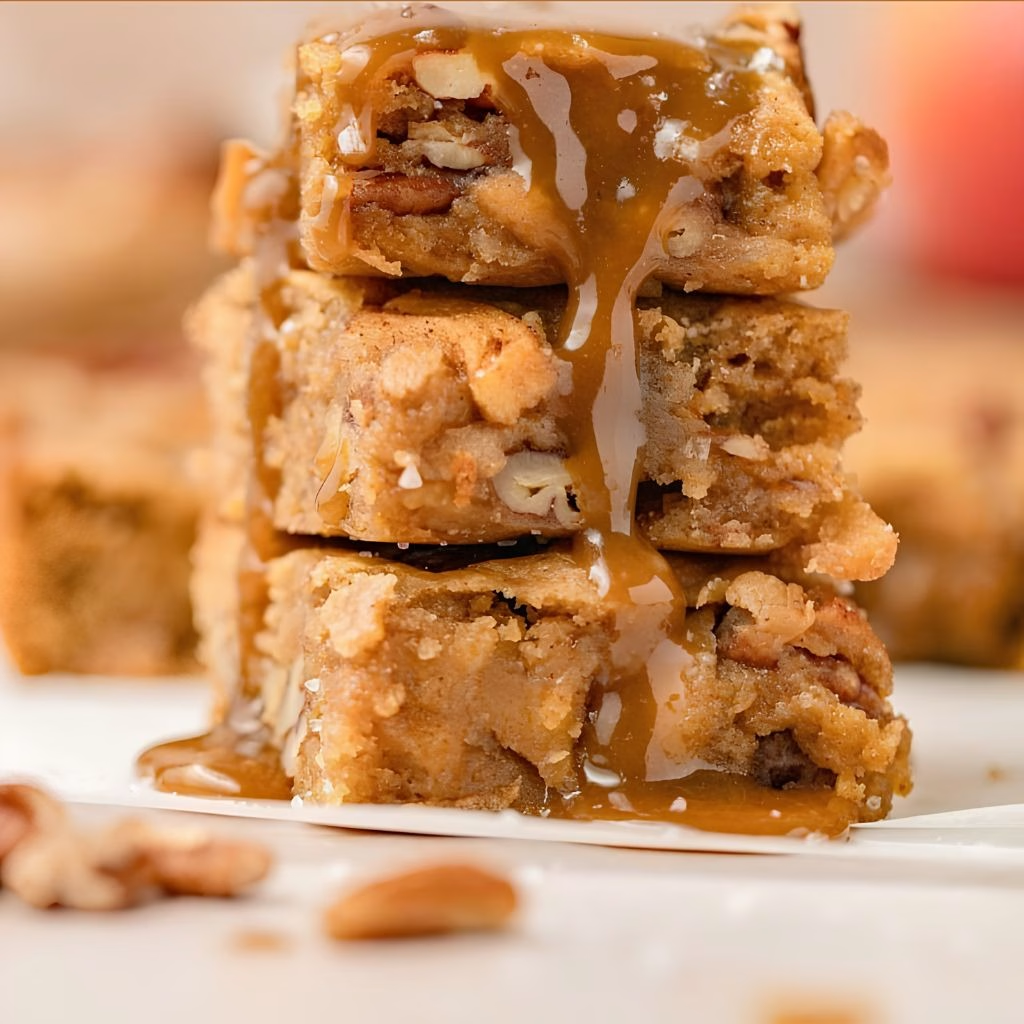
How to Make Brown Butter Apple Blondies Recipe?
This recipe has a few extra steps compared to a basic blondie, but none of them are difficult. You’re really just browning butter twice, softening some apples, and mixing a simple batter by hand. Here’s exactly how I put it all together.
Brown the Butter
Melt the butter in a light-colored saucepan over medium heat, stirring constantly so it doesn’t scorch. After about five to eight minutes, it will foam up and then turn golden with little toasted specks at the bottom. Pour it into a heat-safe bowl right away to stop the cooking.
Soften the Apples
Return the same pan to the stove without washing it those browned bits add flavor. Add your chopped apples, maple syrup, and cinnamon, then cook over medium heat for three to five minutes until just softened. Set the apples aside to cool slightly while you prep the batter.
Whisk the Wet Ingredients
In a large bowl, whisk the slightly cooled brown butter with the brown sugar until combined. Add the eggs one at a time, then stir in the vanilla extract. The mixture should look glossy and smooth, almost like a caramel sauce.
Mix in the Dry Ingredients
Add the flour, baking powder, salt, cinnamon, and nutmeg directly into the wet mixture. Stir gently with a spatula just until no dry streaks remain, overmixing here can make the bars tough instead of chewy.
Fold in the Apples and Bake
Gently fold the cooked apples into the batter, then spread everything into a parchment-lined 9×13-inch pan. Bake at 350°F for about 35 minutes, until the top turns lightly golden and a toothpick comes out with a few moist crumbs.
Make the Brown Butter Icing
While the bars cool, melt and brown a small amount of fresh butter the same way as before. Whisk it with confectioners’ sugar, milk, and vanilla extract until smooth. Drizzle it over the cooled bars before slicing into squares.
Additional Tips for Making This Recipe Better
I’ve made these blondies enough times now to have a few tricks that consistently make them better.
- I always use a light-colored pan for browning butter because it’s nearly impossible to judge the color in a dark skillet, and burnt butter tastes bitter.
- I let my browned butter cool for about 10 minutes before mixing it with eggs, otherwise it can scramble them slightly.
- I chop my apples into small, even pieces so they cook through in the same amount of time and distribute evenly in every bite.
- I line my pan with parchment paper with overhang on the sides, which makes lifting the whole slab out for slicing so much easier.
- I let the bars cool completely before icing them, or the glaze just melts right off the top.
Common Mistakes to Avoid
I’ve made most of these mistakes myself at some point, so learn from my trial and error.
- I once walked away from the butter while it was browning and ended up with a burnt, bitter batch stay at the stove and stir constantly.
- I overmixed the batter once thinking it would blend better, but it just made the bars dense instead of chewy.
- I skipped softening the apples the first time I made these, and the raw chunks stayed crunchy and watery inside the baked bars.
- I used cold eggs straight from the fridge with hot brown butter, and it created little scrambled bits in my batter.
- I cut the bars too early, before they’d fully cooled, and they crumbled apart instead of slicing cleanly.
How to Serve Brown Butter Apple Blondies?
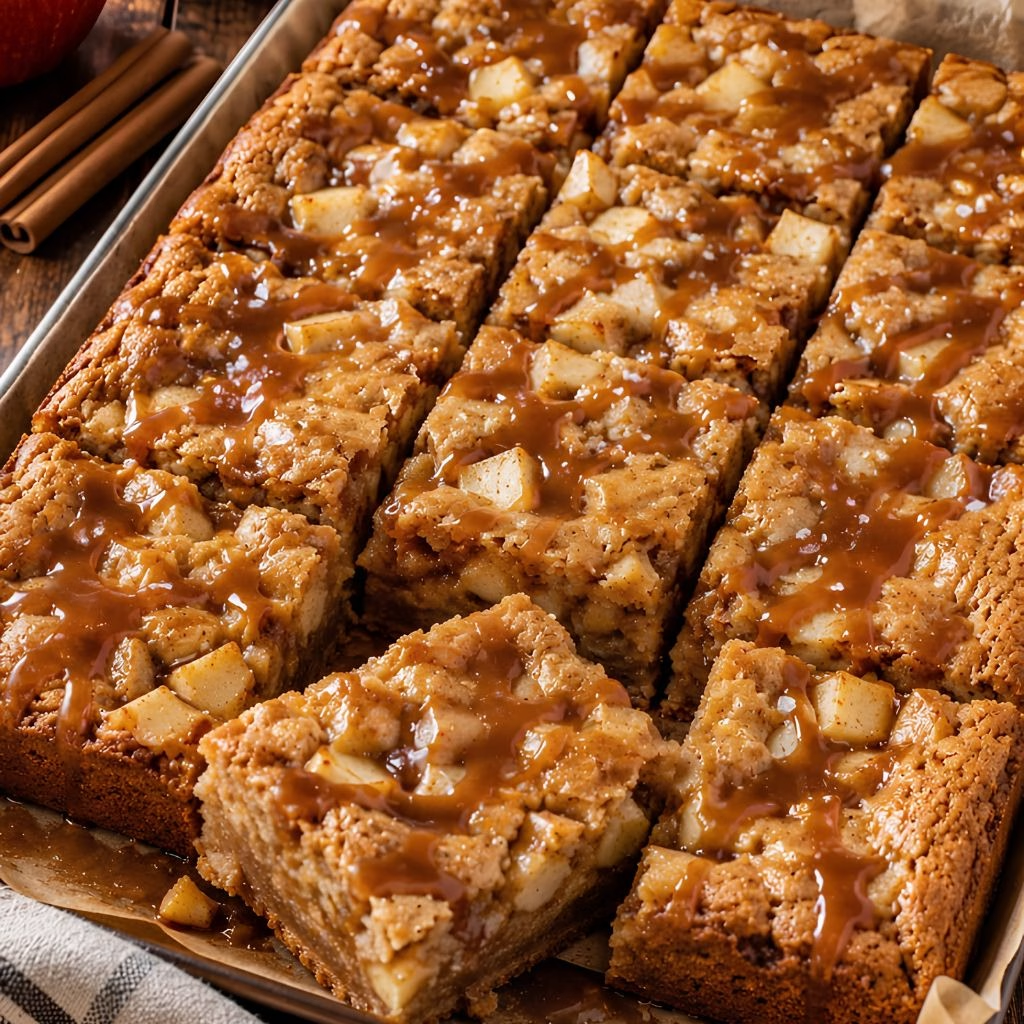
I like cutting these into generous squares and stacking them on a rustic wooden board for a cozy, fall-ready presentation. A light dusting of cinnamon or a few thin apple slices on top makes them look bakery-worthy for guests.
They’re wonderful, slightly warm with a scoop of vanilla ice cream melting into the icing, or alongside a mug of spiced chai or coffee. If you’re setting these out for a gathering, they pair beautifully next to other fall desserts on a dessert table.
For more cozy apple-flavored treats to round out your spread, my Apple Pie Poppers are another great fall option worth trying.
Variations
- Swap the icing for a maple glaze instead of confectioners’ sugar icing for an extra layer of maple flavor, similar to an apple blondies with maple glaze twist.
- Fold in a handful of chopped pecans or walnuts for crunch alongside the soft apple pieces.
- Stir in white or dark chocolate chips for a brown butter blondies chocolate chip variation.
- Use a dairy-free butter substitute if you need a dairy-free version, though the brown butter flavor will be milder.
- Reduce the brown sugar slightly and use a sugar substitute blend if you’re aiming for a lower-sugar version.
- Add a pinch more cinnamon and a dash of allspice for an apple pie blondies recipe feel.
- Top with a streusel layer before baking for an apple crumble blondies recipe spin.
Nutritional Information
Here’s a general idea of what one bar (based on 24 servings) offers, though exact values depend on your specific ingredients.
- Calories: approximately 220 kcal
- Protein: approximately 2g
- Carbohydrates: approximately 31g
- Fat: approximately 10g
Make Ahead and Storage
You can make the blondies a day ahead and store them unglazed at room temperature, then add the icing right before serving for the freshest look.
Store leftover bars in an airtight container at room temperature for up to 3 days, or in the refrigerator for up to a week.
To freeze, wrap individual squares tightly in plastic wrap and freeze for up to 3 months; thaw at room temperature before serving or icing.
Why You’ll Love This Recipe?
This isn’t just another blondie recipe — a few things make it stand out every single time I bake a batch.
- Easy, no-mixer method: Everything comes together with just a whisk and a bowl, so there’s no need to drag out a stand mixer for a simple bar cookie.
- Big batch for sharing: A 9×13-inch pan means you get plenty of bars, perfect for potlucks, bake sales, or a crowd at home.
- Deep, nutty flavor: Browning the butter twice once for the batter and once for the icing gives these bars a caramelized depth you won’t get from regular melted butter.
- Customizable to your taste: Whether you want nuts, chocolate chips, or a maple glaze instead of icing, this base recipe adapts easily.
- Great make-ahead dessert: These bars store and freeze well, so you can prep them well before a gathering without any last-minute stress.
FAQs
Can I use a different type of apple for this recipe?
Yes, any firm baking apple works well here, though tart varieties help balance the sweetness of the brown sugar and icing.
Do I have to brown the butter, or can I just melt it?
Browning the butter is what gives these blondies their signature nutty, caramel-like flavor, so I’d really recommend not skipping that step.
Can I make these blondies ahead of time for a party?
Absolutely, bake the bars a day in advance, store them unglazed, then drizzle the icing on the morning of your event for a fresh finish.
Why did my blondies turn out cakey instead of chewy?
This usually happens from overmixing the batter or measuring too much flour, so stir just until combined and spoon-and-level your flour.
Can I freeze these blondies?
Yes, wrap individual bars tightly and freeze for up to 3 months, then thaw at room temperature whenever a craving hits.
If you enjoyed this fall bar recipe, you might also love this rich, chocolate-lover’s Chocolate Chip Cake for your next baking session.

Brown Butter Apple Blondies Recipe
Ingredients
Method
- Melt the butter in a light-colored saucepan over medium heat, stirring constantly so it doesn’t scorch. After about five to eight minutes, it will foam up and then turn golden with little toasted specks at the bottom. Pour it into a heat-safe bowl right away to stop the cooking.
- Return the same pan to the stove without washing it those browned bits add flavor. Add your chopped apples, maple syrup, and cinnamon, then cook over medium heat for three to five minutes until just softened. Set the apples aside to cool slightly while you prep the batter.
- In a large bowl, whisk the slightly cooled brown butter with the brown sugar until combined. Add the eggs one at a time, then stir in the vanilla extract. The mixture should look glossy and smooth, almost like a caramel sauce.
- Add the flour, baking powder, salt, cinnamon, and nutmeg directly into the wet mixture. Stir gently with a spatula just until no dry streaks remain, overmixing here can make the bars tough instead of chewy.
- Gently fold the cooked apples into the batter, then spread everything into a parchment-lined 9×13-inch pan. Bake at 350°F for about 35 minutes, until the top turns lightly golden and a toothpick comes out with a few moist crumbs.
- While the bars cool, melt and brown a small amount of fresh butter the same way as before. Whisk it with confectioners’ sugar, milk, and vanilla extract until smooth. Drizzle it over the cooled bars before slicing into squares.
Notes
- I always use a light-colored pan for browning butter because it’s nearly impossible to judge the color in a dark skillet, and burnt butter tastes bitter.
- I let my browned butter cool for about 10 minutes before mixing it with eggs, otherwise it can scramble them slightly.
- I chop my apples into small, even pieces so they cook through in the same amount of time and distribute evenly in every bite.
- I line my pan with parchment paper with overhang on the sides, which makes lifting the whole slab out for slicing so much easier.
- I let the bars cool completely before icing them, or the glaze just melts right off the top.