I made this Easy Pumpkin Hummus Recipe on a whim last October when I had half a can of pumpkin puree sitting in my fridge and didn’t want it to go to waste. Honestly, I wasn’t expecting much. I figured it would just taste like regular hummus with an orange tint. I was so wrong.
The pumpkin adds this subtle earthy sweetness that plays beautifully against the garlic and cumin, and it’s now one of my go-to appetizers every time the weather turns cool. I’ve made it dozens of times since, and I’m sharing exactly how I do it below.
Cooking Time
- Prep Time: 10 minutes
- Cooking Time: 0 minutes (no cooking required)
- Total Time: 10 minutes
Ingredients
- 1 small garlic clove – fresh garlic gives a much sharper, brighter bite than the jarred stuff, so don’t skip it
- 1 (15-ounce) can chickpeas (or 1½ cups cooked) – this is the base that gives hummus its body and protein
- ¾ cup pumpkin puree – use plain canned pumpkin, not pumpkin pie filling, which is loaded with added sugar and spice
- ½ teaspoon kosher salt – balances the sweetness of the pumpkin and rounds out the flavor
- 1¼ teaspoons ground cumin – this is what gives the dip that warm, earthy hummus flavor
- 2 tablespoons fresh lemon juice – bottled juice works in a pinch, but fresh always tastes brighter
- 1 teaspoon maple syrup – just enough to lift the pumpkin’s natural sweetness without making it dessert-like
- 1 tablespoon olive oil – adds richness and helps everything blend into a silky texture
- Pinch of cayenne pepper (optional) – add this if you like a little heat in the background
Note: This recipe serves about 6 people as an appetizer or snack.
Equipment You Need
- Food processor – blends everything into a smooth, creamy consistency
- Rubber spatula – helps scrape down the sides so nothing gets left unblended
- Measuring cups and spoons – for accurate ingredient portions
- Serving bowl – for presenting the finished hummus
- Can opener – to open your can of chickpeas and pumpkin puree
How to Make an Easy Pumpkin Hummus Recipe?
This recipe comes together in one bowl of a food processor with barely any cleanup involved. I love that there’s no stovetop or oven required, which makes it perfect for last-minute get-togethers. Below is exactly how I break it down every single time.
Step 1: Chop the Garlic
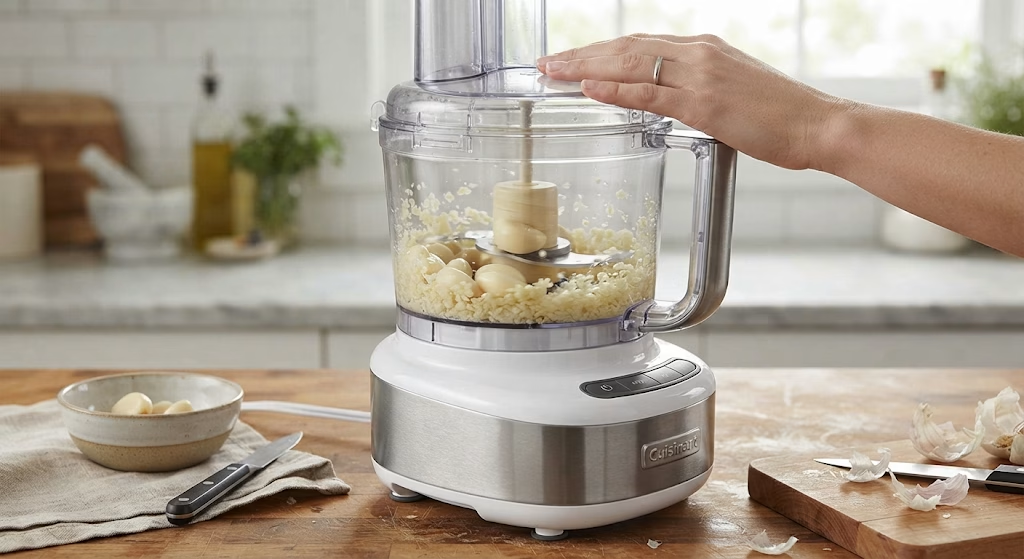
Peel your garlic clove and drop it into the food processor bowl on its own first. Pulse it a few times until it’s finely minced. Doing this step separately keeps you from biting into a big chunk of raw garlic later, which can overpower the whole dip.
Step 2: Drain the Chickpeas
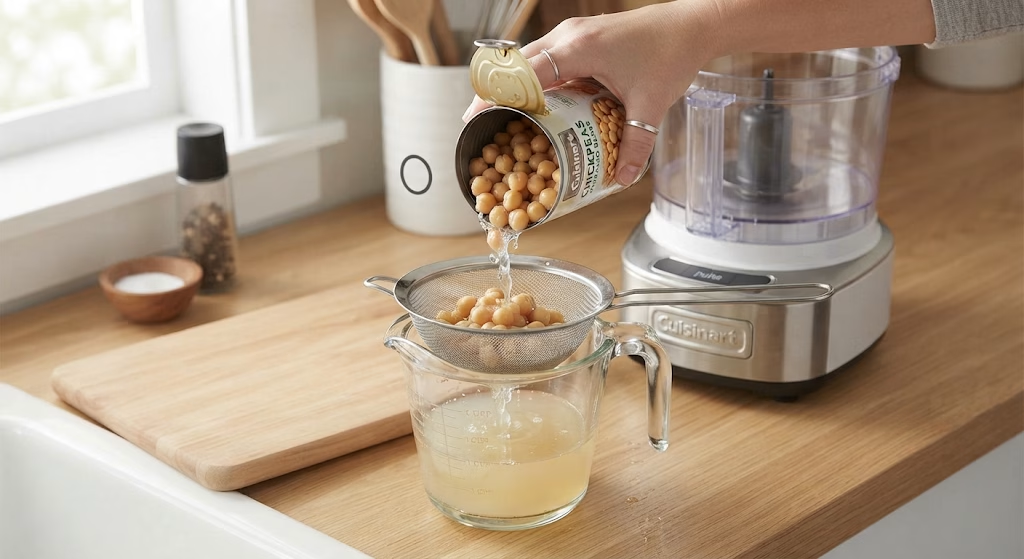
Open your can of chickpeas and pour them into a strainer, but don’t toss that liquid. That starchy liquid, called aquafaba, is handy if your hummus turns out thicker than you’d like later on. Give the chickpeas a quick rinse if you prefer a milder flavor.
Step 3: Combine Everything in the Processor
Add the drained chickpeas, pumpkin puree, salt, cumin, lemon juice, maple syrup, and olive oil right into the bowl with your minced garlic. If you want a little kick, toss in that pinch of cayenne now before you start blending.
Step 4: Blend Until Smooth
Run the food processor continuously, stopping every so often to scrape down the sides with a spatula. I usually blend for about 60 to 90 seconds total until the mixture turns completely smooth with no visible chickpea skins.
Step 5: Adjust the Consistency
If your hummus feels too thick or stiff, add a splash of that reserved chickpea liquid, one tablespoon at a time, and blend again. I like mine on the thicker side for dipping, but a little looser is nice for spreading.
Step 6: Taste and Serve
Give it a taste and adjust the salt, lemon, or cumin to your liking. Transfer it to a serving bowl, add your favorite toppings, and it’s ready to go straight away or after a short chill in the fridge.
Additional Tips for Making This Recipe Better
I’ve made this pumpkin hummus more times than I can count, and I’ve picked up a few tricks along the way that genuinely make a difference.
- I always use canned pumpkin puree instead of roasting fresh pumpkin myself, since it saves so much time without sacrificing flavor.
- I let my hummus chill in the fridge for at least 30 minutes before serving because the flavors deepen and meld together beautifully.
- I scrape down the food processor bowl more often than I think I need to, because pockets of unblended chickpeas hide near the bottom.
- I taste as I go and add lemon juice in small increments, since it’s easy to overdo the acidity and hard to fix once it’s in there.
- I keep a small jar of the reserved chickpea liquid nearby while blending, just in case I need to loosen the texture at the last minute.
Common Mistakes to Avoid
- I once used pumpkin pie filling instead of plain puree by accident, and the dip turned out way too sweet and spiced for a savory appetizer.
- I’ve learned not to skip peeling the chickpea skins if I want an ultra-smooth texture, since they can leave the hummus slightly grainy.
- I used to add all the olive oil at once, but drizzling it in slowly while blending gives a creamier, more emulsified result.
- I’ve over-salted this more than once by not tasting as I went, so now I always start with less and adjust at the end.
- I tried skipping the chill time once because I was in a rush, and the flavors just weren’t as developed compared to when I let it rest.
How to Serve an Easy Pumpkin Hummus Recipe?
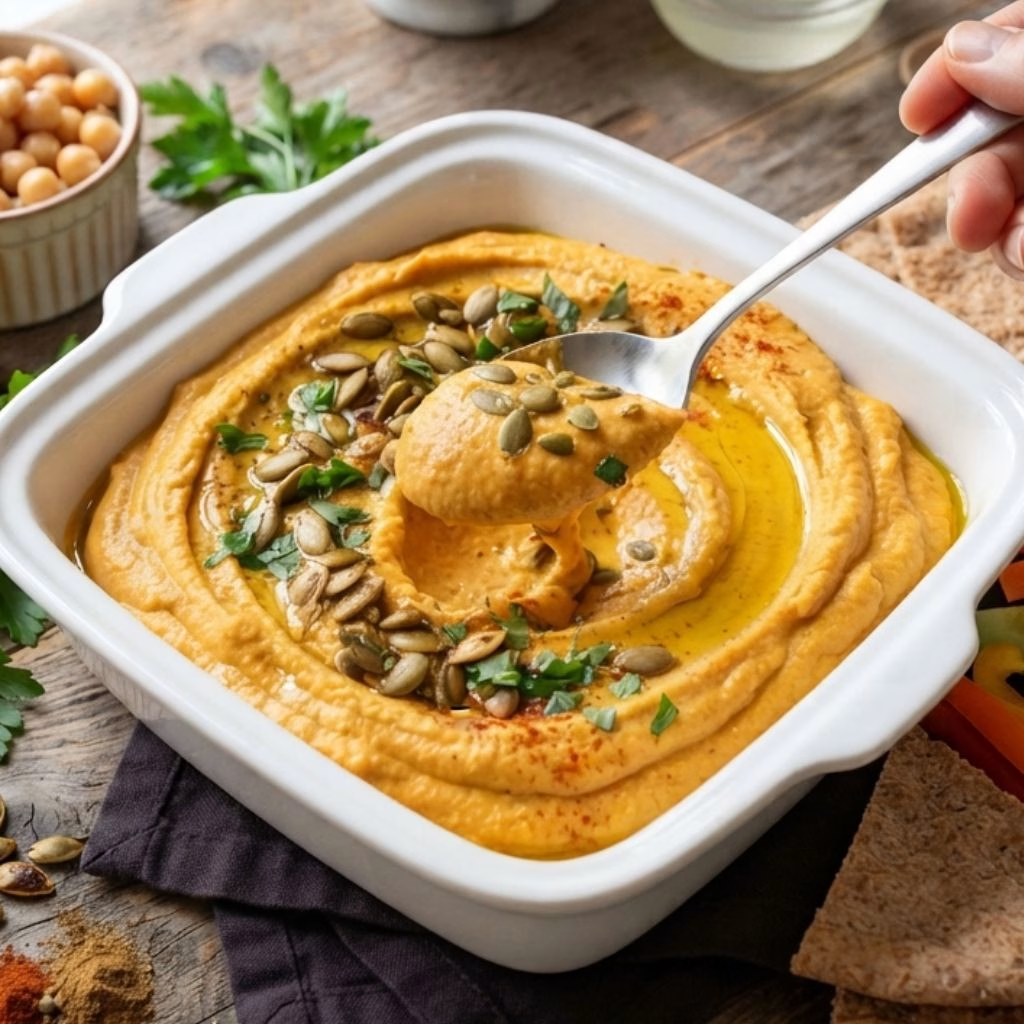
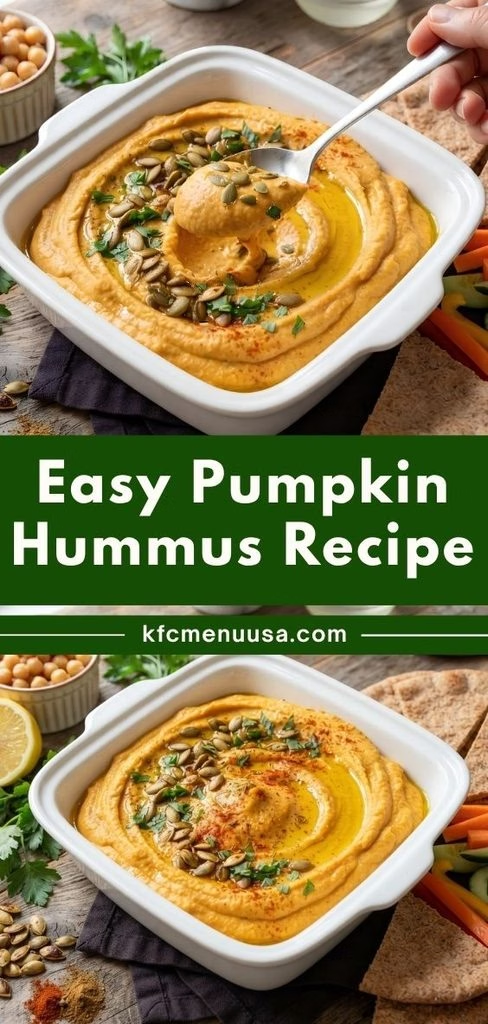
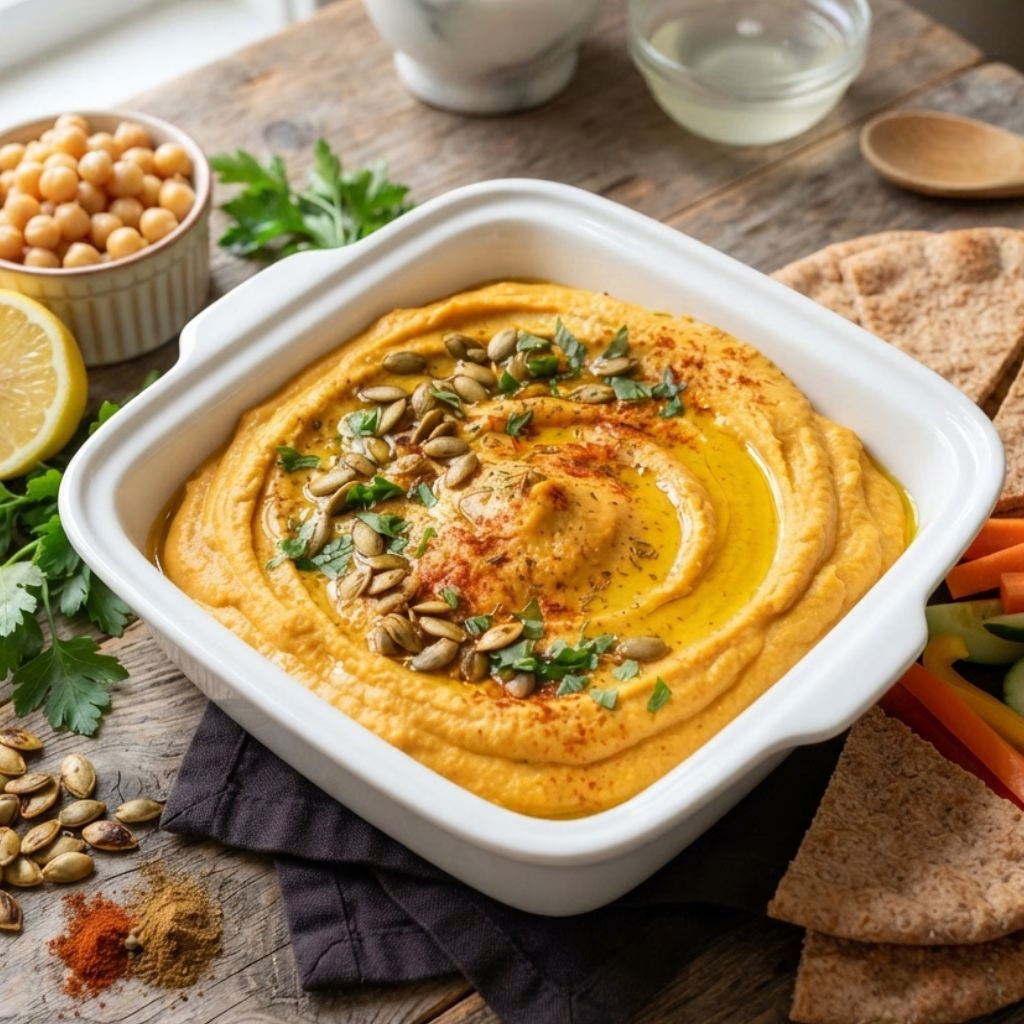
I like to spread mine into a shallow bowl and use the back of a spoon to create a swirled well in the center. Drizzle a little extra olive oil into that well, then finish with a sprinkle of paprika, toasted pumpkin seeds, and a few fresh parsley leaves for a pop of green against the orange.
It looks like something out of a food magazine but takes seconds to pull off. Serve it alongside warm pita bread, crunchy pita chips, or a rainbow platter of sliced veggies like carrots, cucumbers, and bell peppers. It also works wonderfully as a spread on sandwiches or wraps if you have leftovers.
If you’re building out a full fall spread, this dip pairs nicely with something warm and comforting on the side. I often set it out next to a bowl of pumpkin soup for a cozy, seasonal starter course.
Variations
- Dairy-free and vegan – this recipe is already naturally dairy-free and vegan, so no swaps are needed here.
- Sugar-free – skip the maple syrup entirely or replace it with a sugar-free syrup alternative if you’re watching added sugars.
- Spicy pumpkin hummus – stir in extra cayenne, a dash of smoked paprika, or a spoonful of harissa for a fiery kick.
- Roasted pumpkin hummus – swap the canned puree for homemade roasted pumpkin for a deeper, caramelized flavor.
- Pumpkin hummus without tahini – this version skips tahini entirely, but you can stir in a tablespoon if you love that nutty sesame flavor.
- Extra creamy – add a tablespoon of plain Greek yogurt if you’re not keeping it strictly vegan.
- Nutty crunch – top with toasted pepitas, chopped pistachios, or crushed walnuts for texture.
Nutritional Information
Here’s a rough breakdown per serving, based on the recipe making about 6 servings.
- Calories: approximately 90–100 kcal
- Protein: approximately 3–4 g
- Carbohydrates: approximately 12–14 g
- Fat: approximately 3–4 g
Make Ahead and Storage
You can make this pumpkin hummus up to 3 days ahead of time and store it in an airtight container in the refrigerator. The flavor actually improves the longer it sits, since the garlic and cumin have more time to blend into the pumpkin and chickpeas.
To reheat, you honestly don’t need to; this dip is meant to be served cold or at room temperature, so just pull it out and let it sit on the counter for about 15 minutes before serving.
This hummus stays fresh in the fridge for up to a week when stored properly. I don’t recommend freezing it, since the texture tends to turn watery and grainy once thawed.
Why You’ll Love This Recipe?
This pumpkin hummus checks every box for an easy fall appetizer, and here’s why it’s become a staple in my kitchen.
- It takes just 10 minutes from start to finish, so I can whip it up even when I’m short on time before guests arrive.
- It’s endlessly customizable, whether I want it spicy, extra creamy, or dressed up with different toppings each time.
- It fits nearly every diet, since it’s naturally vegan, dairy-free, and gluten-free without any extra effort.
- It’s a sneaky way to work more fiber and nutrients into snack time, thanks to the chickpeas and pumpkin combo.
- It tastes even better the next day, which makes it a stress-free make-ahead option for parties.
FAQs
Can I make pumpkin hummus without chickpeas?
Yes, you can swap the chickpeas for white beans like cannellini or great northern beans for a similarly smooth, creamy base.
What can I serve with pumpkin hummus?
Pita chips, warm pita bread, and fresh vegetables like carrots and celery are classic choices, though it also works well spread on toast or sandwiches.
Is there a Boar’s Head pumpkin hummus I can buy instead?
Some grocery stores do carry pre-made pumpkin hummus from brands like Boar’s Head during the fall season, but homemade versions like this one let you control the sweetness and spice level yourself.
How long does homemade pumpkin hummus last in the fridge?
It stays fresh for up to a week when stored in an airtight container in the refrigerator.
Where did pumpkin hummus originate?
Pumpkin hummus is a modern, seasonal twist on traditional Middle Eastern hummus, created by home cooks and food bloggers who wanted to bring fall flavors into a classic chickpea dip.
Want another quick appetizer to pair with this? My classic hummus recipe is a great base to keep in rotation year-round.

Easy Pumpkin Hummus Recipe
Ingredients
Method
- Peel your garlic clove and drop it into the food processor bowl on its own first. Pulse it a few times until it’s finely minced. Doing this step separately keeps you from biting into a big chunk of raw garlic later, which can overpower the whole dip.
- Open your can of chickpeas and pour them into a strainer, but don’t toss that liquid. That starchy liquid, called aquafaba, is handy if your hummus turns out thicker than you’d like later on. Give the chickpeas a quick rinse if you prefer a milder flavor.
- Add the drained chickpeas, pumpkin puree, salt, cumin, lemon juice, maple syrup, and olive oil right into the bowl with your minced garlic. If you want a little kick, toss in that pinch of cayenne now before you start blending.
- Run the food processor continuously, stopping every so often to scrape down the sides with a spatula. I usually blend for about 60 to 90 seconds total until the mixture turns completely smooth with no visible chickpea skins.
- If your hummus feels too thick or stiff, add a splash of that reserved chickpea liquid, one tablespoon at a time, and blend again. I like mine on the thicker side for dipping, but a little looser is nice for spreading.
- Give it a taste and adjust the salt, lemon, or cumin to your liking. Transfer it to a serving bowl, add your favorite toppings, and it’s ready to go straight away or after a short chill in the fridge.
Notes
- I always use canned pumpkin puree instead of roasting fresh pumpkin myself, since it saves so much time without sacrificing flavor.
- I let my hummus chill in the fridge for at least 30 minutes before serving because the flavors deepen and meld together beautifully.
- I scrape down the food processor bowl more often than I think I need to, because pockets of unblended chickpeas hide near the bottom.
- I taste as I go and add lemon juice in small increments, since it’s easy to overdo the acidity and hard to fix once it’s in there.
- I keep a small jar of the reserved chickpea liquid nearby while blending, just in case I need to loosen the texture at the last minute.