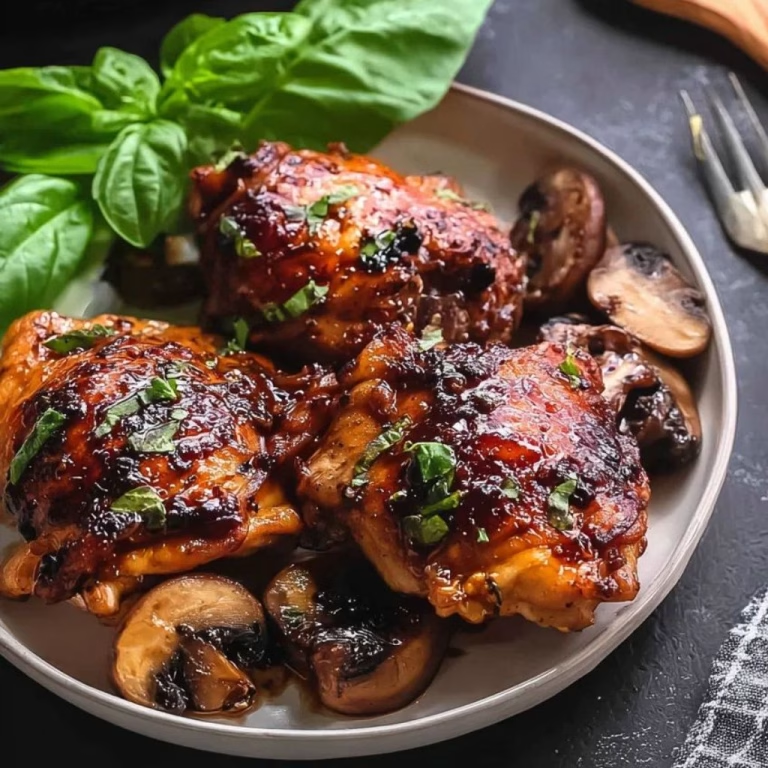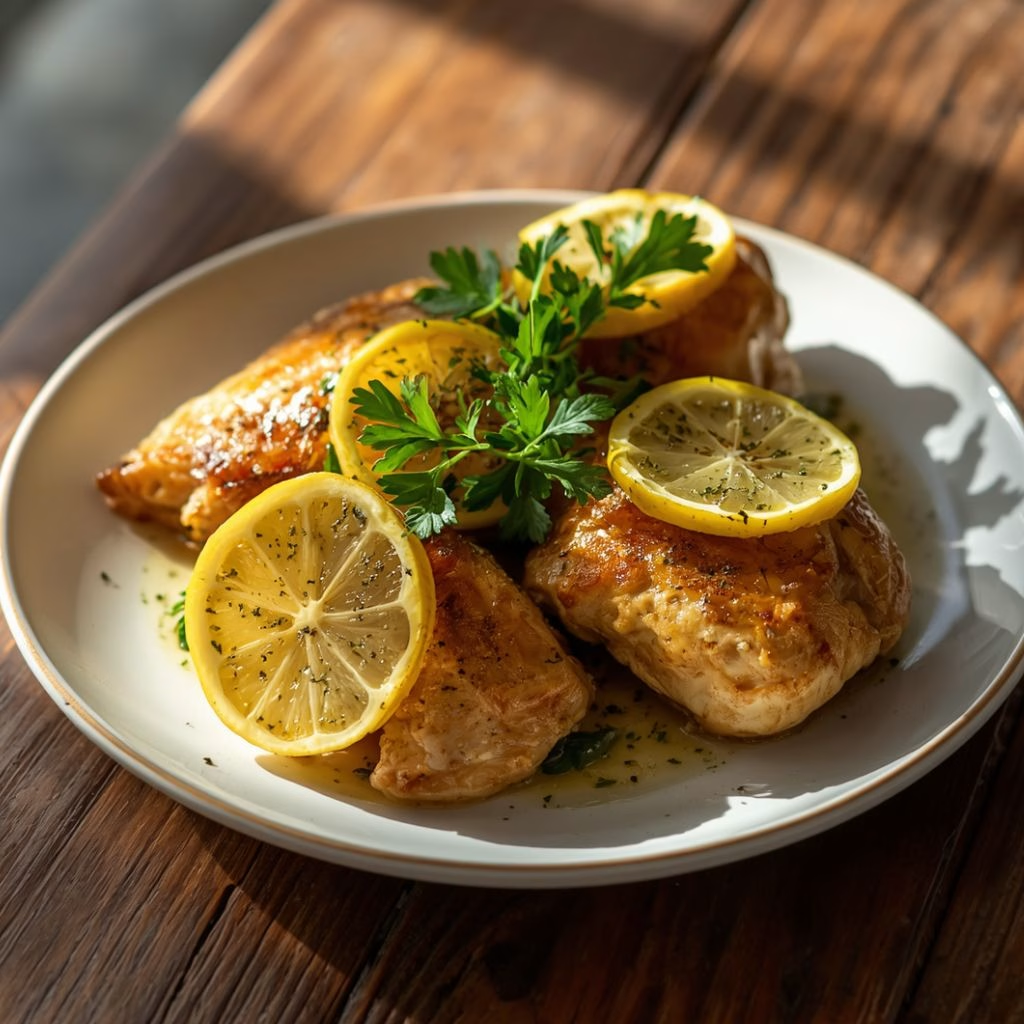
I still remember the first night I made this Garlic Butter Lemon Chicken Thighs Recipe. My kitchen smelled like a little Italian trattoria, and my family cleaned their plates in record time. I love how the garlic and butter melt together into this glossy, tangy sauce that clings to every bite of chicken.
It’s the kind of dinner I can throw together on a busy weeknight without feeling like I’m rushing. Once you taste how juicy these thighs turn out, you’ll understand why this has become one of my most requested dinners. Let me walk you through exactly how I make it at home.

Cooking Time
- Prep Time: 10 minutes
- Cook Time: 35 minutes
- Total Time: 45 minutes
Ingredients
- 6 bone-in, skin-on chicken thighs – these stay juicier than boneless cuts and crisp up beautifully in the oven or skillet
- 1 teaspoon kosher salt – draws out flavor and helps the skin crisp
- 1 teaspoon black pepper – adds a subtle warm bite
- 1 teaspoon smoked paprika – gives the chicken a gorgeous golden color and smoky depth
- 4 tablespoons unsalted butter, divided – the base of that rich, silky pan sauce
- 5 cloves garlic, minced – fresh cloves give a much bolder flavor than jarred garlic
- ½ cup low-sodium chicken broth – loosens the sauce and deglazes the pan
- ⅓ cup fresh lemon juice – bottled juice just doesn’t have the same brightness
- 1 lemon, sliced thin – for cooking into the sauce and garnishing the finished dish
- 1 teaspoon dried oregano – adds an herby, savory note that pairs perfectly with lemon
- 2 tablespoons fresh parsley, chopped – brightens the dish right before serving
- 1 tablespoon olive oil – helps get an even sear before the butter goes in
Note: This recipe serves 4-6 people.
Equipment You Need
- Large oven-safe skillet – lets you sear on the stovetop and finish in the oven without dirtying extra dishes
- Meat thermometer – takes the guesswork out of knowing when the chicken is fully cooked
- Tongs – makes flipping the chicken thighs safe and easy
- Mixing bowl – for tossing the chicken in its dry seasoning
- Citrus juicer – gets every last drop of juice out of your lemons
- Cutting board and sharp knife – for mincing garlic and slicing lemons
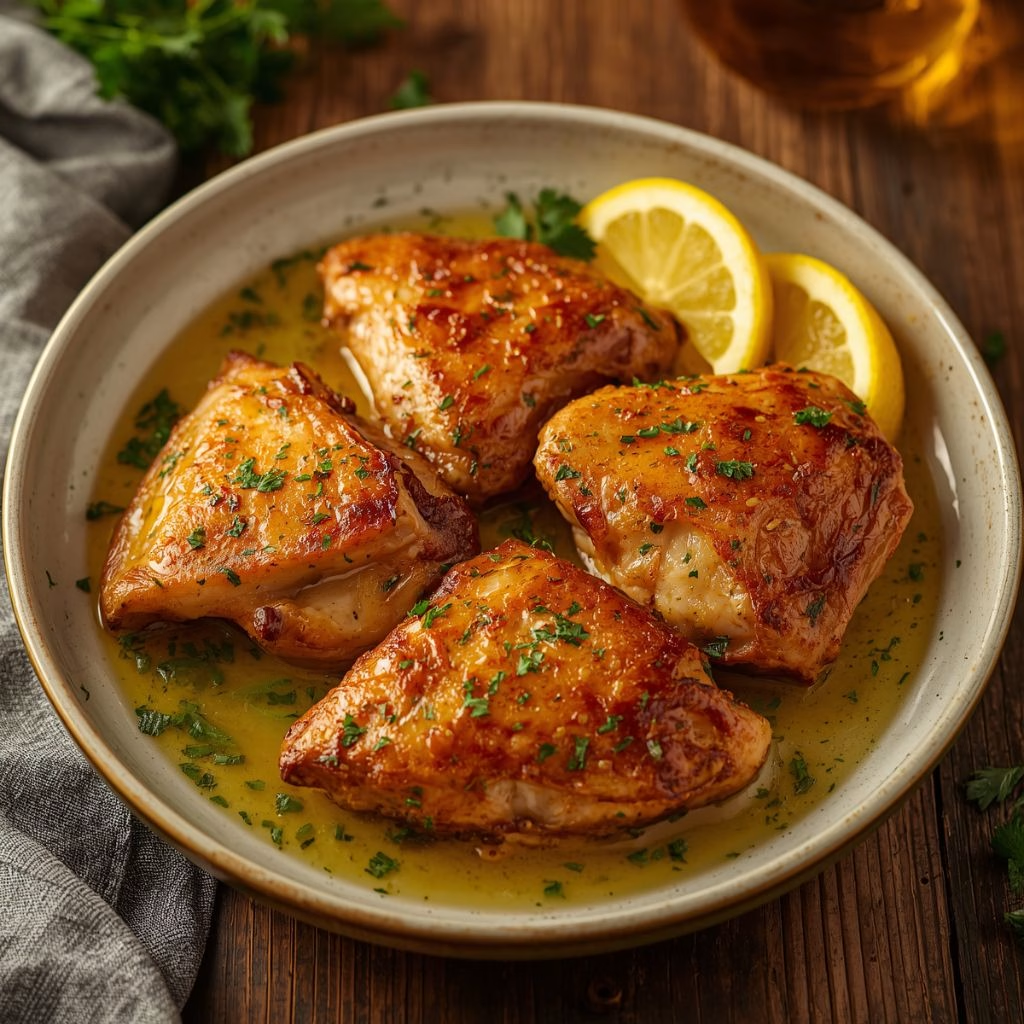
How to Make Garlic Butter Lemon Chicken Thighs Recipe?
This recipe comes together in one skillet, so cleanup is a breeze. I sear the chicken first to lock in flavor and crisp up that skin, then I build a fast garlic butter lemon sauce right in the same pan. Here’s exactly how I do it, step by step.
Season the Chicken Thighs
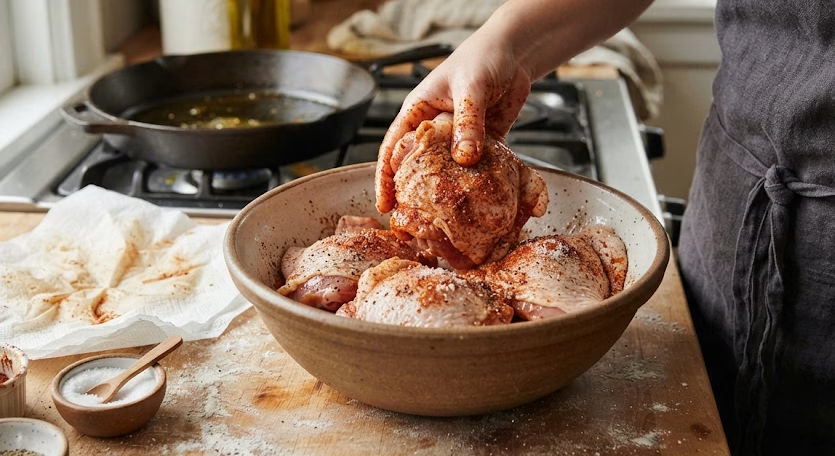
Pat the chicken thighs completely dry with paper towels. This step matters more than people think, since a dry surface is what gives you crispy skin. Toss the thighs in a bowl with the salt, pepper, and smoked paprika until every piece is evenly coated. Let them sit for a few minutes while your skillet heats up so the seasoning can settle in.
Sear the Chicken
Heat the olive oil in your oven-safe skillet over medium-high heat until it’s shimmering. Place the chicken thighs skin-side down and let them sear undisturbed for about 5-6 minutes. Resist the urge to move them around, since that’s what builds a deep golden crust on the skin.

Flip and Partially Cook
Flip the chicken thighs over and cook the other side for another 4-5 minutes. The chicken doesn’t need to be fully cooked through at this stage you’re just building color and flavor. Once both sides are golden, transfer the chicken to a plate and set it aside.
Build the Garlic Butter Sauce
Lower the heat to medium and melt 2 tablespoons of butter in the same skillet, scraping up any browned bits from the bottom. Add the minced garlic and cook for about a minute until it’s fragrant but not browned. Pour in the chicken broth and lemon juice, letting everything bubble together for a minute or two.
Finish the Sauce
Stir in the remaining butter, dried oregano, and lemon slices, letting the sauce simmer gently until it thickens slightly. This is where the magic happens: the butter turns glossy and rich while the lemon keeps it bright instead of heavy. Taste it and adjust the salt if needed.
Bake the Chicken
Preheat your oven to 400°F while the sauce simmers. Nestle the chicken thighs back into the skillet, skin-side up, spooning a little sauce over the top of each piece. Transfer the skillet to the oven and bake for 18-20 minutes, or until a meat thermometer reads 165°F at the thickest part.
Rest and Garnish
Pull the skillet out of the oven and let the chicken rest for about 5 minutes before serving. Sprinkle the fresh parsley over the top and add a few extra lemon slices for color. This little resting step keeps all those juices locked inside the meat instead of running out onto the plate.
Additional Tips for Making This Recipe Better
I’ve made this dish more times than I can count, and here’s what’s helped me get it right every single time.
- I always let my chicken sit at room temperature for about 15 minutes before cooking, since cold chicken hitting a hot pan cooks unevenly.
- I like using a cast iron skillet because it holds heat so well and gives the skin an extra-crispy finish.
- I never skip patting the chicken dry. It’s a small step that makes a huge difference in how crispy the skin turns out.
- I taste my sauce before pouring it back over the chicken, since lemons vary in tartness and I sometimes need an extra pinch of salt or butter to balance it.
- I keep a close eye on the garlic while it cooks, because it goes from fragrant to burnt in the blink of an eye.
Common Mistakes to Avoid
I’ve made a few of these mistakes myself, so I want to help you skip them.
- I used to overcrowd my skillet, and it kept the chicken from searing properly now I make sure there’s space between each piece.
- I once pulled the chicken out too early because it looked done on the outside, so now I always check with a meat thermometer instead of guessing.
- I learned the hard way that skipping the dry-pat step leads to soggy, rubbery skin instead of that crispy texture I love.
- I used bottled lemon juice once and really missed the brightness fresh lemons bring, so I stick with fresh now.
- I forgot to let the chicken rest one time and lost a lot of the juices onto my cutting board, so now I always give it those extra five minutes.
How to Serve Garlic Butter Lemon Chicken Thighs?
I love serving this chicken straight from the skillet at the table. It makes for such a warm, rustic presentation. Spoon extra garlic butter lemon sauce over the top right before serving so it looks glossy and inviting.
Pair it with creamy mashed potatoes, buttered rice, or a simple green salad to soak up all that sauce. A few extra lemon wedges and a sprinkle of fresh parsley on top always makes the dish feel a little more special, even on a regular weeknight. You can also enjoy similar crispy textures with Crispy Fried Polenta with Marinara Sauce.
Variations
- Swap the butter for a plant-based butter alternative to make this dish dairy-free.
- Use boneless skinless chicken thighs if you prefer a leaner cut, just reduce the baking time by about 5-7 minutes.
- Stir in a splash of heavy cream at the end for a creamier, richer sauce.
- Add red pepper flakes for a little heat alongside the lemon and garlic.
- Toss in fresh spinach or baby kale during the last few minutes of baking for extra greens.
- Try fresh rosemary or thyme instead of oregano for a different herby twist.
Nutritional Information
Here’s a rough idea of what you can expect per serving of this recipe.
- Calories: approximately 420 per serving
- Protein: approximately 32g per serving
- Carbohydrates: approximately 4g per serving
- Fat: approximately 30g per serving
Make Ahead and Storage
You can season the chicken thighs up to a day ahead and keep them covered in the refrigerator, which actually helps the flavor soak in even more.
Store any leftovers in an airtight container in the refrigerator for up to 3-4 days. Reheat gently in a skillet over medium-low heat with a small splash of chicken broth to loosen the sauce back up.
This dish isn’t the best candidate for freezing since the butter sauce can separate once thawed, but the chicken alone freezes well for up to 2 months if you leave the sauce out.
Why You’ll Love This Recipe?
This garlic butter lemon chicken thighs recipe has earned its spot in my regular dinner rotation, and I think it’ll do the same for you.
- It’s a true one-pan meal. I love that I only have one skillet to clean, which makes weeknight cooking so much less stressful.
- It’s naturally low-carb. This recipe fits right into a low-carb or keto-friendly meal plan without any extra work.
- It’s endlessly customizable. I can swap herbs, add cream, or toss in vegetables depending on what I’m craving that week.
- It looks and tastes fancy. Despite being simple to make, the glossy garlic butter sauce makes it feel like a restaurant-quality dish.
- It reheats beautifully. I often make a double batch just so I have flavorful leftovers ready for lunch the next day. Crispy cabbage lovers can also pair this kind of family dinner with Crispy Cabbage Dumplings with Soy Dipping Sauce.
FAQs
Can I make lemon garlic chicken thighs in the oven only, without searing first?
Yes, you can skip the stovetop sear and bake the seasoned chicken thighs directly in the oven at 400°F for about 35-40 minutes. You just won’t get that same deep golden crust on the skin, so I still recommend searing first when I have the extra few minutes.
Can I make this recipe with boneless skinless chicken thighs?
Absolutely, boneless skinless chicken thighs work great in this recipe and actually cook faster than bone-in pieces. I reduce the baking time to about 12-15 minutes and check the internal temperature to make sure it hits 165°F.
Can I cook this entirely in a skillet without using the oven?
Yes, after building the sauce you can simply cover the skillet and simmer the chicken thighs on the stovetop over low heat for about 15-18 minutes instead of baking. Just flip them halfway through so they cook evenly in the sauce.
How do I make this garlic lemon chicken thighs recipe creamy?
Stir in a splash of heavy cream or half-and-half into the sauce right after adding the broth and lemon juice, letting it simmer until slightly thickened. It turns the sauce into a silkier, richer version while keeping that same garlicky lemon flavor.
How do I know when my bone-in lemon chicken thighs are fully cooked?
The most reliable way is to check the internal temperature with a meat thermometer inserted into the thickest part of the thigh, avoiding the bone. Bone-in thighs are done once they reach 165°F, though I like pulling mine closer to 170-175°F for extra-juicy dark meat.

Garlic Butter Lemon Chicken Thighs Recipe
Ingredients
Method
- Pat the chicken thighs completely dry with paper towels. This step matters more than people think, since a dry surface is what gives you crispy skin. Toss the thighs in a bowl with the salt, pepper, and smoked paprika until every piece is evenly coated. Let them sit for a few minutes while your skillet heats up so the seasoning can settle in.
- Heat the olive oil in your oven-safe skillet over medium-high heat until it’s shimmering. Place the chicken thighs skin-side down and let them sear undisturbed for about 5-6 minutes. Resist the urge to move them around, since that’s what builds a deep golden crust on the skin.
- Flip the chicken thighs over and cook the other side for another 4-5 minutes. The chicken doesn’t need to be fully cooked through at this stage you’re just building color and flavor. Once both sides are golden, transfer the chicken to a plate and set it aside.
- Lower the heat to medium and melt 2 tablespoons of butter in the same skillet, scraping up any browned bits from the bottom. Add the minced garlic and cook for about a minute until it’s fragrant but not browned. Pour in the chicken broth and lemon juice, letting everything bubble together for a minute or two.
- Stir in the remaining butter, dried oregano, and lemon slices, letting the sauce simmer gently until it thickens slightly. This is where the magic happens: the butter turns glossy and rich while the lemon keeps it bright instead of heavy. Taste it and adjust the salt if needed.
- Preheat your oven to 400°F while the sauce simmers. Nestle the chicken thighs back into the skillet, skin-side up, spooning a little sauce over the top of each piece. Transfer the skillet to the oven and bake for 18-20 minutes, or until a meat thermometer reads 165°F at the thickest part.
- Pull the skillet out of the oven and let the chicken rest for about 5 minutes before serving. Sprinkle the fresh parsley over the top and add a few extra lemon slices for color. This little resting step keeps all those juices locked inside the meat instead of running out onto the plate
Notes
- I always let my chicken sit at room temperature for about 15 minutes before cooking, since cold chicken hitting a hot pan cooks unevenly.
- I like using a cast iron skillet because it holds heat so well and gives the skin an extra-crispy finish.
- I never skip patting the chicken dry. It’s a small step that makes a huge difference in how crispy the skin turns out.
- I taste my sauce before pouring it back over the chicken, since lemons vary in tartness and I sometimes need an extra pinch of salt or butter to balance it.
- I keep a close eye on the garlic while it cooks, because it goes from fragrant to burnt in the blink of an eye.