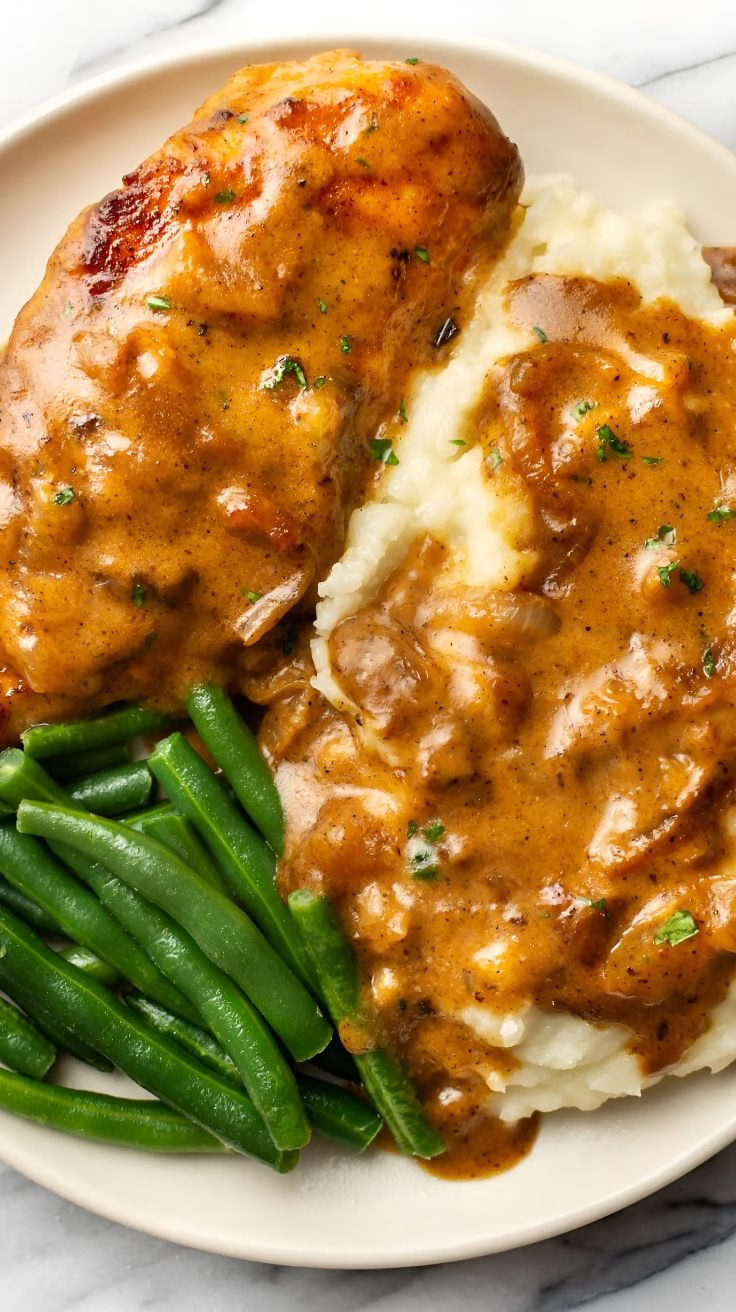
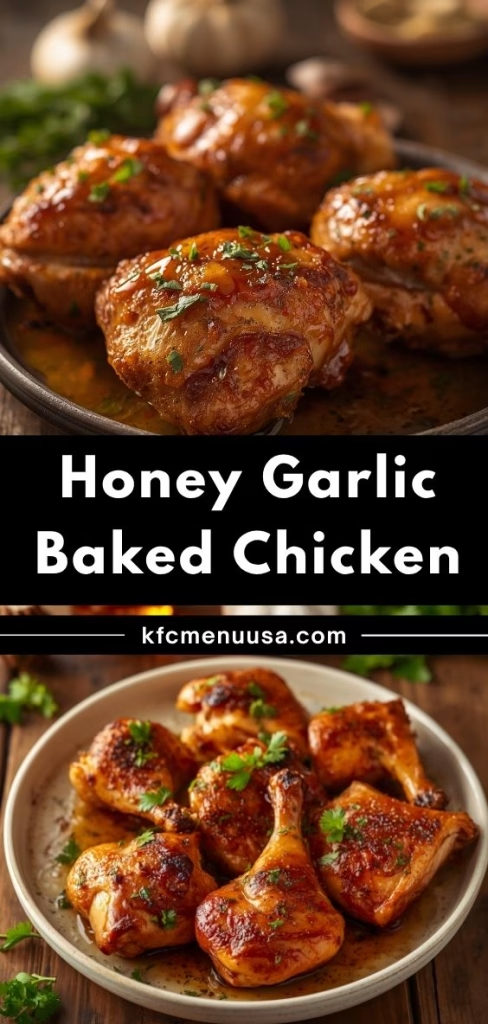
I first made this Honey Garlic Baked Chicken Recipe on a night when I had almost nothing planned for dinner and just four chicken breasts sitting in the fridge. I pulled together a quick sticky sauce from pantry staples, poured it over the chicken, and let the oven do the rest.
One bite in, and I knew this was going into my regular rotation for good. It’s sweet, a little tangy, and just garlicky enough to make plain chicken breast feel special. Best of all, I barely had to touch the stove or babysit a single pan.
Cooking Time
- Prep Time: 10 minutes
- Cook Time: 20-22 minutes
- Total Time: 30-32 minutes
Ingredients
- 4 boneless, skinless chicken breasts – the star of the dish; I like to pound them to an even thickness so they cook uniformly
- 1 teaspoon oil – helps the seasoning stick and gives the chicken a light golden start
- ½ teaspoon salt – for the base seasoning on the chicken itself
- ¼ teaspoon black pepper – adds a mild warmth that balances the sweetness of the sauce
- ⅔ cup honey – use plain, liquid honey, not creamed or flavored, for the smoothest sauce
- ¼ cup low sodium chicken broth – thins the sauce slightly and adds savory depth; water works in a pinch
- 2 tablespoons low sodium soy sauce – brings the salty, umami side of the flavor equation
- 2 tablespoons minced garlic – fresh or jarred both work, and it’s the backbone of that “garlic” in honey garlic
- 1 tablespoon apple cider vinegar – cuts through the sweetness with a little tang; don’t skip it
- ¼ teaspoon salt – seasons the sauce itself, separate from the chicken
- 1 tablespoon corn starch – thickens the sauce into that glossy, clingy glaze
- Red pepper flakes (optional) – a small pinch wakes the whole dish up if you like a bit of heat
Note: This recipe serves 4 people, with each serving being one chicken breast and about ¼ cup of sauce.
Equipment You Need
- 9×13-inch baking dish – holds the chicken in a single layer so it bakes evenly
- Mixing bowl – for whisking together the honey garlic sauce
- Whisk – blends the sauce smoothly and helps dissolve the corn starch
- Meat thermometer – the most reliable way to check that your chicken hits a safe internal temperature
- Rolling pin or meat mallet – for flattening the chicken breasts to an even thickness
- Basting brush – useful for lightly coating the chicken with oil before baking
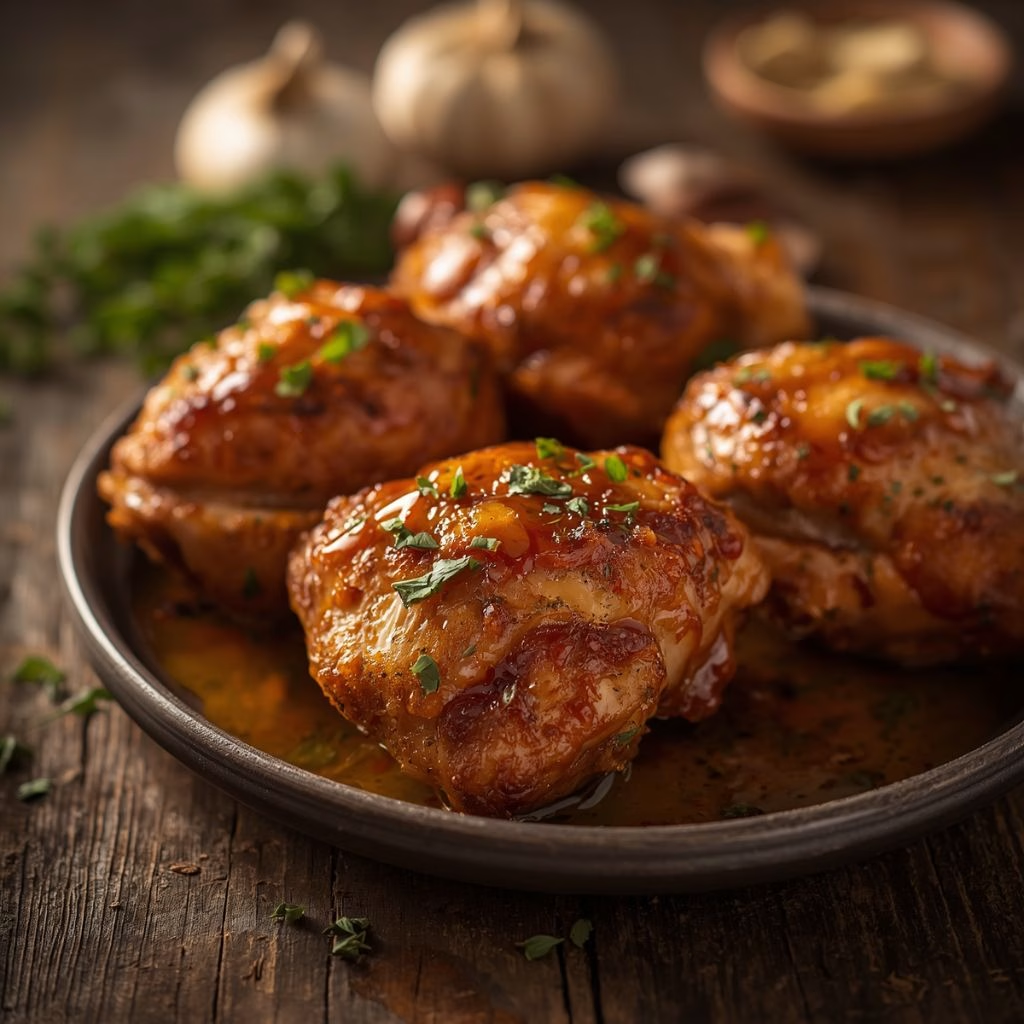
How to Make Honey Garlic Baked Chicken Recipe?
Making this recipe is really about a few simple stages: prepping the chicken, building the sauce, and letting the oven bring everything together. None of the steps are complicated, and most of the work happens hands-off while the chicken bakes. Here’s exactly how I do it every time.
Preheat and Prep the Chicken
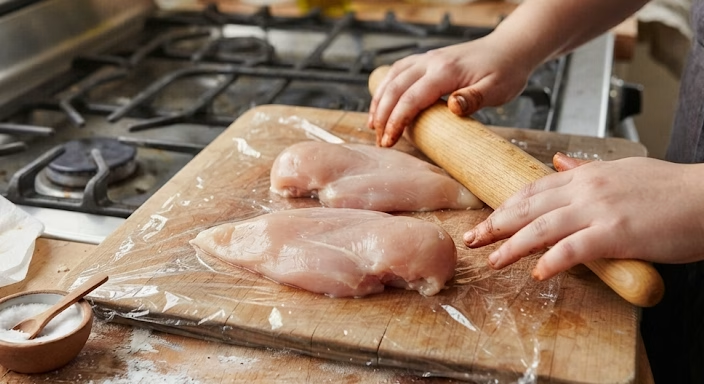
I start by preheating my oven to 425°F so it’s fully hot before the chicken goes in. While that heats up, I place my chicken breasts on a cutting board, cover them with plastic wrap, and gently flatten the thicker ends with a rolling pin. This one step makes a big difference in how evenly everything cooks.
Season and Start Baking
Next, I arrange the chicken in a 9×13-inch baking dish, making sure the pieces aren’t crowded together. I brush them lightly with oil, then sprinkle on the salt and pepper. I pop the dish into the oven uncovered and let the chicken bake by itself for about 10 minutes before it ever meets the sauce.
Whisk Together the Sauce
While the chicken is in the oven, I whisk the honey, broth, soy sauce, garlic, vinegar, salt, corn starch, and red pepper flakes together in a bowl. I make sure the corn starch is fully dissolved with no lumps, since that’s what gives the sauce its glossy, thickened texture once it bakes.

Add the Sauce and Continue Baking
Once the chicken has had its head start, I pull the dish out and pour the sauce evenly over the top. Adding it partway through, rather than at the very beginning, keeps the sugar from scorching around the edges of the pan. I slide it back into the oven for another 10-12 minutes.
Check for Doneness
I always check the internal temperature with a meat thermometer inserted into the thickest part of the chicken. Once it reads 165°F, I know it’s fully and safely cooked. I never rely on cutting into the chicken to check, since that just lets the juices escape too early.
Rest Before Serving
Finally, I cover the dish and let the chicken rest for about 10 minutes before slicing or serving. This resting time lets the juices redistribute through the meat instead of spilling out onto the cutting board, which keeps every bite tender.
Additional Tips for Making This Recipe Better
I’ve made this dish more times than I can count, and a few small habits have made it consistently better each time.
- I always dry my chicken breasts with a paper towel before seasoning, since extra moisture keeps them from browning nicely.
- I like to double the sauce recipe because we always want extra to spoon over rice.
- I’ve started stirring my seasoning ahead in bulk so it’s ready to go whenever I want to make this on a busy night.
- I let the sauce sit for a minute after whisking so I can double check the corn starch has fully dissolved.
- I use a light-colored baking dish so I can actually see how the sauce is browning as it bakes.
Common Mistakes to Avoid
I’ve made a few of these mistakes myself, so I like sharing them so you can skip the trial and error.
- I once skipped flattening the chicken breasts, and the thinner ends dried out long before the thicker parts finished cooking.
- I added the sauce at the very start one time, and the sugar started to catch and burn around the edges of the pan.
- I cut into my chicken to “check” if it was done, and I ended up losing a lot of juices in the process.
- I crowded too many chicken breasts into a small dish once, and they steamed instead of baking properly.
- I skipped resting the chicken because I was hungry and impatient, and the slices were noticeably drier for it.
How to Serve Honey Garlic Baked Chicken?
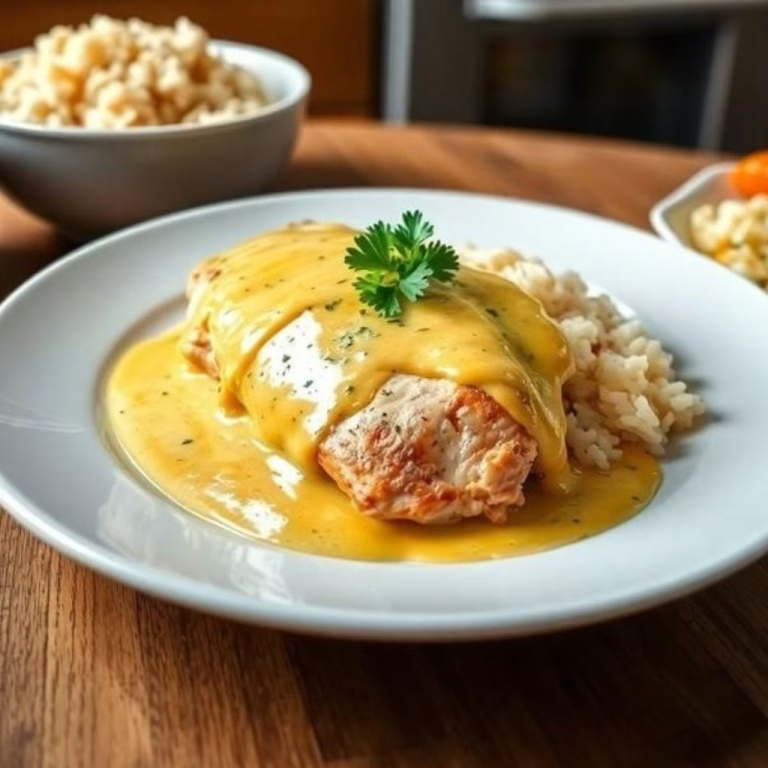
This chicken practically begs to be served over a bed of rice, since the sauce is too good to leave behind in the pan. I usually spoon extra sauce right over the top of the sliced chicken and rice so nothing goes to waste.
A sprinkle of sesame seeds and thinly sliced green onion on top adds a nice pop of color and a bit of crunch. On the side, I love pairing it with roasted green beans, honey glazed carrots, or air-fried broccoli to round out the plate.
For a heartier presentation, try it alongside a scoop of fried rice or a simple noodle side, similar to the crispy chicken you might find in a Copycat Chick-fil-A Nuggets Recipe.
Variations
- Swap chicken breasts for boneless, skinless chicken thighs for a juicier, more forgiving cut.
- Use tamari instead of soy sauce for a gluten-free version of the sauce.
- Try coconut aminos in place of soy sauce for a soy-free, slightly sweeter twist.
- Add a splash of sriracha or extra red pepper flakes for a spicier, bolder glaze.
- Use maple syrup in place of part of the honey for a slightly different, deeper sweetness.
- Toss in sliced bell peppers or broccoli florets to the baking dish for a one-pan meal.
- If you’re looking for another easy homemade dish with a different flavor profile, you can also enjoy the Asparagus Goat Cheese Tart Recipe as a savory option.
Nutritional Information
Here’s a general breakdown per serving, based on one chicken breast with sauce:
- Calories: about 327
- Protein: about 25g
- Carbohydrates: about 52g
- Fat: about 3g
Make Ahead and Storage
You can prep this recipe well before you plan to bake it. Flatten and season the chicken, then keep it covered in the baking dish in the refrigerator until you’re ready to cook. The sauce can be whisked together and stored in a sealed container in the fridge for up to a week, just give it a good stir before pouring it over the chicken.
Leftover cooked chicken keeps well in an airtight container in the refrigerator for up to 4 days. For longer storage, freeze the chicken and sauce together in a freezer-safe container or bag for up to 3 months, then thaw overnight in the fridge before reheating gently in the oven or microwave.
Why You’ll Love This Recipe?
This dish has earned a permanent spot in my dinner rotation, and here’s why I think you’ll feel the same way.
- It’s incredibly simple. There’s no complicated technique here, just a quick prep, a whisked sauce, and an oven doing the heavy lifting for you.
- It’s a one-pan meal. Everything bakes together in a single dish, which means less cleanup and more time to relax after dinner.
- It’s easy to customize. Whether you want it spicier, gluten-free, or made with chicken thighs instead, the base recipe adapts easily.
- It reheats beautifully. The sauce stays glossy and flavorful even as leftovers, so it tastes just as good the next day.
- It’s a crowd-pleaser. Between the sweet honey, the savory soy sauce, and the punch of garlic, this is one of those recipes that wins over picky eaters and adults alike.
FAQs
Can I make baked honey garlic chicken thighs bone-in instead of breasts?
Yes, bone-in thighs work well here, though they’ll need a longer bake time. Check for an internal temperature of 165°F before pulling them out.
How do I make oven baked honey chicken breast without drying it out?
Flatten the breasts to an even thickness, avoid overbaking, and always check doneness with a thermometer rather than the clock alone.
What makes this a simple honey garlic chicken recipe for beginners?
It only needs a handful of pantry ingredients and one baking dish, so there’s very little prep or cleanup involved, which makes it approachable for new cooks.
Can I use honey garlic chicken thighs boneless for this recipe?
Absolutely, boneless thighs work great and tend to stay extra juicy. The cooking time is usually very close to that of chicken breasts.
How do I get crispy honey garlic chicken instead of a saucy finish?
Broil the chicken for the last couple of minutes after it reaches temperature, keeping a close eye so the honey sauce caramelizes without burning.
Is there a really simple honey chicken recipe if I skip the extra seasonings?
Yes, you can keep it to just honey, soy sauce, garlic, and a touch of vinegar for a simple honey chicken recipe, then adjust seasonings to taste next time.

Honey Garlic Baked Chicken Recipe
Ingredients
Method
- I start by preheating my oven to 425°F so it’s fully hot before the chicken goes in. While that heats up, I place my chicken breasts on a cutting board, cover them with plastic wrap, and gently flatten the thicker ends with a rolling pin. This one step makes a big difference in how evenly everything cooks.
- Next, I arrange the chicken in a 9×13-inch baking dish, making sure the pieces aren’t crowded together. I brush them lightly with oil, then sprinkle on the salt and pepper. I pop the dish into the oven uncovered and let the chicken bake by itself for about 10 minutes before it ever meets the sauce.
- While the chicken is in the oven, I whisk the honey, broth, soy sauce, garlic, vinegar, salt, corn starch, and red pepper flakes together in a bowl. I make sure the corn starch is fully dissolved with no lumps, since that’s what gives the sauce its glossy, thickened texture once it bakes.
- Once the chicken has had its head start, I pull the dish out and pour the sauce evenly over the top. Adding it partway through, rather than at the very beginning, keeps the sugar from scorching around the edges of the pan. I slide it back into the oven for another 10-12 minutes.
- I always check the internal temperature with a meat thermometer inserted into the thickest part of the chicken. Once it reads 165°F, I know it’s fully and safely cooked. I never rely on cutting into the chicken to check, since that just lets the juices escape too early.
- Finally, I cover the dish and let the chicken rest for about 10 minutes before slicing or serving. This resting time lets the juices redistribute through the meat instead of spilling out onto the cutting board, which keeps every bite tender.
Notes
- I always dry my chicken breasts with a paper towel before seasoning, since extra moisture keeps them from browning nicely.
- I like to double the sauce recipe because we always want extra to spoon over rice.
- I’ve started stirring my seasoning ahead in bulk so it’s ready to go whenever I want to make this on a busy night.
- I let the sauce sit for a minute after whisking so I can double check the corn starch has fully dissolved.
- I use a light-colored baking dish so I can actually see how the sauce is browning as it bakes.