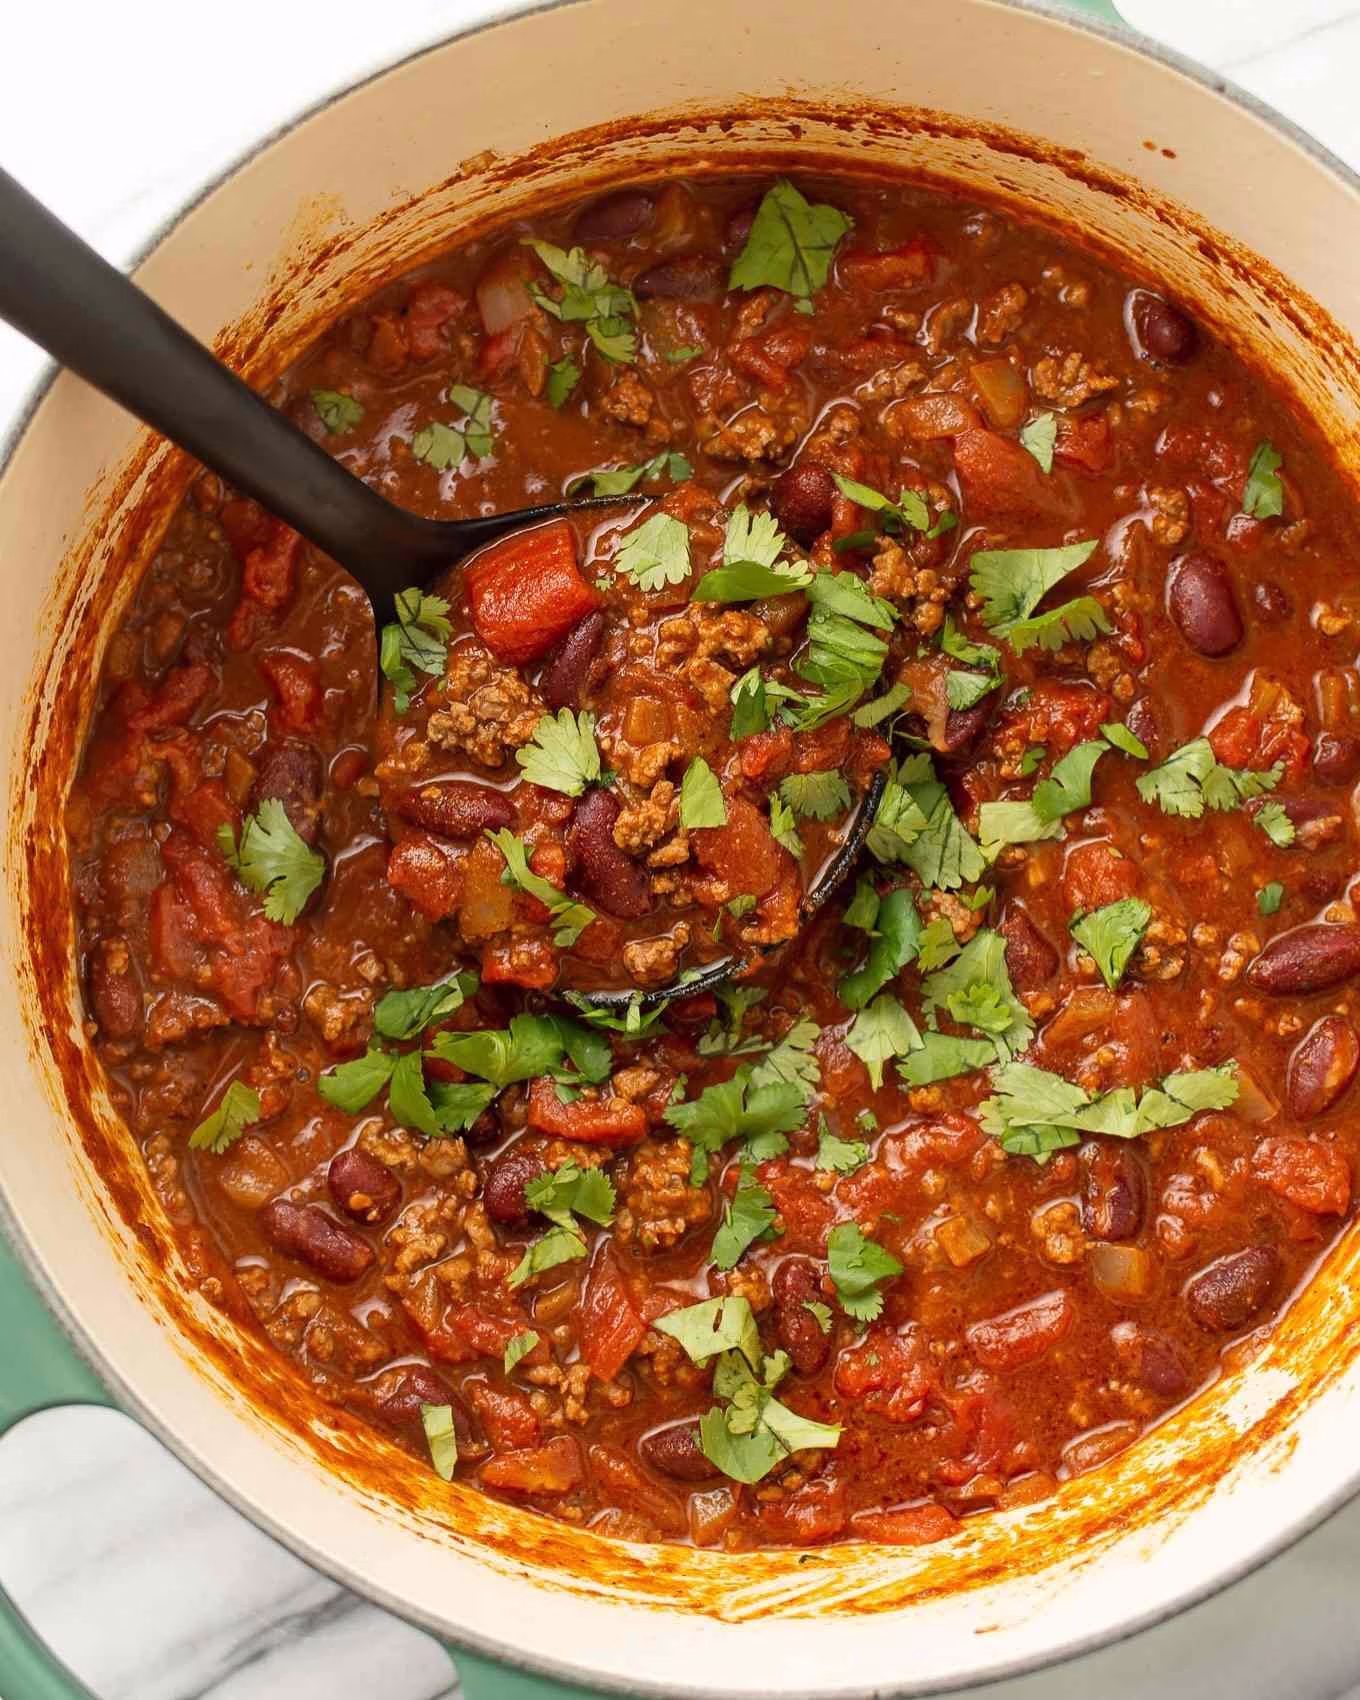
There’s something special about a hearty ground beef chili recipe that makes it a go-to dish in so many households—mine included. Whether it’s game day, a cozy winter night, or just one of those days when you want comfort in a bowl, chili always comes through.
But over the years, I’ve learned that even with the same basic ingredients, the difference between good chili and unforgettable chili comes down to a few simple tricks.
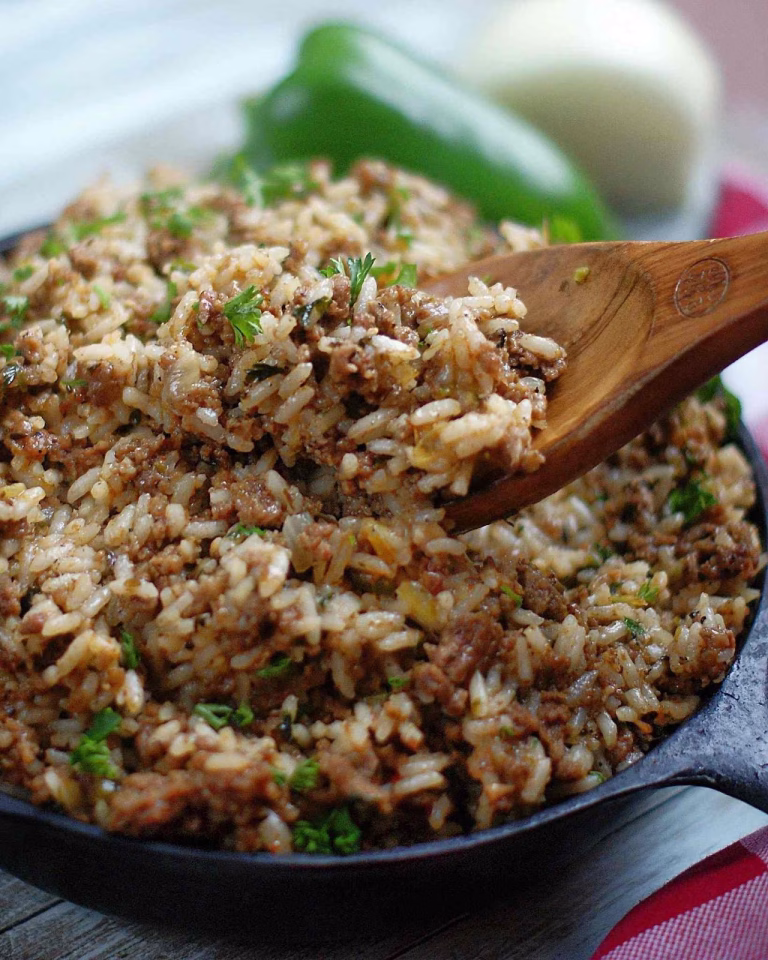
Choose the Right Ground Beef
One of the most important things I’ve found in getting chili to taste just right is choosing the right type of ground beef. Personally, I don’t go too lean—an 80/20 or even 85/15 blend has the perfect fat-to-meat ratio.
That bit of fat not only adds richness but also helps blend the flavors together as it simmers. If you go too lean, you might find your chili dry or lacking depth.
Give It Time—Don’t Rush It
I know, we all get busy and want dinner done in 30 minutes, but chili is one of those recipes that truly benefits from time. The longer it simmers, the better it tastes.
I usually let mine go for at least an hour on the stove—sometimes more if I have the time. The flavors deepen, the texture becomes richer, and everything just marries together beautifully.

Spice Is Personal—Make It Yours
One thing I’ve learned after making chili for family and friends is that everyone has different heat preferences. Some like it scorching hot with jalapeños and cayenne, others (like my kids) prefer it milder.
When I make a ground beef chili recipe, I always start on the milder side and then let people add heat to their own bowl. Keep hot sauce on the side and let everyone customize their spice level.
Add Depth with Simple Pantry Tricks
If you want to take your chili up a notch without making it overly complicated, there are a few pantry staples that do wonders.
A splash of brewed coffee or a square of dark chocolate might sound odd, but they add richness and a subtle bitterness that balances the spices perfectly. I’ve also used a tablespoon of cocoa powder or a dash of Worcestershire sauce to bring out that deep, smoky flavor.
Beans or No Beans?
This might be a debate in your house too! I’ve made it both ways—sometimes with hearty red kidney beans, sometimes with pinto beans, and other times without any at all when I’m going for a true Texas-style chili.
Honestly, it comes down to personal preference. When I want something a little more filling or need to stretch the recipe to feed a crowd, beans are perfect.
Thicken It Naturally
If your chili is looking a bit watery, there are some easy ways to thicken it without reaching for flour or cornstarch. One trick I use is to mash a few beans with the back of a spoon and stir them in.
You can also simmer it uncovered for the last 20–30 minutes to let the extra liquid evaporate. Some folks even crumble a handful of tortilla chips into the pot—trust me, it works!
Toppings Make It Even Better
The chili itself might be the star, but don’t underestimate the power of good toppings. I always set out bowls of shredded cheddar, sour cream, chopped green onions, jalapeños, and even some avocado when I’m feeling fancy. A squeeze of lime can also brighten the whole dish. It’s fun watching everyone customize their own bowls—especially when I serve it at parties.
Make It Ahead for Even Better Flavor
One of the best things about a ground beef chili recipe is how well it keeps. In fact, I almost always make it the day before I plan to serve it. After a night in the fridge, the flavors develop even more, and it somehow tastes better. It’s one of those dishes that rewards you for being patient.
How Long Does Chili Last in the Fridge?
If you’re anything like me, you like making meals that stretch into the week. I’ve kept chili in the fridge for up to 4–5 days with no issues. Just make sure it’s stored in an airtight container. Every time I reheat it, I add a little splash of broth or water to loosen it up and give it a quick stir while it warms.
Can You Freeze Ground Beef Chili?
Absolutely—and I do it all the time. In fact, I usually double the batch so I can freeze half for later. Just let it cool completely before portioning it into freezer-safe containers or resealable bags.
It’ll keep well for up to 3 months. When you’re ready to eat, just defrost overnight in the fridge or reheat gently from frozen on the stove.

Perfect for Meal Prep
If you’re into meal prepping (like I try to be most weeks), chili is a dream. I’ll pack it into individual containers for grab-and-go lunches, or use it in other meals like chili-topped baked potatoes, nachos, or even chili mac. Having a solid ground beef chili recipe in your rotation is a total lifesaver when you need something quick, satisfying, and flexible.
What Can I Serve with Chili?
There are so many sides that pair perfectly. I love making cornbread or cheesy garlic bread on the side. Sometimes, I’ll serve it over rice or even spaghetti (hello, Cincinnati-style chili!). And if you’re hosting a casual dinner, a big salad and some cold drinks round out the meal without a lot of extra effort.
Chili for a Crowd
If you’re cooking for a large group, chili is one of the easiest things to scale up. I’ve made it for family reunions and tailgates by just doubling or tripling the batch. It stays warm in a slow cooker for hours, and guests can serve themselves with their favorite toppings. It’s budget-friendly and always a crowd-pleaser.
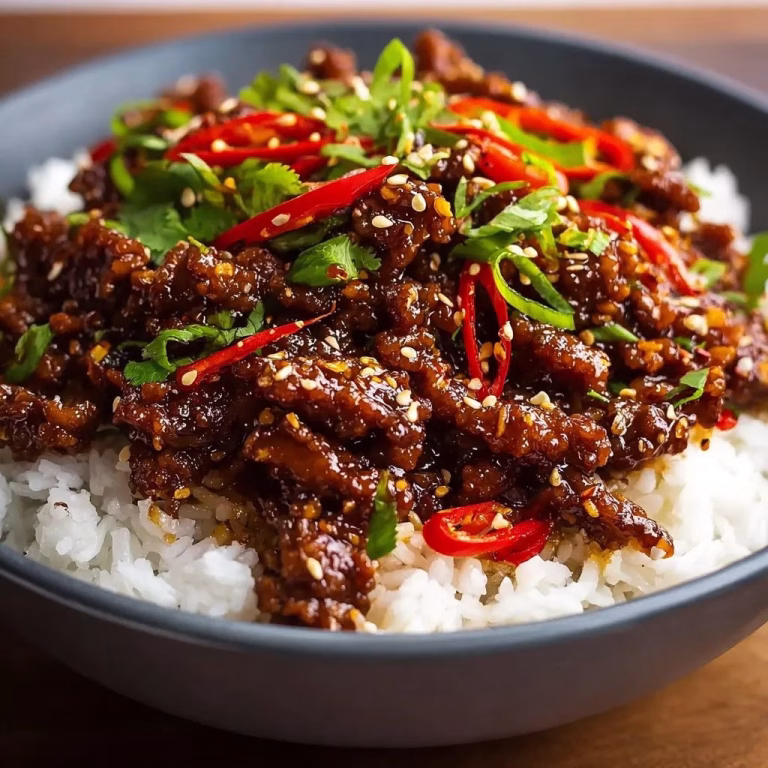
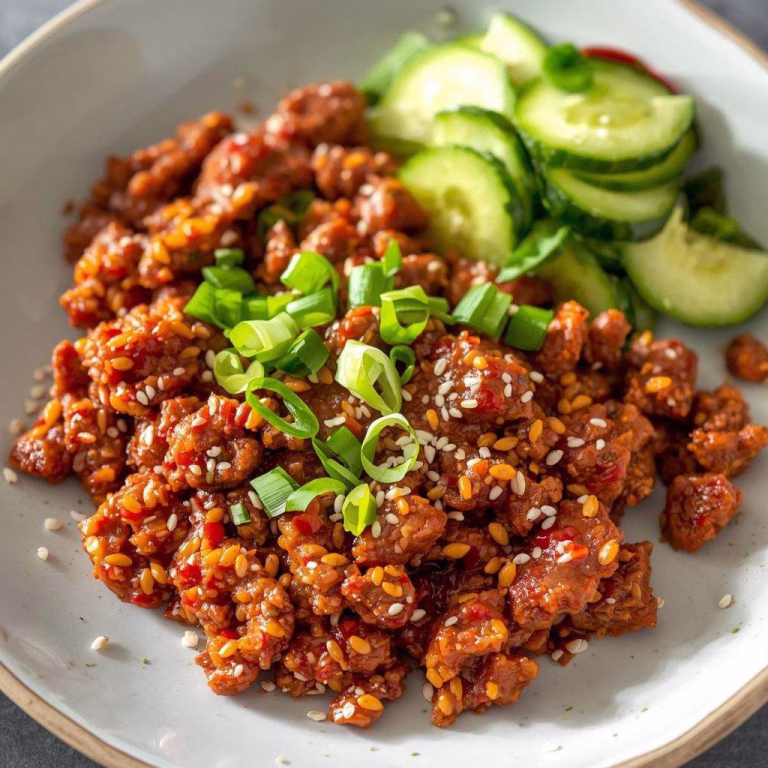
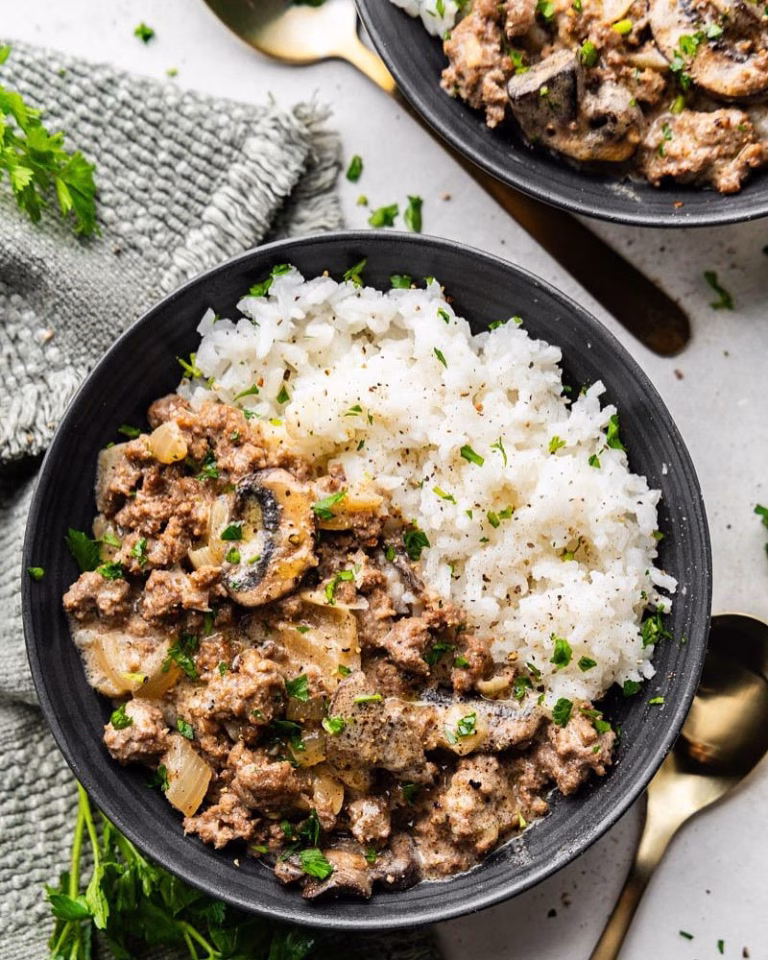
Ground Beef Chili Recipe
Ingredients
Method
- First, heat the olive oil in your Dutch oven over medium-high. Add diced onion and cook until it starts becoming translucent—about 2–3 minutes. Then stir in the garlic, letting it sizzle briefly until fragrant. I like this stage because the aroma fills the kitchen and sets the foundation for depth.
- Add your ground beef next. Break it up and cook until it’s just about browned; you want nice caramelized bits at the bottom of the pot. Sprinkle in chili powder, cumin, garlic powder, salt, pepper, and cayenne. I always take a moment to let them toast briefly—just 30 seconds—to release their oils and deepen their flavor before moving on.
- Stir in the diced tomatoes, tomato sauce, tomato paste, beans, honey, and beef broth. Mix everything so flavors marry together. Let the pot come to a light boil, then reduce the heat and let it gently simmer. I give it a stir every 5–10 minutes to prevent sticking and check consistency; simmering allows it to thicken without losing moisture or taste.
- Let this simmer for about 30 minutes, uncovered or slightly ajar. The chili will thicken and deepen in flavor. Taste and adjust seasonings—more salt, honey, or heat—whatever your palate lets you know. This is where you make the recipe truly yours, so don’t be shy about tasting and tweaking as it cooks.
- When you’re ready, ladle the chili into bowls and offer toppings like cheese, sour cream, green onions, cilantro, avocado, or tortilla chips. Any leftovers? I always pack mine in airtight containers. It will stay in the fridge for up to 4 days, or freeze in portions for up to 3 months. Just reheat gently, adding a splash of broth if it’s too thick.